E thay những dạ phi thường,
Dễ dò rốn bể, khôn lường đáy sông!
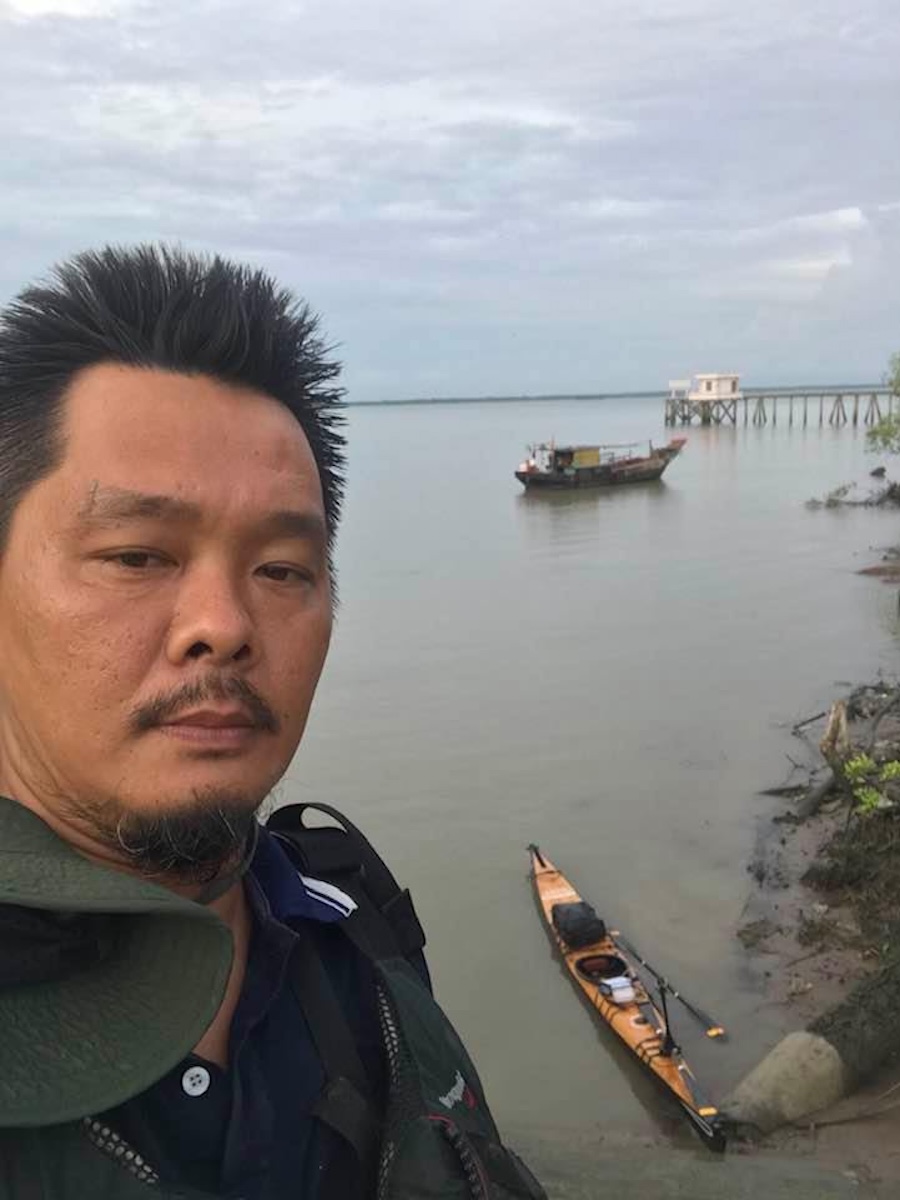
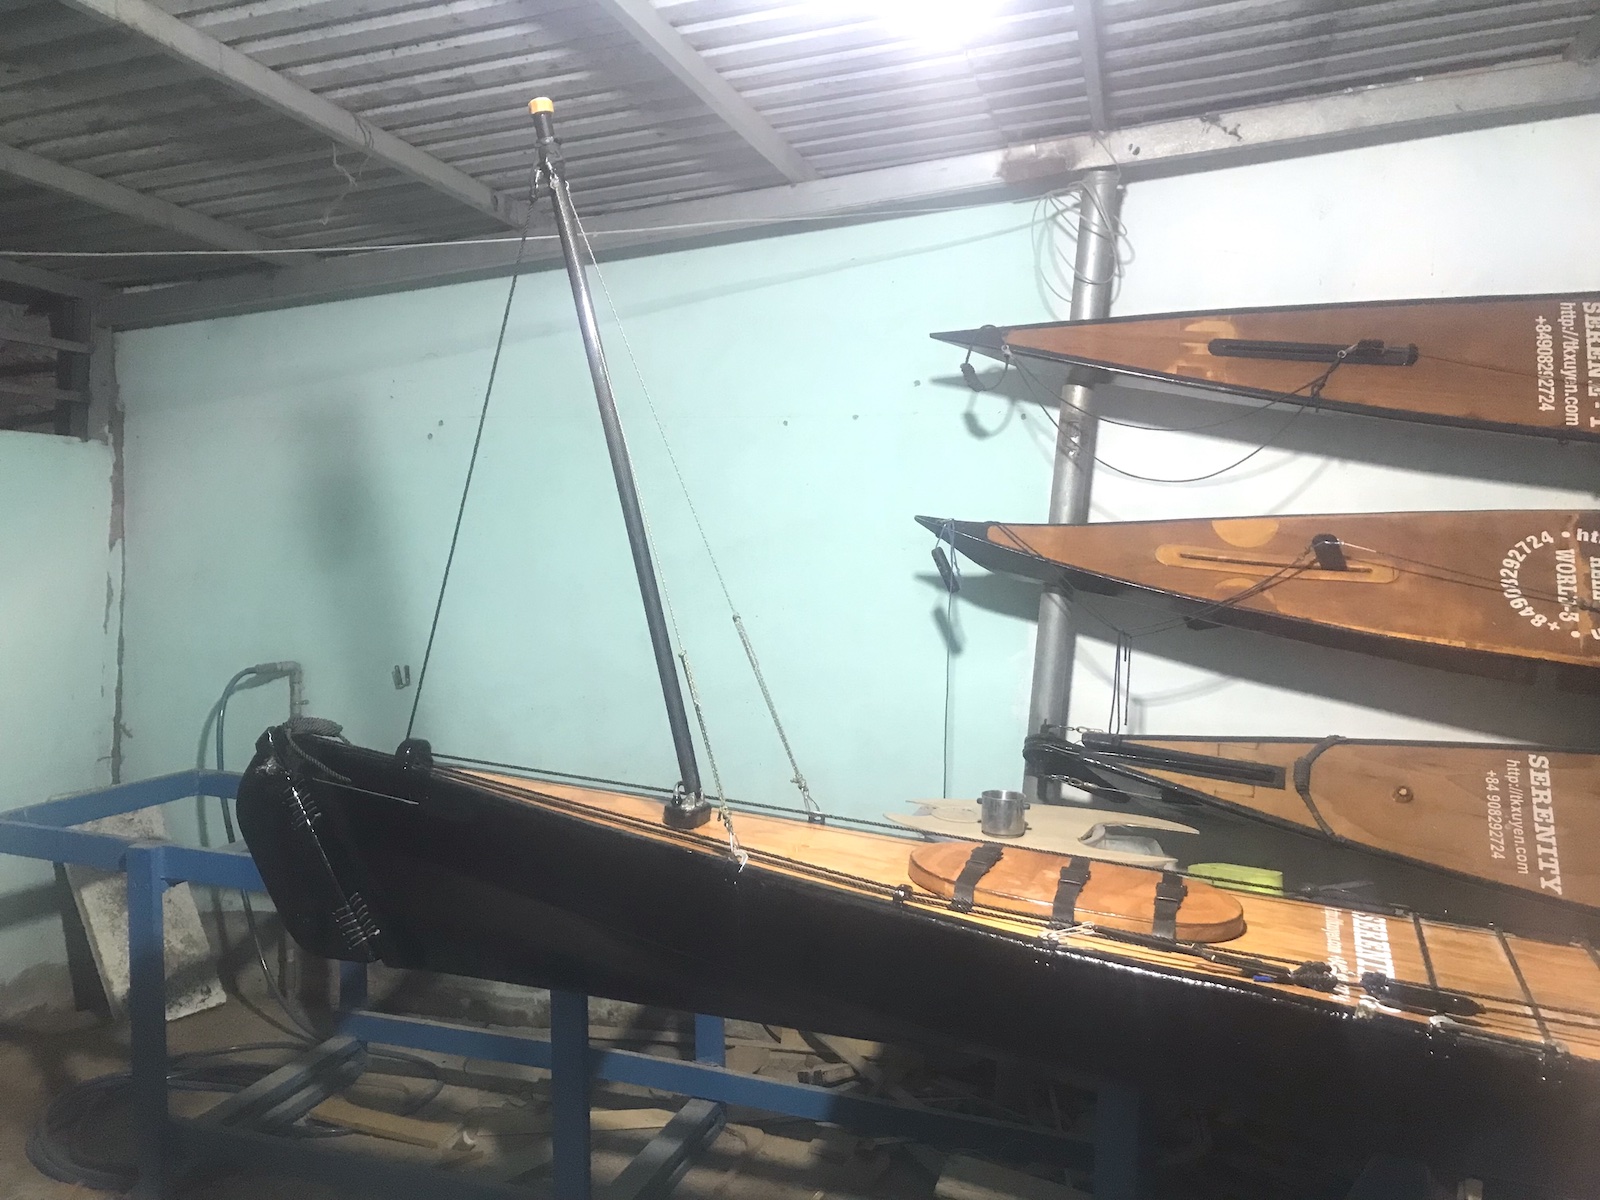
Facebook nhắc ngày này năm trước… chú bộ đội rất chi là cẩn thận, phòng xa, thấy mình chụp ảnh thì liền bắt xóa, sợ là chụp… “nội tình” trong khu “cơ mật” rồi thảy lên mạng bình luận linh tinh. Chưa hết, xóa trong Photos xong, chú còn vào iCloud Drive tìm xem có lưu bản nào khác không, rồi bắt xóa hết… Xóa rất kỹ càng 2, 3 bận, ấy thế mà ảnh thì vẫn nằm sờ sờ ở đây! 😃
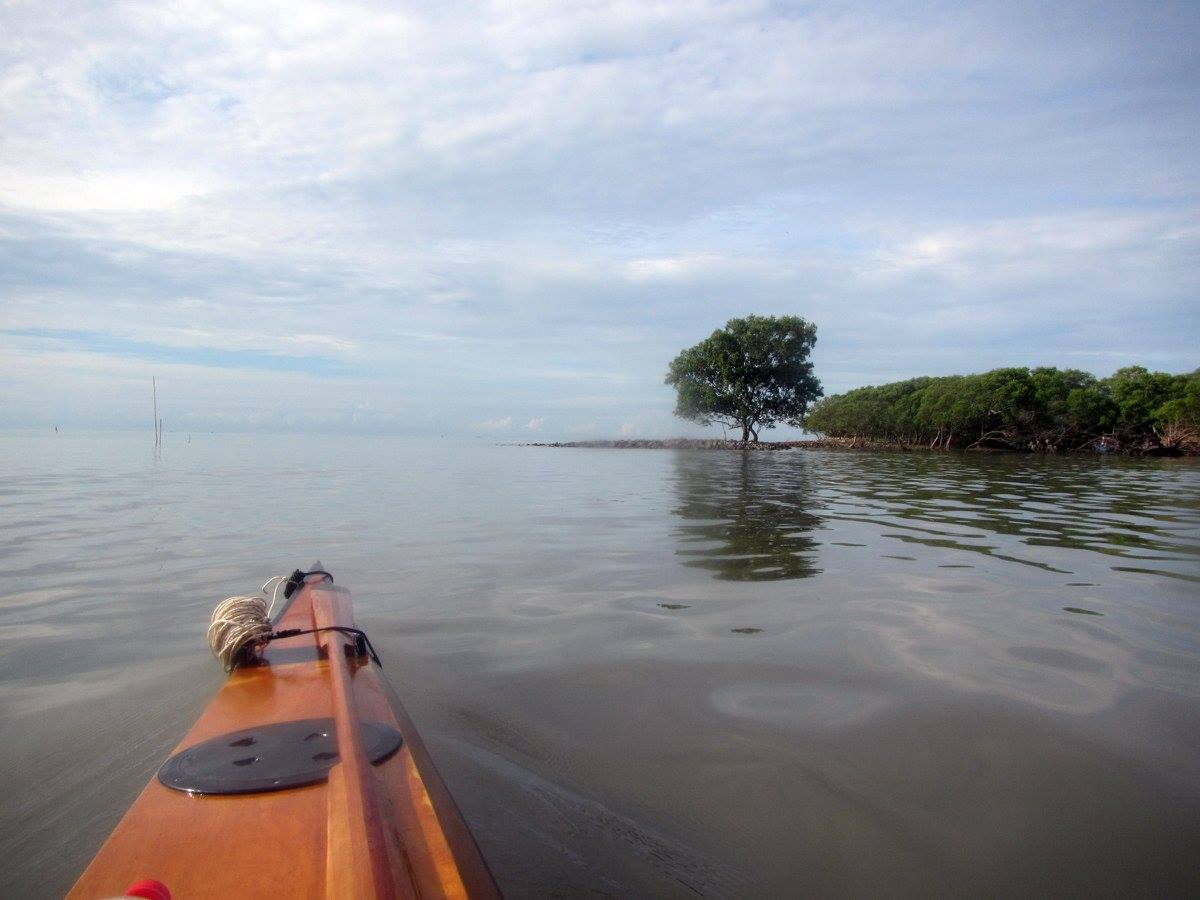
Một kỷ niệm vô cùng đáng nhớ… sẽ nhanh chóng vượt qua cái mùa nắng nóng với một đống công việc khổng lồ này để trở lại với sông nước! Dù có tập đủ loại hình thể dục, dù có chơi đủ các môn thể thao, thì tuyệt đối không có cái nào so được với cảm giác chèo chiếc xuồng con trên biển cả… Cái cảm giác “les chemins mouvants” ấy, con đường di động, con đường biến ảo ấy…
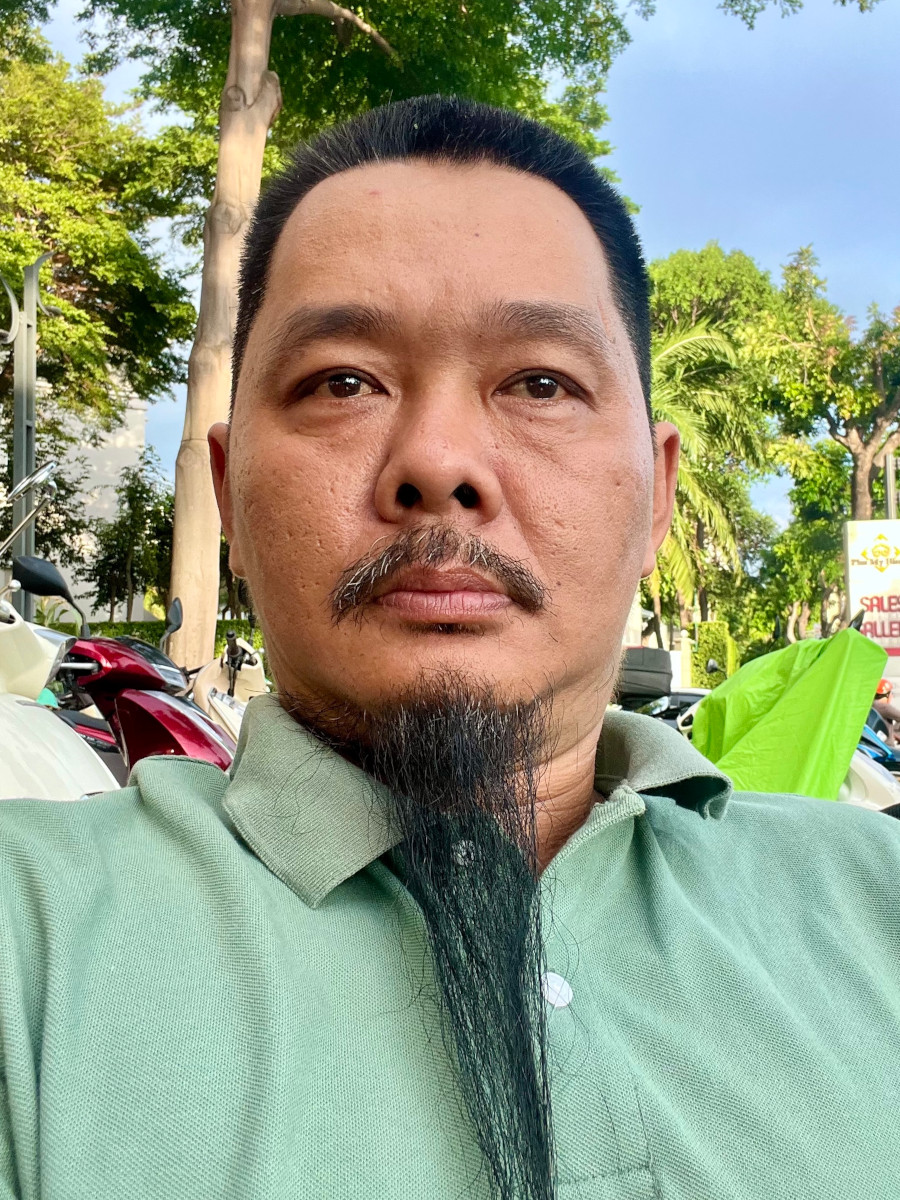
Đợt đó, vừa chèo về mới được mấy ngày thì dịch Covid – 21 bùng phát khắp nơi, tình hình tương đối nghiêm trọng, rồi ít lâu sau cả khu quanh nhà bị “giãn cách xã hội”, nhắc lại để nhớ một thời chưa phải là xa! Sau vài tháng, đến khi bỏ giãn cách thì từ chòm râu dê ngắn đã trở thành chòm râu dài như bây giờ, mình hay tự gọi là “chòm râu Covid” để nhớ về một thời như thế!