
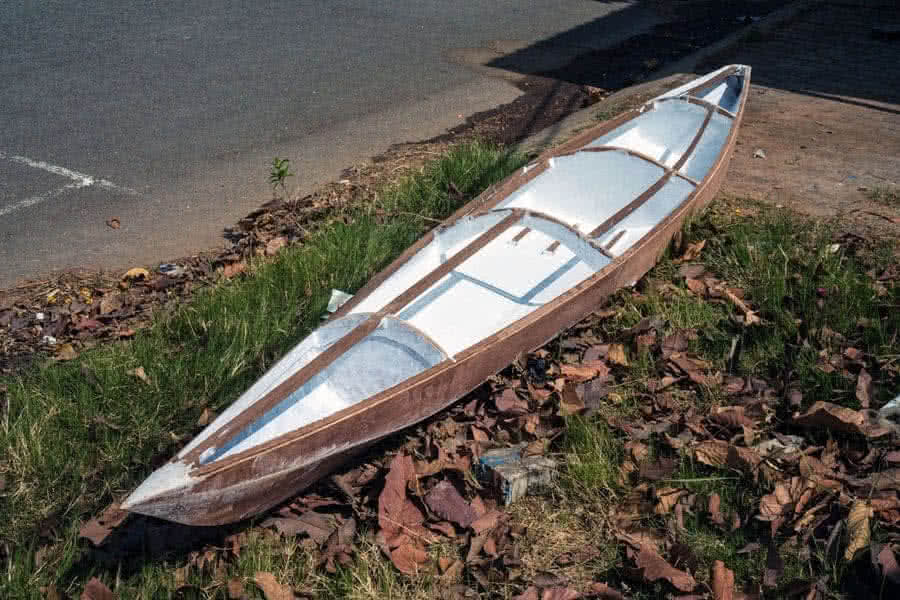
Six months have passed since I’d started Hello World – 1, my first build, a general purpose canoe. Now it’s time to let this planned Hello World – 2 to say Hello to the world. She gonna be a kayak (of Selway Fisher’s Dart 14′ design), which I hope to have better performance and somewhat better ‘open – water’ capabilities.
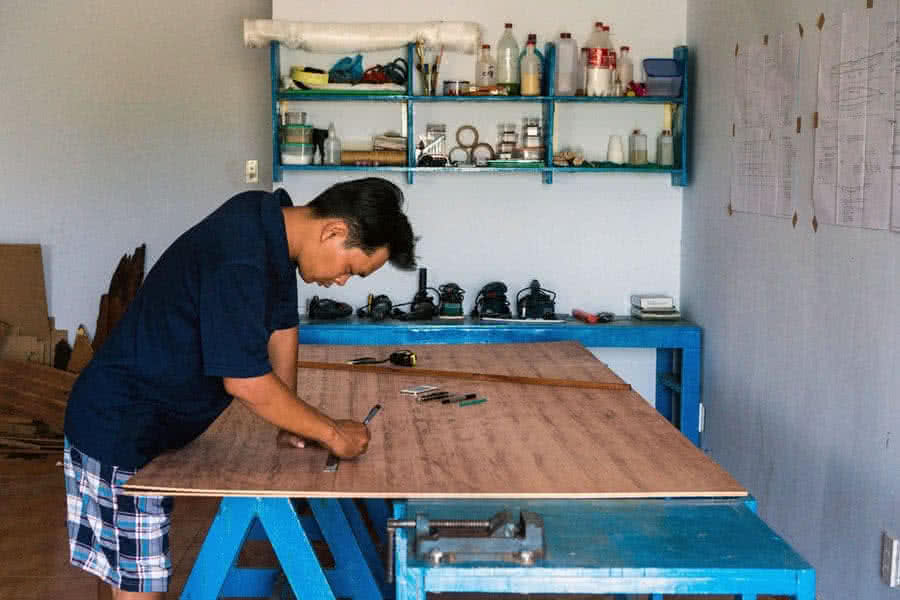
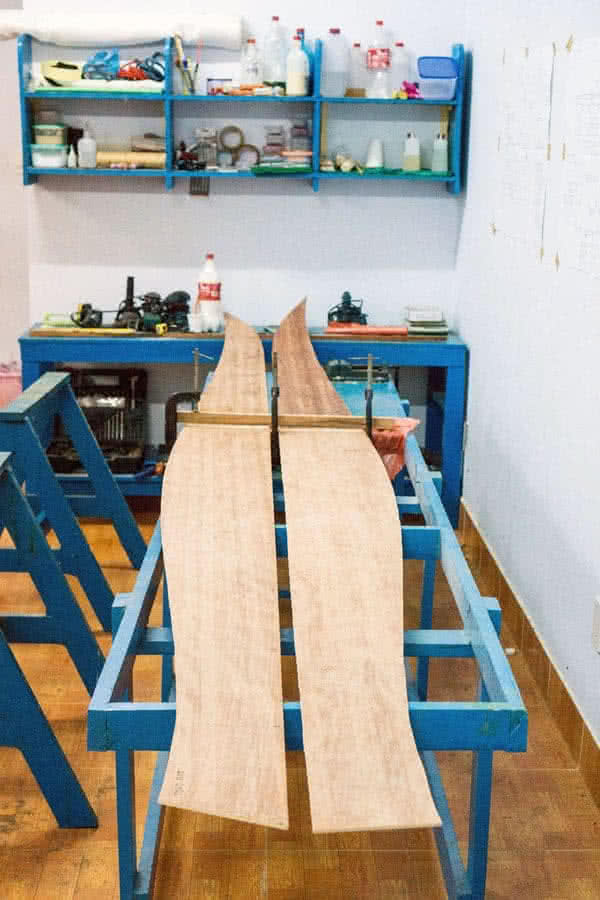
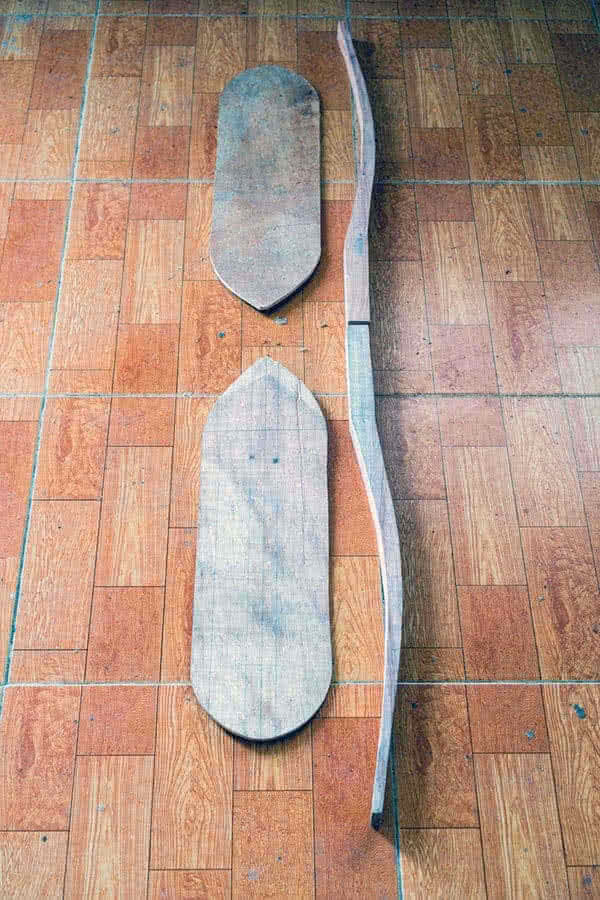
1. DRAW & CUT
Having gained much experiences from the building of Hello World – 1, I’m expecting Hello World – 2 to be finished in 2, 3 weeks or so. Apart from the canopy, the underpart of this kayak requires only 4 bilges (compare to 7 of the previous build), which would ease and speed up the progress. I did all drawing, cutting & joining in a single day.
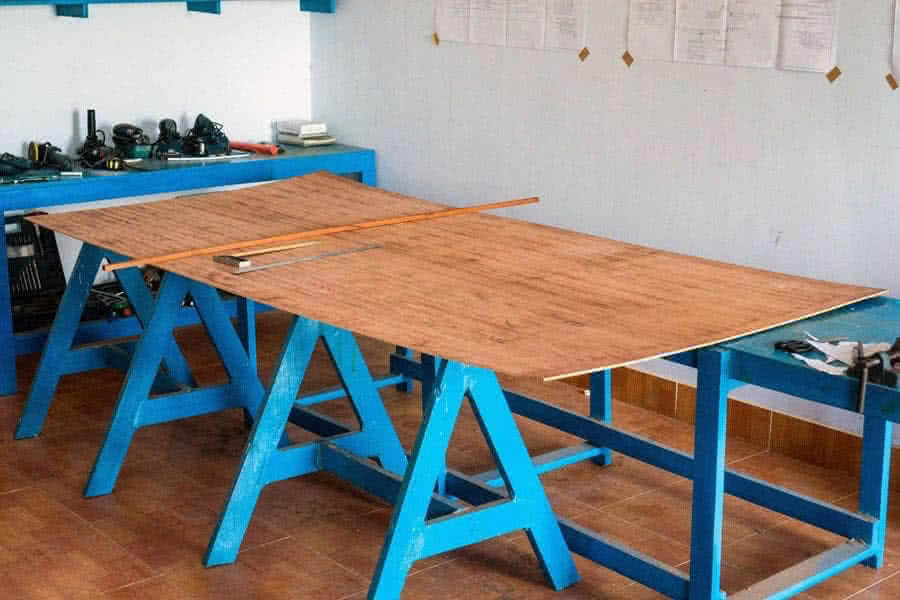
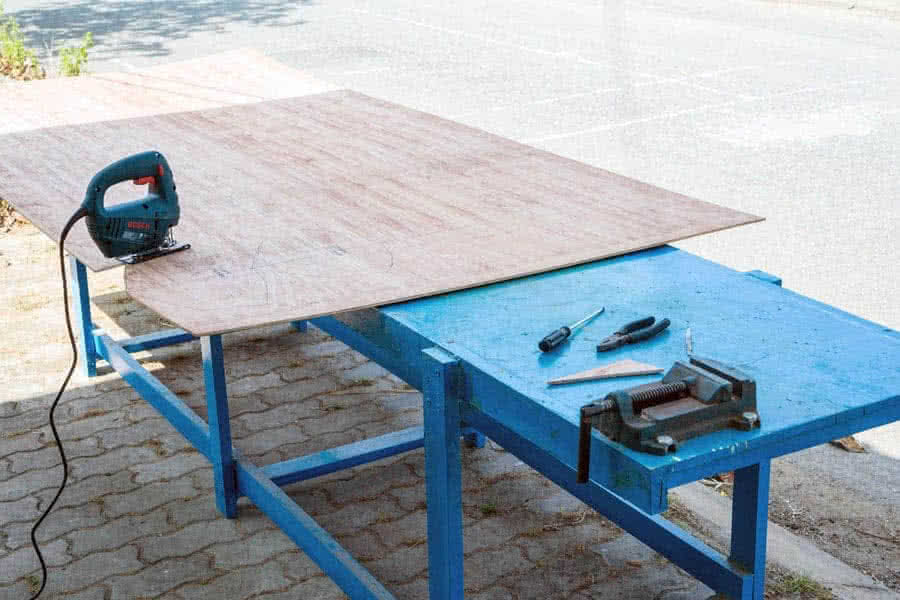
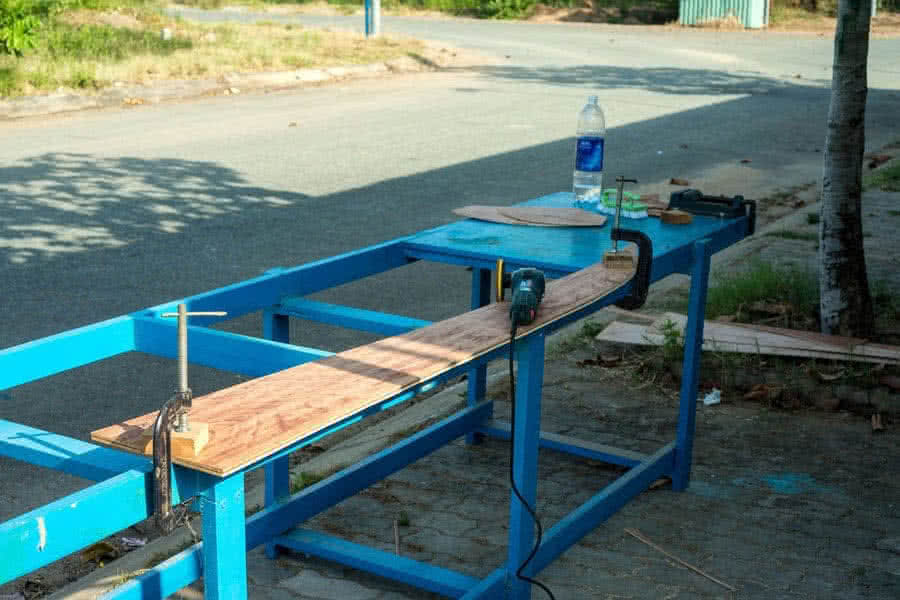
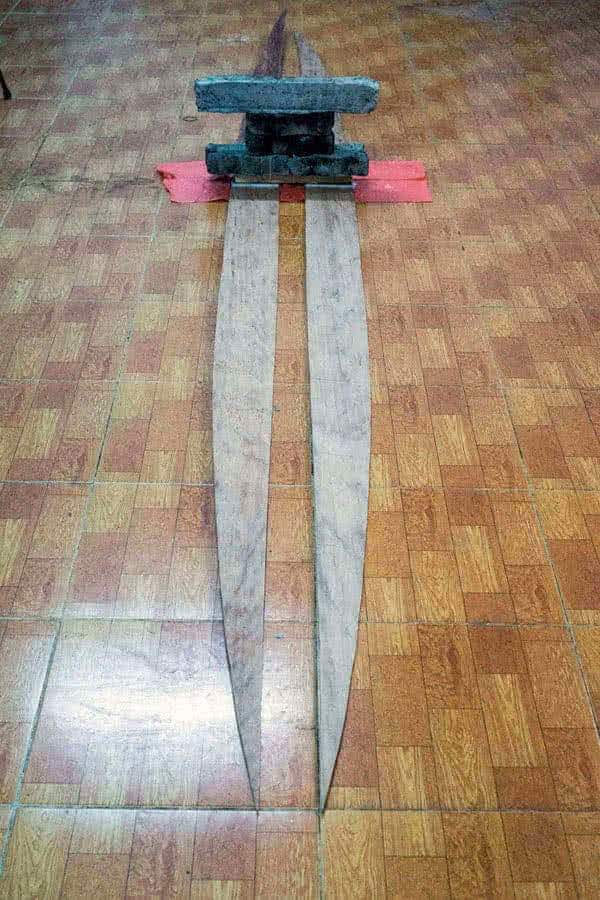
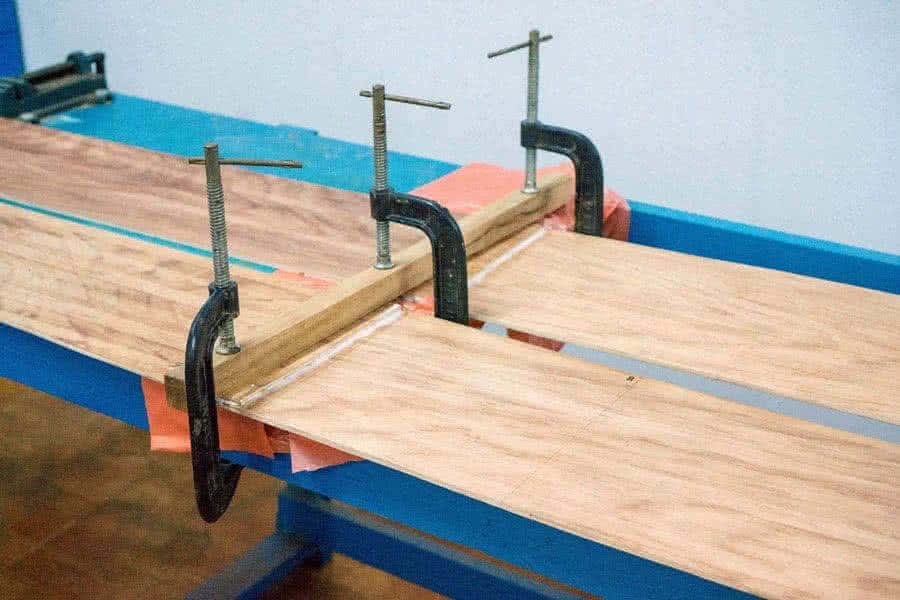
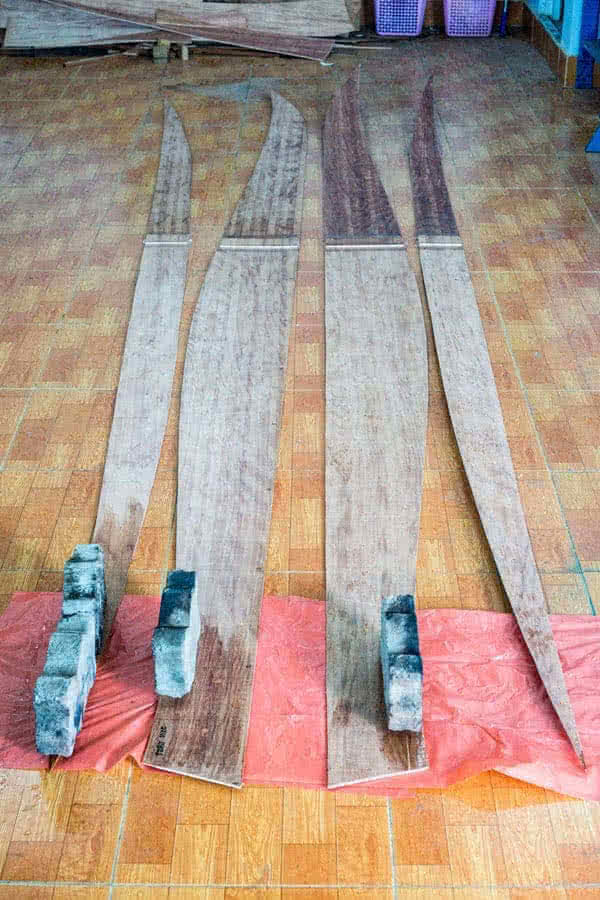
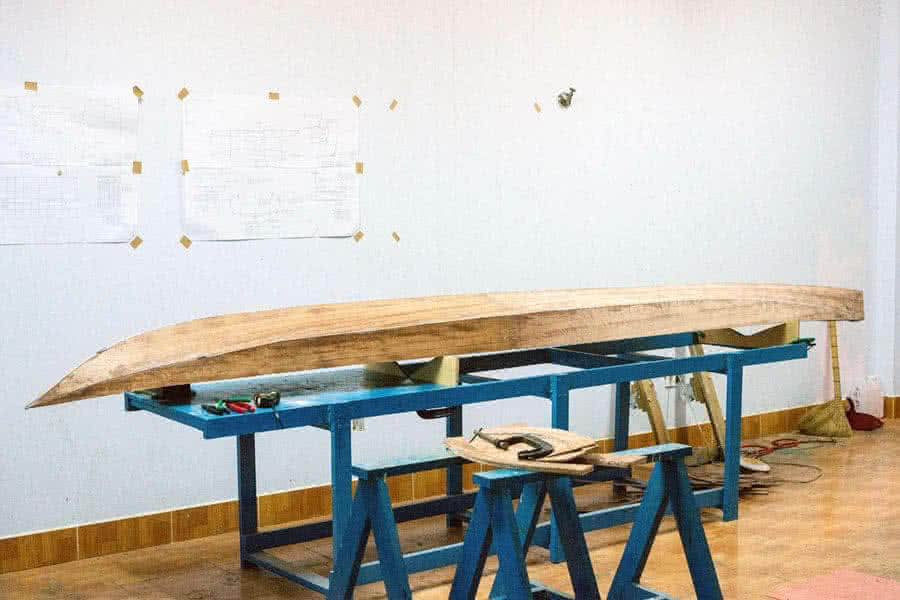
2. TRIM & JOIN
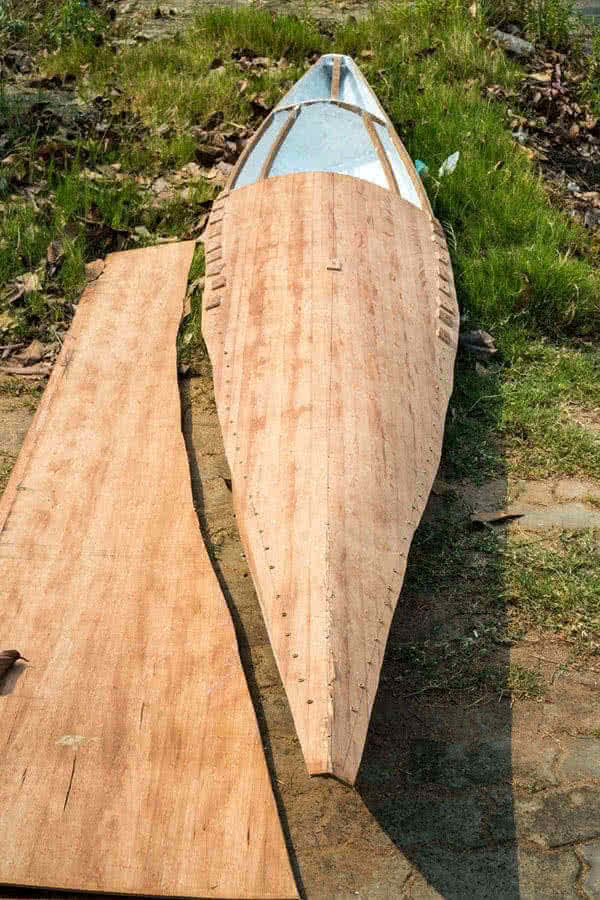
After cutting, pairs of bilges are clamped together (port & starboard) and trimmed to the same shape. Then simple butt joints with additional ribbons of plywood would do the job of joining to the full length of 14 feet (~ 4.2 m). All these joints would be hidden inside the hull under the canopy anyhow, so I don’t really care if they look good or not.
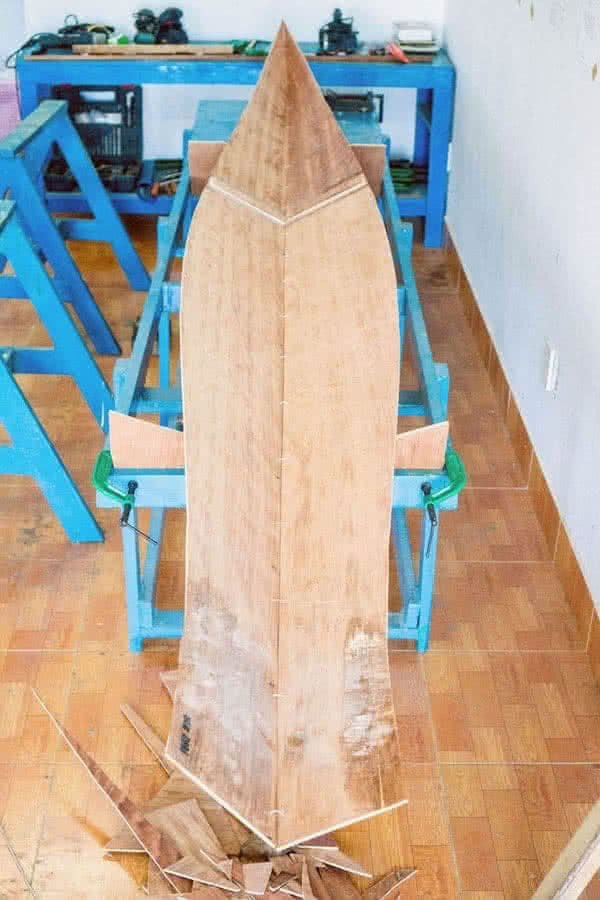
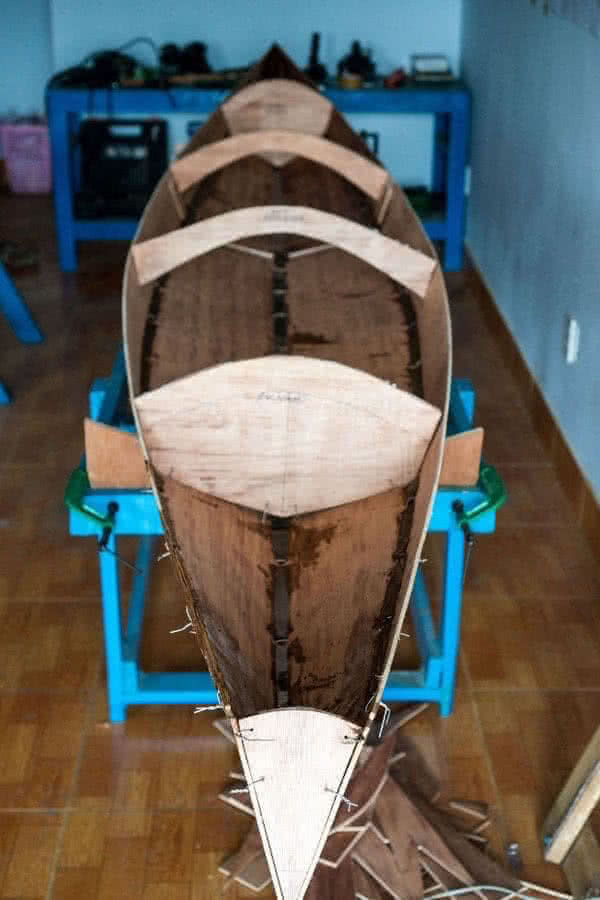
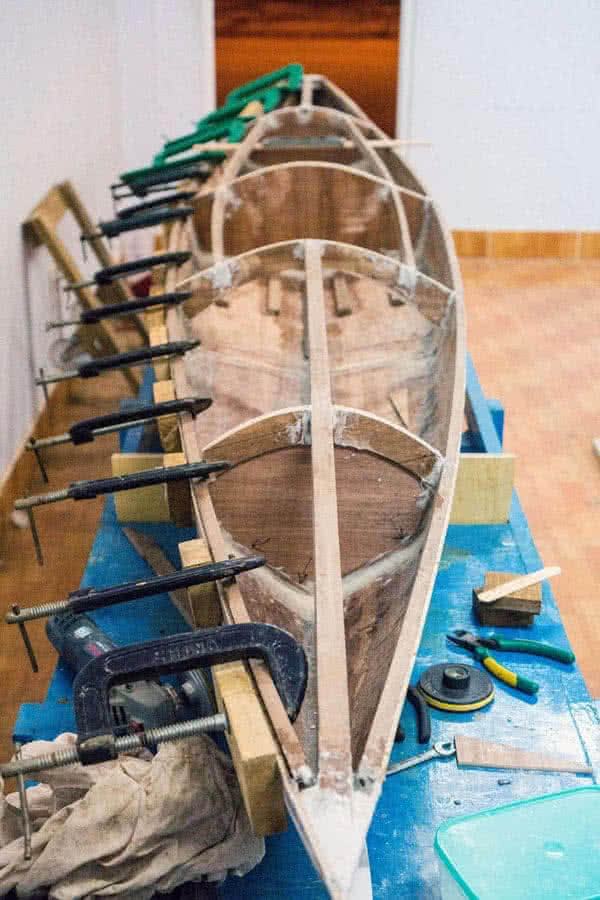
3. STITCH
Stitching does not take much time indeed, there’re only 4 bilges to put together. The hull is simpler, the plywood is easier to bend too. I guess more hard work would come with the canopy part, but for now, I’m really pleased to see the hull quickly take initial shape. Check geometries, fasten the wires, then come to the next step!

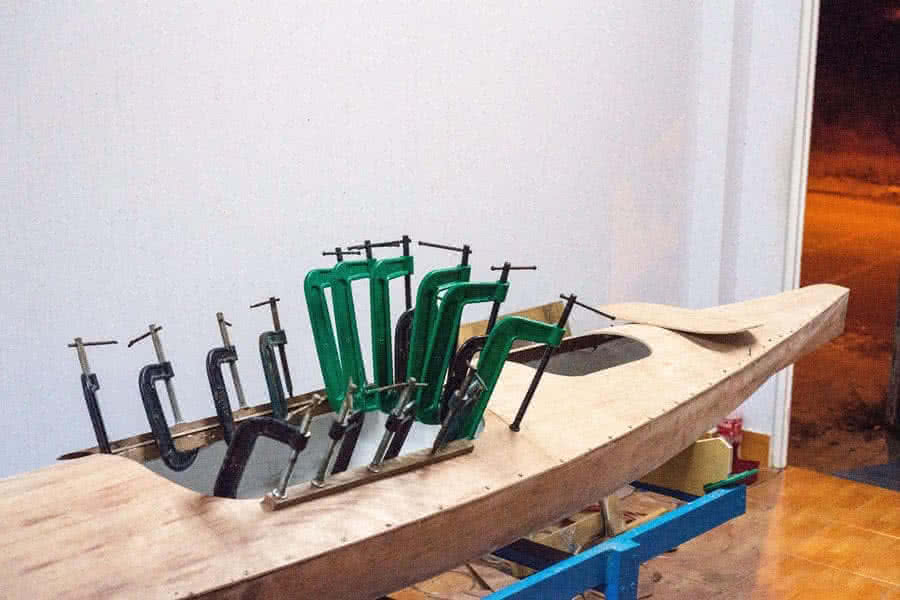
4. GLUE
More and more hands – on with epoxy and fillet. I think the suitable mixing ratio is somewhere between 1:3 and 1:5. That is (applied for), in Saigon, there’s no West System’s epoxy or such things, what I can find is kind of ‘raw chemicals’. Also, humidity greatly affects epoxy curing, avoid working when it rains. Absolutely keep acetone from the messing in!

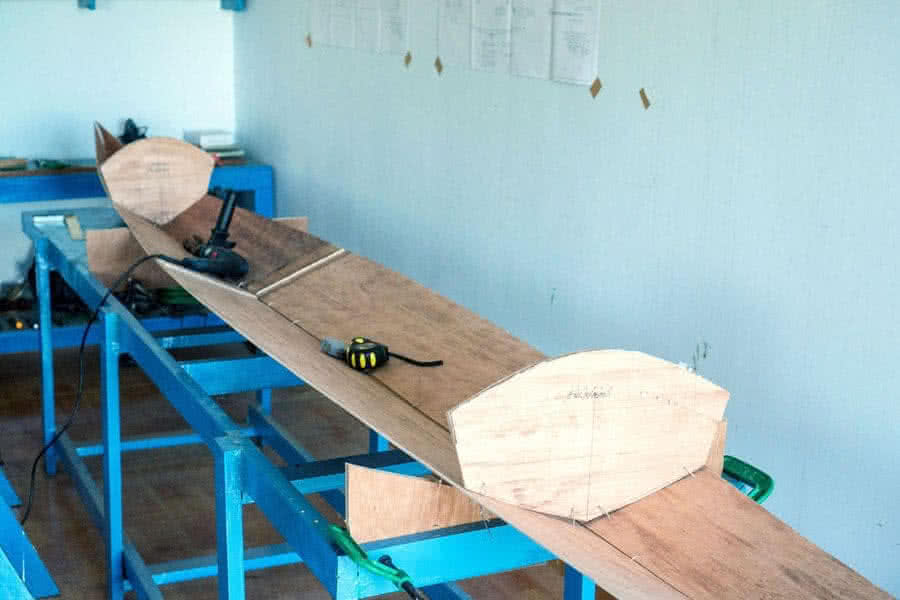
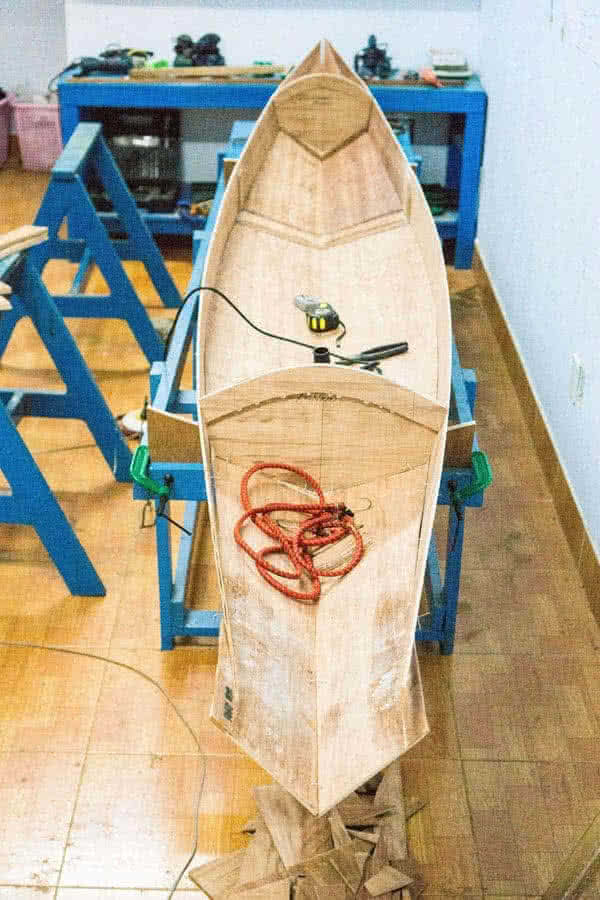
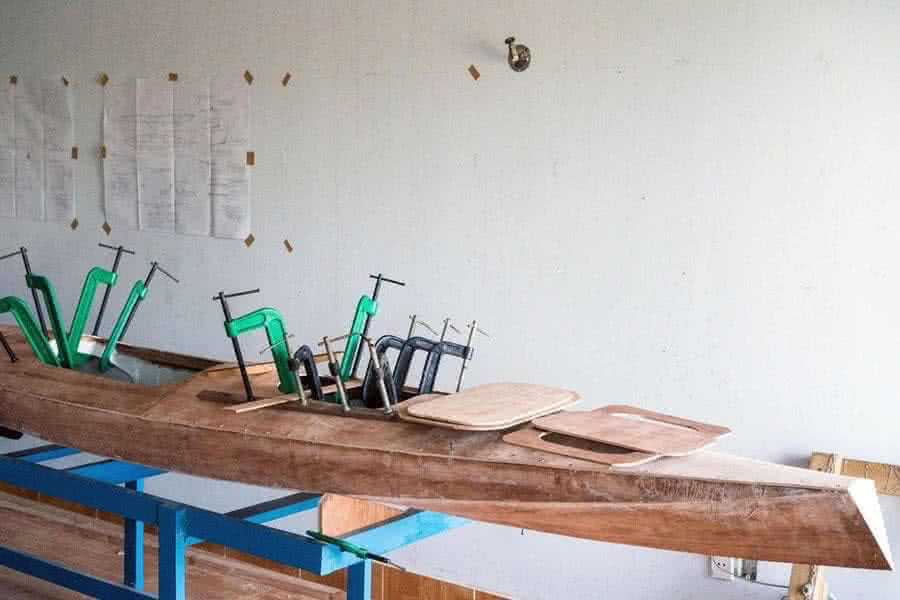
5. Bulkheads, deck’s beams, stringers & gunwales
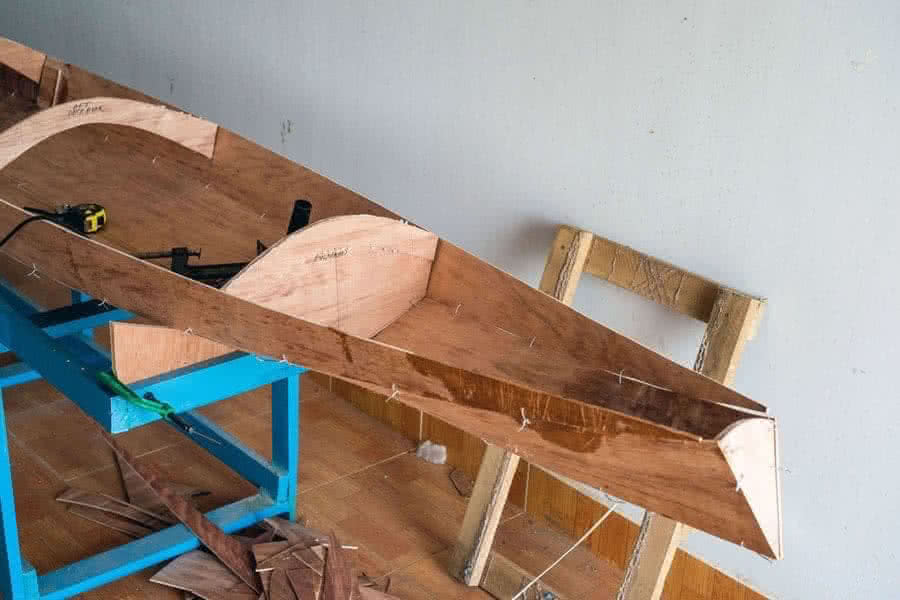
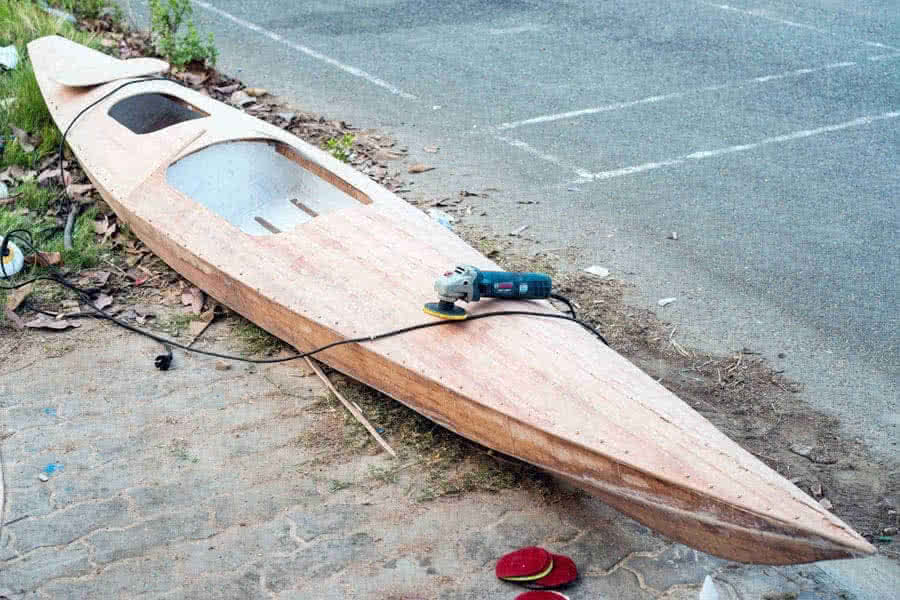
At this point, I decided to change the original design. The fore and aft sections are water – tight compartments serving as flotations, next to the aft section is the added storage compartment with hatch, to store gears for, e.g: a weekend trip, and cockpit in the middle. There’re so many small details to be cared of at this step…
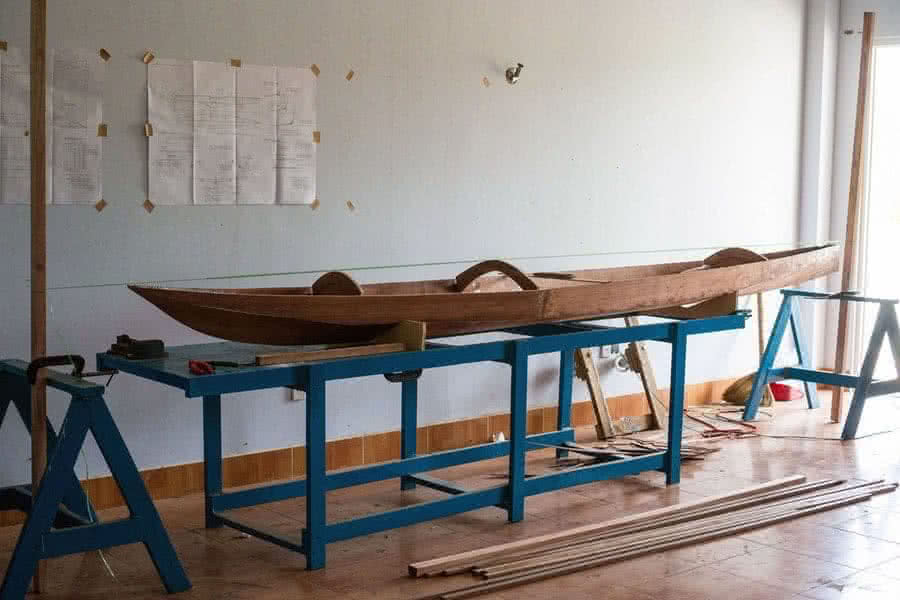


From the outlook, she gonna be a nice boat with simple and sporty curves! I proceed slowly and carefully, as I intend to use this boat for white – water (near coastal) areas, where it gonna be rougher and wavier, compared to the almost – calm rivers around Saigon. It need to be ‘engineered’ with a focus on durable & strength!
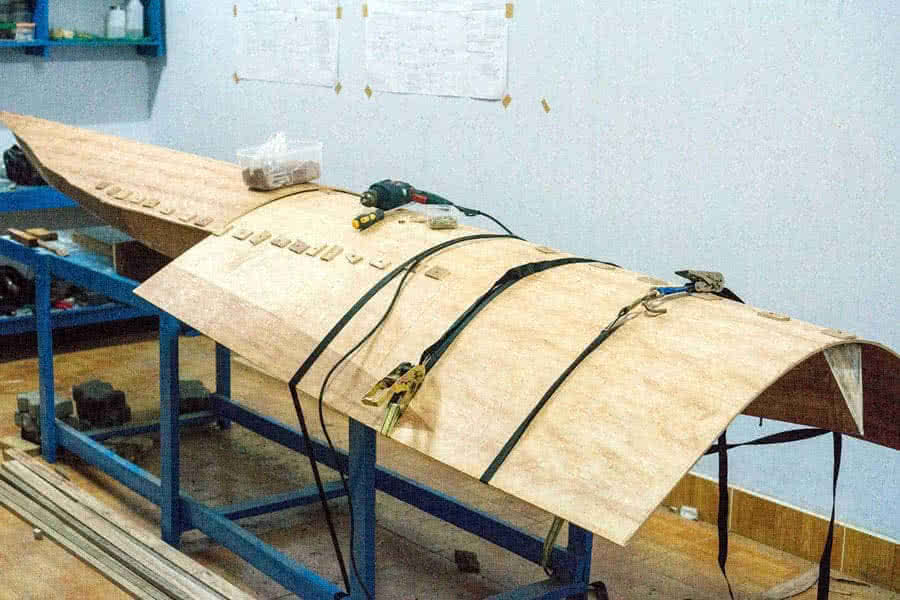
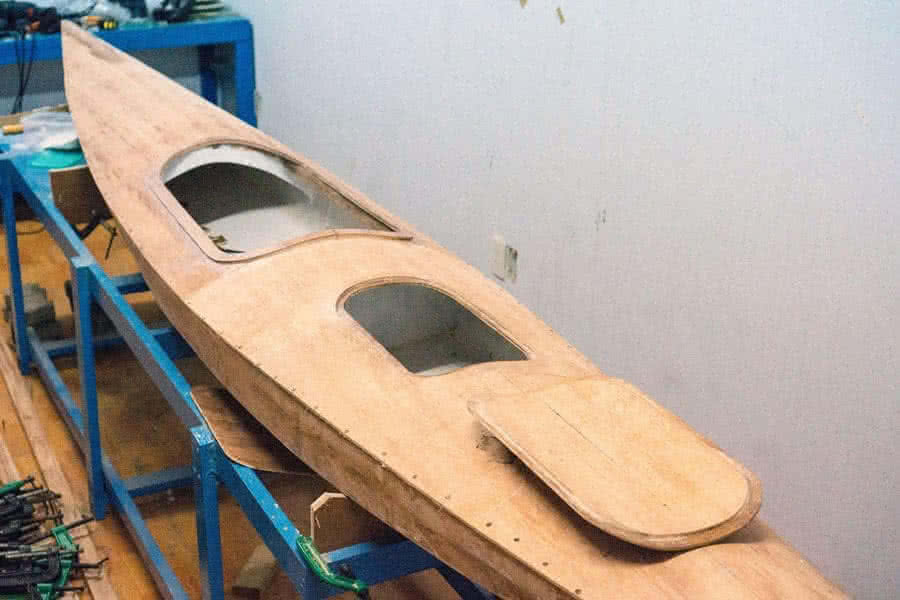
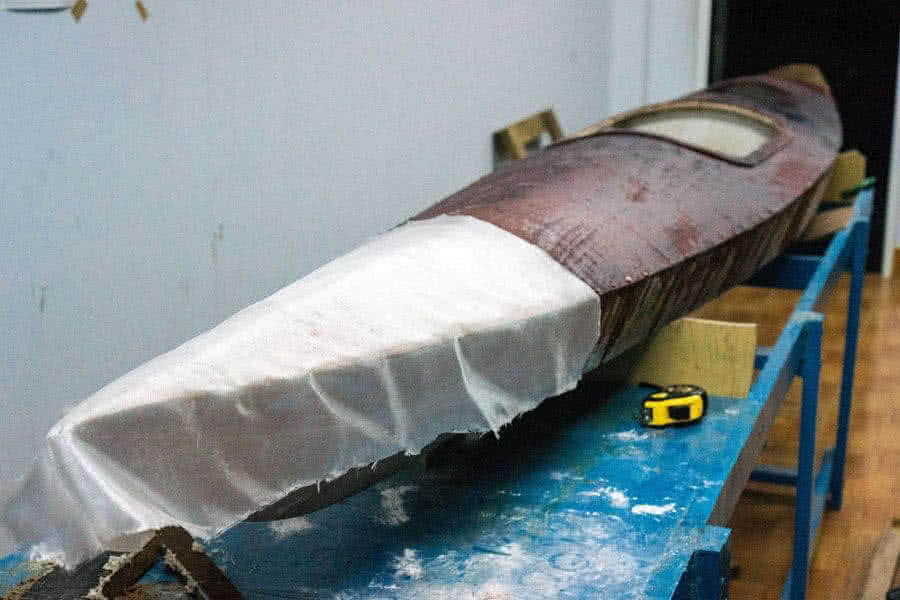
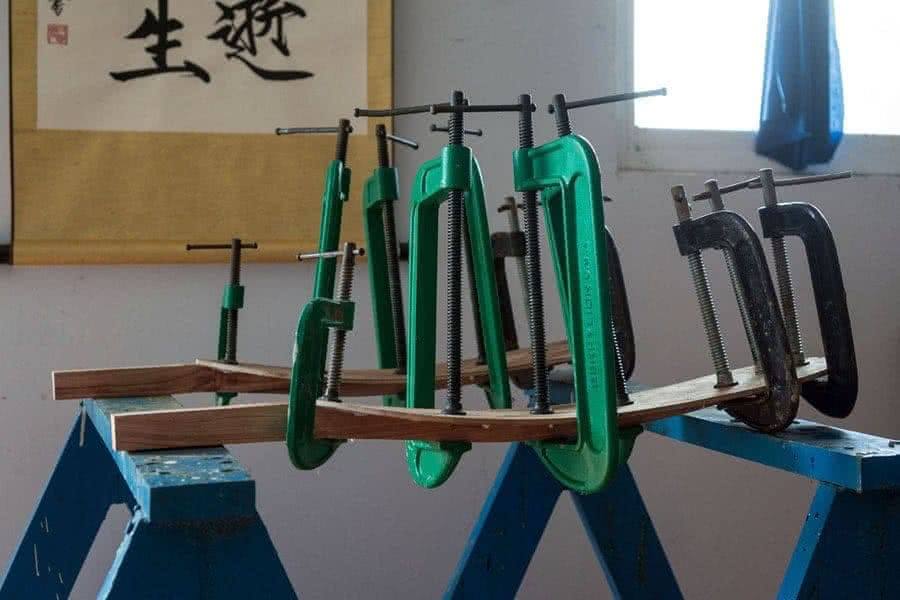
6. Canopy
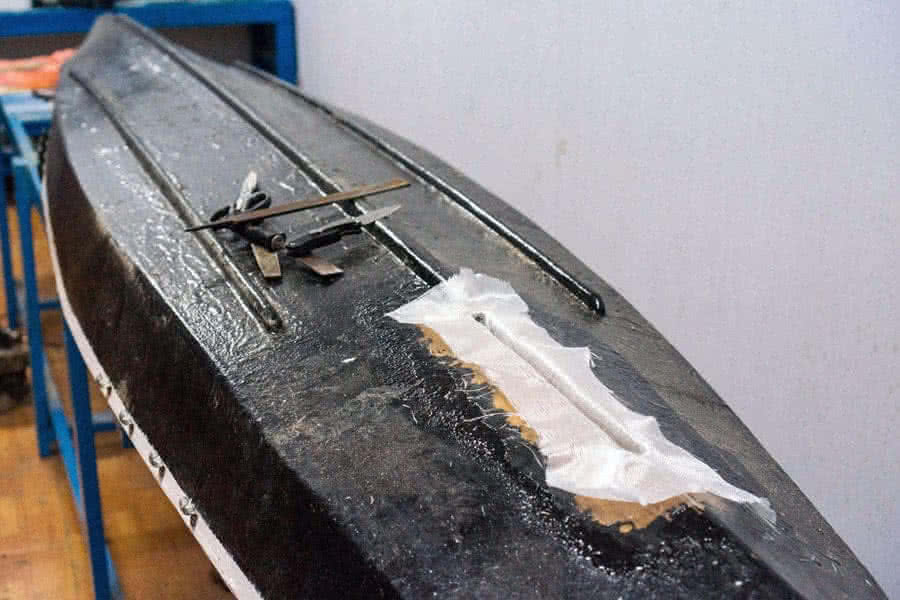
It is extremely hard to bend the 5mm plywood into the curvy shape of the canopy (I used 5mm for convenience cause I’d bought 8 sheets of them, I should have used 3mm instead). The ply cracks a bit at the bow section, forcing me to apply a layer of fiberglass to repair and reinforce. Also, I would need to change the painting plan to better conceal the faults!
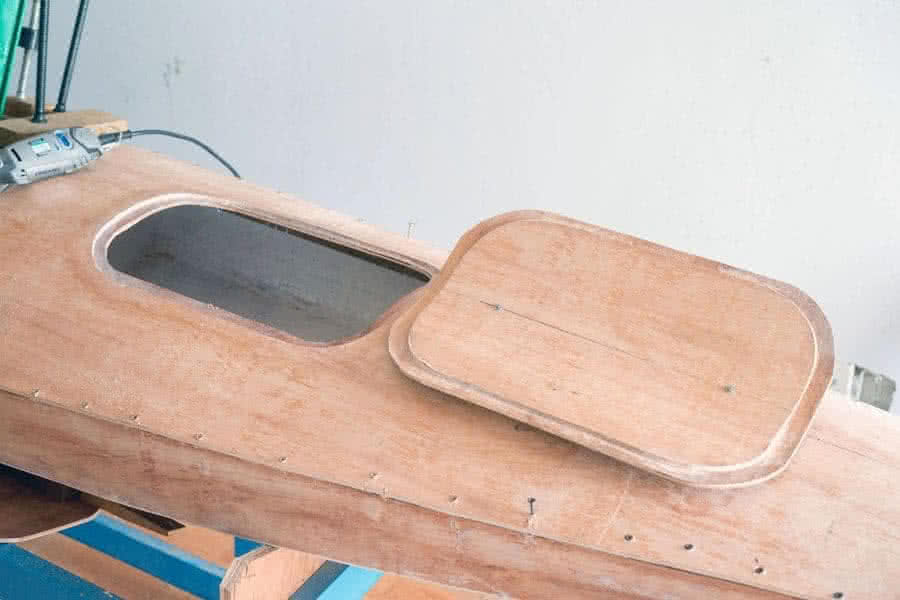
7. Coaming & hatch
Finished the canopy part, now the jobs of fixing the plywood cracks, fitting the cockpit coaming, the hatch and its locks, sealing the compartments to be water – tight, installing the seat… lots of miscellaneous jobs. Still some way to go, but I’m already very excited to see the desired watercraft taking shape!
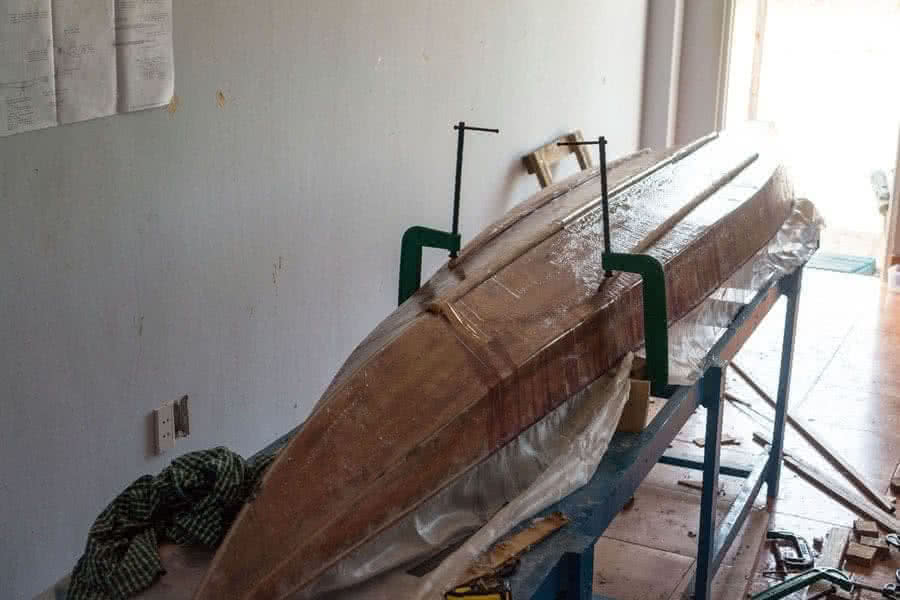
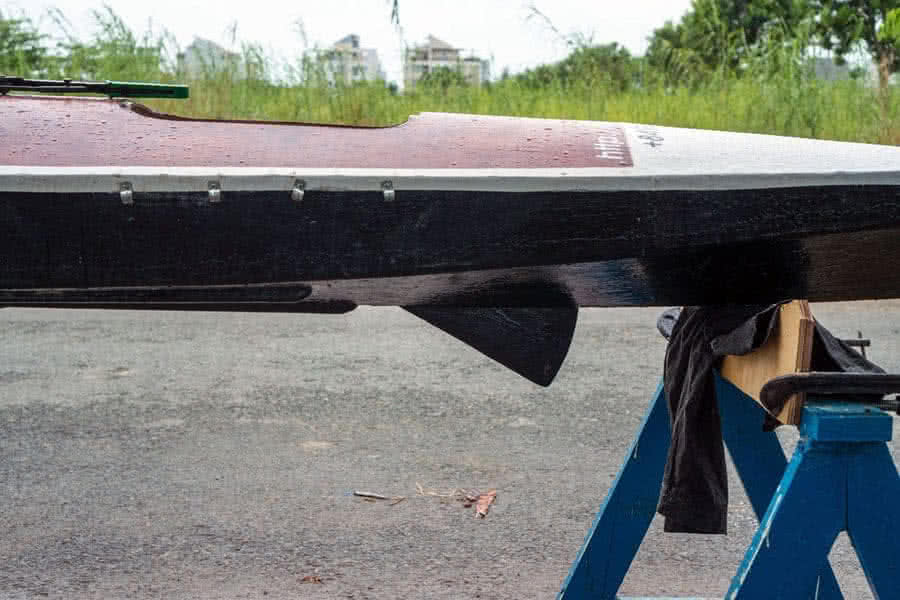
8. Glassing
I was considering over and over again about whether to glass the hull or not, cause glassing will add more weight into the boat, which is quite heavy already (estimated final weight at about 25 kg). Eventually decided to glass still (stiffness is important out there in rougher water), plus an additional layer of glass at the bow & aft sections.


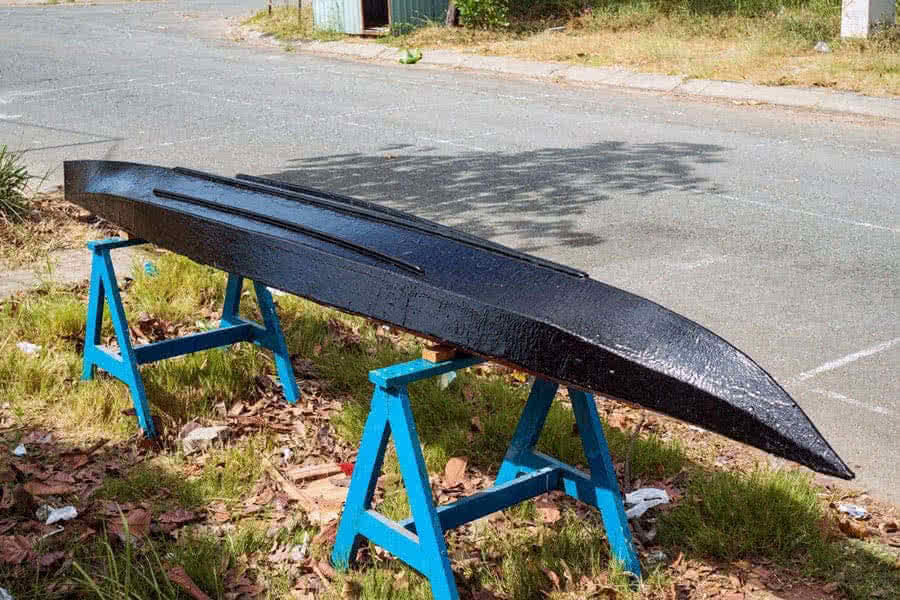
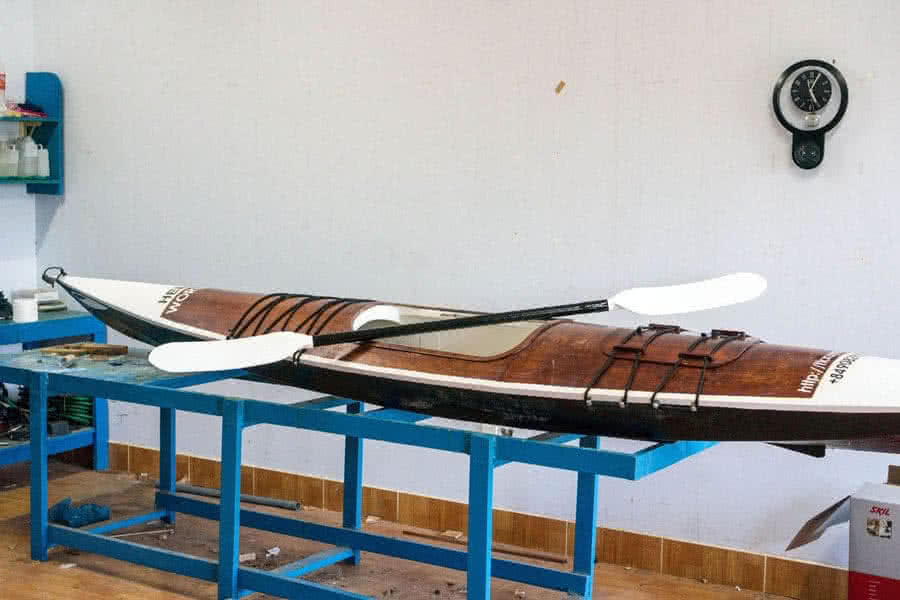
9. Painting
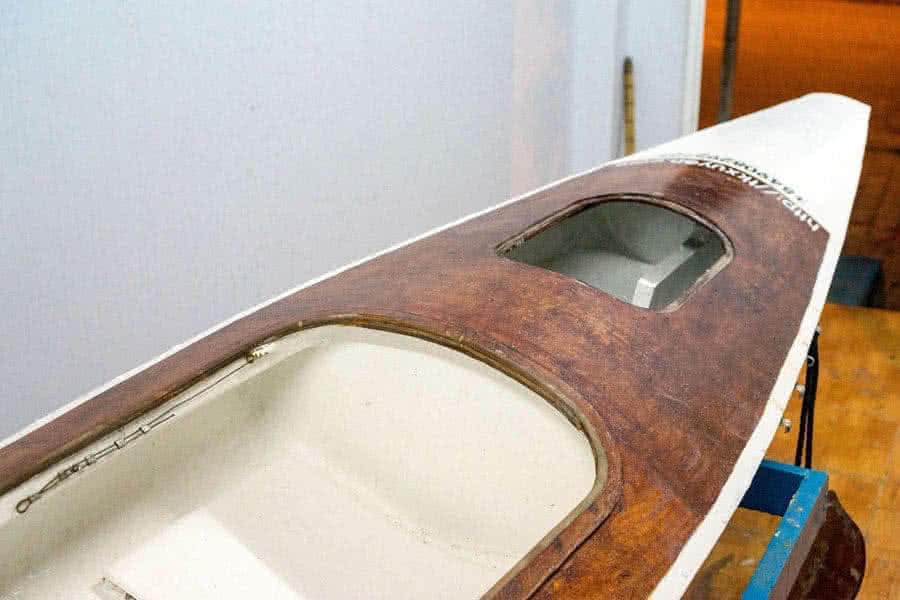
I chose quite an unusual color scheme which diverges from my favorite colors of blue & white, I just feel that this boat needs something bold and strong, so I go with black & white, plus the wooden color of the canopy. The result is quite satisfying, at least to my eyes, now I know why this model’s code name is: Dart!


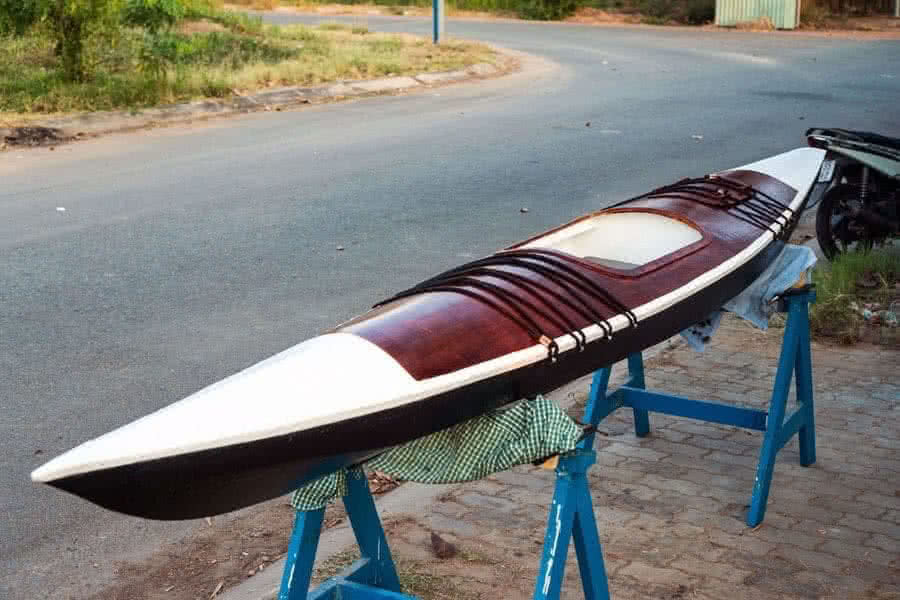
10. Finishing
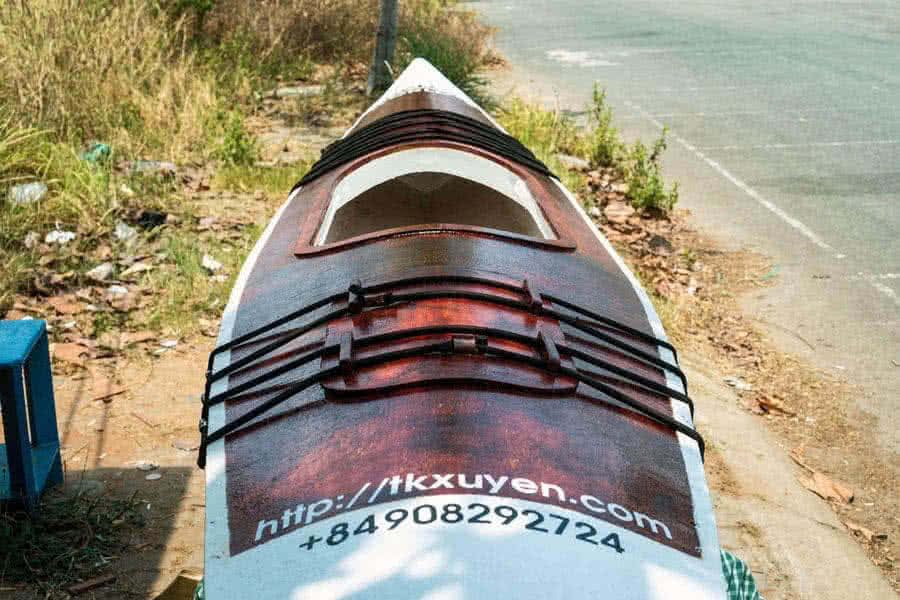
It takes some more time to finish this boat: the seat mattress, deck lashing lines, hatch’s lock, and some decorations: boat name and contact information, and boat’s eyes of course. Some more accessories need to be built for this boat, but that would be after then, can’t wait until launching and trialling this beautiful kayak!


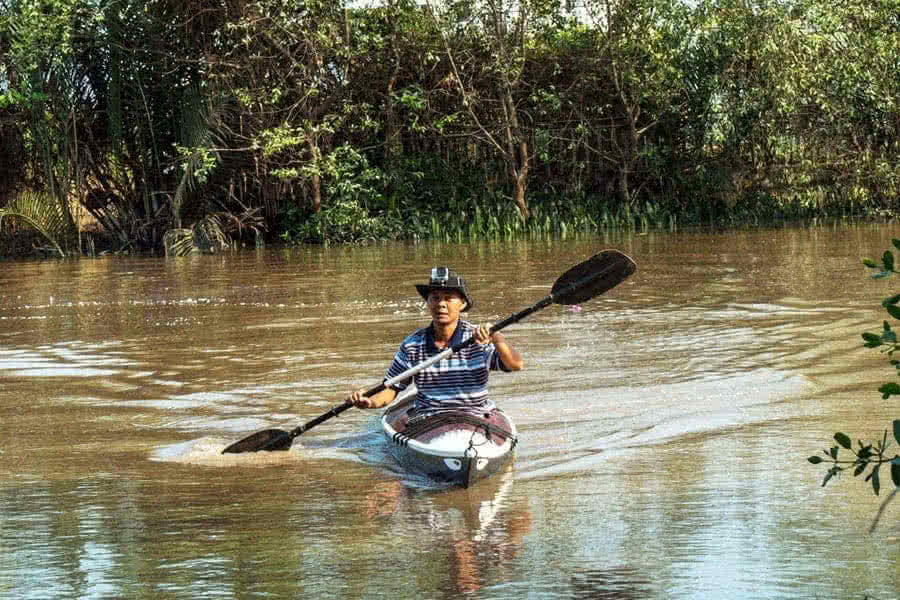
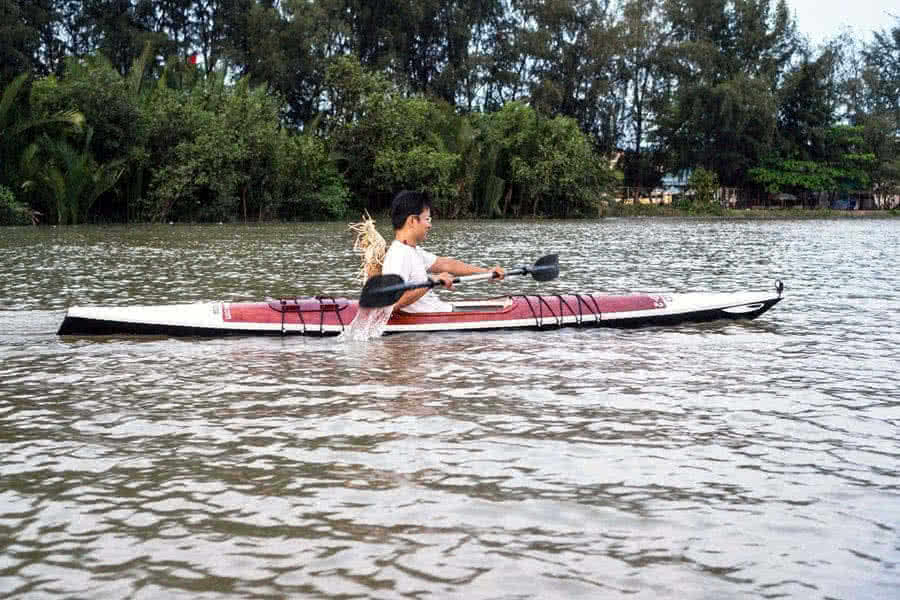
Launched and trialled the kayak this April fool day! Can’t say how much I’m pleased with it, great speed, just like a dart slicing through water! It could take some practice to keep the boat straight, as it’s much easier to turn compared to Hello World – 1, but I got the right feeling on how to handle it immediately.
11. Trials
The boat gave me a good firm sense that it can be used for longer voyage. The 2.2 m paddle is too long for this kayak, I would need to make a new 2.0 m one, but that would be later. I need to try it out thoroughly before deciding what to do to turn it into… an “expeditionary” boat for my up – coming journeys!
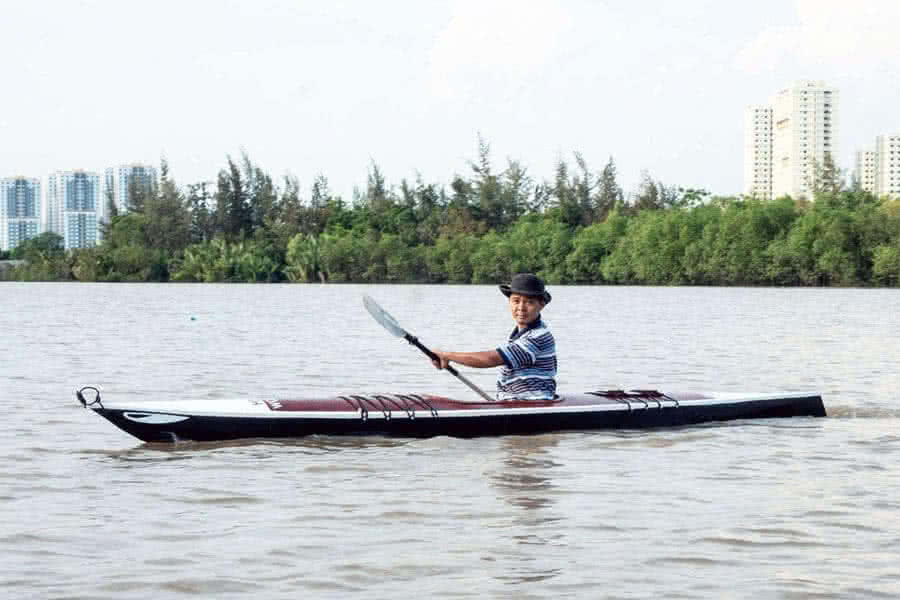
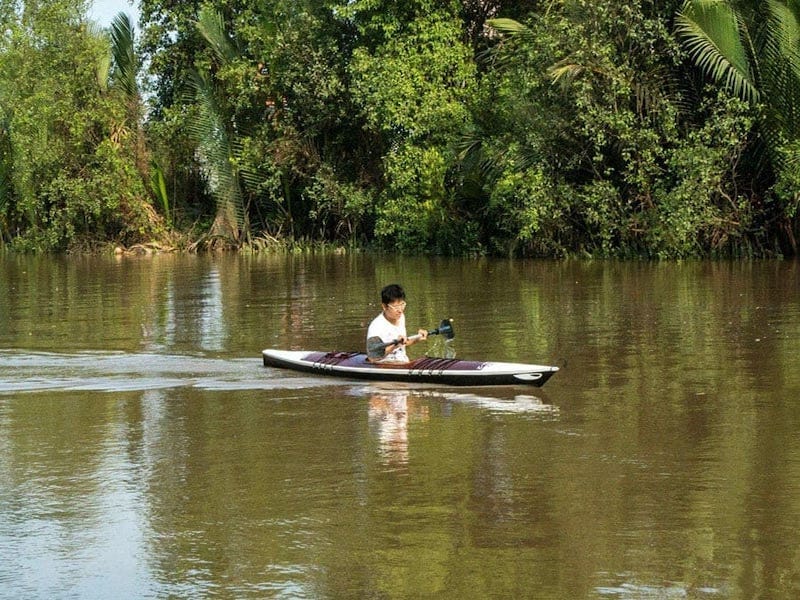
Made some longer paddling and realized the boat’s tendency not to track very straight under turbulent flow or wind (in calm conditions, it tracks well), this is tiresome for long voyage. This could be fixed when the kayak is fully loaded, with weight shifts toward the aft, but I decided anyhow to add a retractable skeg to the boat in the coming weeks!
Saigon river this season, there’s always more than enough wind and wave to let Hello World – 2 going dancing, drifting and surfing. My 20km routine paddling path, passing by Phú Xuân bridge, Nhà Bè fuel reservoirs, Bình Khánh ferry, Hải Minh shipyard… lots of nice boats of all kinds and sizes on the waterway!
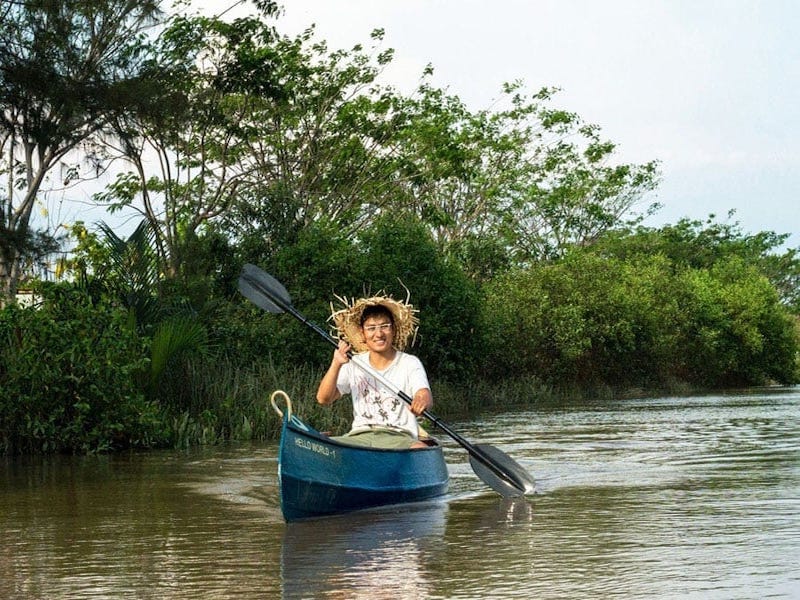
Now “operating two boats”, I could have more ways to play and have fun with them. Usually, me and one of my friend, each of us would go on a separate canoe / kayak, then exchange them at the midpoint of a paddling trip. It’s extremely hot out there this season, 35° ~ 39° Celsius, but that’s good for our endurence anyhow.
12. Hello World – 1 vs. Hello World – 2
The handling experiences are different from boat to boat, and obviously, Hello World – 2 is lighter and has much better speed compare to Hello World – 1. It can easily give a handicap of more then 1/3 of the way. But despite of that, it’s good to learn how to handle both boats, in various conditions and situations on water.

Below is a video capturing both 2 boats’ actions on water, each as looked from the other. While Hello World – 2 was taking a gentle promenade, Hello World – 1 had to struggle hard to keep up. Jump to 1’36” on the video timeline to see how the kayak made a fast, short impressive sprint to approximately 7 ~ 8 knots!
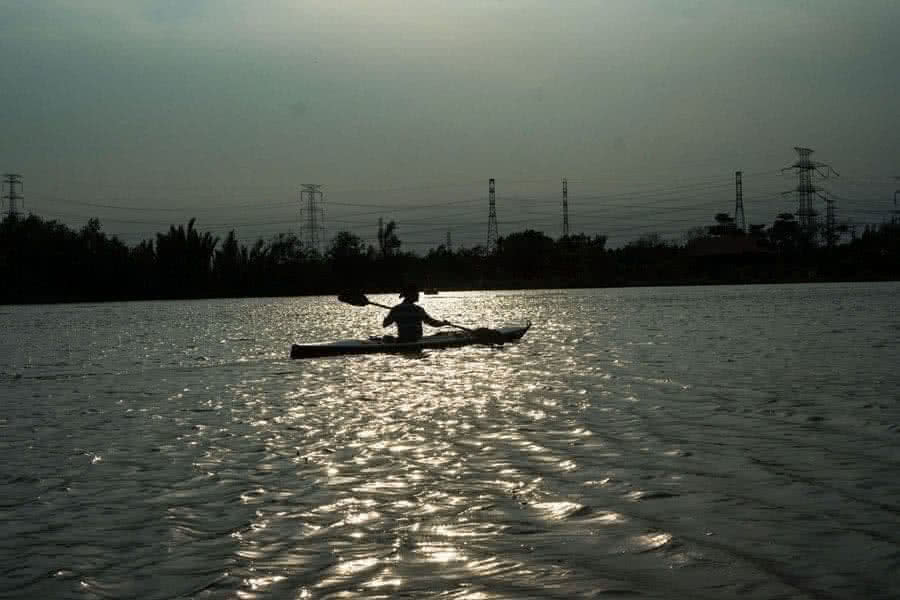
Day after day, I gradually… felt in love with my new kayak. Although quite sturdily and heavily built (~ 32 kg), it behaves very well on water. The longer and thiner hull offers much better speed (compared to Hello World – 1), but the most important thing is that the hull shape provides and maintains sufficient “kinetic energy” for the boat to make sustainable headway into unfavorable winds and waves!


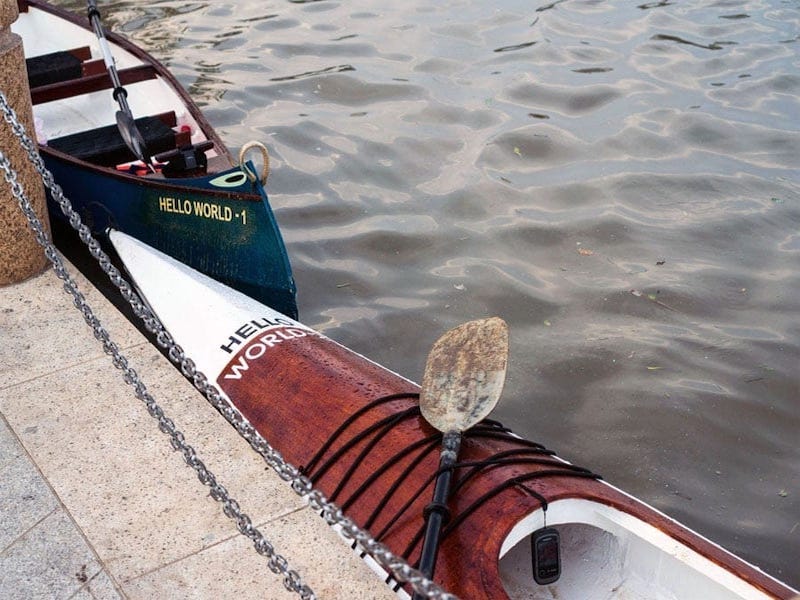
The added retractable skeg works perfectly! Within the storage compartment lies the skeg box, which houses a 30 cm skeg blade that can be controlled (lowered or raised) via a steel wire which runs into the cockpit on the right of my seat. With winds coming from astern, the skeg is lowered to reduce the boat’s drifting and yawing, or when waves are large, the skeg helps reducing rolling motion.
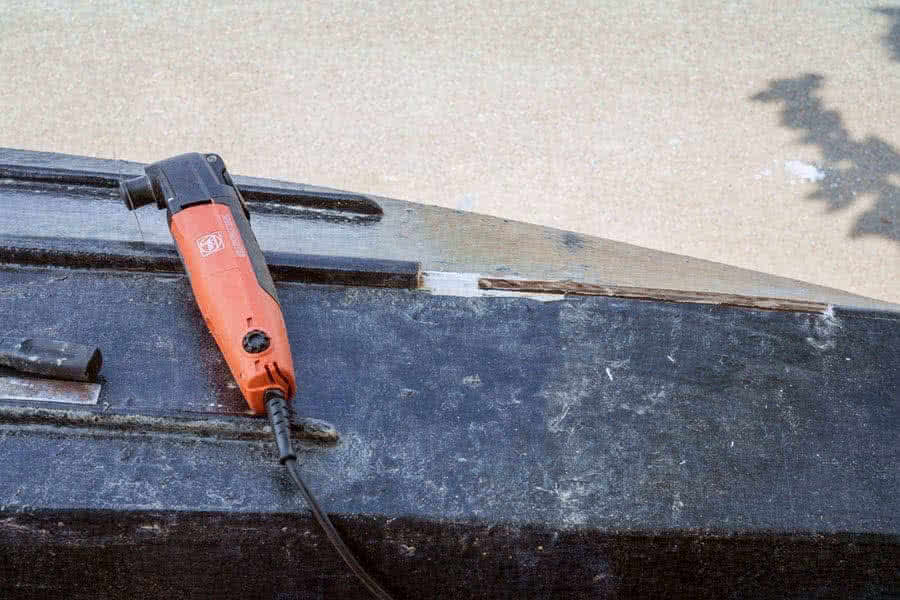
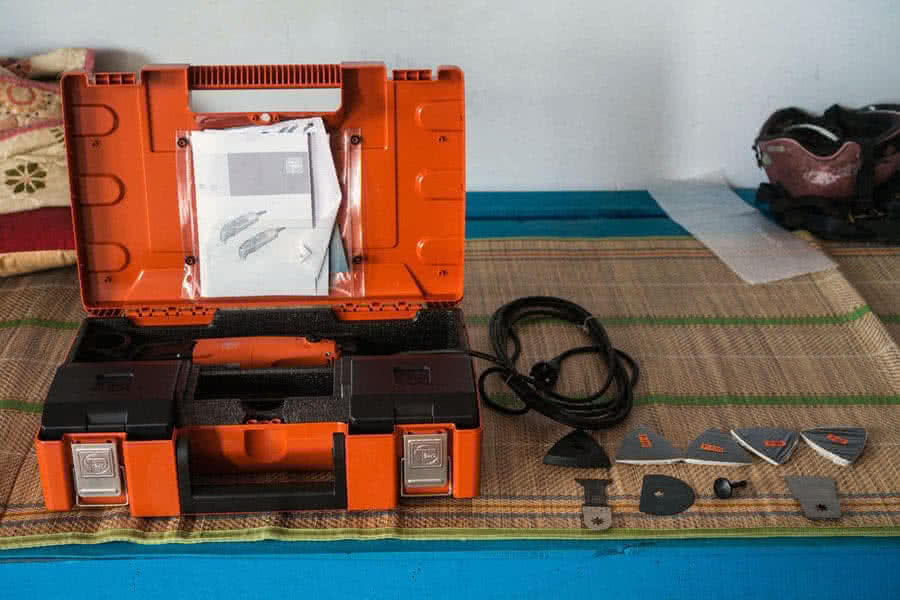
I now have the excellent Fein Multimaster oscillating tool into my woodworking collection. Watch a demo video here to see what the wonderful Multimaster can do. There’re some other accessories needed for this Hello World – 2: a paddle, a hand pump… For the paddle, it’s the first time I experiment with carbon fiber fabric, it seems to be very solid, but I need to learn more to get the most out of this special material!

The hand pump is quite simple indeed, it takes just a couple of hours to get it done. Two check valves (one way valves), some PVC parts, and a toilet pump (available at most super market). The pump is a crucial accessory for my kayak, as now it’s turned into rainy season, and as I’m paddling into rougher and rougher water. There’re some more accessories to be made and tested, before… the voyage begin!
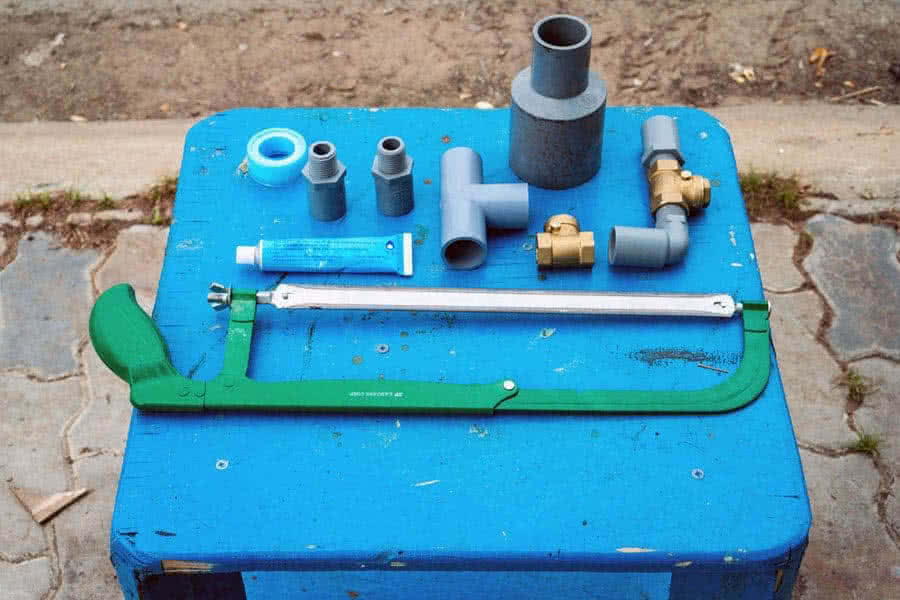
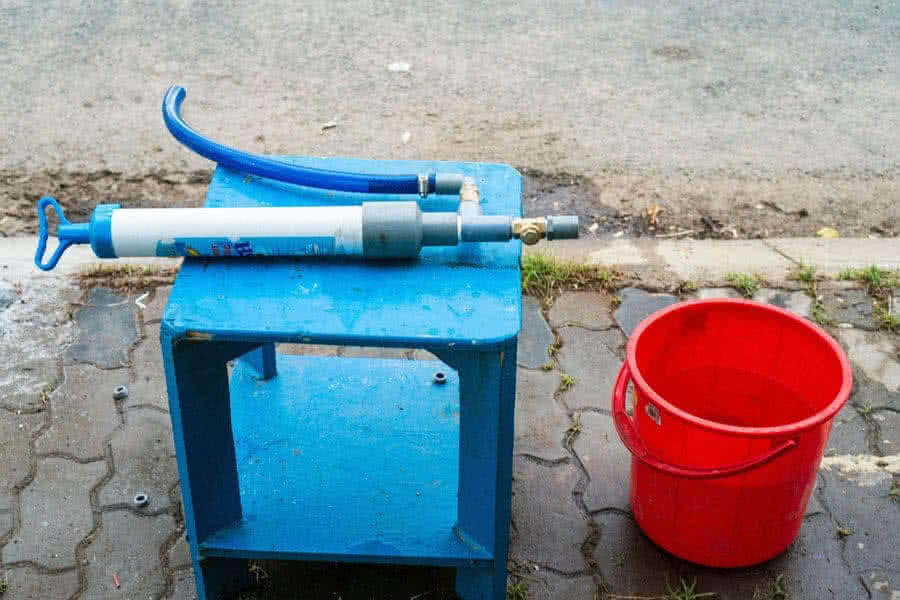

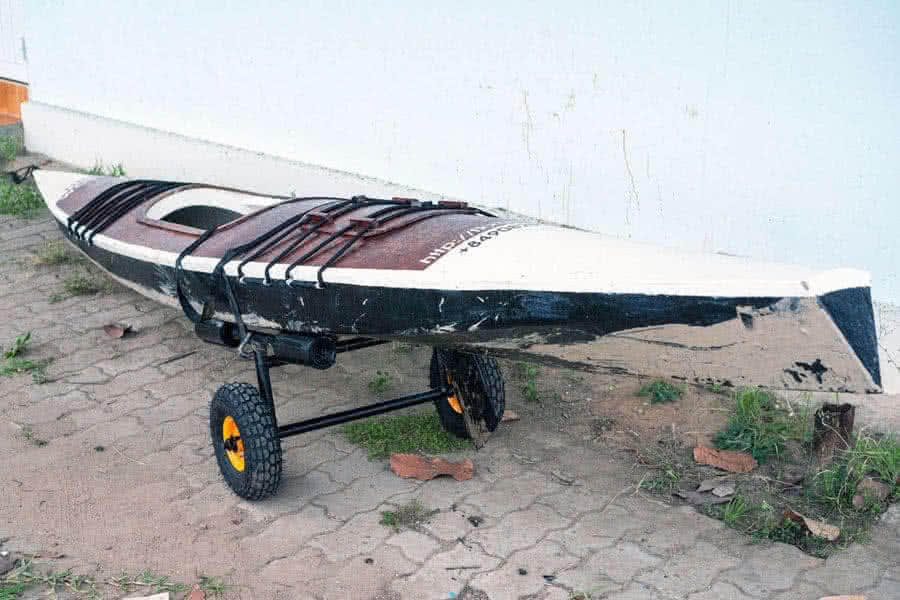
PHOTO ALBUMS
For more details, see a complete photo building log in the three albums below:


