It takes really long to finish this build, some more failures, also I wanted to slow down and do it right! The hull glass is lightly sanded, then applied 2 layers of gelcoat. Another lesson learnt: gelcoat need to be thick, too thin and it won’t cure properly (think about it like a kind of chain – reaction, need to reach some “critical mass”)! The gelcoat layer applied to the rudder failed miserably, I had to scrap it out, applying a new, thicker layer. Luckily, all went well for the hull, before proceeding to the deck! This is the first time I use the MinWax wood stain, it’s a type of light oil mixed with color pigment, the color scheme is called: Golden Pelican, I really love this color: bright, vivant, and not too intense!
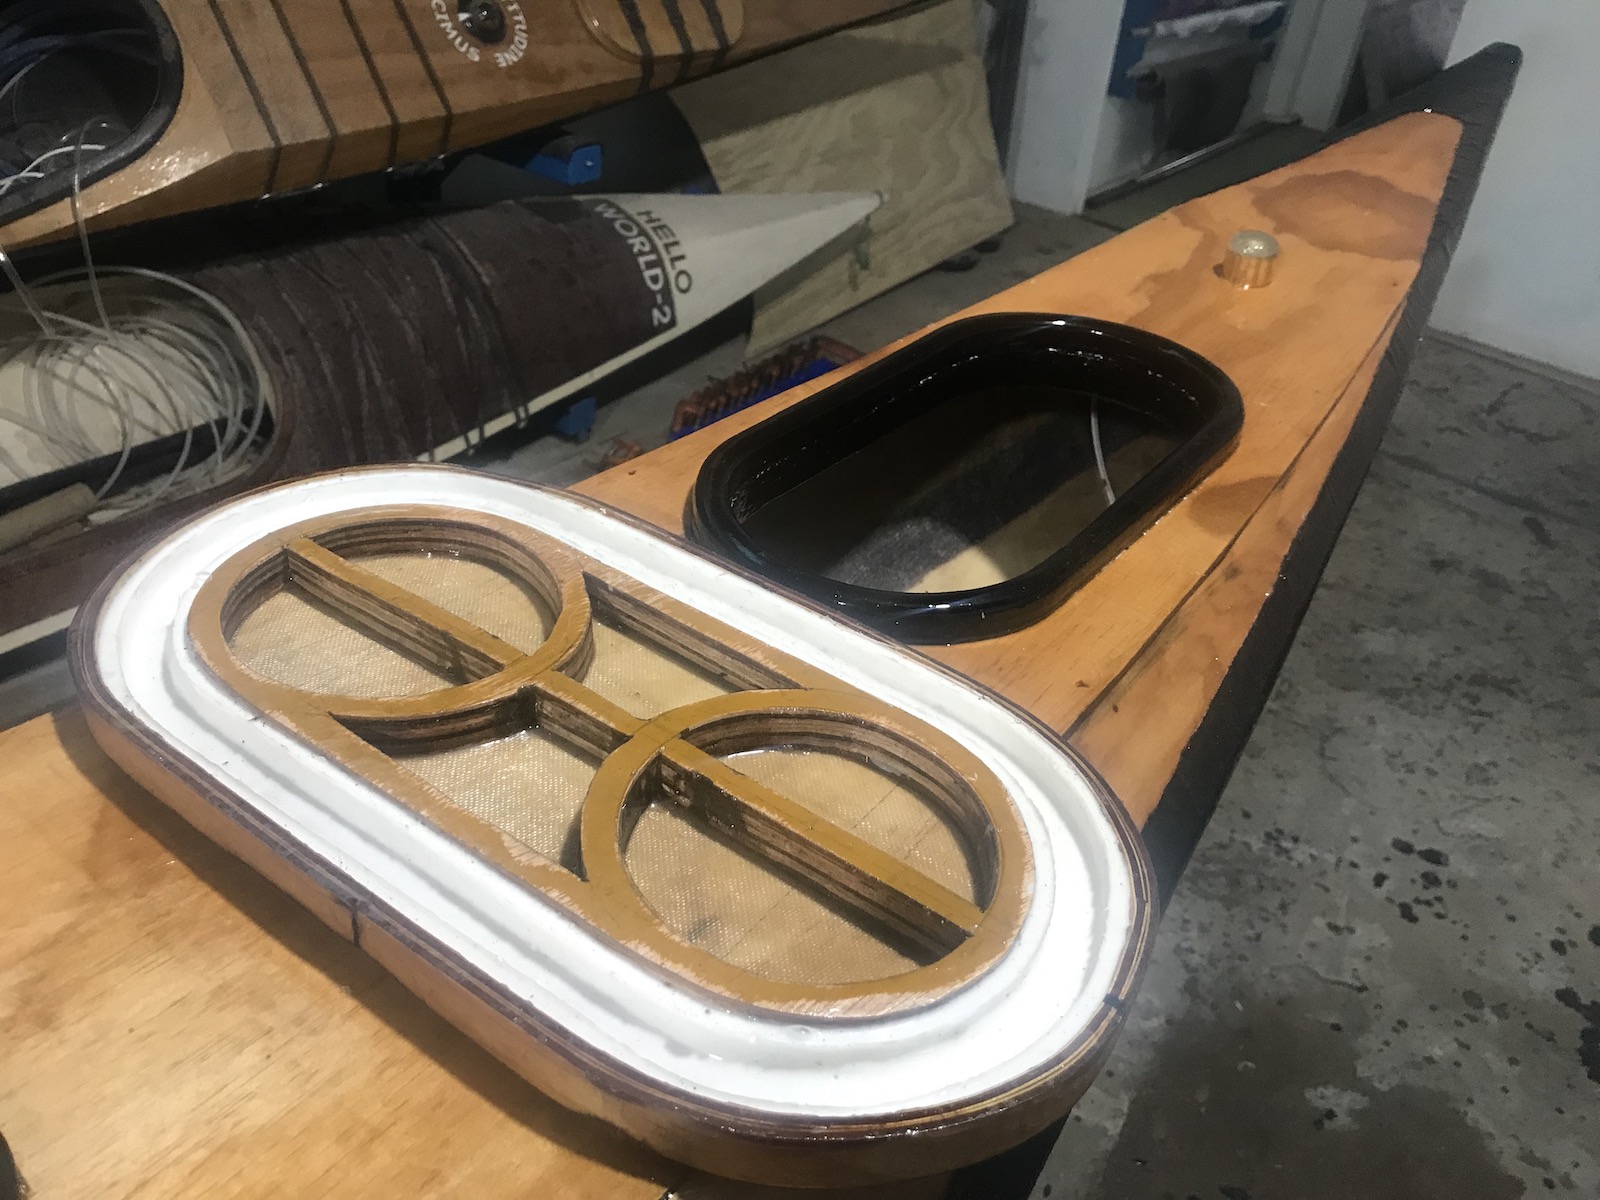
Unfortunately, this wood stain also has an unexpected side effect, cause it’s a kind of oil, it modifies the wood surface in such a way that applying epoxy on top of it becomes very difficult. I guess there’s something to do with fluid – surface tension, the epoxy just won’t spread out evenly, it just doesn’t mix well on the oily surface, so lots of, lots of brushing work was needed! However, the epoxy did cure properly, I then sanded it down before applying 2 layers of PU paint, I didn’t use gelcoat for the deck, fearing that it’s “not – too – optimal” transparency would affect the nice color! Next, the hatches’ rims were bolted in, initial tests gave me the impression that the hatches are even… air – tight.
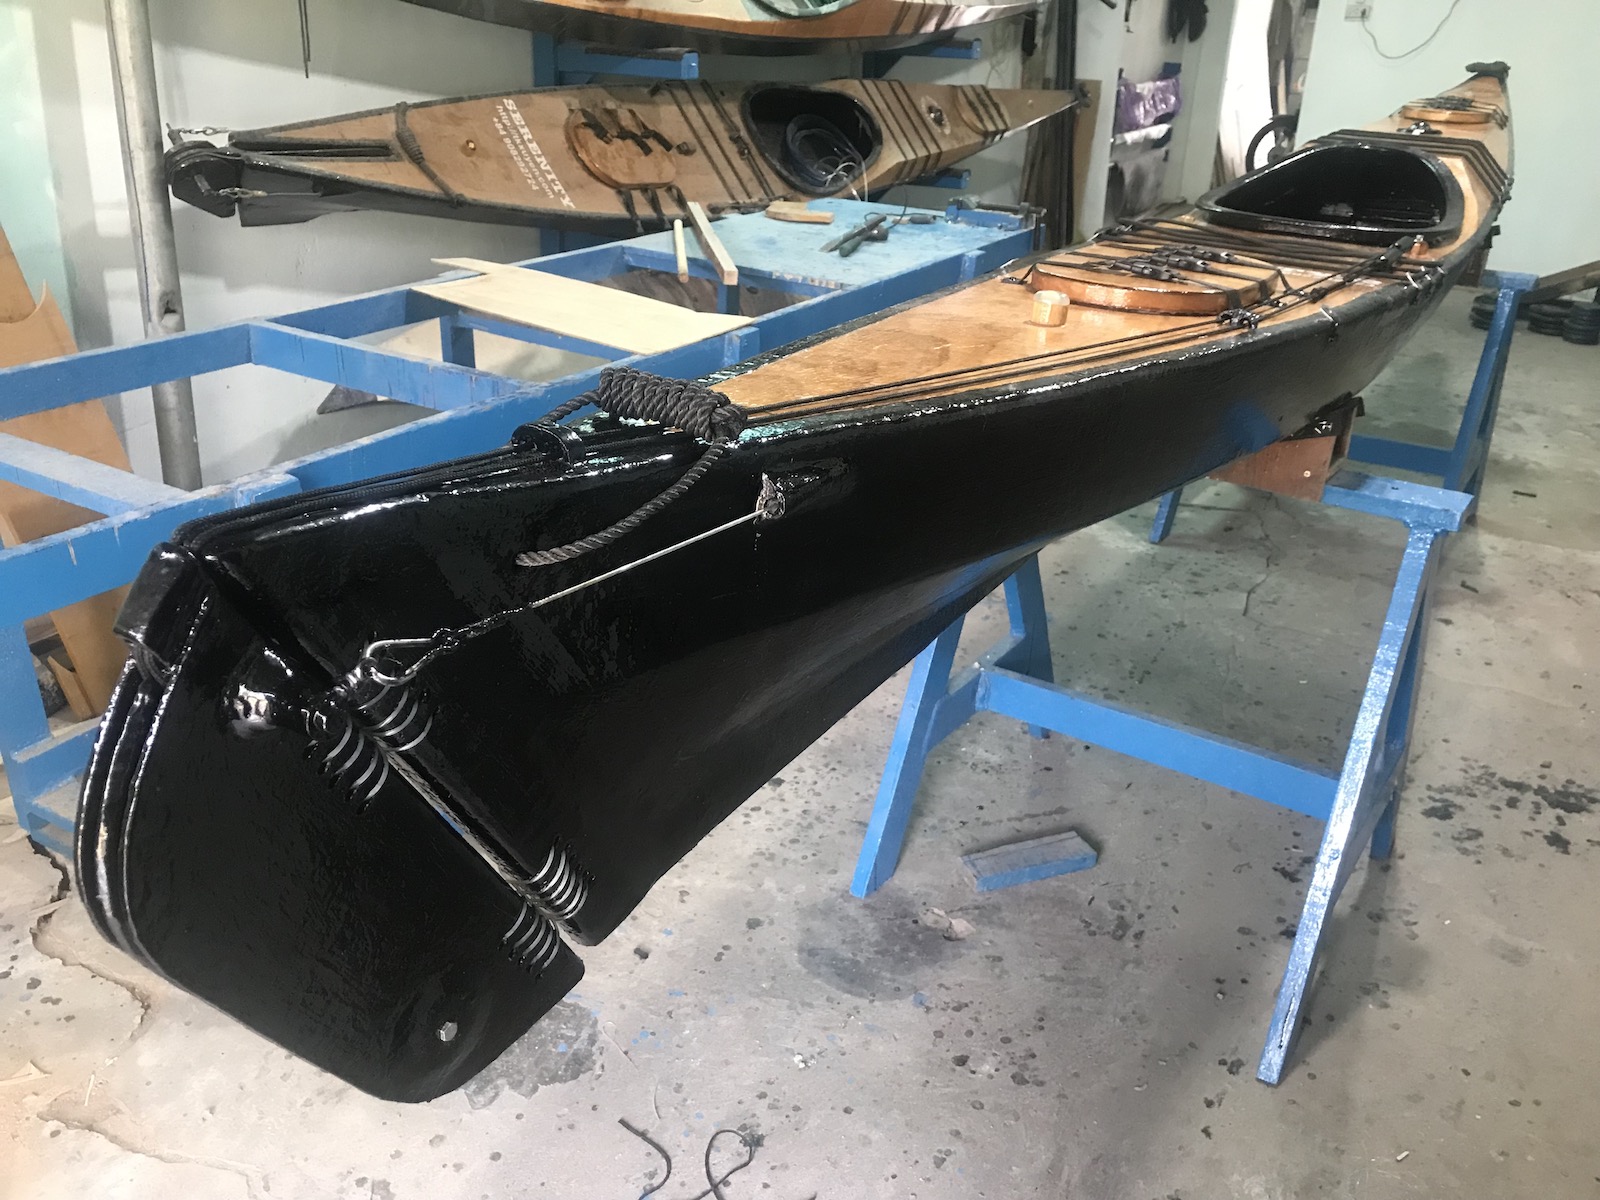
Not just water – tight, it requires some little forces to push the caps in or pull them out from the rims. I think the “hatch solution” will work fine, yet for how long in real – world conditions is a question to be be answered later on! Then go in various accessories: the bilge pump with its water hose, this type of elastic PVC tube is quite special, it’s reinforced by steel wire inside the PVC wall, so that the tube won’t collapse at corners. The light bulbs and compass, wires connected, lead – soldered, run inside plastic tubes filled with silicone to make the electric connections waterproof! The battery box is rebuilt, all components are now “loosely – coupled”, they’re connected by various 12V DC connectors.
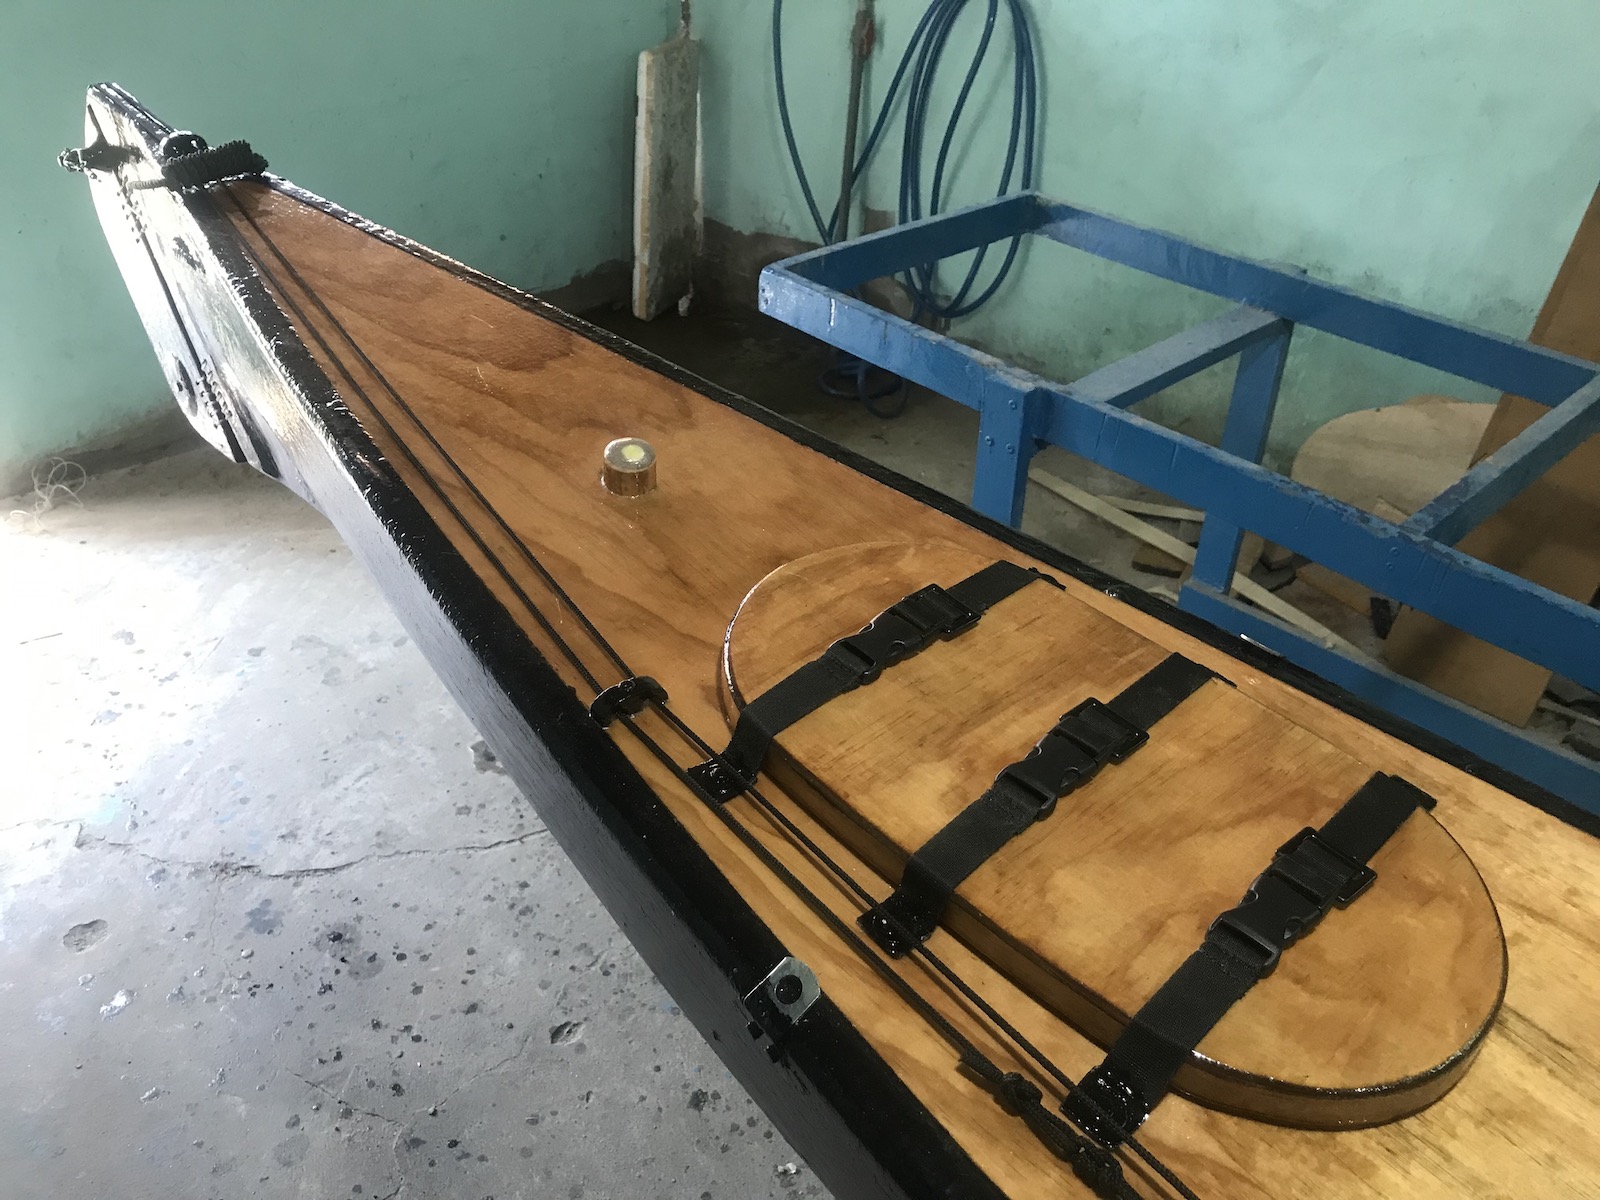
So that they could easily be disassembled for repair / upgrade later. The last major component is the rudder, it’s transom – mounted by ropes, like that of a Wharram cat: 6mm holes are drilled into the rudder box and rudder post, filled with putty, then 3mm holes are drilled again through that putty, to make the wood protected from water. The boat eyes decals, boat name, contact info, the bungee cords, and a mesh bag (a laundry bag purchased at local store) is fixed inside the cockpit, just under the deck, place to store various small items when paddling. The Lunar calendar has moved from Dahan (Đại hàn – 大寒) to Lichun (Lập xuân – 立春) a few days ago, can’t wait to launch and try the boat!