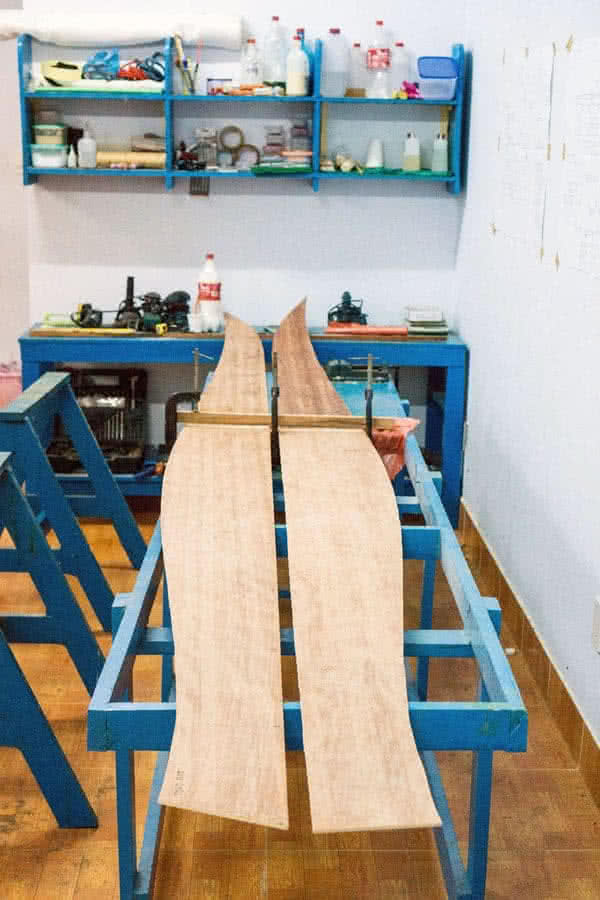
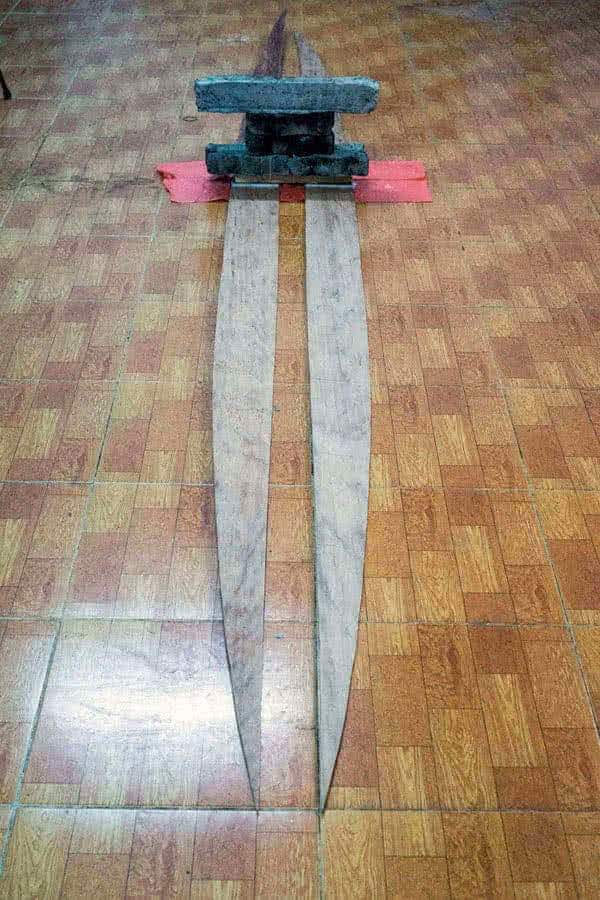
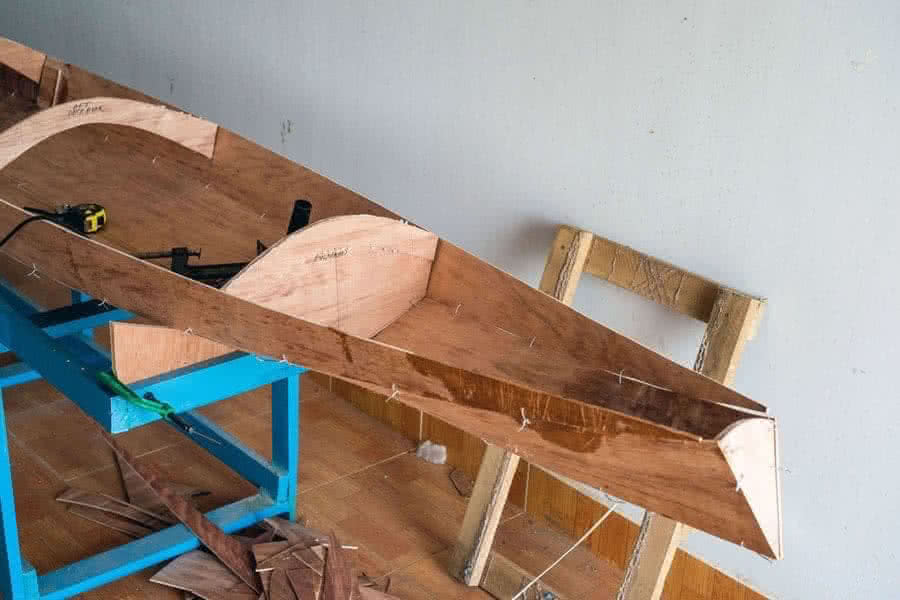
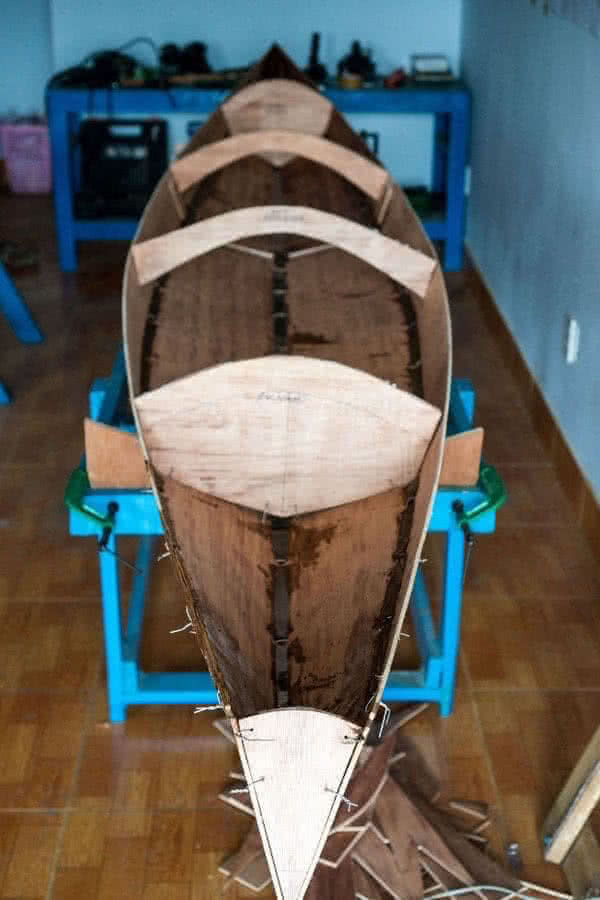
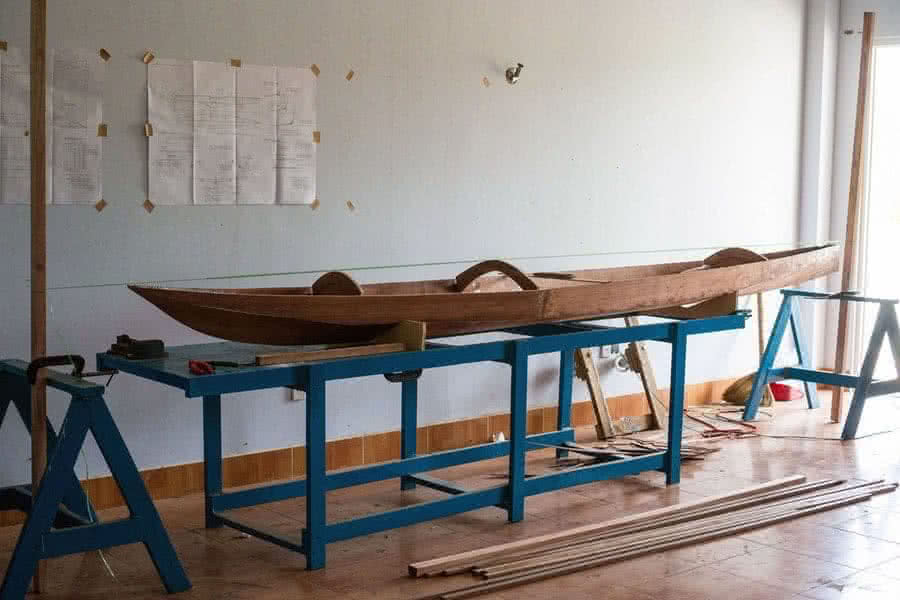
hello world – 2, part 2

rom the outlook, she gonna be a nice boat with simple and sporty curves! I proceed slowly and carefully, as I intend to use this boat for white – water (near coastal) areas, where it gonna be rougher and wavier, compared to the almost – calm rivers around Saigon. It need to be ‘engineered’ with a focus on durable & strength! 😀
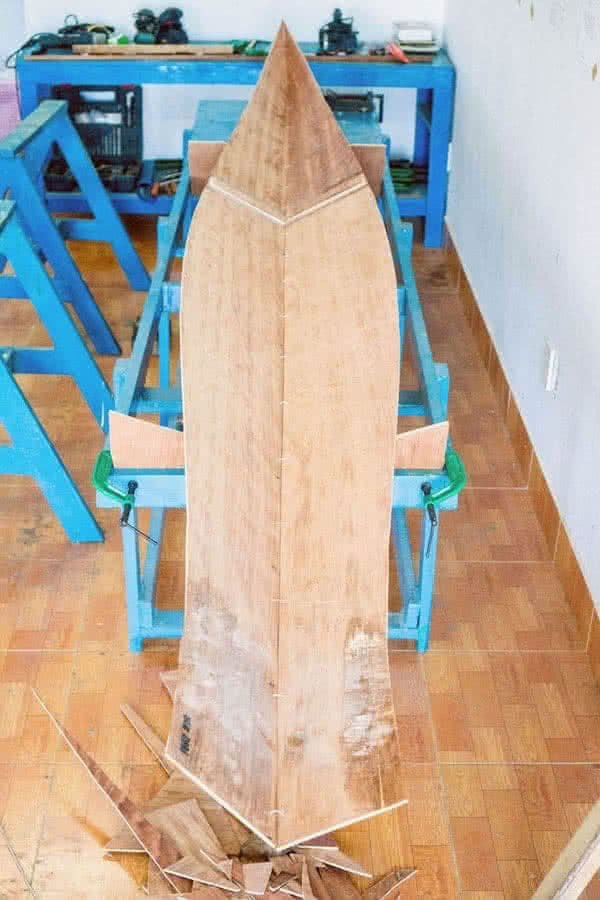
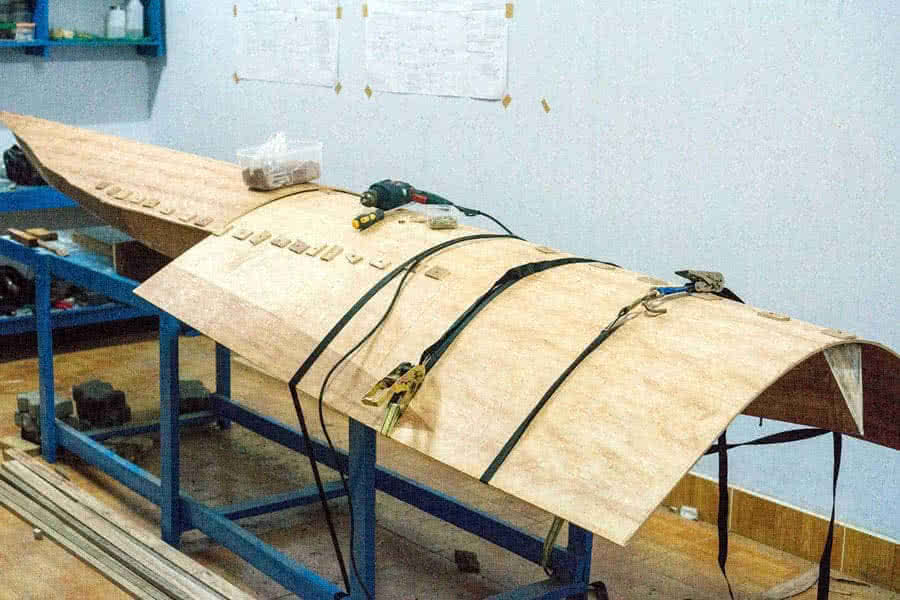
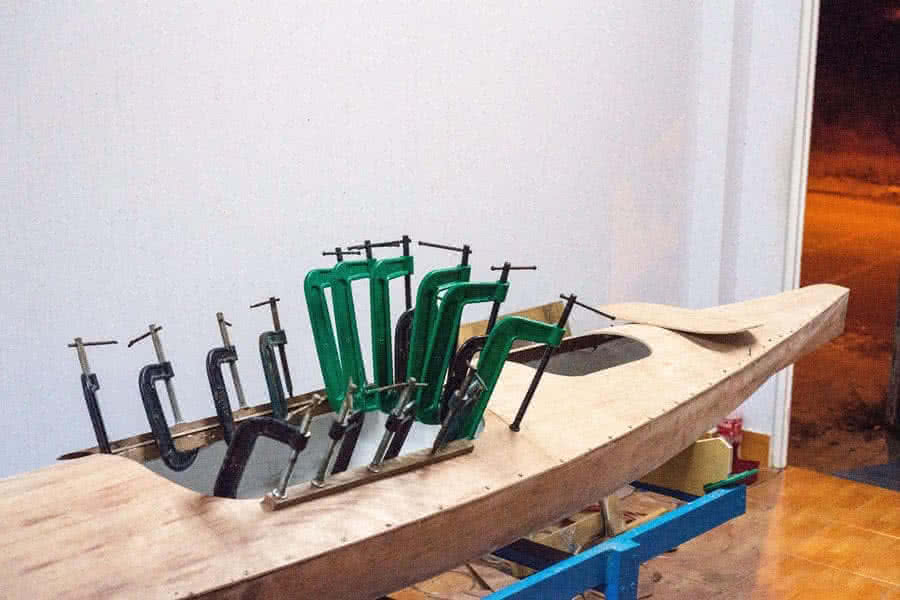
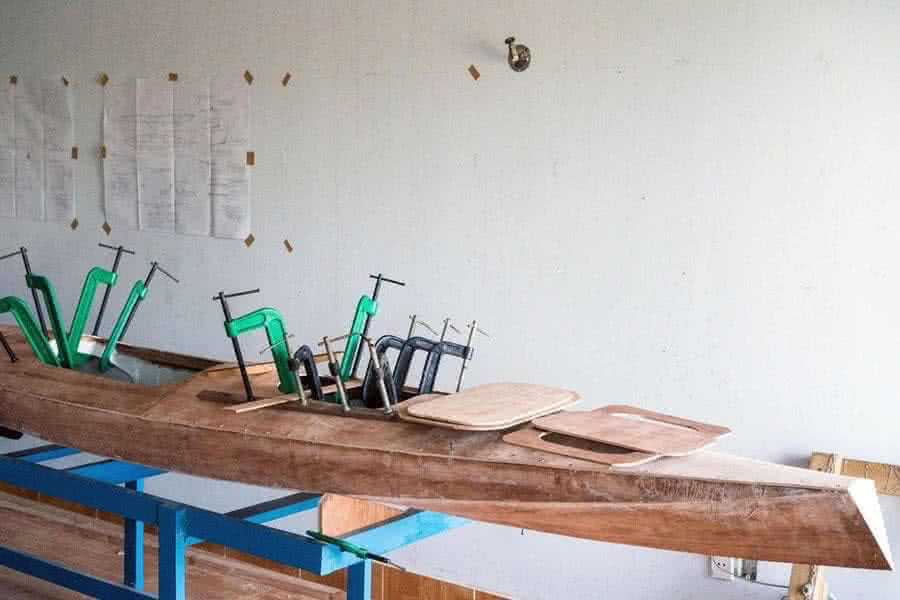
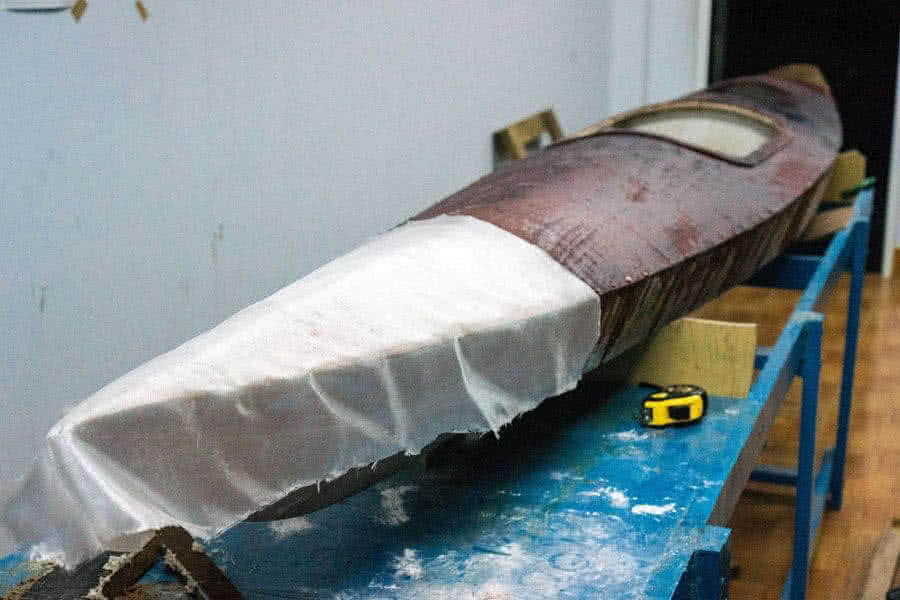
6.     Canopy

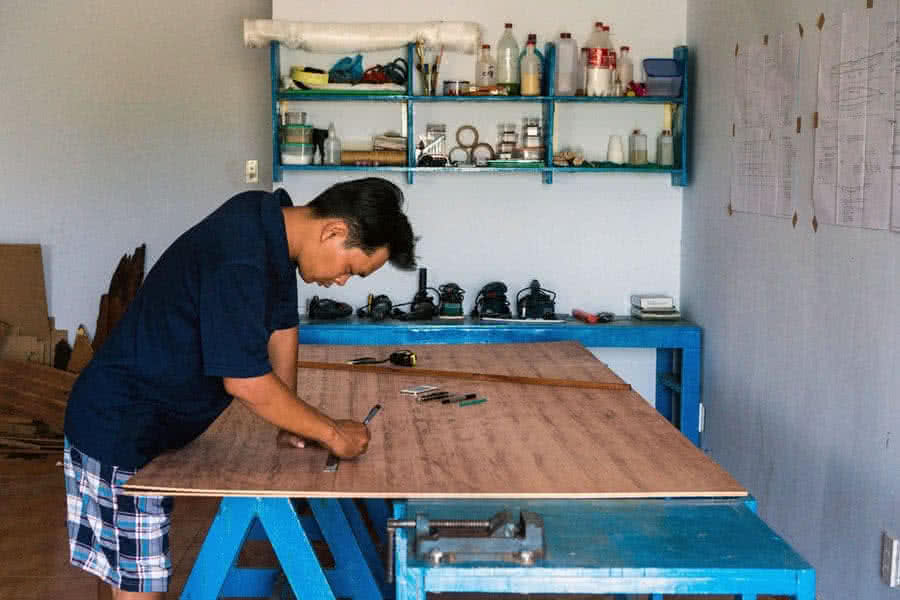
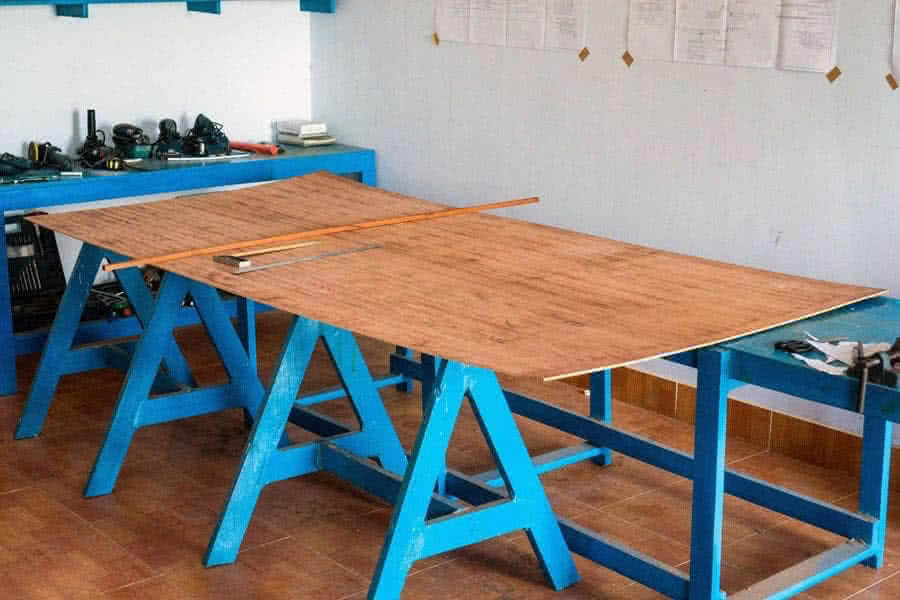
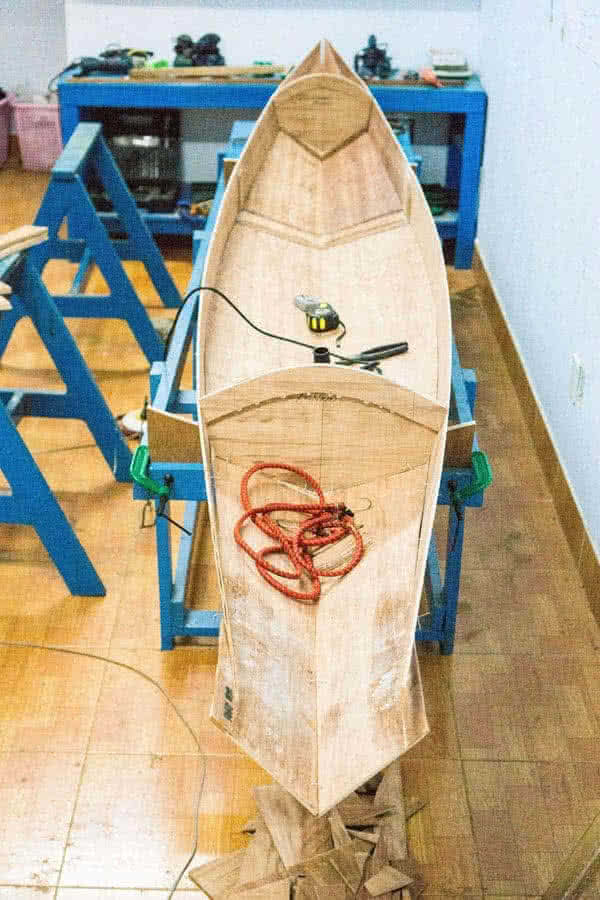
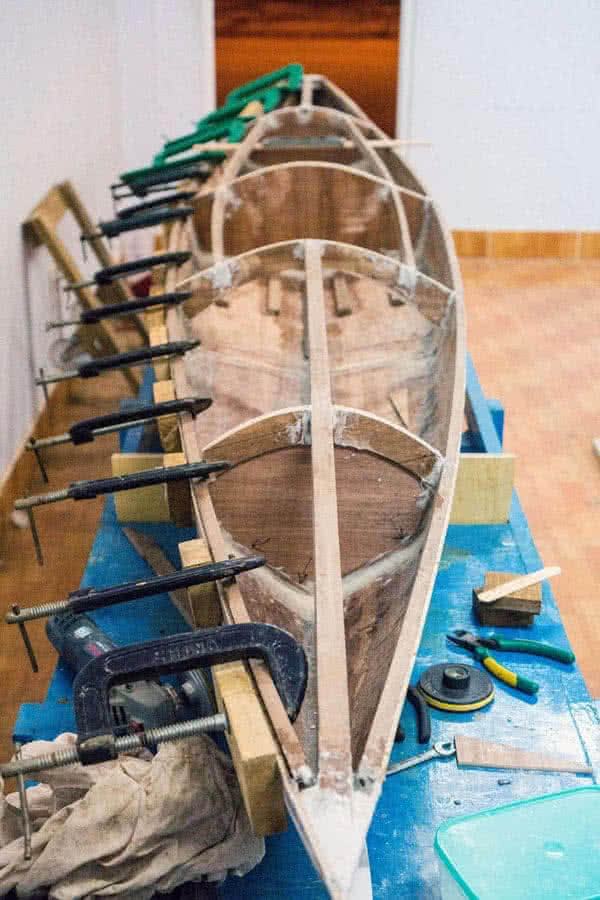
It is extremely hard to bend the 5mm plywood into the curvy shape of the canopy (I used 5mm for convenience cause I’d bought 8 sheets of them, I should have used 3mm instead). The ply cracks a bit at the bow section, forcing me to apply a layer of fiberglass to repair and reinforce. Also, I would need to change the painting plan to better conceal the faults! 😢
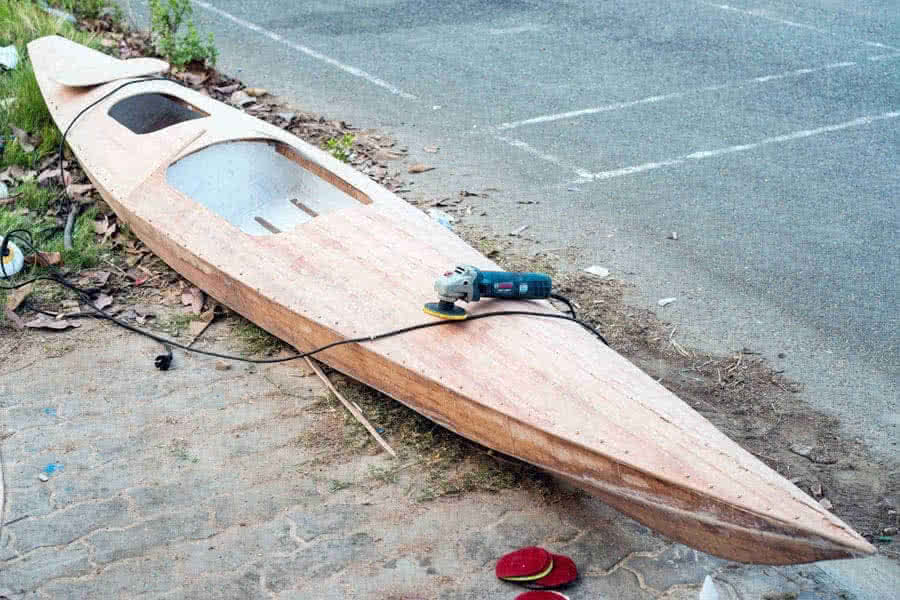
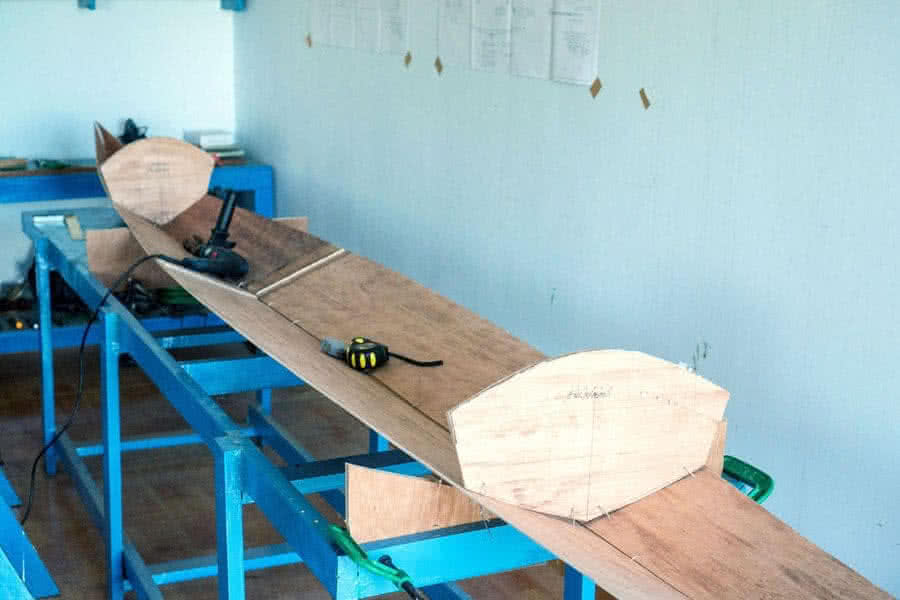
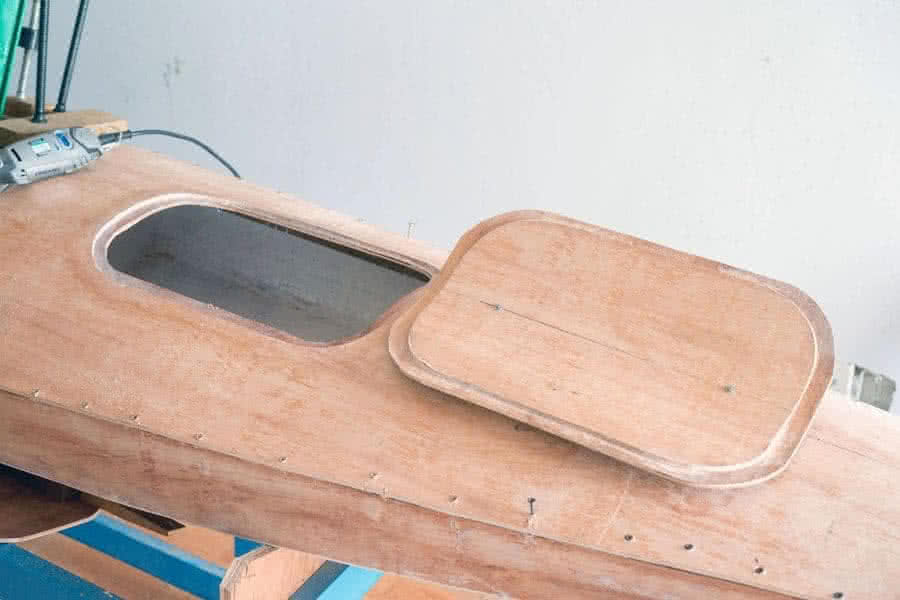
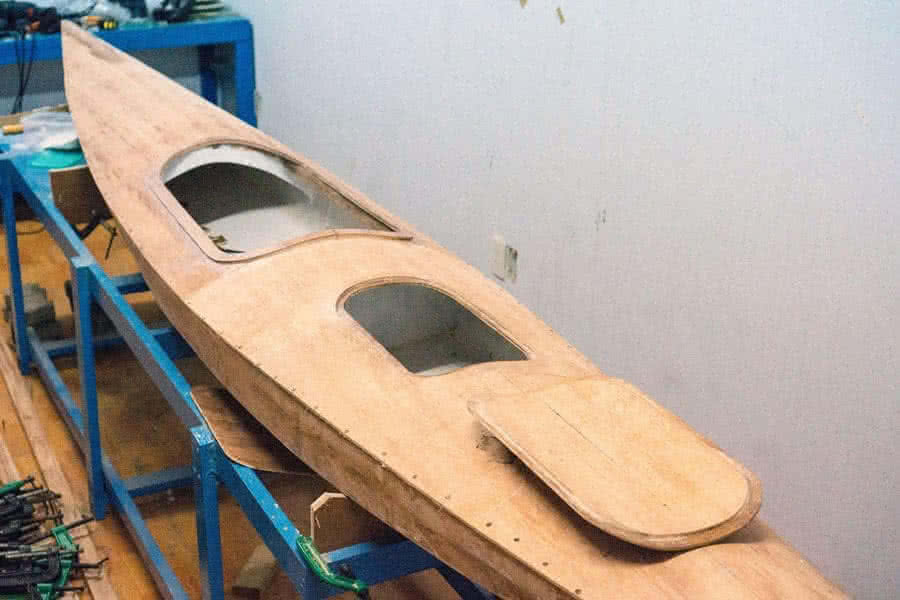
7.     Coaming & hatch

Finished the canopy part, now the jobs of fixing the plywood cracks, fitting the cockpit coaming, the hatch and its locks, sealing the compartments to be water – tight, installing the seat… lots of miscellaneous jobs. Still some way to go, but I’m already very excited to see the desired watercraft taking shape!
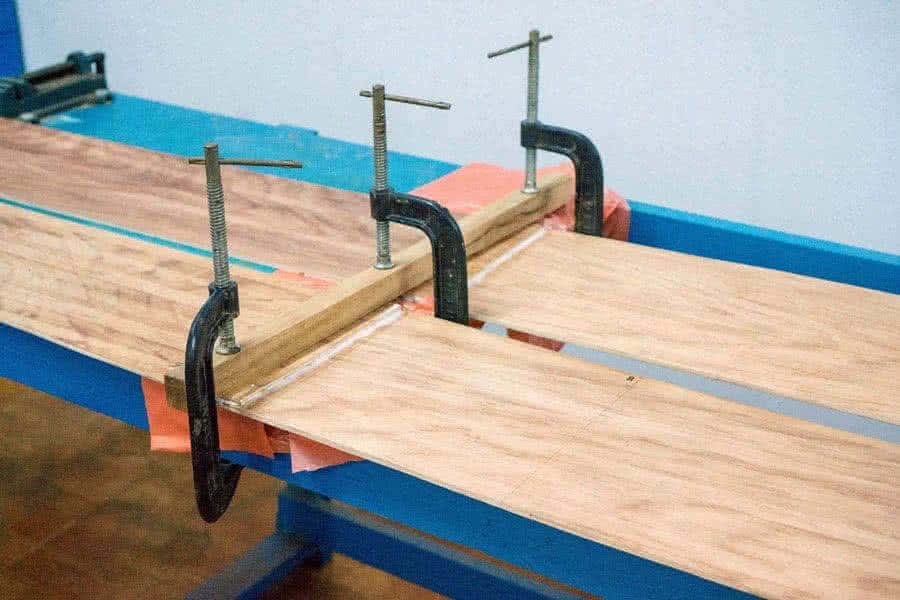
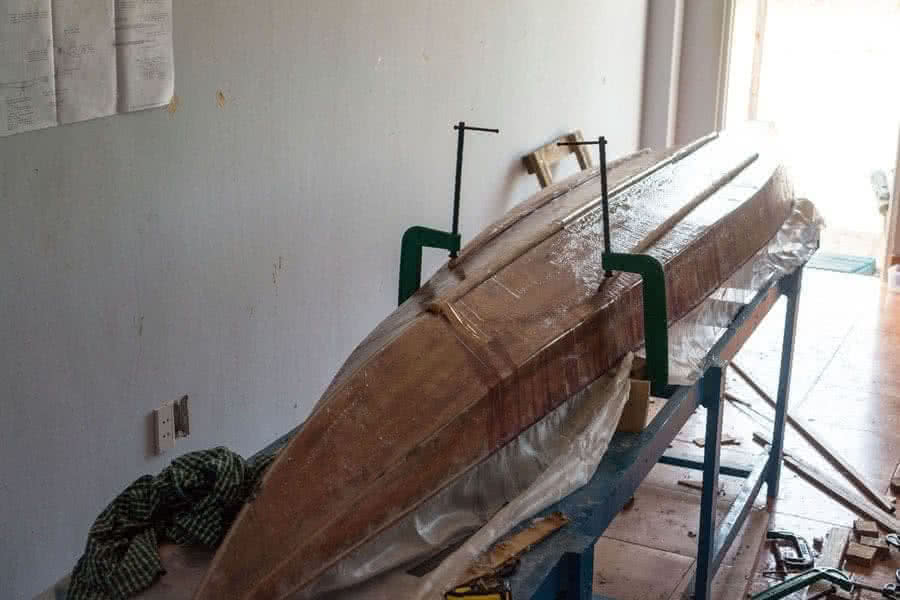
8.     Glassing

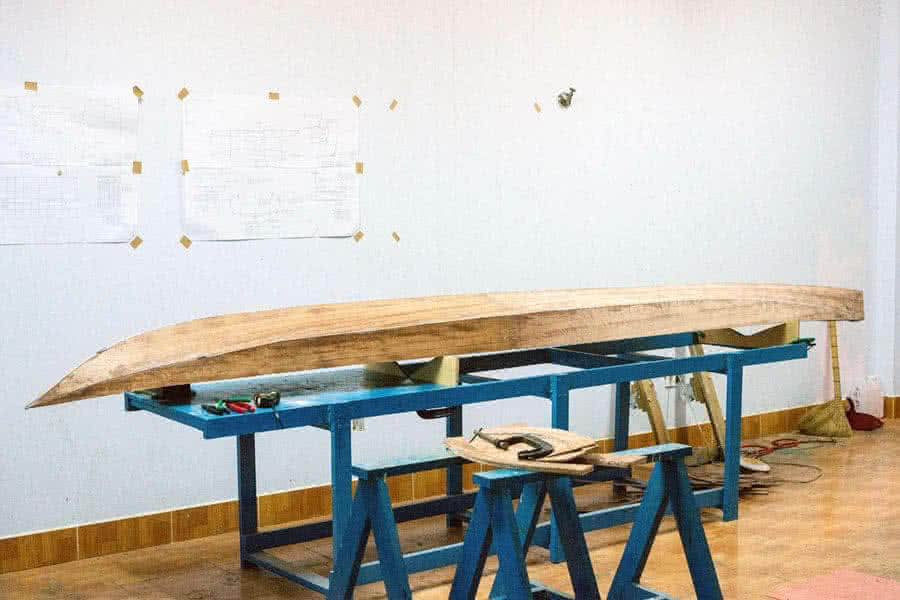
I was considering over and over again about whether to glass the hull or not, cause glassing will add more weight into the boat, which is quite heavy already (estimated final weight at about 25 kg). Eventually decided to glass still (stiffness is important out there in rougher water), plus an additional layer of glass at the bow & aft sections.
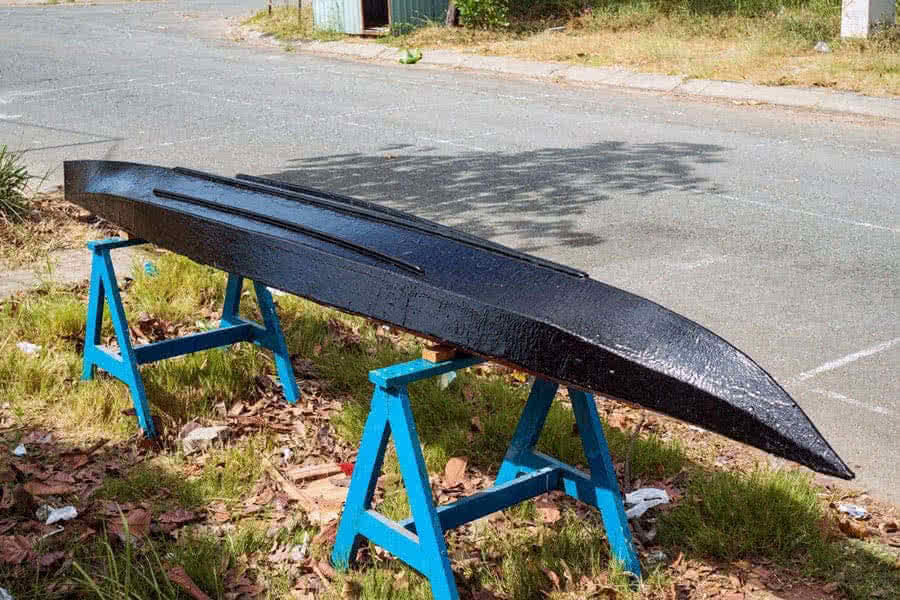
9.     Painting

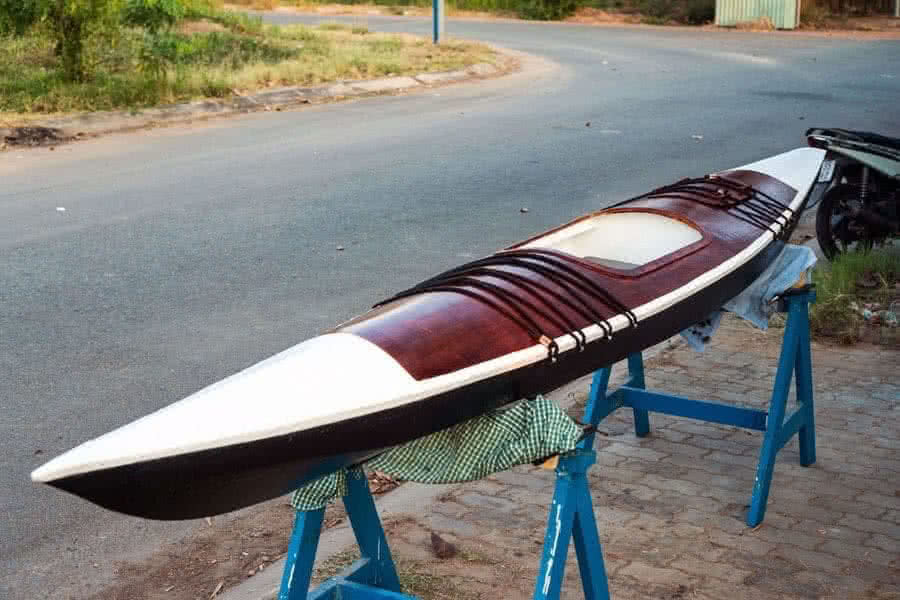
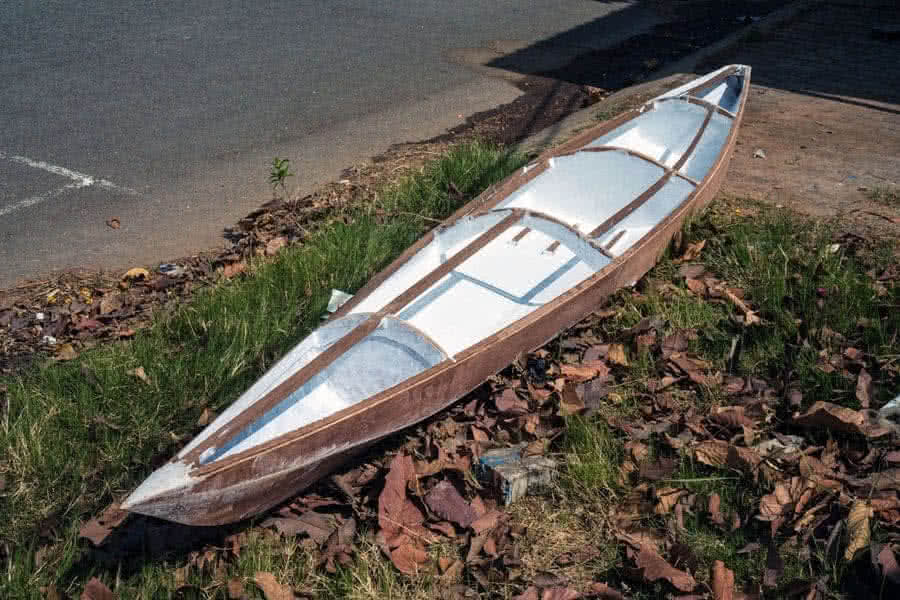
I chose quite an unusual color scheme which diverges from my favorite colors of blue & white, I just feel that this boat needs something bold and strong, so I go with black & white, plus the wooden color of the canopy. The result is quite satisfying, at least to my eyes, now I know why this model’s code name is: Dart! 😀

10.     Finishing

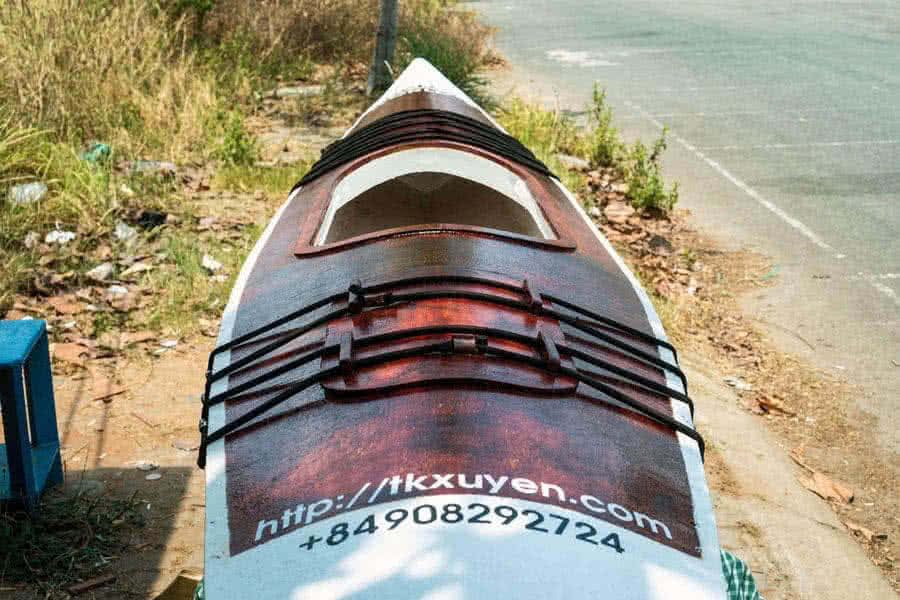
It takes some more time to finish this boat: the seat mattress, deck lashing lines, hatch’s lock, and some decorations: boat name and contact information, and boat’s eyes of course. Some more accessories need to be built for this boat, but that would be after then, can’t wait until launching and trialling this beautiful kayak!

hello world – 2, part 1

ix months have passed since I’d started Hello World – 1, my first build, a general purpose canoe. Now it’s time to let this planned Hello World – 2 to say Hello to the world 😀. She gonna be a kayak (of Selway Fisher’s Dart 14′ design), which I hope to have better performance and somewhat better ‘open – water’ capabilities.

1.     DRAW & CUT

Having gained much experiences from the building of Hello World – 1, I’m expecting Hello World – 2 to be finished in 2, 3 weeks or so. Apart from the canopy, the underpart of this kayak requires only 4 bilges (compare to 7 of the previous build), which would ease and speed up the progress. I did all drawing, cutting & joining in a single day.

2.     TRIM & JOIN

After cutting, pairs of bilges are clamped together (port & starboard) and trimmed to the same shape. Then simple butt joints with additional ribbons of plywood would do the job of joining to the full length of 14 feet (~ 4.2 m). All these joints would be hidden inside the hull under the canopy anyhow, so I don’t really care if they look good or not.

3.     STITCH

Stitching does not take much time indeed, there’re only 4 bilges to put together. The hull is simpler, the plywood is easier to bend too. I guess more hard work would come with the canopy part, but for now, I’m really pleased to see the hull quickly take initial shape. Check geometries, fasten the wires, then come to the next step!

4.     GLUE

More and more hands – on with epoxy and fillet. I think the suitable mixing ratio is somewhere between 1:3 and 1:5. That is (applied for), in Saigon, there’s no West System’s epoxy or such things, what I can find is kind of ‘raw chemicals’. Also, humidity greatly affects epoxy curing, avoid working when it rains. Absolutely keep acetone from the messing in!

5.     Bulkheads, deck’s beams, stringers & gunwales

At this point, I decided to change the original design. The fore and aft sections are water – tight compartments serving as flotations, next to the aft section is the added storage compartment with hatch, to store gears for, e.g: a weekend trip, and cockpit in the middle. There’re so many small details to be cared of at this step…

essai sur la construction navale des peuples extra – européens

The first 2 images: a rowing boat and a sail, fishing boat of Touranne, Cochinchine, which is today Đà Nẵng, Việt Nam.

ome time ago, I posted several entries about The Junk Blue Book. What’s a small world of the internet that lately, I had my honor to be contacted by Capt. Robert Whitehurst, the collector, editor who made the original, rare book written by Capt. Marion C. Dalby available for us as a free ebook today. Mr. Whitehurst is kind enough to correct a mistake in my postings, and sent me various documents that he’ve spent times and efforts to collect and digitalize them. I would say a thousand thanks to him, an old captain who spent his younger years on the Mekong delta’s rivers, who loves Vietnamese boats, who has closed – relations with Vietnam in many ways.

Among the documents Capt. Whitehurst sent me was this invaluable copy of Essai sur la construction navale des peuples extra – Européens, (literally translated into English as: Essay on naval construction of peoples outside of Europe), a tremendously amazing work by French’s admiral François – Edmond Pâris, published in Paris in 1841. The work consists of two volumes, 160 pages in textual volume I, and 132 illustrations in graphical volume II, introducing boats and boat constructions from various parts of the world. I’ve just started my reading, but can’t suppress my eagerness to made some excerpts here to show the extremely beautiful illustrations below.