polynomial texture mapping

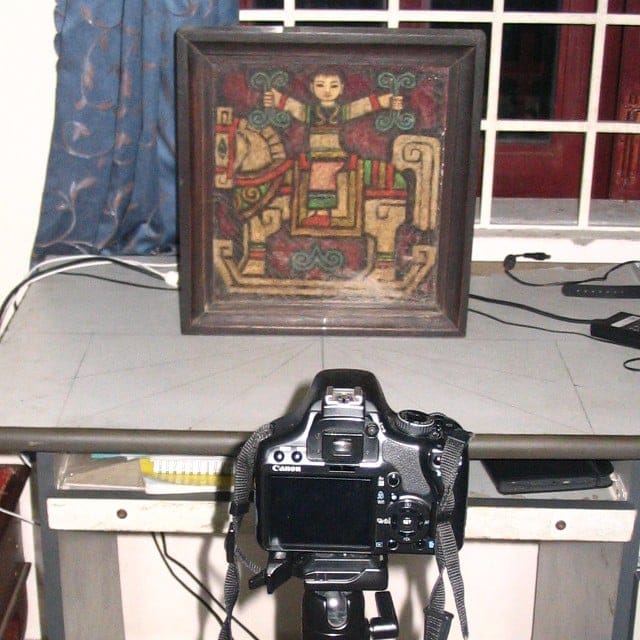
The “specimen”, an oil painting of Bửu Chỉ, the prestigious Vietnamese painter.

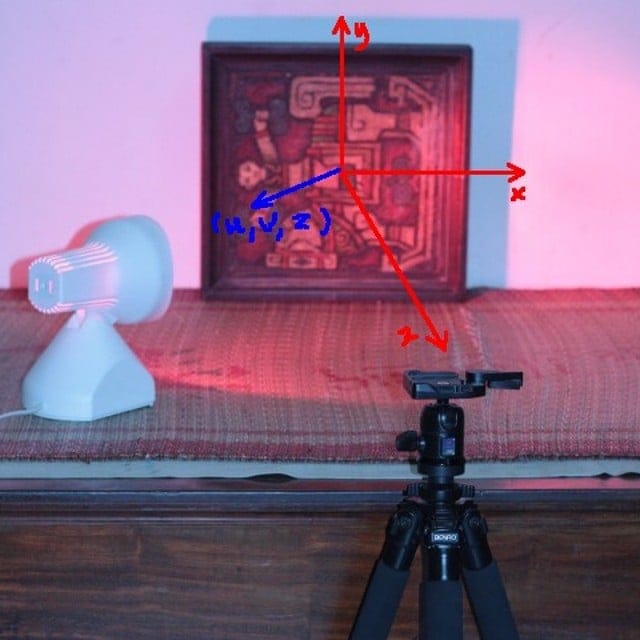
The lighting vector (u, v, z) in the (x, y, z) coordination system as showed in the image above (the “right hand rule”): origin at center of the picture, x points to the right, y points upward and z points toward the camera.

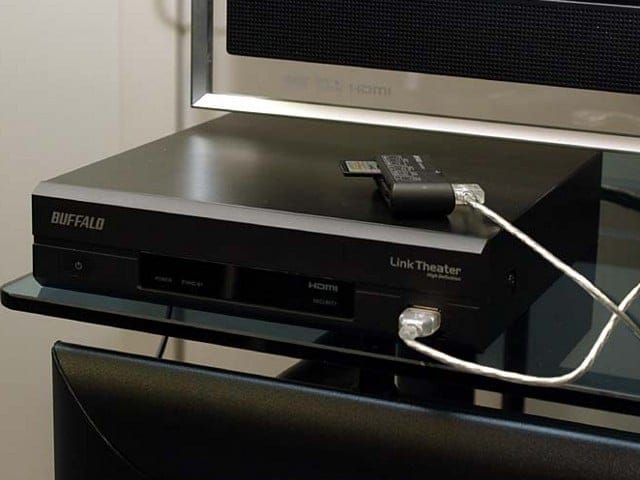
Result: the (medical) infrared light source turned out to be a very bad choice

f you’re into computer graphics, you probably could have learned about normal mapping, bump mapping… Last week, a colleague told me about Polynomial Texture Mapping, then the experiment below was what I was doing as an exercise to learn about this PTM. In essence, PTM could produce extraordinary effects due to the fact that it makes use of many lighting data collected in real – world condition (check out some examples on the HP’s PTM page).

To make a PTM (using tools from HP Lab), you would need to photograph the “specimen” under many light directions, then combine all together in one “texture” (using PTMfitter) in which pixel values are computed from the collected data (polynomial function).

Input to the PTMfitter is a file listing images and their lighting vector (u, v, z). Note that (u, v, z) must be a normalized vector although PTMfitter only uses (u, v) at the moment. (Getting PTMfitter to run under Linux is quite tricky since it’s linked against an very out – dated version of libstdc++).

12
~/ptm/ptm_11a.jpg -0.894427191 0 0.447213595
~/ptm/ptm_12a.jpg -0.707106781 0 0.707106781
~/ptm/ptm_13a.jpg -0.447213595 0 0.894427191
~/ptm/ptm_14a.jpg 0.447213595 0 0.894427191
………………………………….

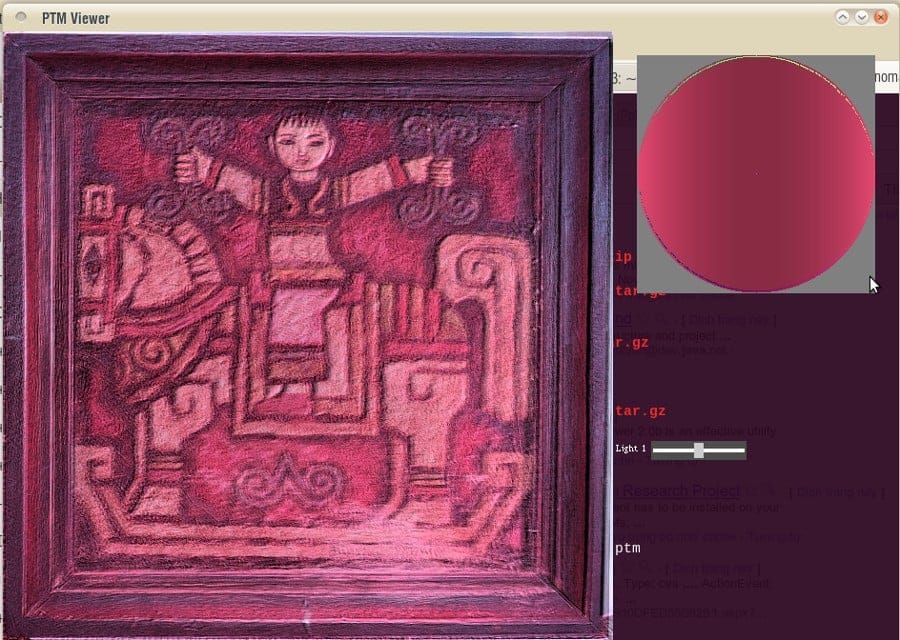
Output is the .ptm file that can be viewed with PTMviewer. The effect is really impressive, much more realistic than the normal, bump mapping usually seen. Let verify the difference, here is the .ptm and the .pl files, you would need to download PTMviewer from HP Lab (there’re versions for Wins, Linux and Mac).

We can also use PTM to create the DOF (Depth of Field) effect. The vector (u, v, z) in this case is not lighting direction anymore but the focus point the camera is shooting at. This technique is quite useful since DOF is very expensive to compute in graphics application, and this gonna be my next experiment!

buffalo duo


My Buffalo, a 400 MHz, power-efficient ARM system (it consumes about 17W on average). The duo: two SATA disks (1TB each) running in RAID-1 configuration. The system can also act as a print server: most cheap home laser printer are not stand-alone device (lacking PostScript capability) and need to be attached to a PC in order to print, instead we can connect printer to this Buffalo box via usb and serve printing over network.

y newest toy: a Buffalo LinkStation Duo Network Attached Storage (NAS – or a poor man’s home server). Had thought about this long ago but don’t have time till now to dig a little bit low-level to get the thing to work! Basically what I want to have is a miniature general-purpose home server, which would run continuously 24/7. But you know with the temperature and electricity conditions here in HCMC, most PC would surely break down if let running continuously for a few months. The idea is to hack this NAS device to run Debian and turn it into a hybrid system: NAS (file server, torrent, UPnP…) and a home server which would handle a little more extra tasks. I took me a whole night to figure out how to do it.

1.   Boot the device via tftp, using u-boot, the universal bootloader. We need to to erase the HDD’s partition table (with something like: dd if=/dev/zero of=/dev/sd[a/b] count=1) to force the device into tftp boot.

2.   Telnet to the device and prepare the disks: using fdisk to apply a same partition structure to both two disks (/dev/sda and /dev/sdb) with the usual Linux FS: /boot, /swap, /(root), and /data). The disk structure would appear like this:

Device Boot Start End Blocks Id System
/dev/sda1 1 6 48163 fd Linux raid
/dev/sda2 7 1200 9590805 fd Linux raid
/dev/sda4 1201 60801 478745032 85 Linux extended
/dev/sda5 1201 1329 1036161 82 Linux swap
/dev/sda6 1330 60801 477708808 fd Linux raid

3.   Setup the RAID-1 (one-to-one mirror) structure, you can see that we mirror /boot (sda1, sdb1), /(root) (sda2, sdb2), and /data (sda6, sdb6), there’s no need to mirror /swap:

mdadm –create /dev/md0 –level=1 –raid-devices=2 /dev/sda1 /dev/sdb1
mdadm –create /dev/md1 –level=1 –raid-devices=2 /dev/sda2 /dev/sdb2
mdadm –create /dev/md2 –level=1 –raid-devices=2 /dev/sda6 /dev/sdb6

4.   Install Debian (Lenny) using debootstrap, a very handy tool to install Debian directly from a repository. DeBootStrap pulls the packages over network, build a new rootfs, after chroot-ing to the newly build system, pull and build the kernel from source. After that, we can use regular Debian commands to update, configure network, add softwares, etc… After rebooting, we’d got a brand new Debian with 1TB of RAID-1 disk space, which runs flawlessly and which is ready to serve my various automation tasks!

Notes: installing Debian would void the warranty and could easily brick your device, use the information at your own risk. The steps here are just summary, there’s been various try and fail to get the thing done, e.g: we need priorly to have binutils, wget, zlib and libssl binaries for debootstrap to work (download the deb files from Lenny’s repository, extract and copy over the Buffalo), after debootstrap-ing, I forgot to set the root password, and unable to login when the machine reboot, thus having to start the whole process over again 😢. For further details, please consult the Buffalo NAS community.

UPDATE, Nov 18th, 2010

For a NAS which runs 24/7, it’s critical to monitor system status (temperature and the moving parts). I wrote this little fand script, a daemon to monitor hard disk temperature and adjust the fan’s speed accordingly. HDD’s temperature can be retrieved using smartmontools (most hard disk nowadays has S.M.A.R.T capabilities). And fan control on Buffalo LS Duo is done via the gpio module (thanks to talent hackers on the Buffalo NAS forum), something like this:

# values can be ‘off’, ‘slow’, ‘fast’ and ‘full’
$ echo ‘slow’> /proc/linkstation/gpio/fan

I’ve defined some thresholds, in a tropical country like VN, room temperature around 30° ~ 35° (Celsius) is a common thing, so if the HDD’s temperature is below 35°, we would turn off the fan. If it is between 35° ~ 40°, the fan speed would be ‘slow’, from 40° to 45°, the fan will be turned to ‘fast’, and if temperature excesses 45°, fan speed is set to ‘full’. Well, and even if 50° is reached, we would send a notification email (via sendmail) and shutdown the system. If you find it interesting, here is the fand scripts.

UPDATE, Nov 20th, 2010 (THE REAL DUO)

To pair with the Link-Station NAS is its cousin also from Buffalo, the Link-Theater LT-H90LAN. The LT-H90LAN reads media from Samba shares or DLNA server via LAN and is a 720p and 1080i HD-ready device. Although not Full-HD (1080p), that’s enough for my need (I don’t have a Full-HD TV in my house anyhow, maybe I’m waiting for 3D home video). It’s quite pleasing to enjoy good video quality and excellent audio in your living room, all streaming from a central NAS. The box also runs a variant of Linux (though hacking can be a pain, I would only left the device untouched for safe). This is one further step toward an all-Linux-devices home (thought I should buy an OpenMoko phone then).

kindle and feeds

fter years in IT career facing monitors, it’s now time to care a little about your eyes, and I’m now using my Kindle for reading news, documents everyday! However web browsing on Kindle is quite inconvenient, there’s of course no touch screen (imagine how touch would look like with a 3fps responsiveness display), and the 5-ways button make web pages’ navigation a kind of clumsiness! I was thinking about some form of automation, basically we would need to convert some news-feeds into Kindle’s native format (mobi) for the ease of our reading, the steps below:

We’re going to use Calibre, the famous ebook-converting tool: sudo apt-get install calibre. Or you can install it (binary or source from) on Linux as guided here. The very nice feature of Calibre is that it can fetch news-feeds, parse and format them following a pre-defined rule-set called “recipe”, there’re hundreds of built-in recipes as well (“recipes” are actually python scripts used to parse and layout the data in html and some css). Below is how I fetch feeds from Engadget and VnExpress and convert them to .mobi, the native format that layouts very well on your Kindle:

$ ebook-convert /opt/calibre/resources/recipes/endgadget.recipe endgadget.mobi –output-profile=kindle
$ ebook-convert /opt/calibre/resources/recipes/vnexpress.recipe vnexpress.mobi –output-profile=kindle

Copy the files over your Kindle, the news feeds read out very very nice! (images on the left, click to enlarge). The next step is of course some further automation, you don’t want to do the whole thing manually everyday, do you!? All these works can be accomplished by a shell script, scheduled by crontab! Just have your home server prepare the documents and sync it to you via Dropbox, from which you can download and view on the device (Kindle naturally permits downloading .mobi documents). I’m using this way to serve myself latest news with coffee every morning!