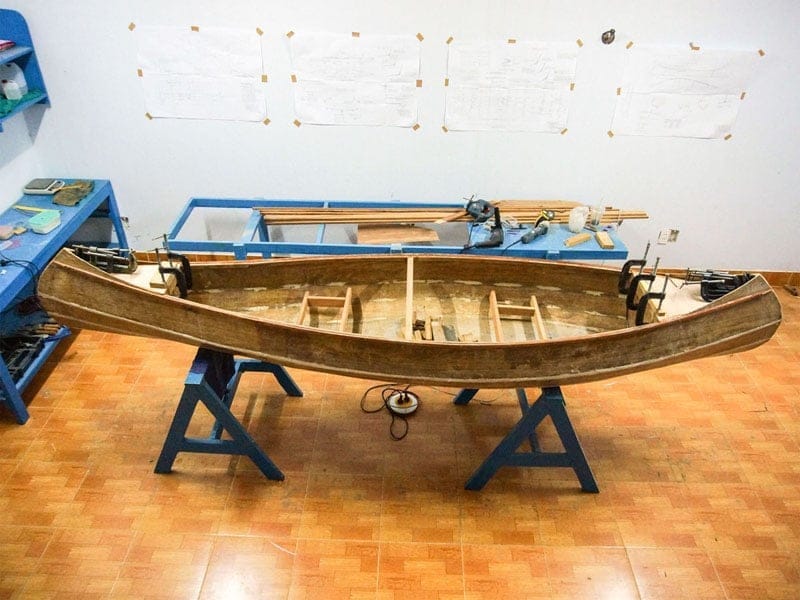
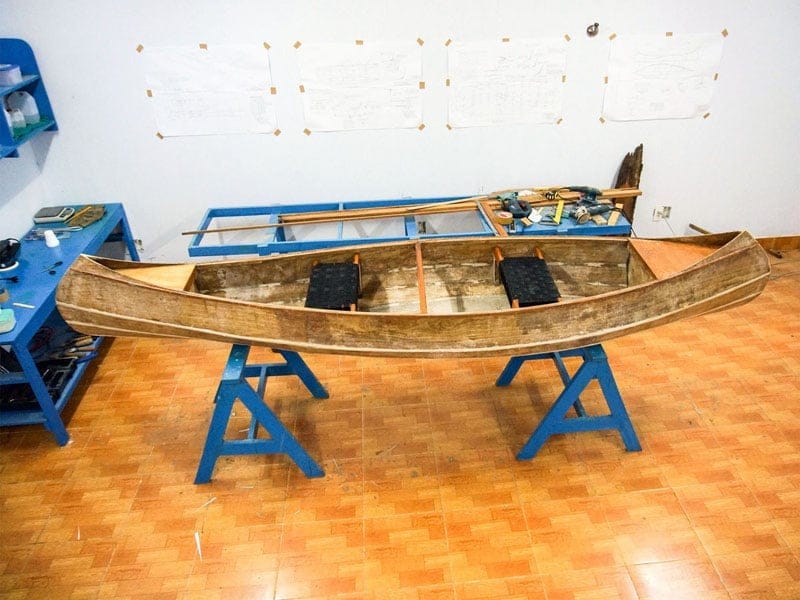
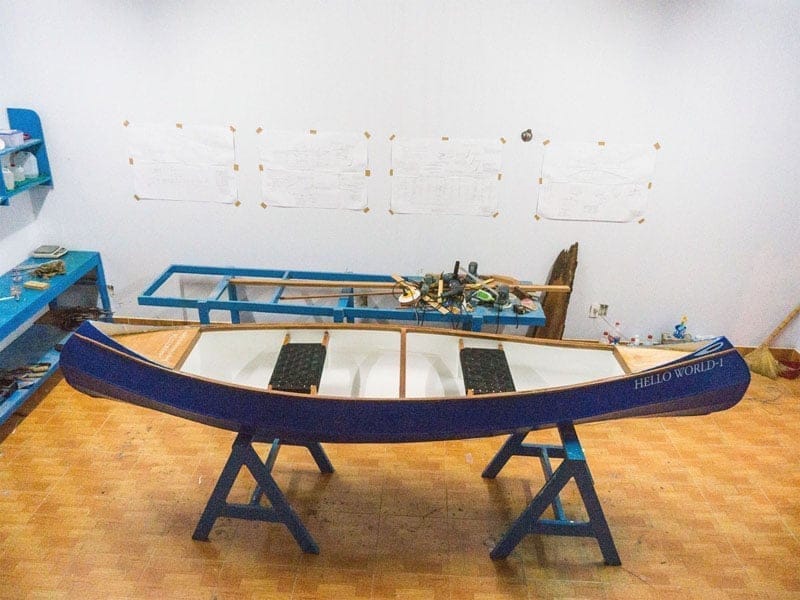
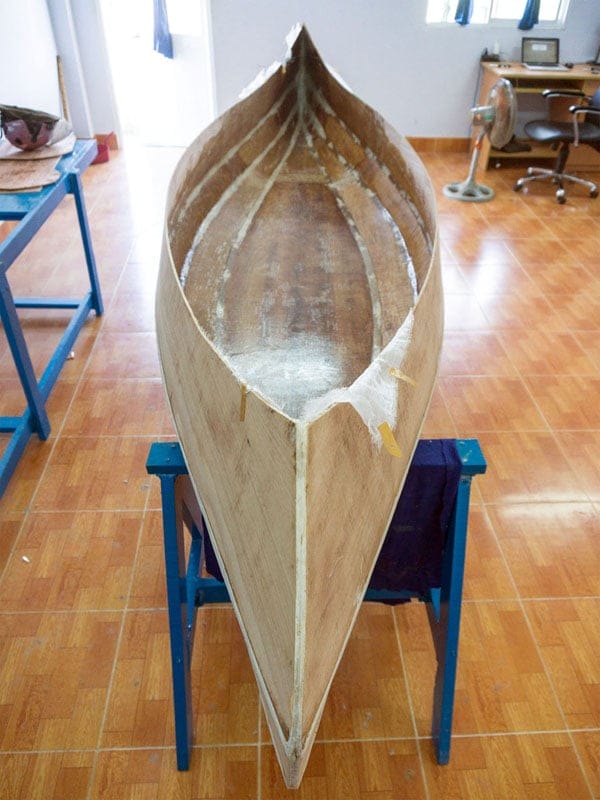
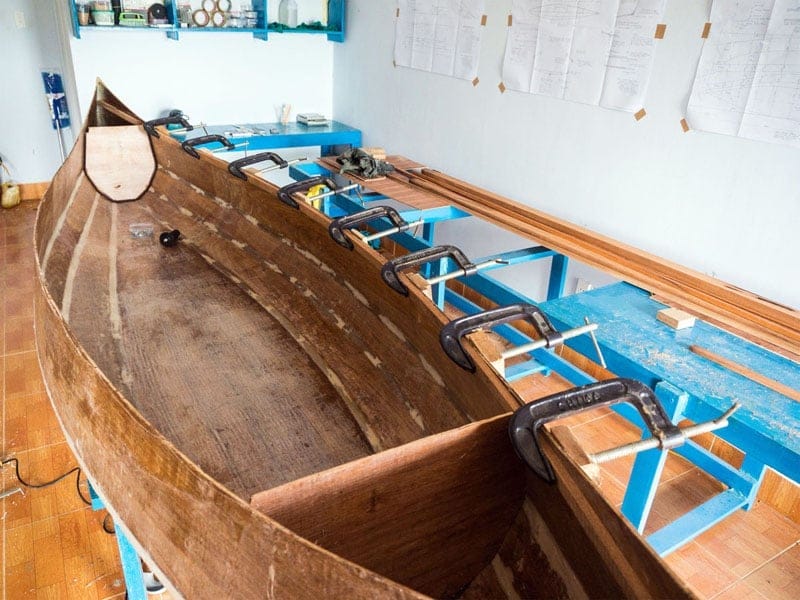
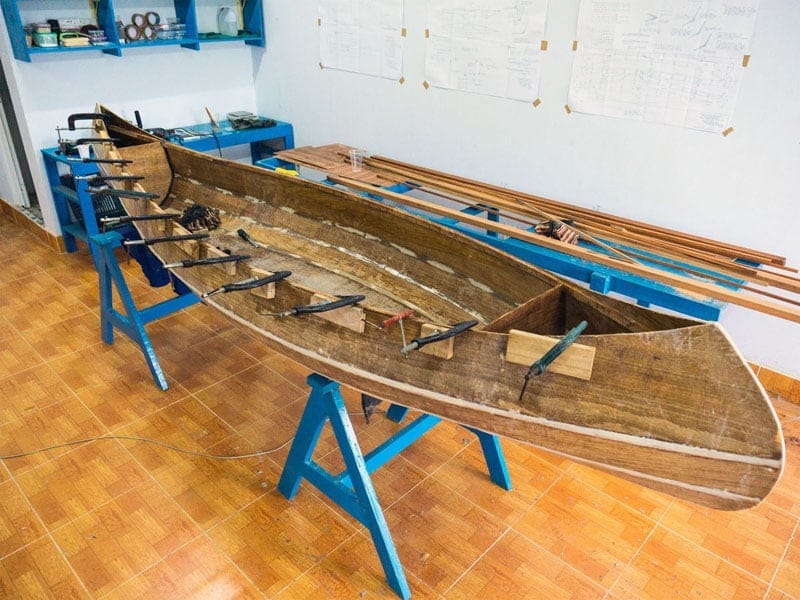
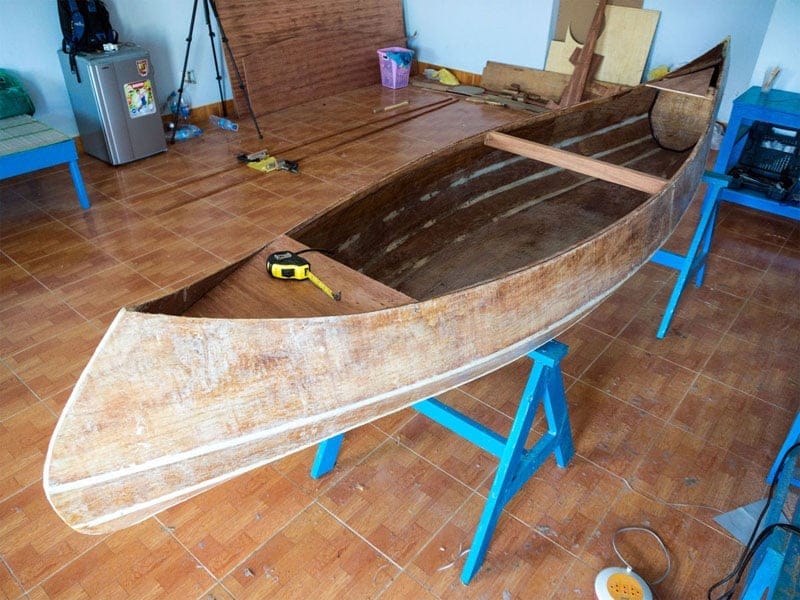
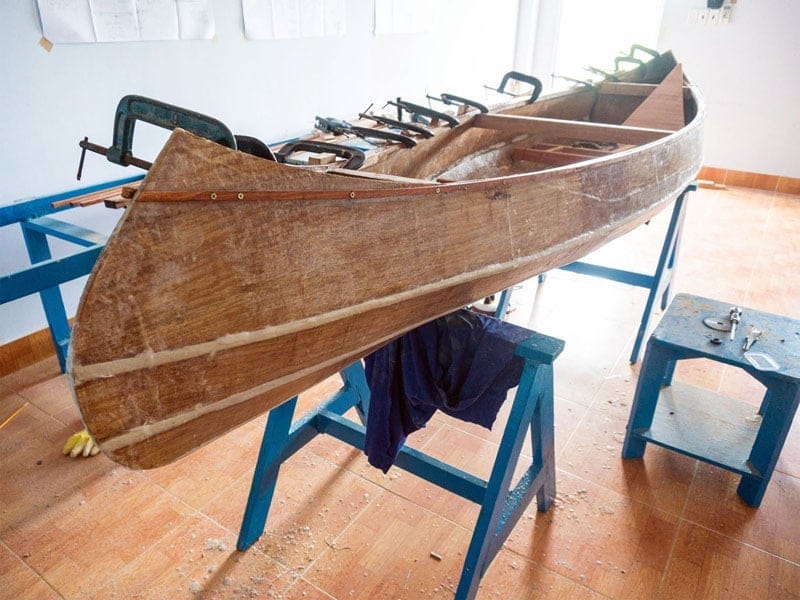
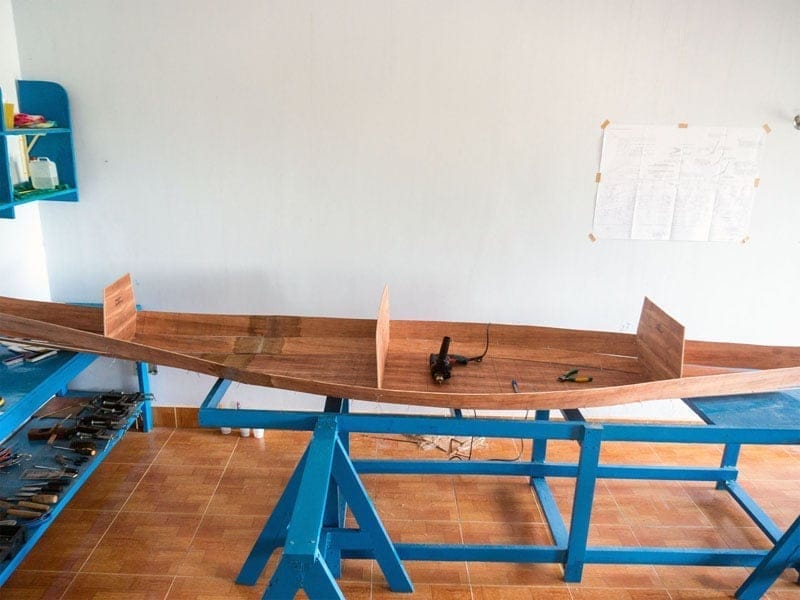
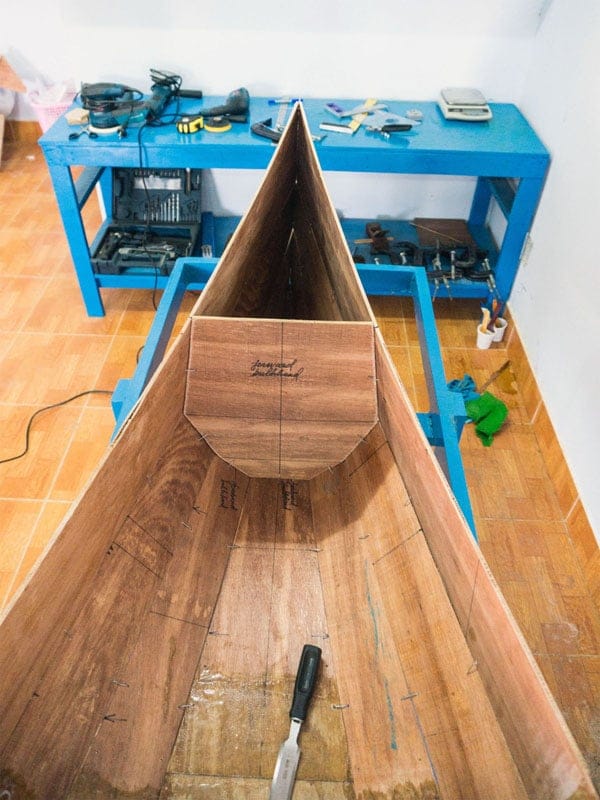
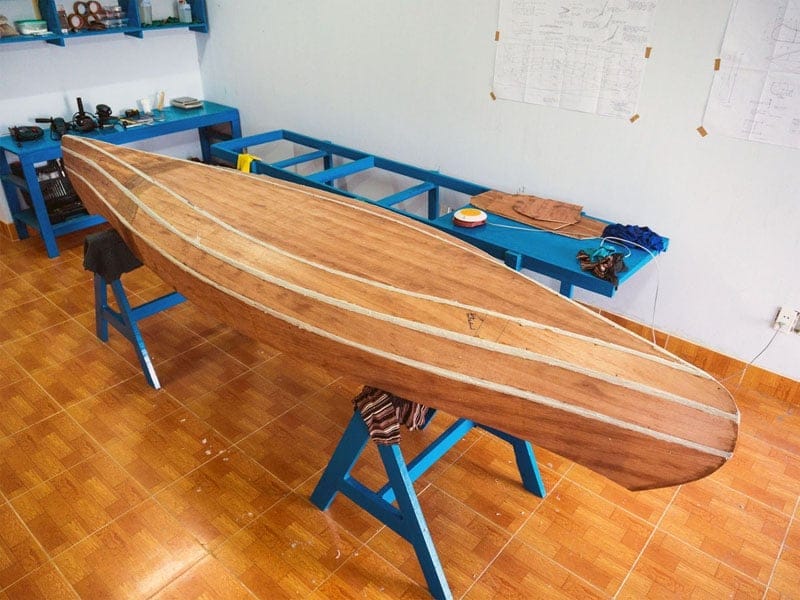
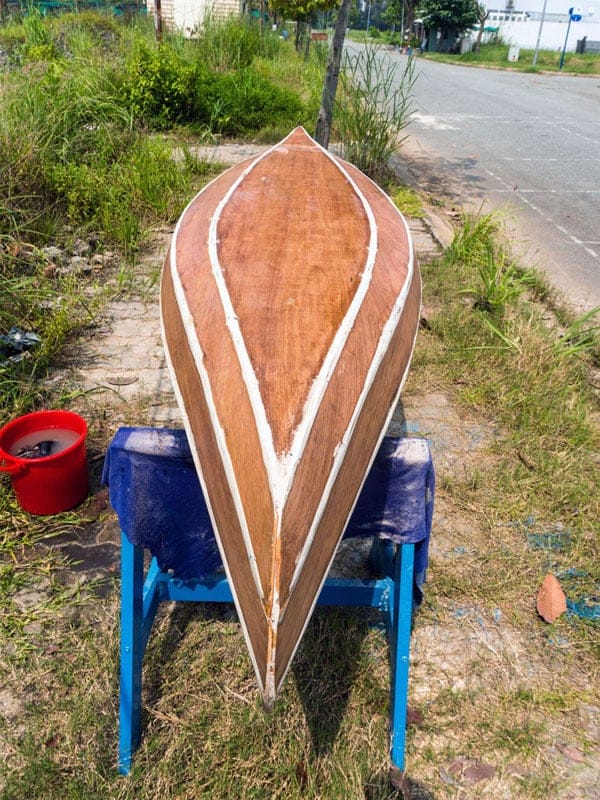
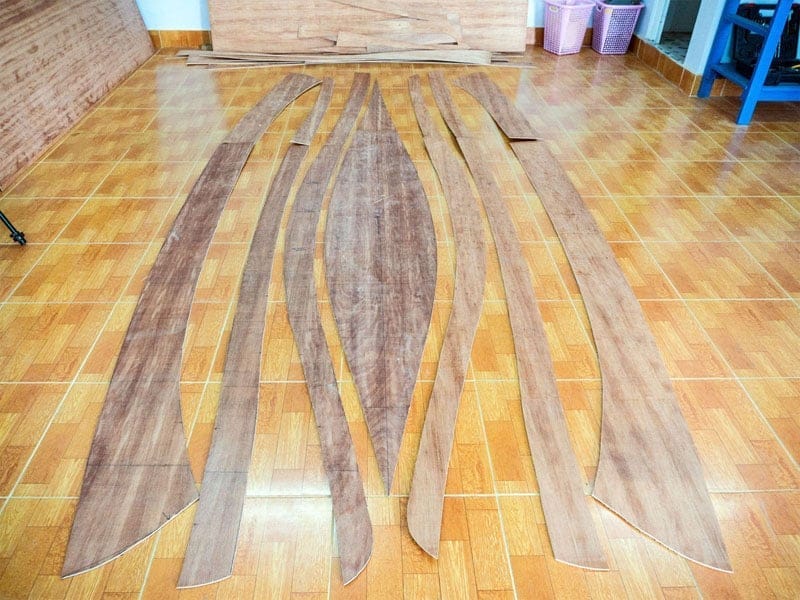
 he canoe construction has reached about 3/4 of the overall progress, but there’s still much work ahead. Lots of small errors and mistakes made here and there, lots of lessons learned, but I’m happy to see the general status of the canoe standing well. Since I’ve put more materials (epoxy, fiberglass, hard wood…) into the boat, its final weight might far exceed the projected 20 kg, but that’s not very important anyhow. If it’s too heavy to be easily carried on one’s back, I’ll make a simple carriage to help moving the thing (with my bicycle) around then! Although designed to be mostly a solo canoe, for now I see it can easily accommodate two persons and some little gears, making it a nice weekend fishing canoe very soon in the next 10 days or so! 😀.

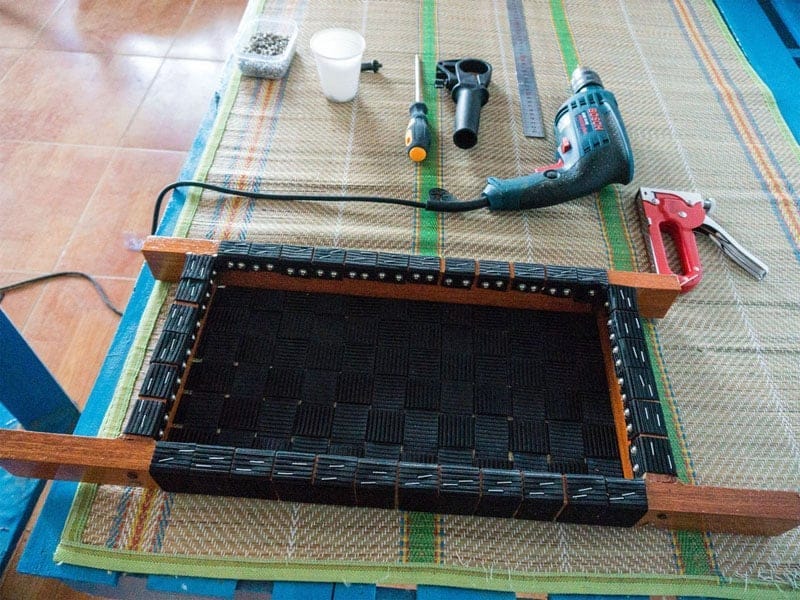
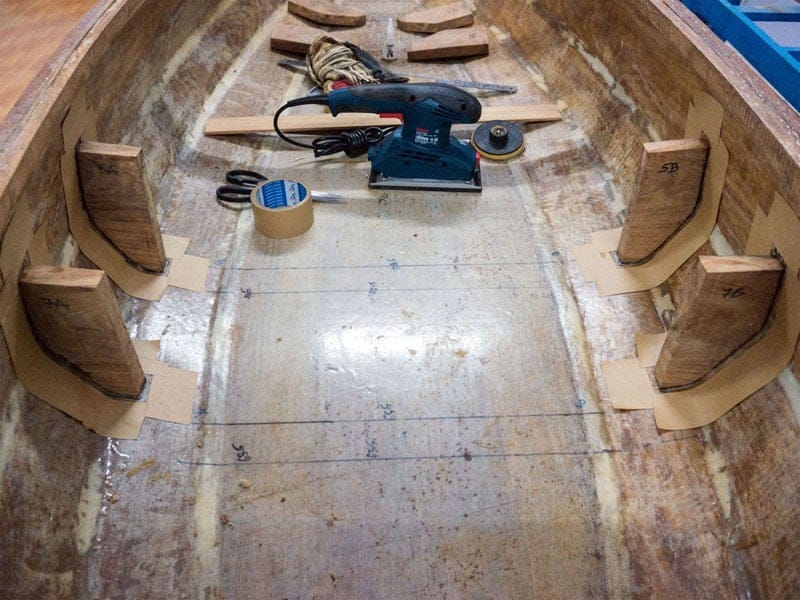
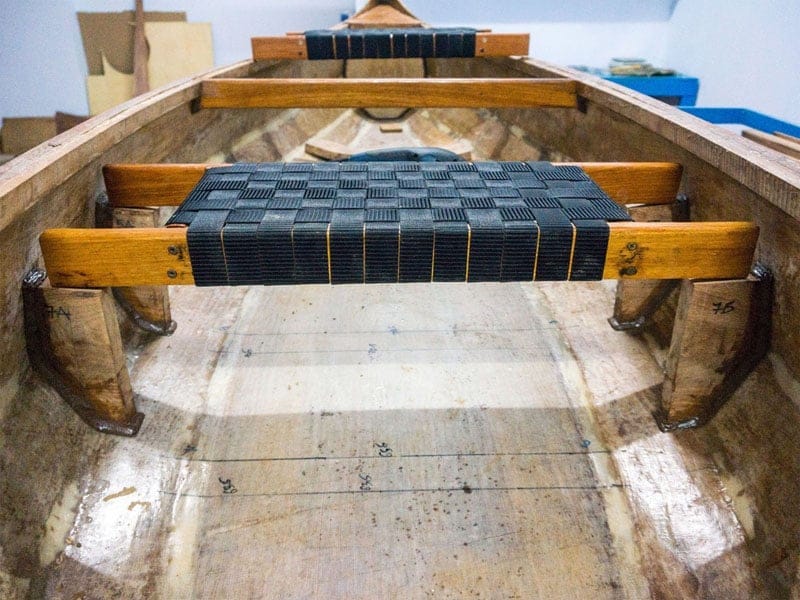
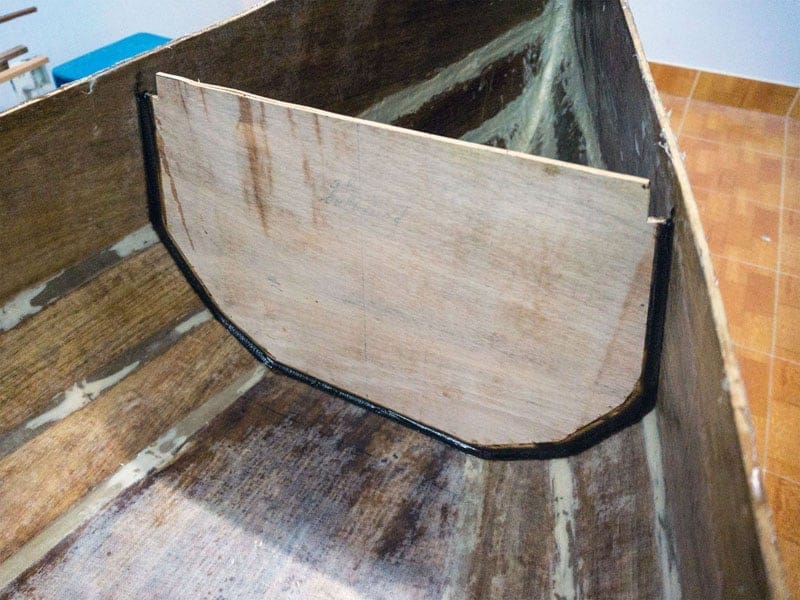
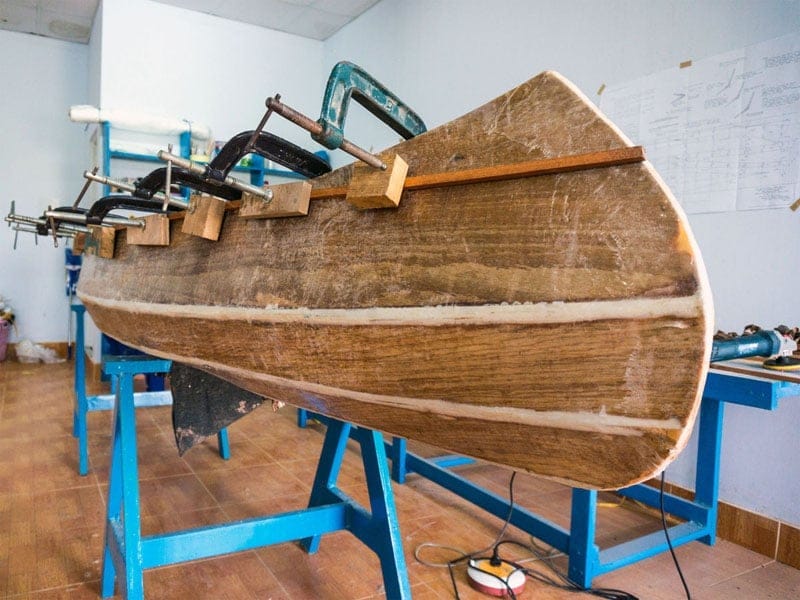
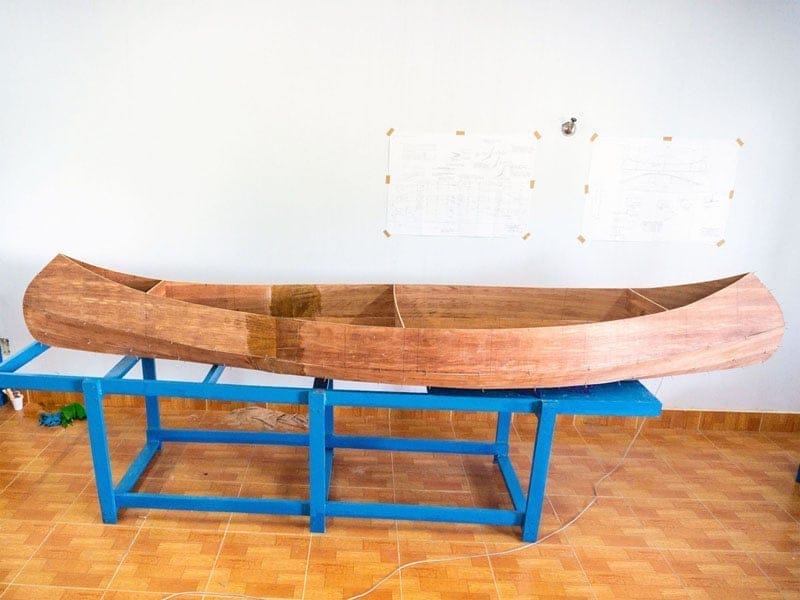
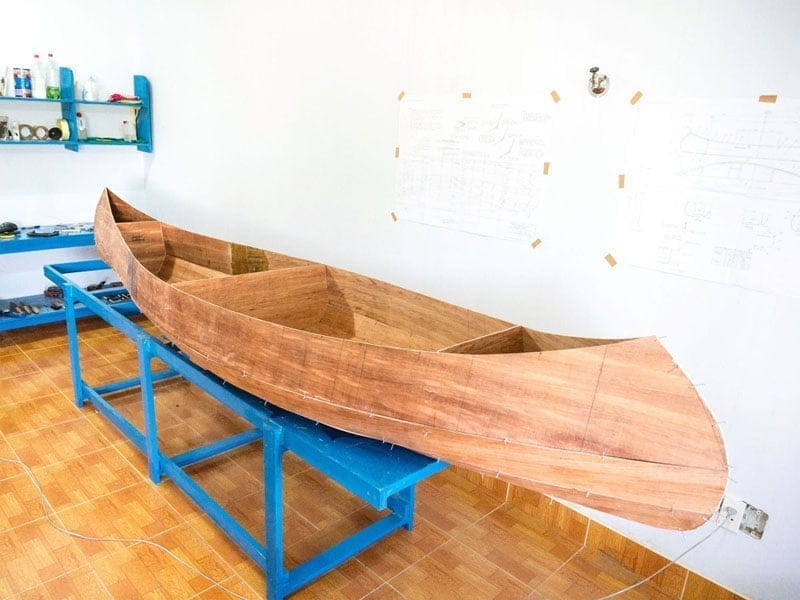
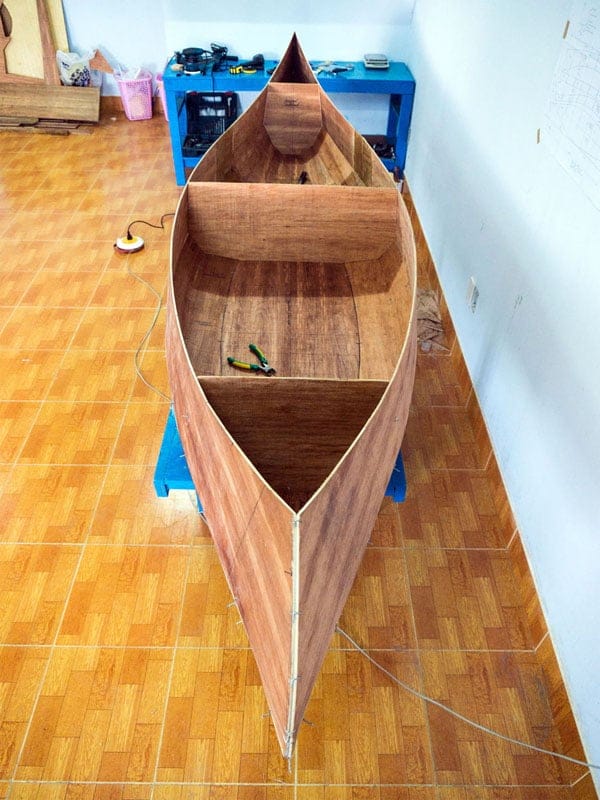
10. SEATS
One of the most important things when go paddling for extended time is… the seat. If you spend several hours mostly with your upper body in action while the lower part doesn’t move much, you’ll understand why a comfortable seat is very much needed. I’m gonna install two seats, to prepare the boat in tandem configuration. Usually, seats are just mounted (hang) against a single bilge, but I think that installation is too weak. Instead, I will make 4 legs to support a seat, each leg also serves to link 3 bilges together, hence strengthen the boat overall rigidity. It could take some times to cut and install the 8 legs into the correct shapes and positions, but if done properly, the boat structural strength would be much improved, that’s worth the efforts.

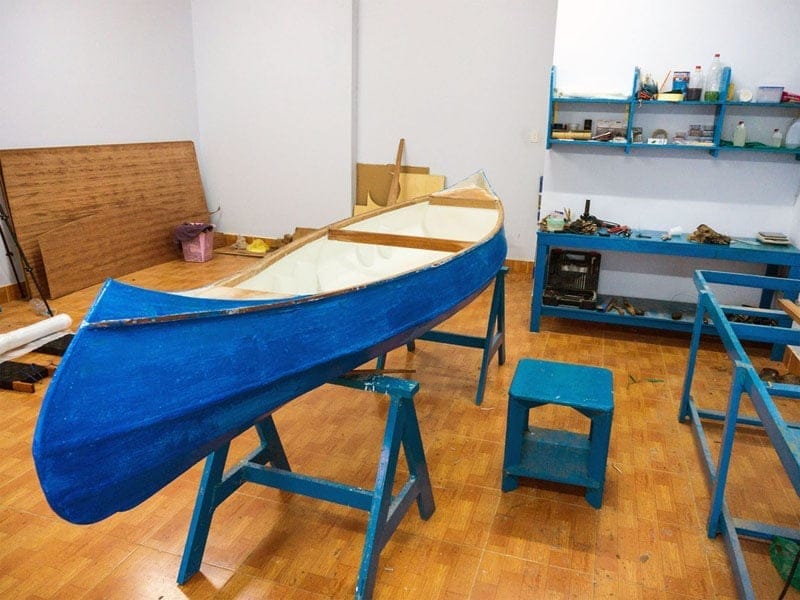
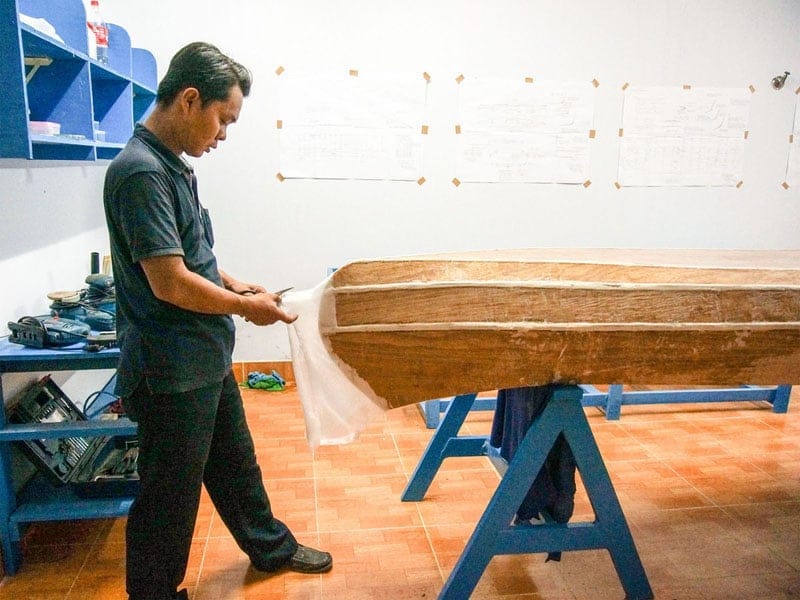
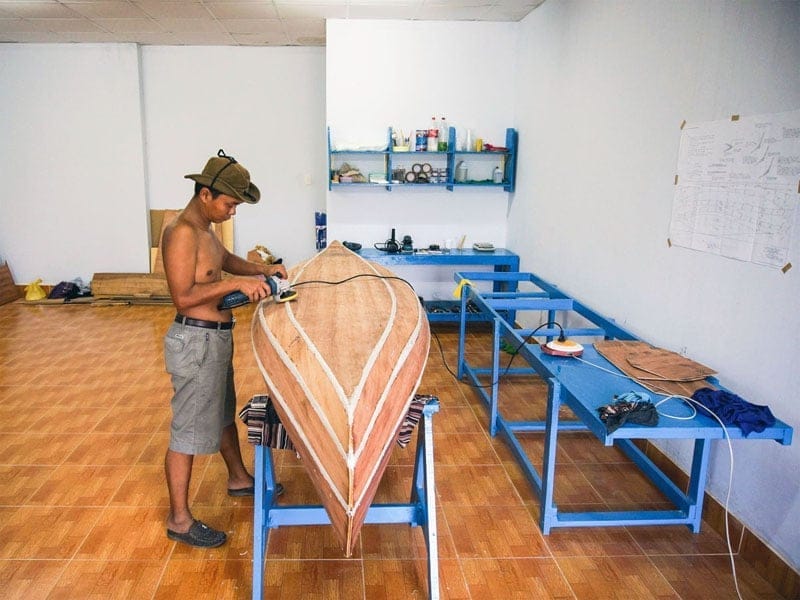
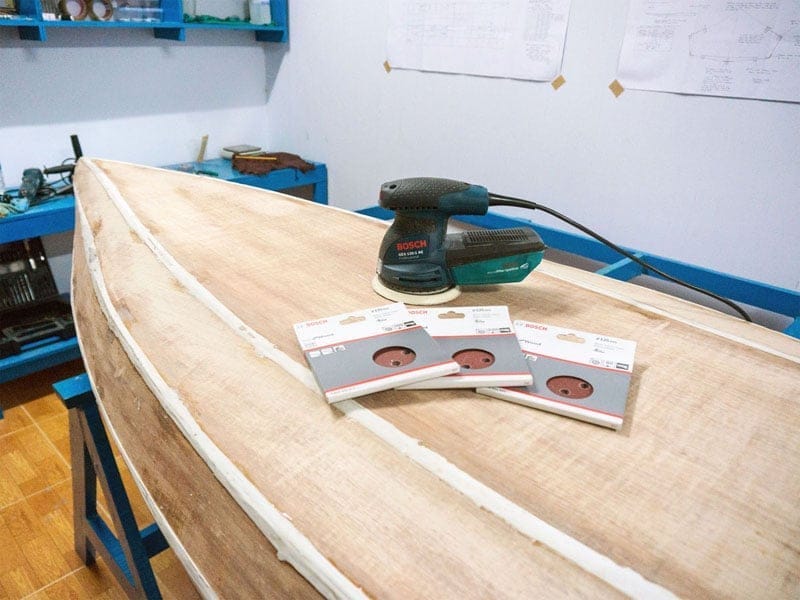
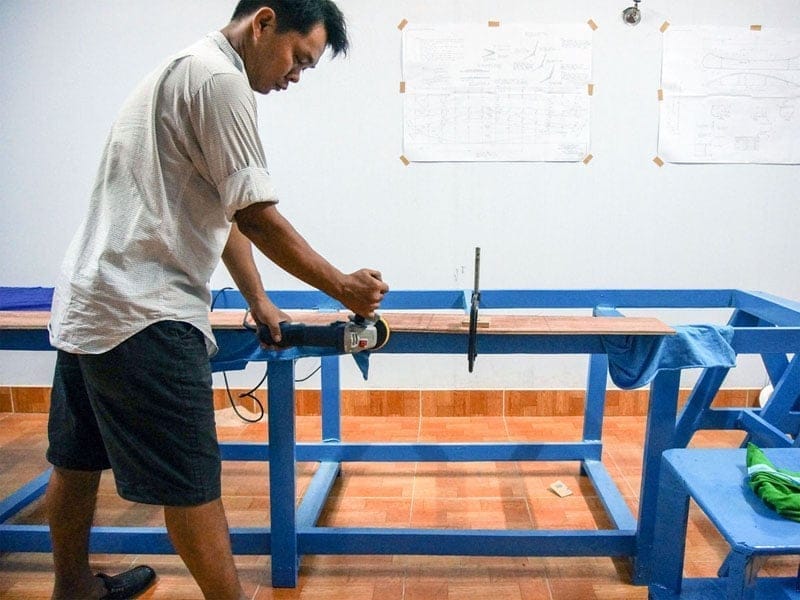
11. PAINT
Next comes the job of painting… Unlike the old – day, one – part paint, which is simple to use, today two – part PU (polyurethanes) offers superior properties, but is more complex to work with. First I would need to sand the hull at 120 grit in preparation, then apply two layers of primer, sanding after each layer (150 & 180 grit), then apply two other layers of main coats, then briefly sanding again at 240 grit, finally a topcoat of gloss. In total: 5 layers of paint and 4 times of sanding are required for the interior and exterior, a huge pile of work. I allocate 5 days (could be more) just for this painting job 😢! Actually, I don’t expect a really fine, shiny finish, and the topcoat would only be semi – gloss (or even satin – gloss), it just need to be smooth, that’s already good enough for me.
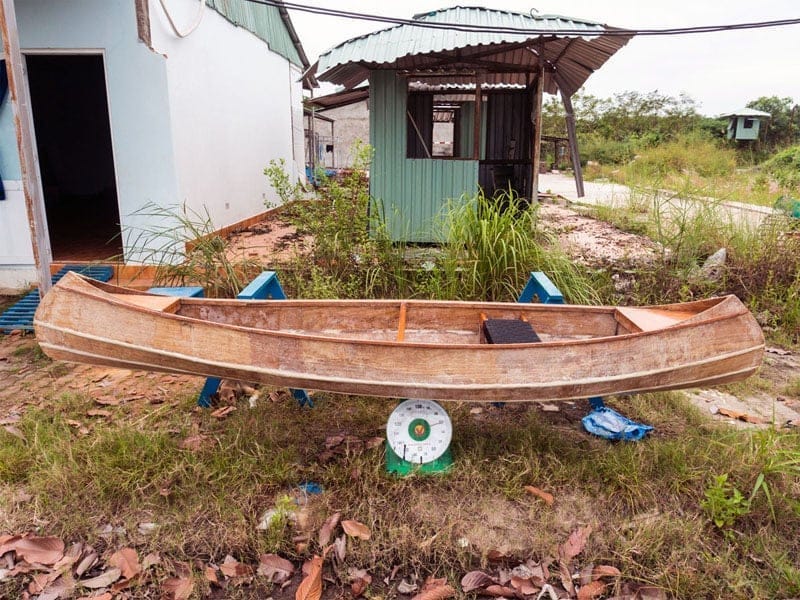


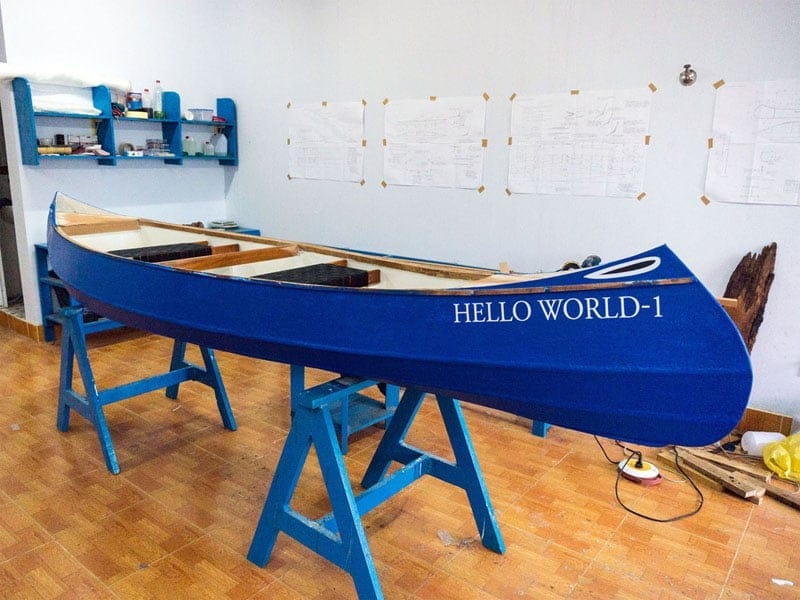
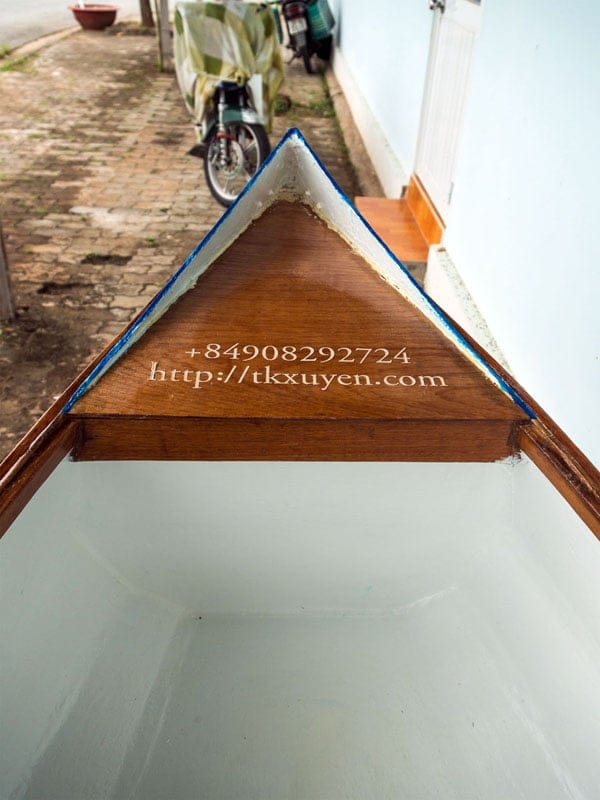
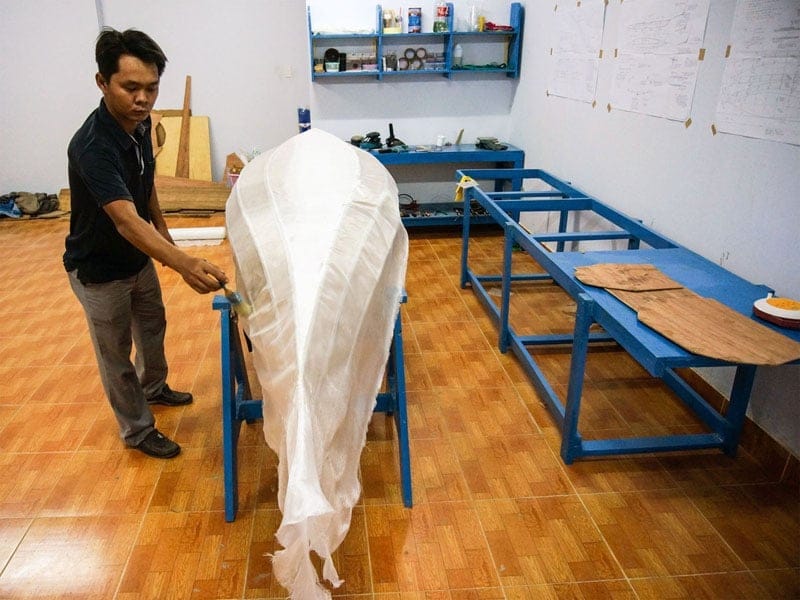
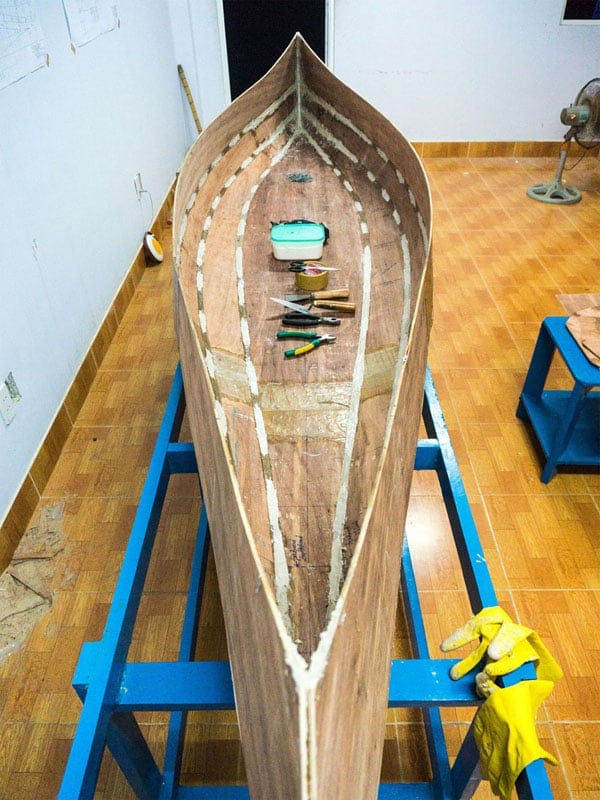
12. FINISH
There’re still many small jobs that need to be done to finish the canoe: polish and varnish the naked wooden parts, cut and stick the decal decorations (boat name, owner’s contact information and especially the boat eyes, a must – have, intrinsic part of Vietnamese boats); apply the topcoat (a semi – gloss on top of the decals to protect them from the weather), adjust and fit the two seats, fit two handles at two ends to help lifting the boat… and some other miscellaneous items (styrofoam fenders…) I intend to build also a simple trailer (some wooden planks with two small wheels) to reduce the burden of moving a 35 kg mass on longer distances. Thinking like if I can wait one and a half month to get the boat done, I can wait a few more days to go paddling in it! 😀

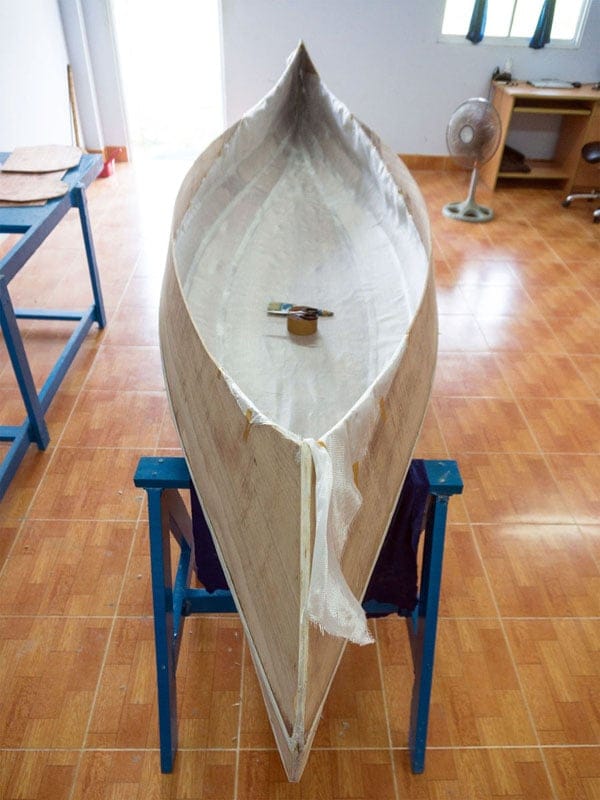
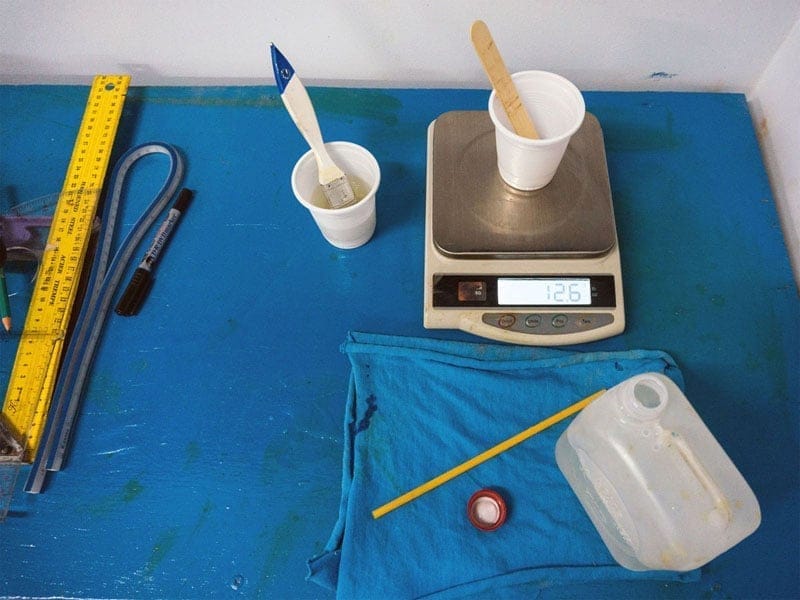
 aving worked with epoxy resin when setting up the workshop, I’ve gained some experiences with it. When mixing component A & B together, the pot time is so short in tropical climate, as the rule states that: reaction time is reduced by half when room temperature increased by 10° Celsius, I usually have less than 3, 4 minutes before it hardens. The average day temperature in Saigon this season is around 33° ~ 36°, it makes a tedious task working with epoxy, quite many times did the mixed epoxy burn hot into smoke before I can use it all. Epoxy also exhibits the characteristic of a “chain reaction”: it easily burns hot when the mixing weigh exceeds a “critical mass” of just 30 grams or so (depending on temperature), forcing me to mix into smaller batches.
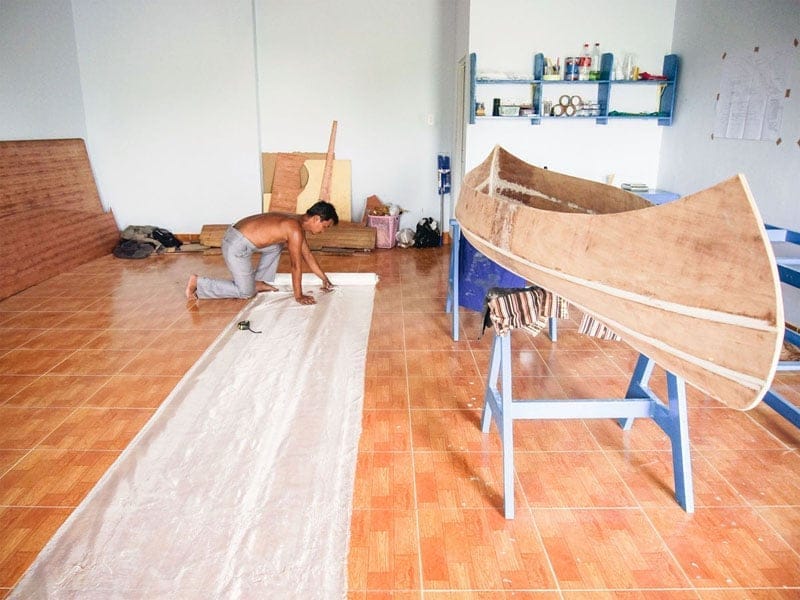


 was having quite lots of work, those coding stuffs, and suddenly I recall a popular joke of the IT field:


 y first boat project now officially starts! 😀 I’ve been thinking about building my own boat for a very long time, but still couldn’t arrange for it. Now, just have to stop daydreaming about “the ultimately – beautiful watercraft of my life” and roll up my sleeves. Given my poor woodworking skill set, after lots of consideration, I’d decided to start with a simple design and construction method, a 12 feet (3.66 m) Selway Fisher’s Asymmetric Baby Raven, intended to be my general purpose / fishing canoe with the given name: Hello World – 1 😀. In the upcoming blog entries, I will try to keep a log on the building progress, which is expected to finish within a month or so, cause I would mostly work at weekends, and some limited hours in the weekdays.


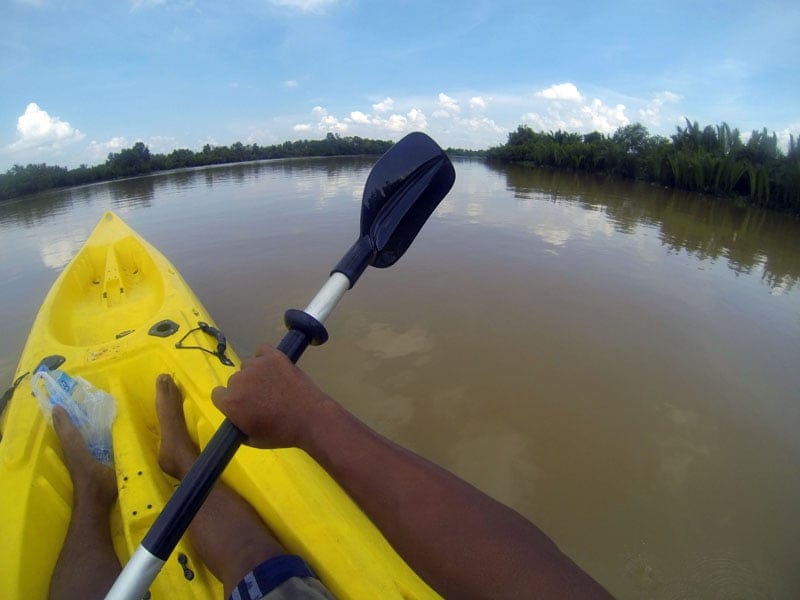
 tay at the 15 ~ 16 kilometers level for quite long already and can’t proceed further, it’s just because of my limited time. In order to practice beyond the 20 km range, it would probably take up whole day, not within a single morning or afternoon that I’m currently restricted. Anyway, I’m trying to keep up a good sustaining speed at 5 km per hour (GPS – measured with my Garmin, consider the plastic touring – boat I’m using a kind of clumsy and heavy design), and improving my endurance as well: continuous paddling in 3 ~ 4 hours couldn’t cause much fatigue for me, even at noon while the tropical sun is burning “fabulously”. Experiments with backward – looking camera mounting, too bad that it was raining and so gloomy today for a good video shot!
 ons: buggy, can cause lots of frustration until you’d learned some hand – on experiences with it, image quality is not really good under sub – optimal lighting conditions, short battery life… Pros: simple handling, great protections for outdoor uses (the case is water – proof up to 60m), have tons of accessories for all your needs: diving, racing, skiing… lots of software options and settings to try out… A demo video below, you may recognise the background music: Deep Purple’s Highway Star 😀, once one of my favourite songs! It’s only when reviewing this clip did I realise that traffic is very dangerous nowadays in Saigon (or never has it been safe!?). Should we ban motorcycle completely, I would be happy with

 xperimenting with this new kind of

 ros: ruggedised, water – proof (to IPX – 7 standard only), good battery life (uses 2 AA batteries, I can usually make 4, 5 paddling “sorties” before having to recharge), good display (clearly visible under sunlight with low – LCD – backlight setting), doesn’t depend on cellular network to function like a cellphone, could use both GPS (US) and GLONASS
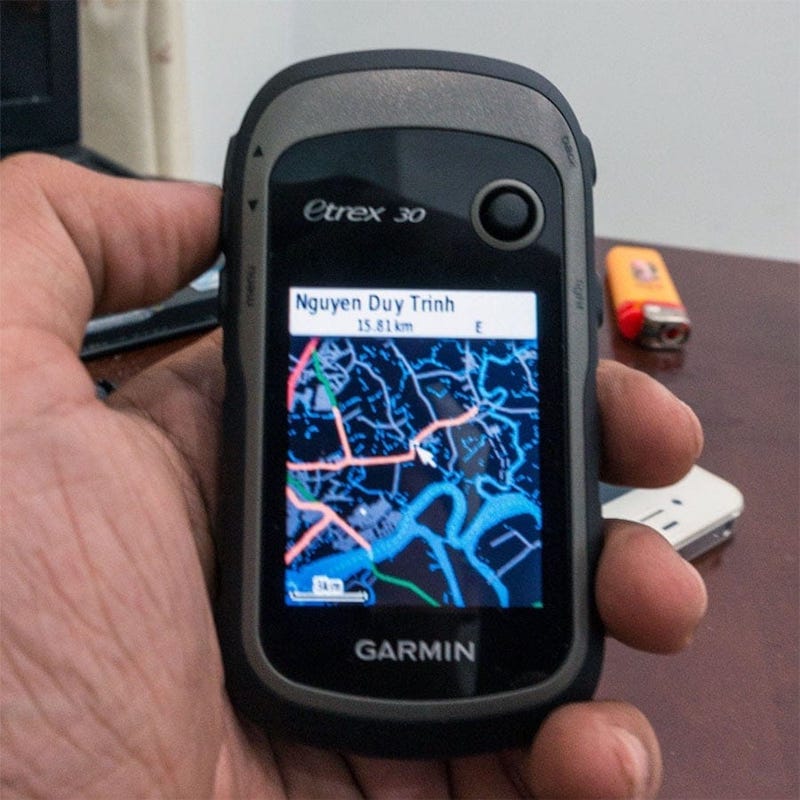


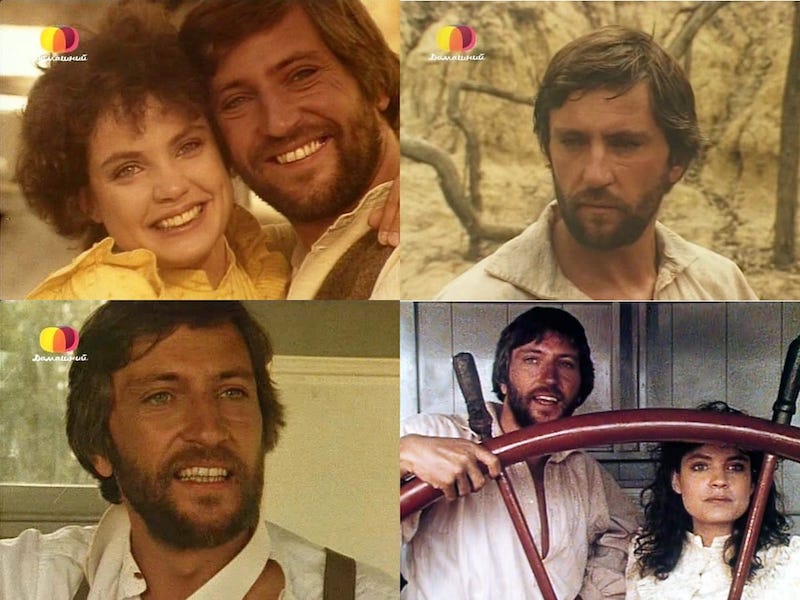
 nyone still remember this famous Australian television series (1983) ?! I can’t remember exactly when, but the series was broadcasted on Vietnam TV some time in the late 80s, under the title: Tất cả những dòng sông đều chảy. It created deep impressions in me, even though many years have passed, and now, I can’t really remember all film’s details, but the silhouette of


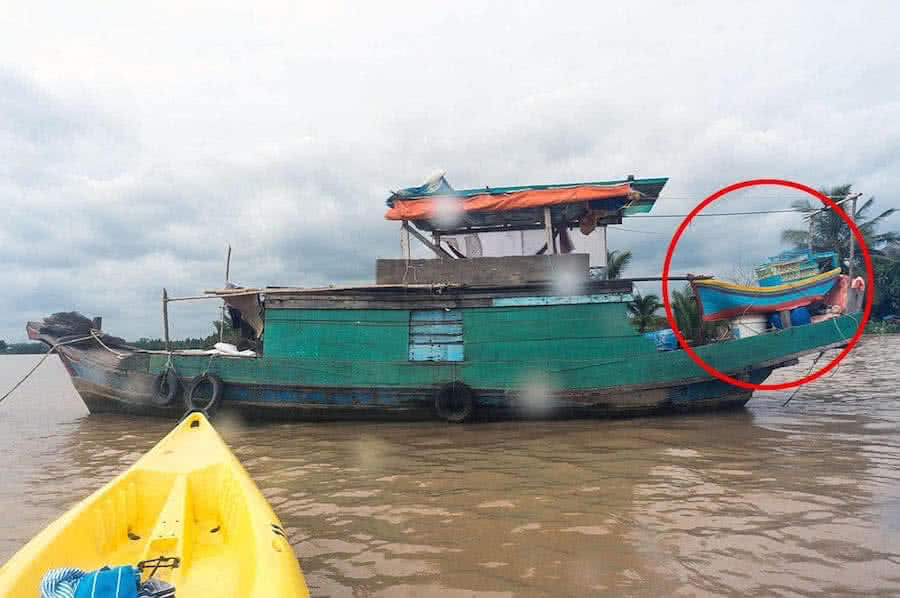
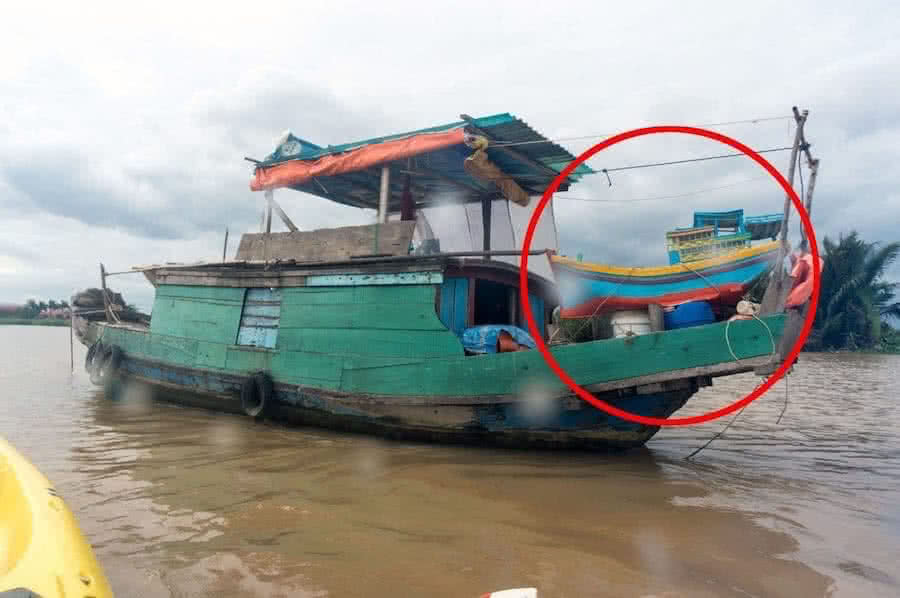
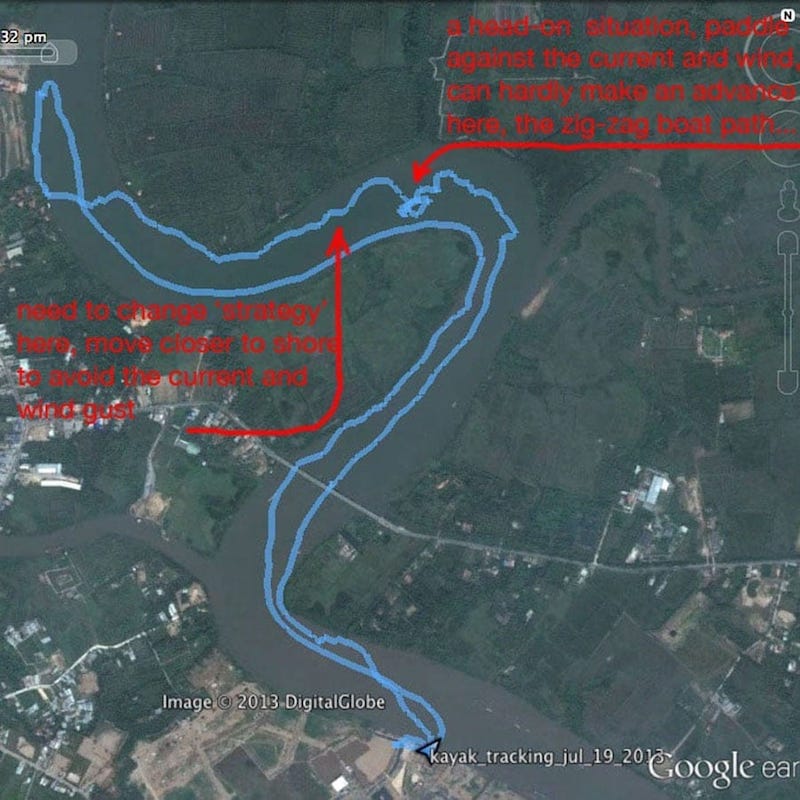
 eached my planned milestone of 15 km, in 2h 55′, or 5.14 km/h in average. I’ve been able to increase my sustained – speed considerably from last measured numbers at 4.4 km/h: revised my paddling techniques, learned a bit about the current, wind and especially the tide, changed to a slightly heavier but narrower boat with greater water – piercing power and lower windage. With the progress made so far, I’m confident to say that my 25 kilometres projected target is foreseeable beyond the horizon! 😀 But apart from those numbers, the best things are many beautiful scenes and interesting encounters on my paddling ways, one of which I would really want to tell below!