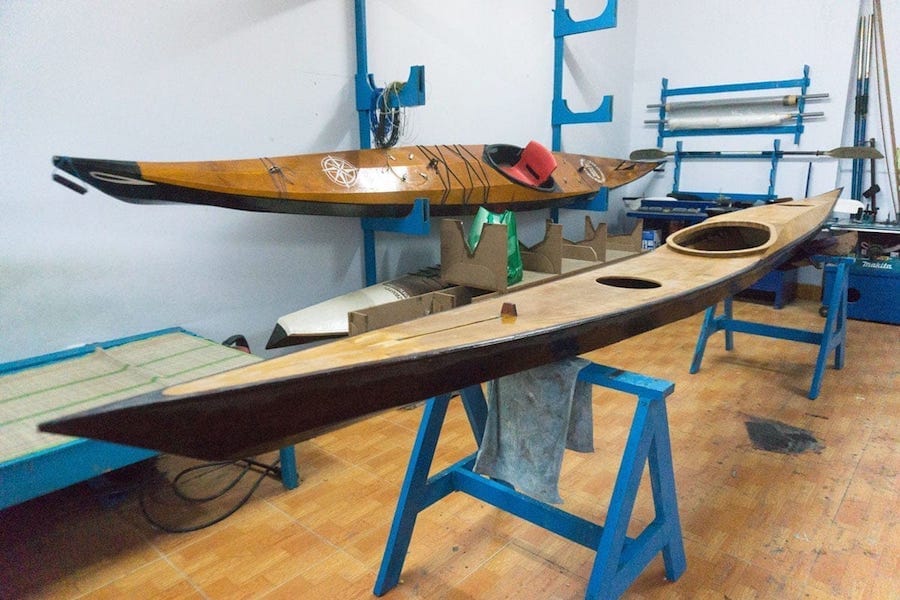
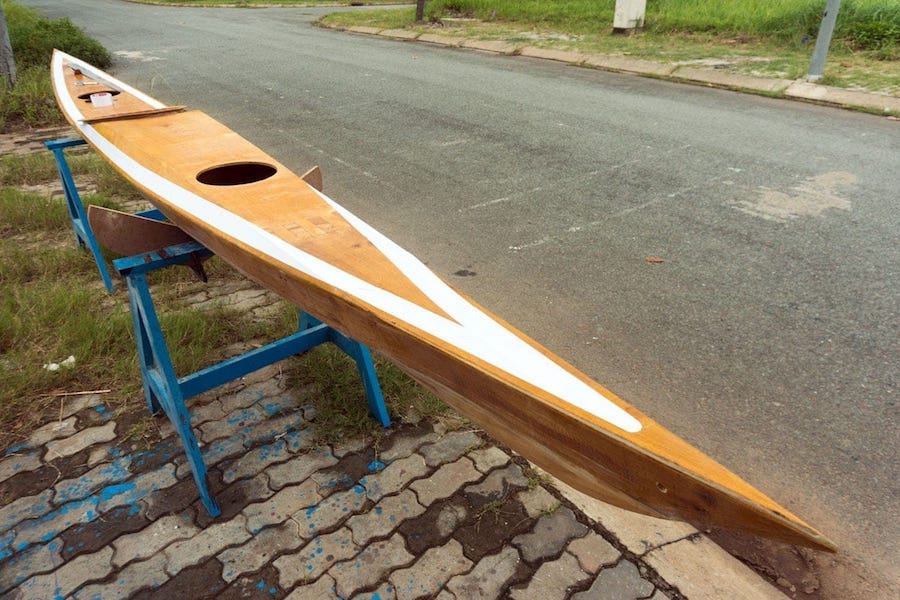
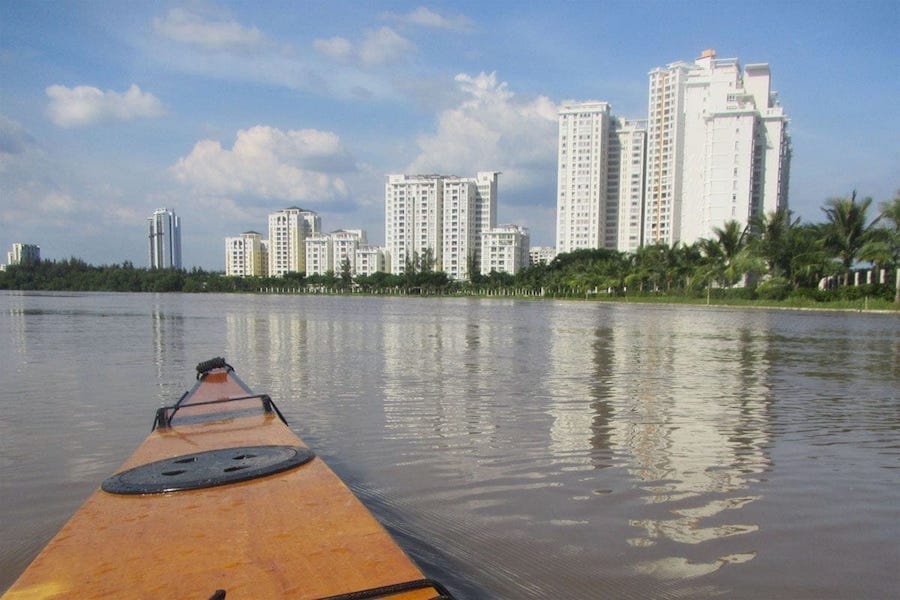
The more I paddle, the more I’m familiar with my new kayak, and the more I feel pleased with her. Maybe on my next boat, I should have the following motto boldly engraved on: built like a gun, run like a bullet!
! 😀 Been quite occupied with my works recently, so for now, I won’t put an emphasis on carrying out the next phases of the project yet, just casual paddling here and there a couples of weeks, to get to know more about the boat, and to enjoy the rainy season at its climax.
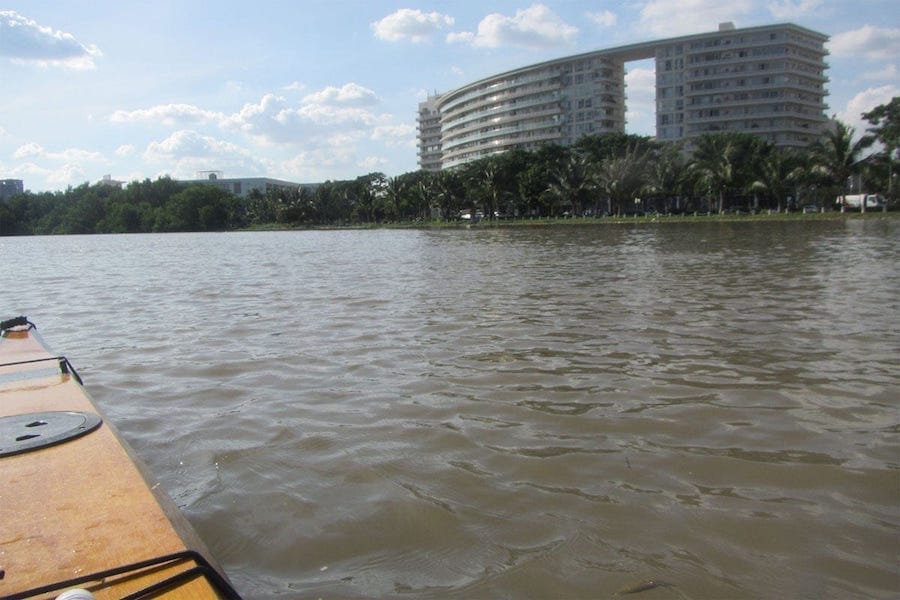

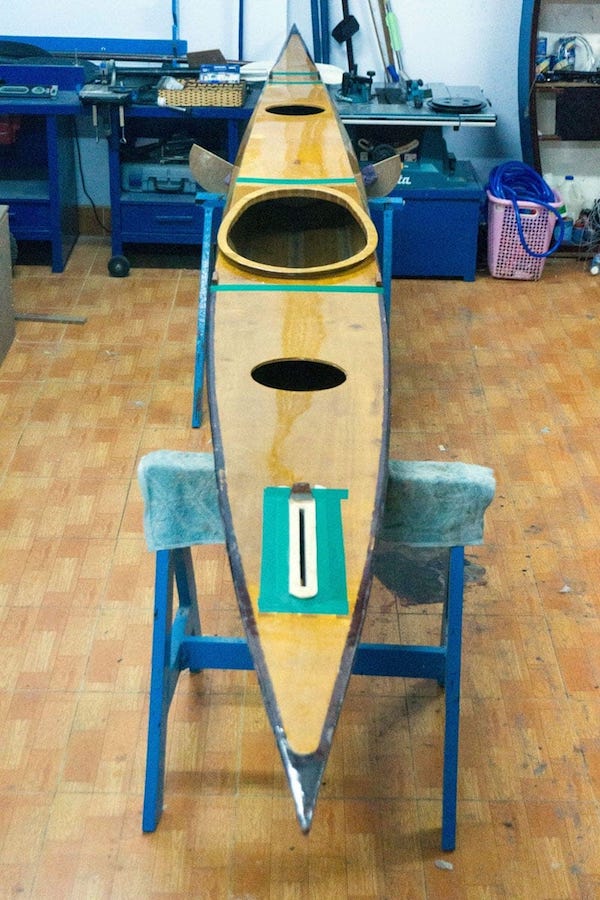
One minor problem with kayak at this beam, I realized, is that just a small shift in weight could make a directional deviation, it is not a problem with the boat’s structure itself, but with the motion of your body in action. Especially on long paddling, my lower body part becomes stressful and tired long before the upper part, so the need for frequent changes in sitting positions, and hence the effects on directional stability. I guess my lower body part needs some further exercising too.

I like making some short sprints with the boat, it takes up momentum easily, just after a few strokes, and makes it very straight on effort, or to see her gently riding down the waves, just like an Andalusian in dressage equestrianship! 😀 Well, when I really have some free time, I think I should build a standard K1 hull, to experience that extreme Olympic racing form, and to better understand the correlations between lines, speed and stabilities, and also for some practicing on flat water.
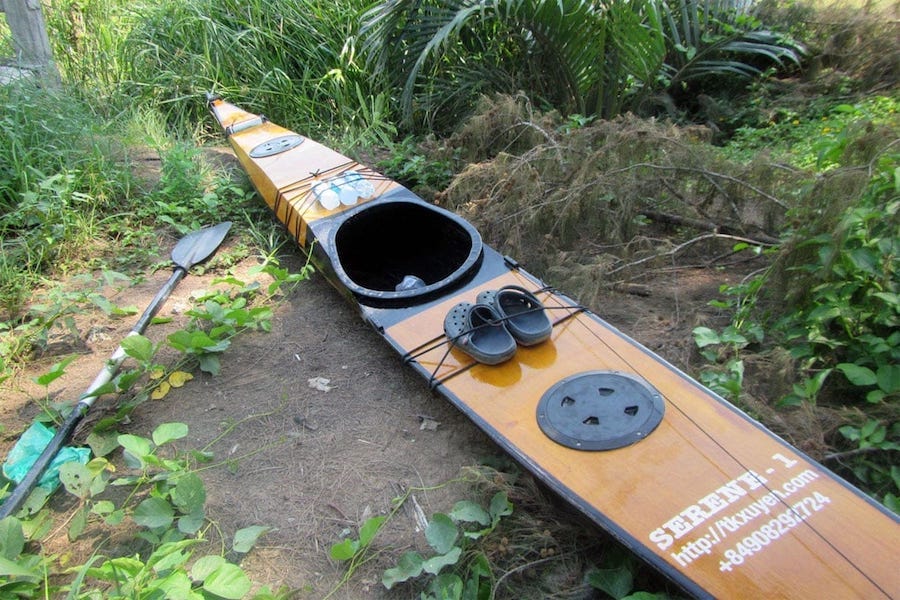
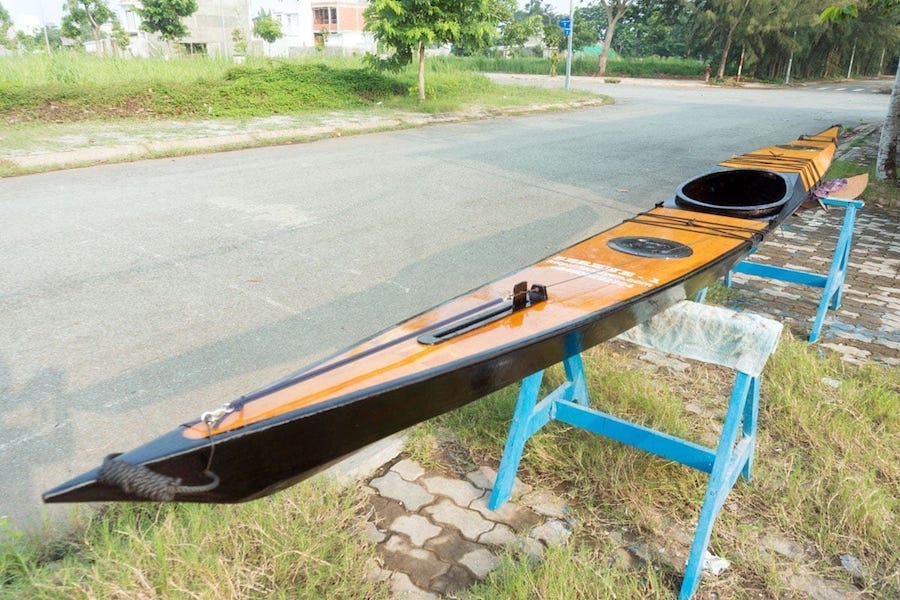
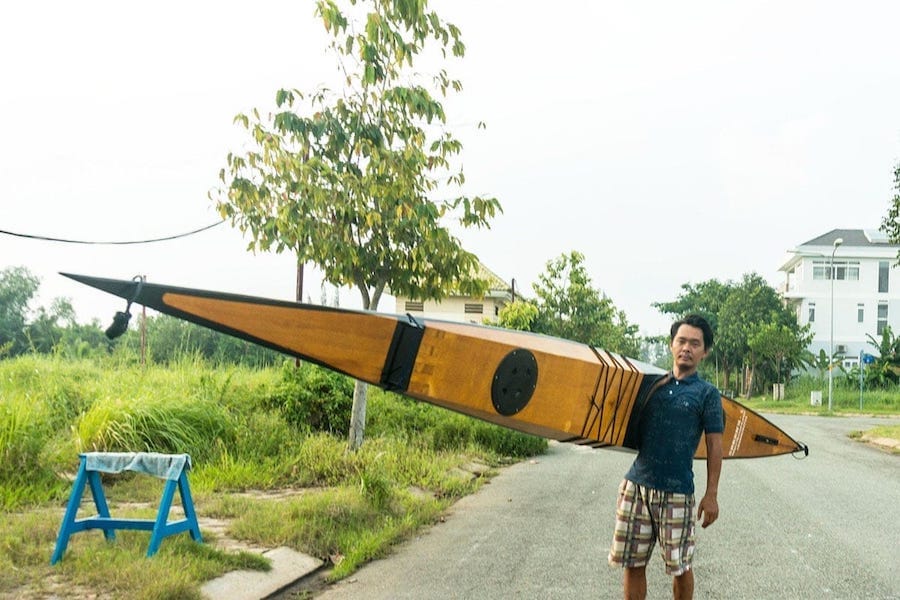
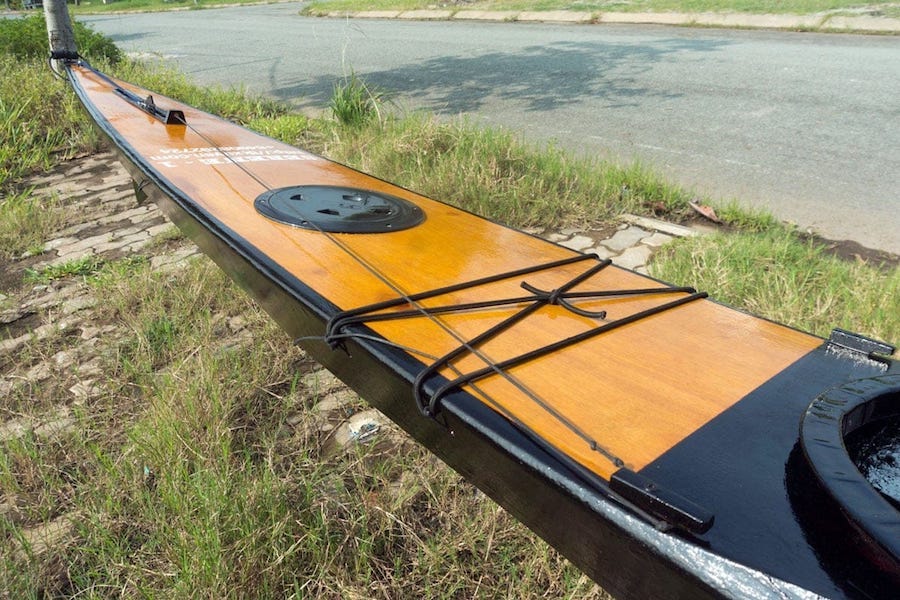
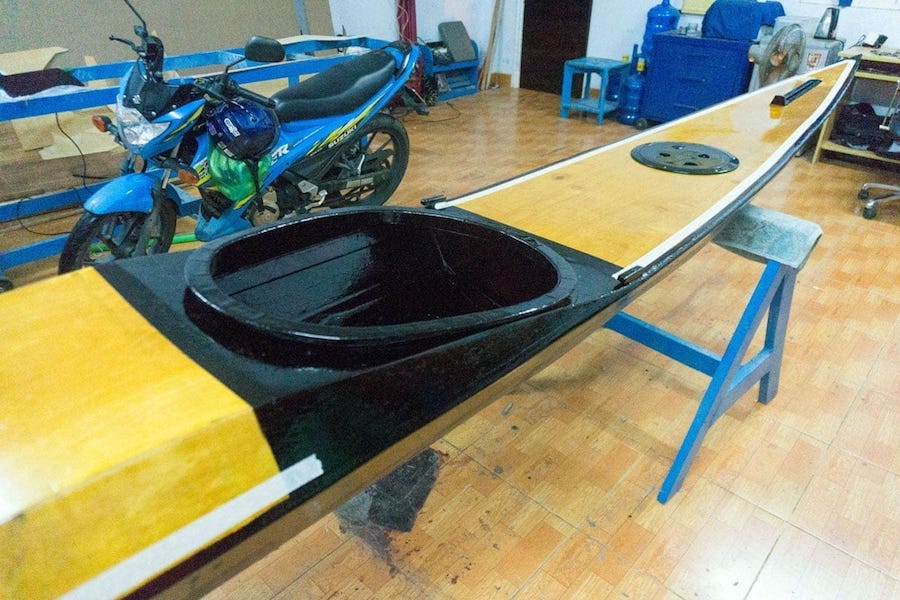
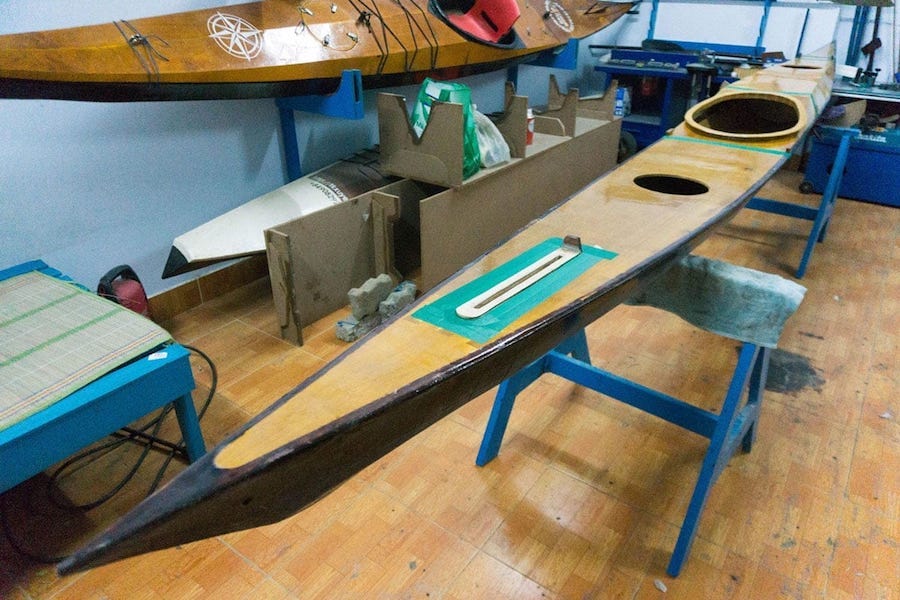
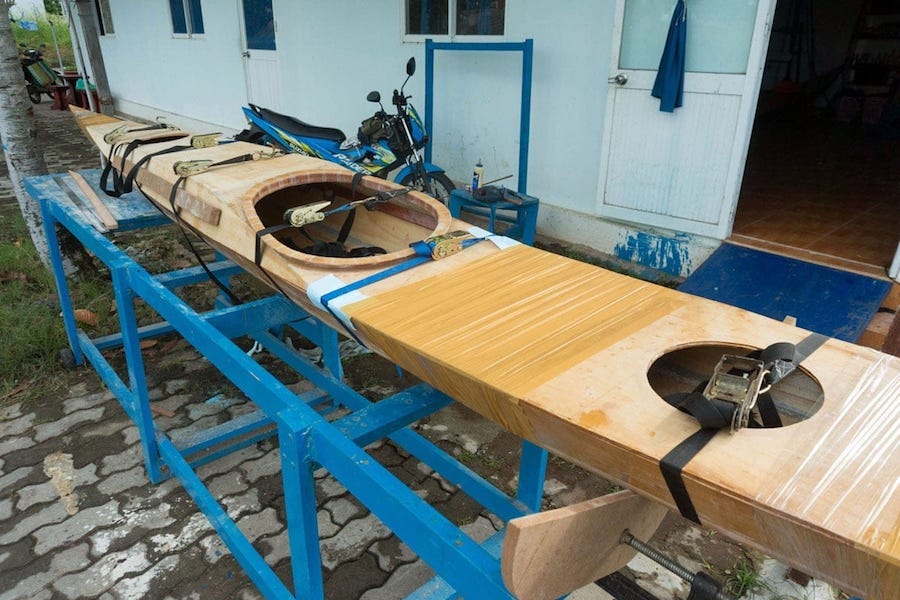
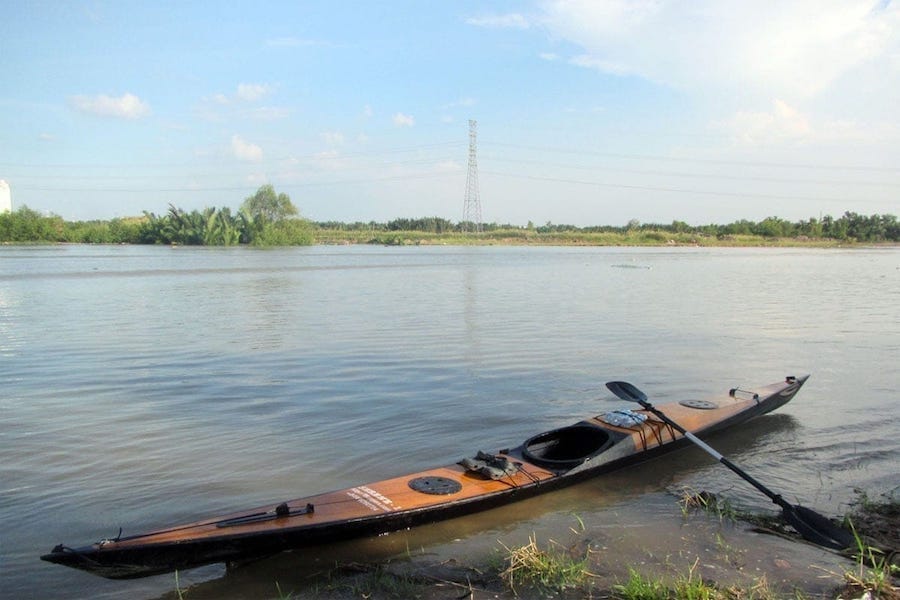
Serene – 1 p1
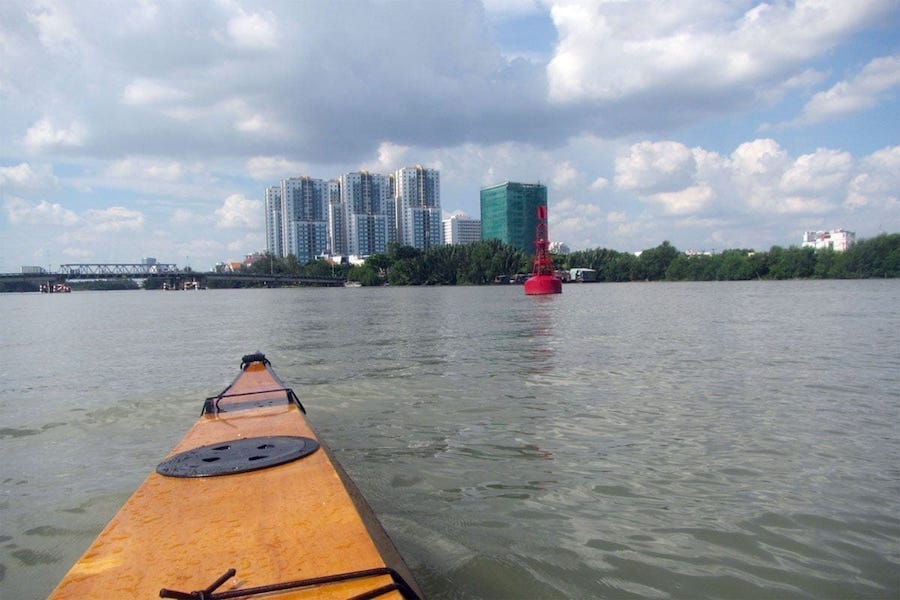
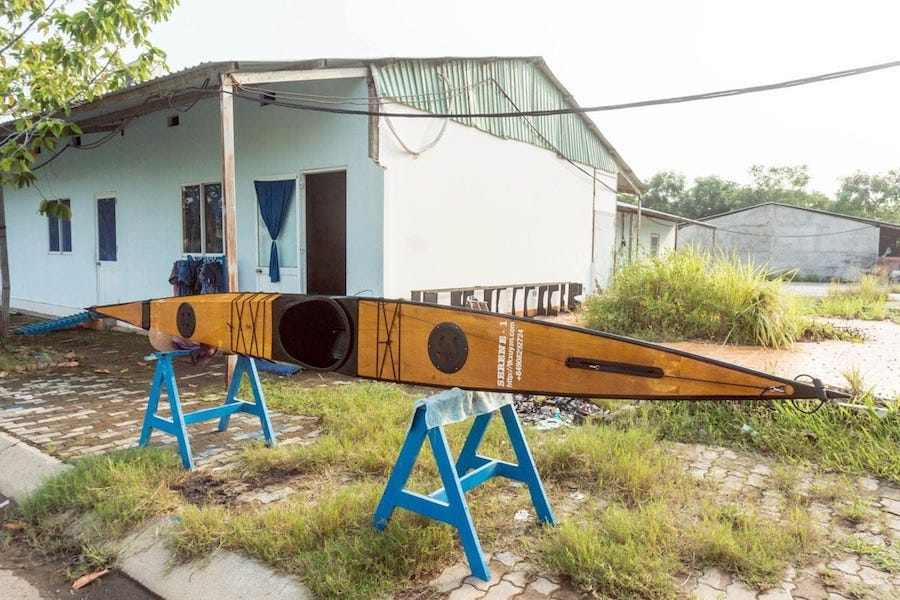
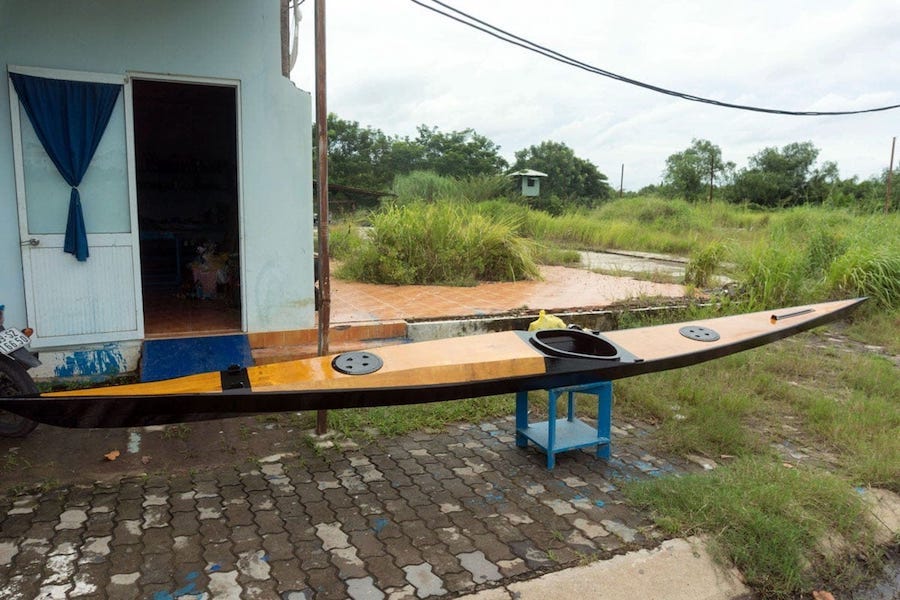
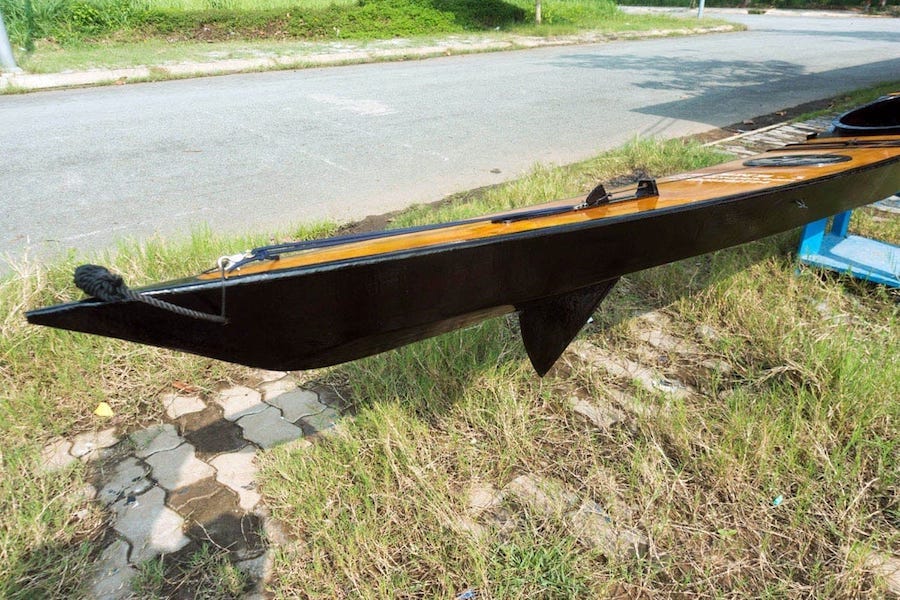
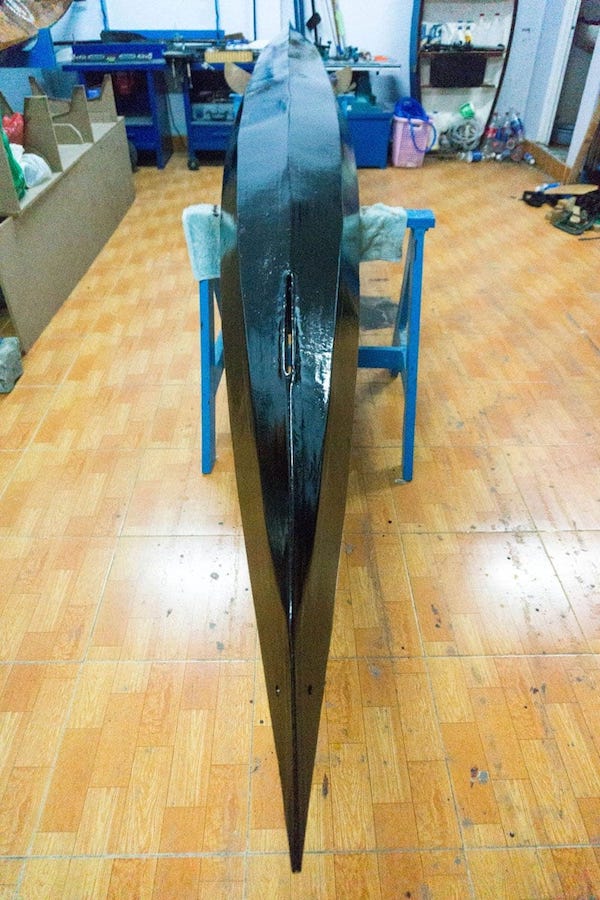
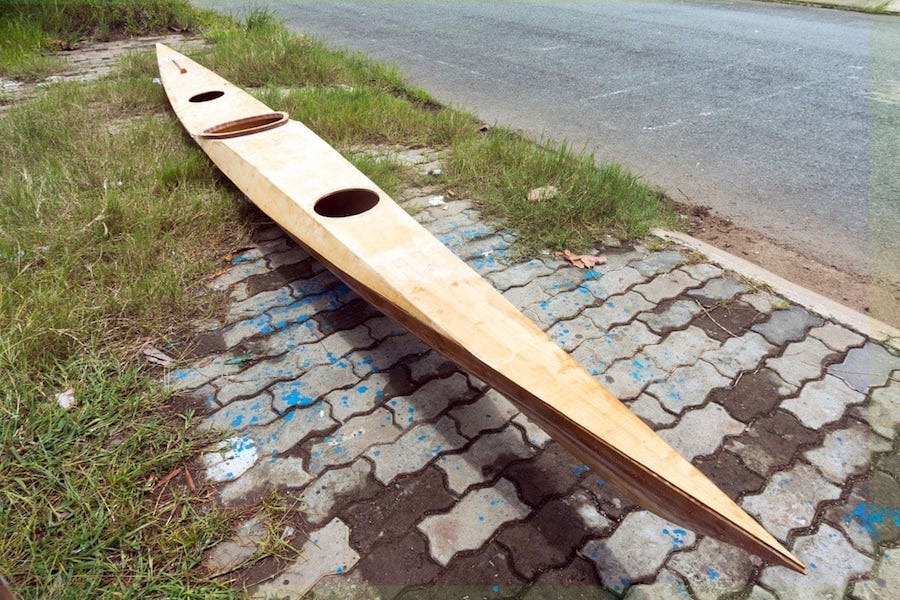
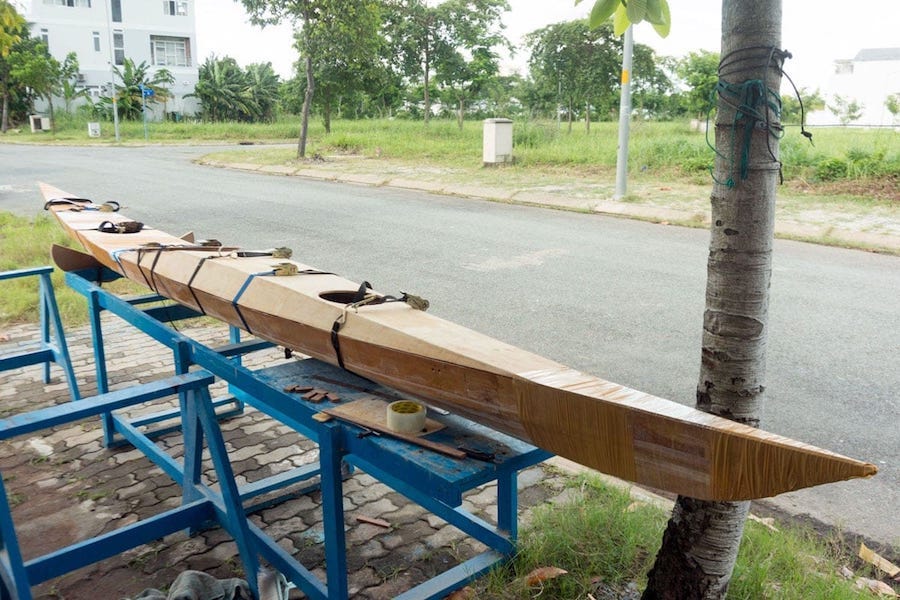
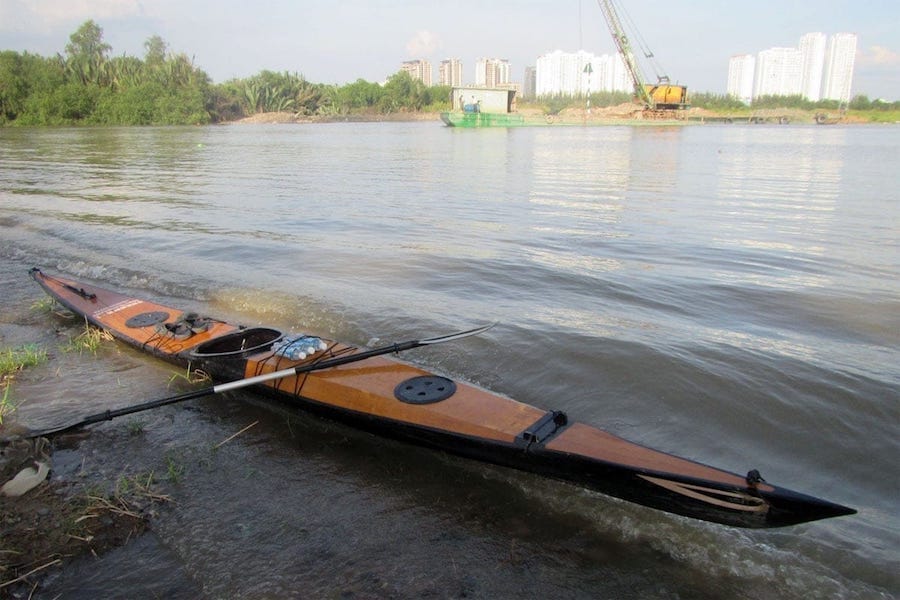
Serene – 1 p2
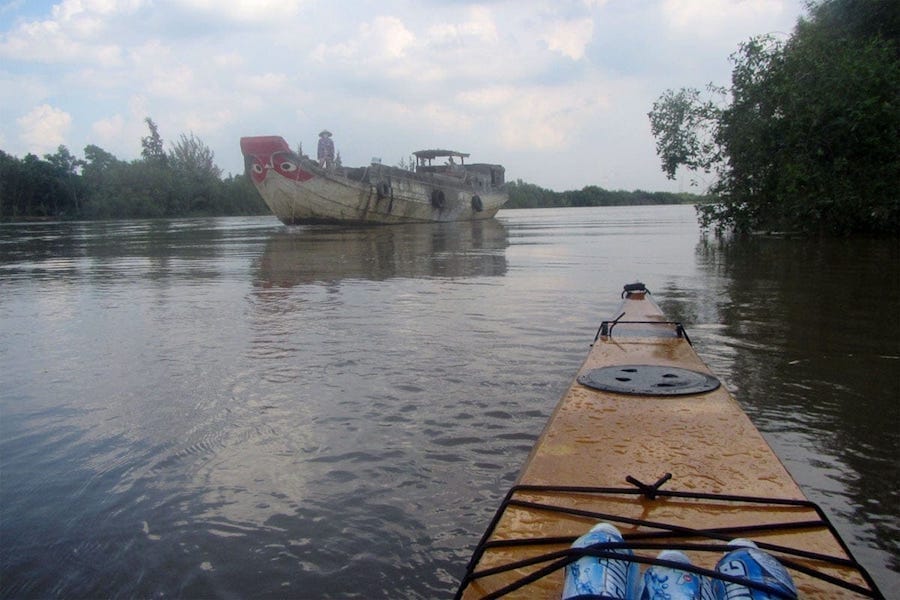
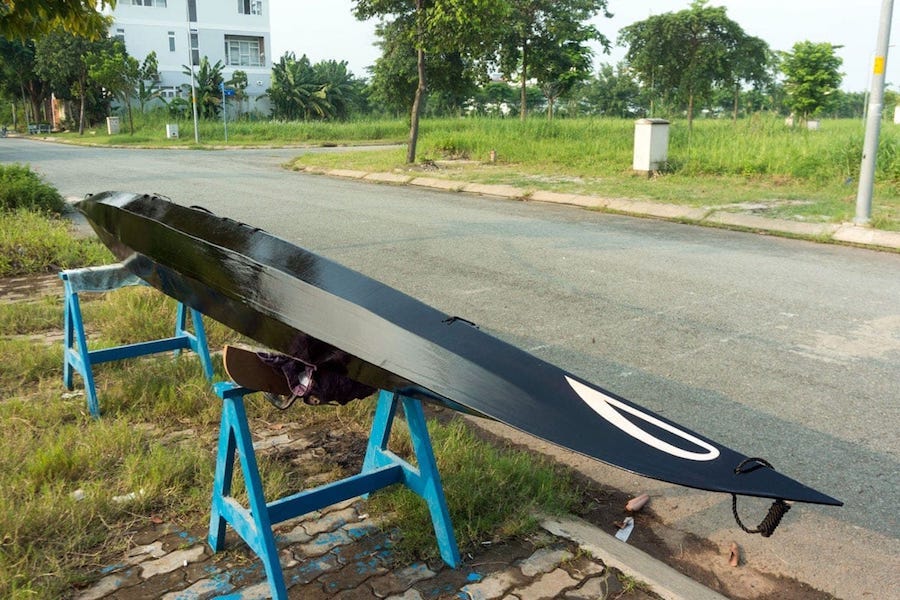
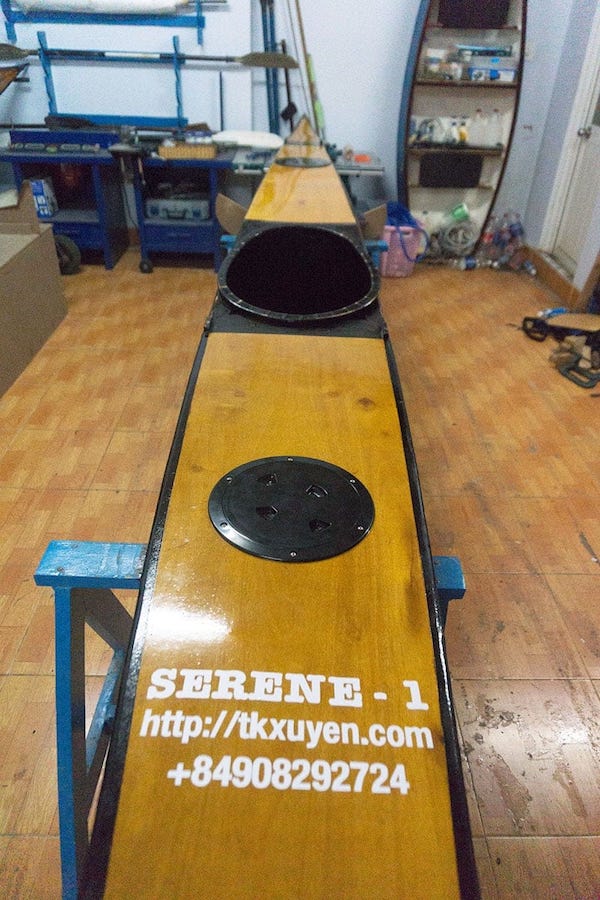
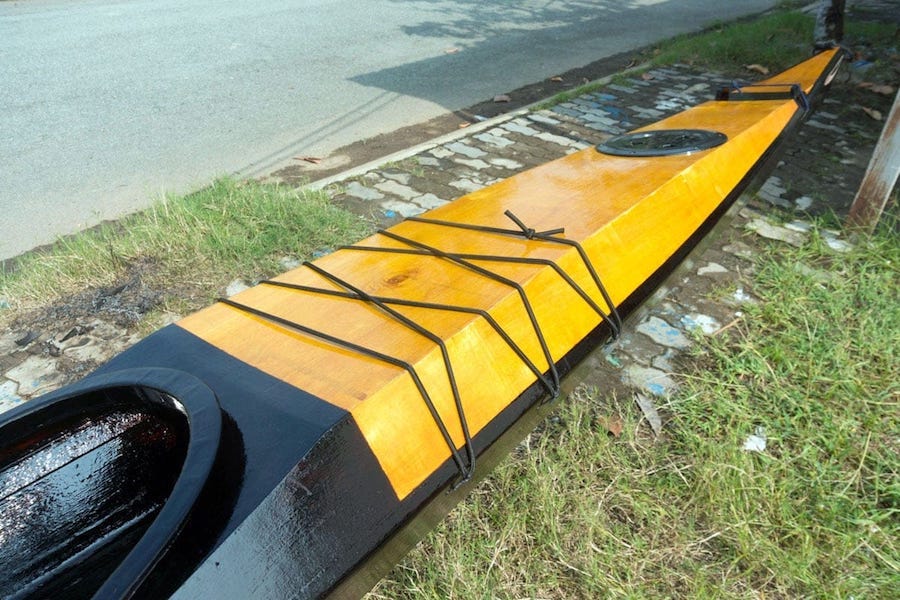
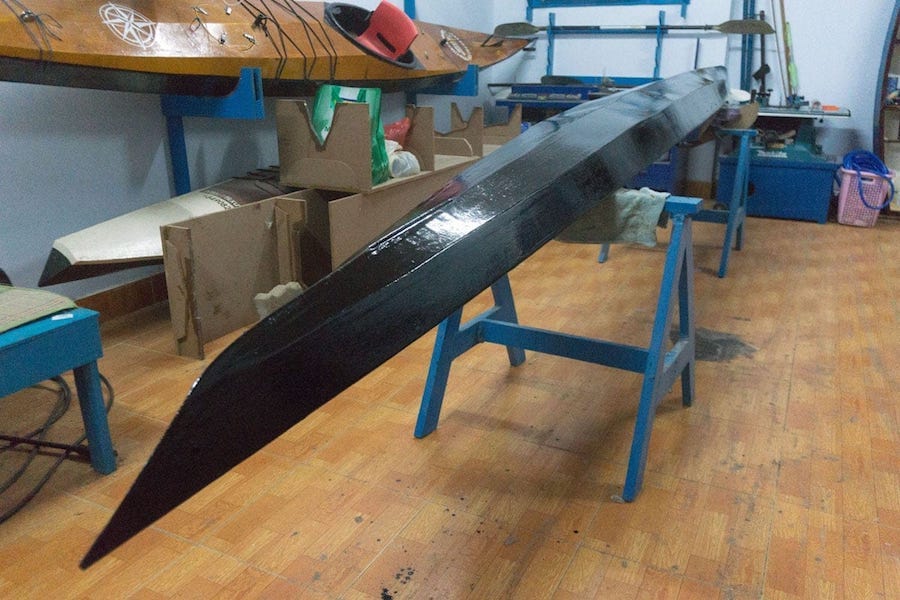
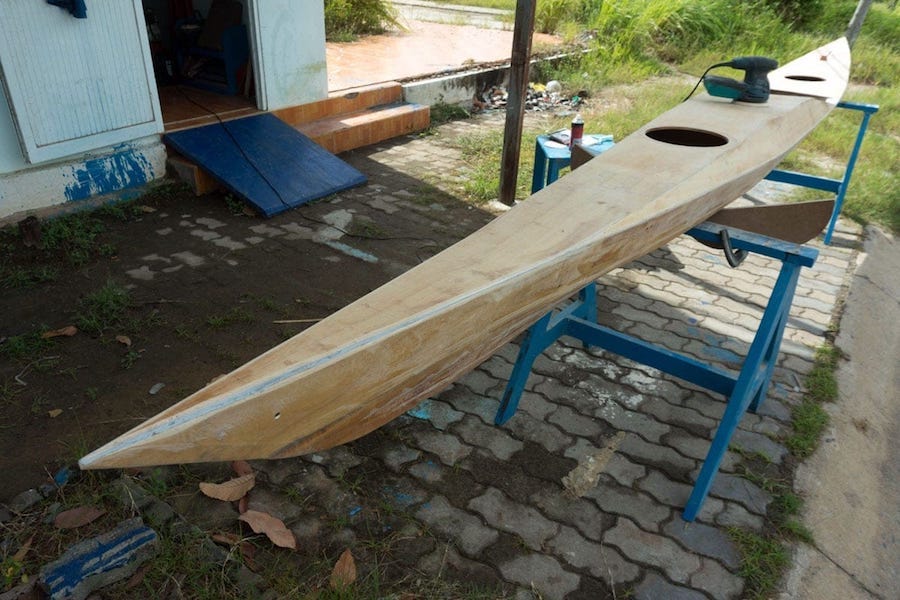
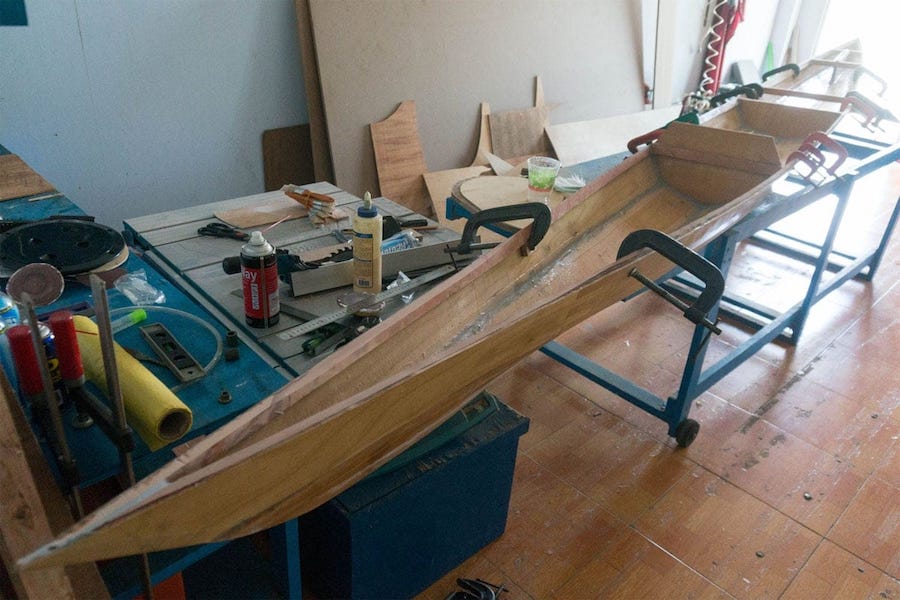
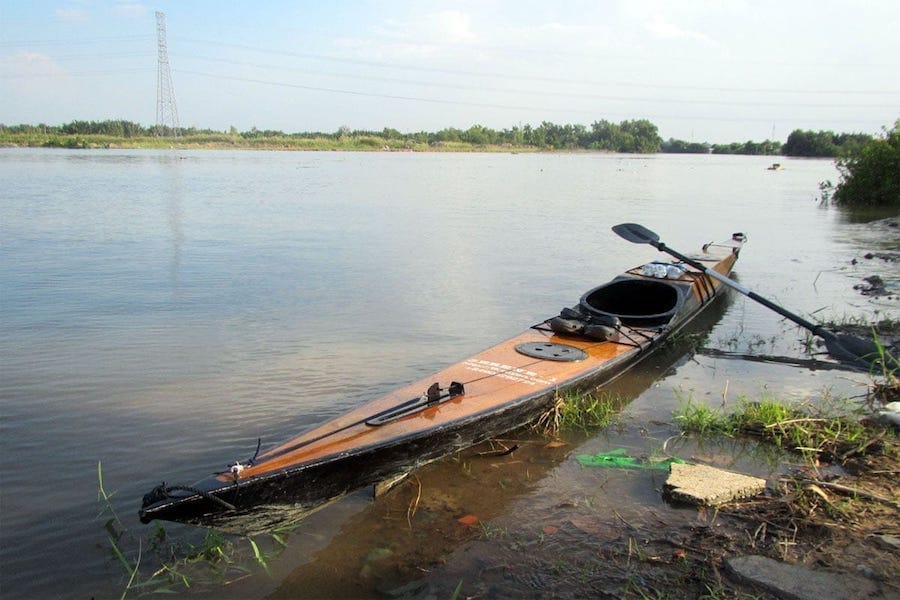
Serene – 1 p3
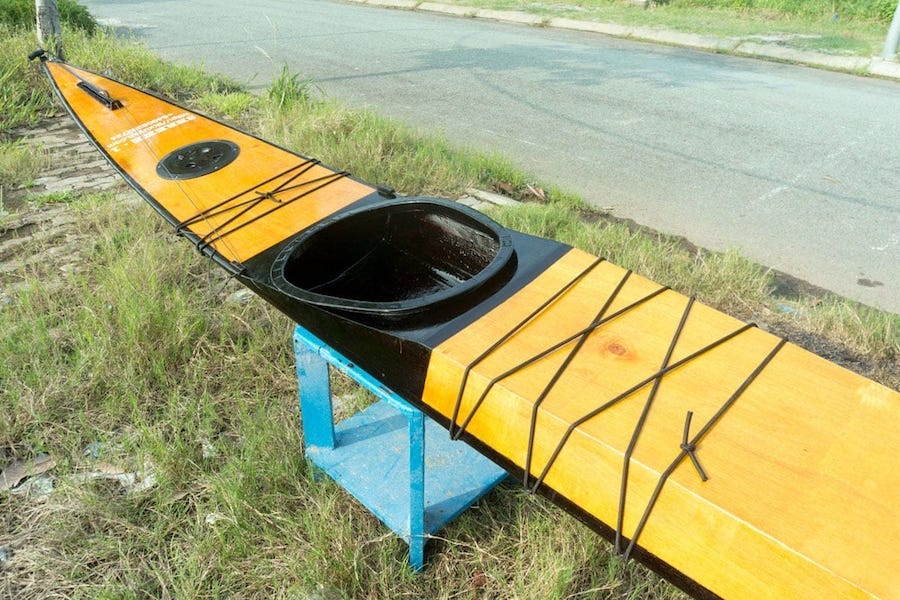
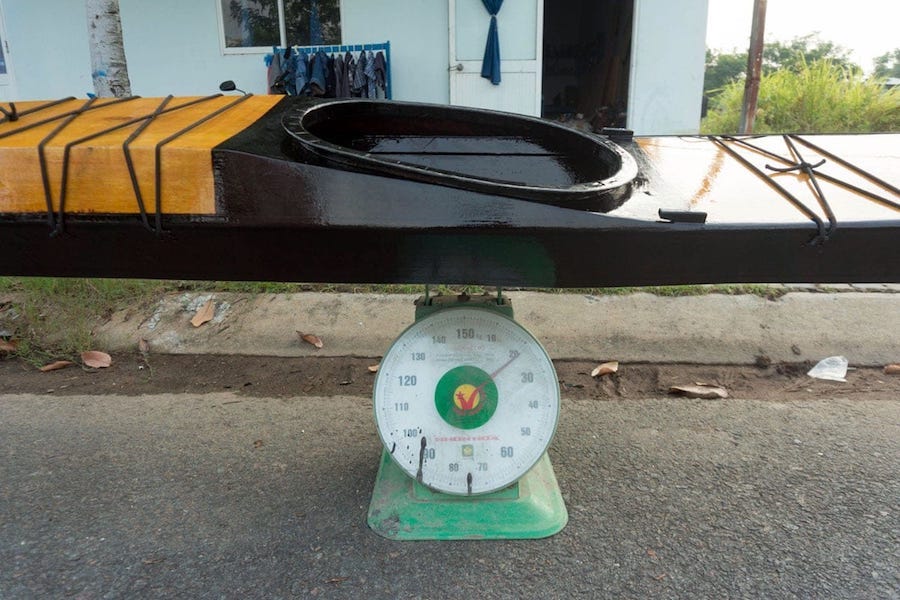
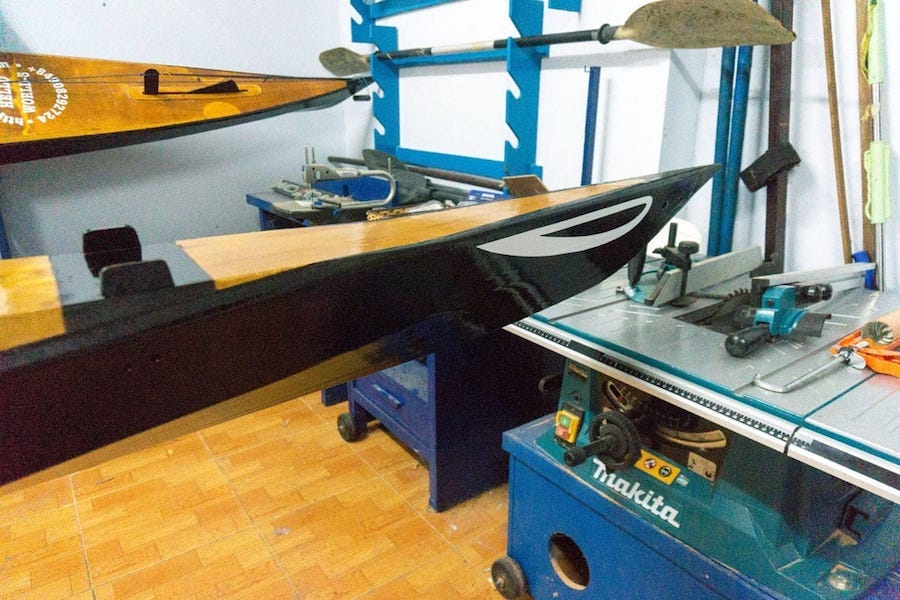
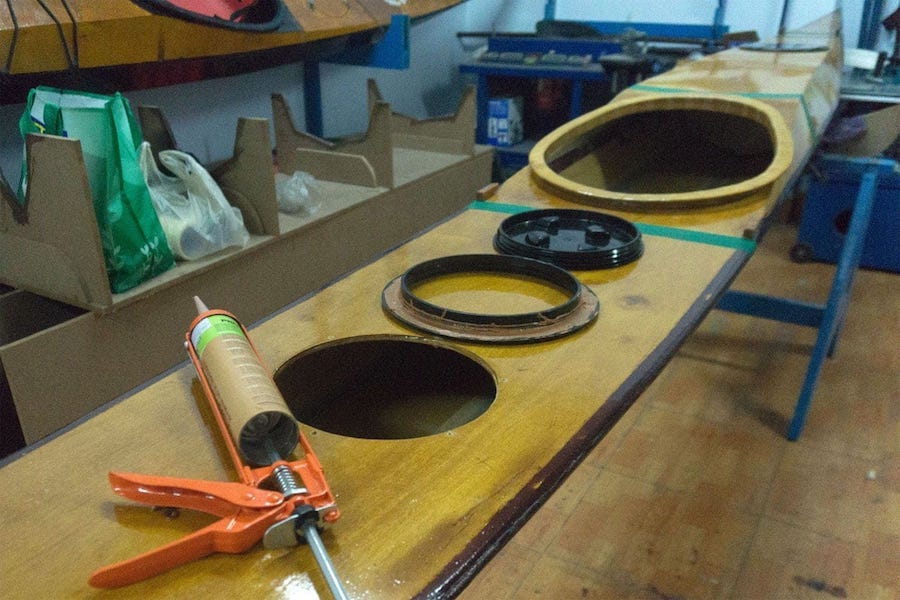
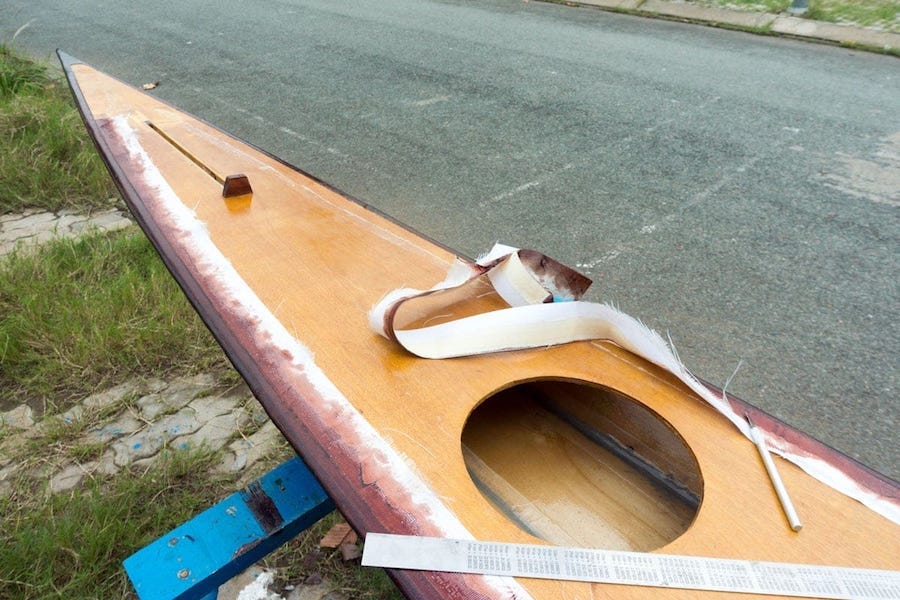
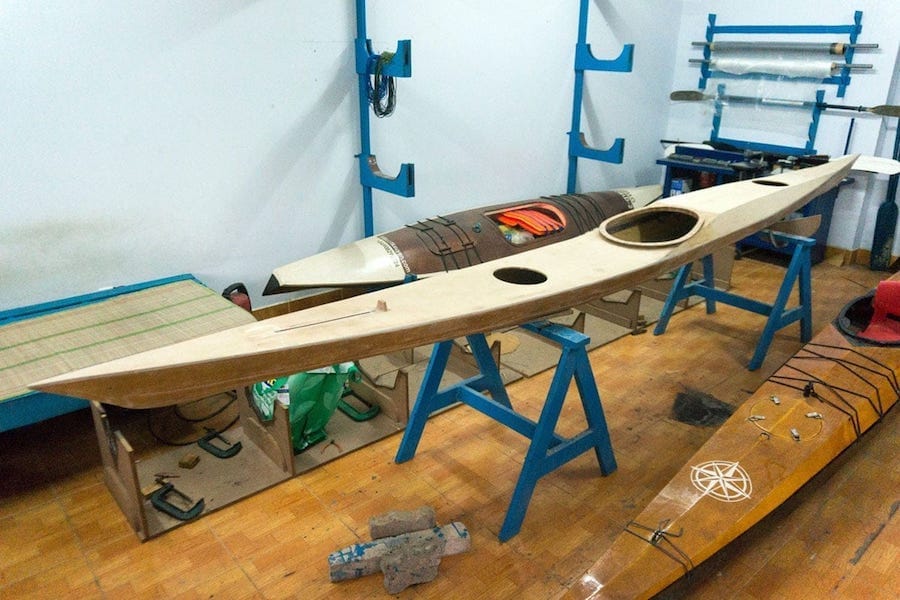
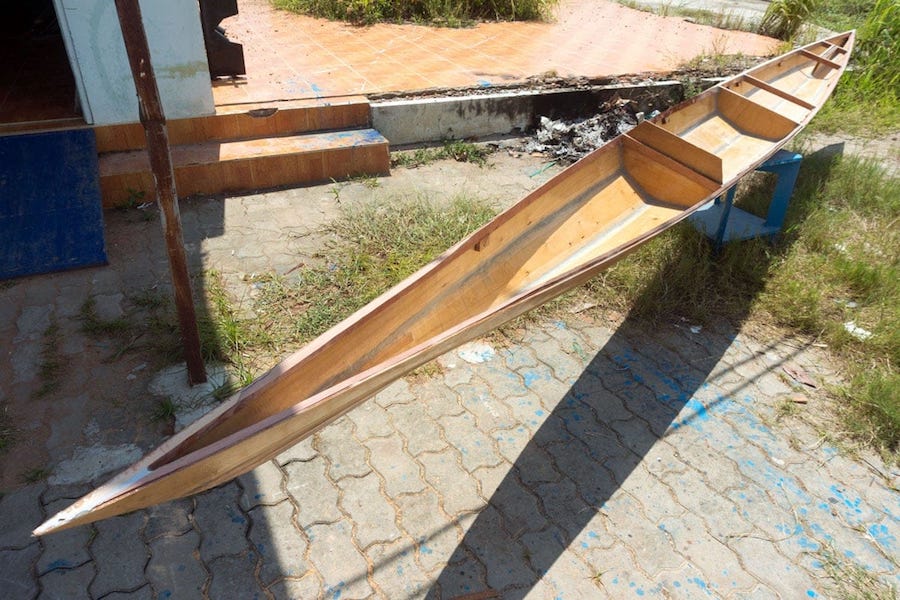
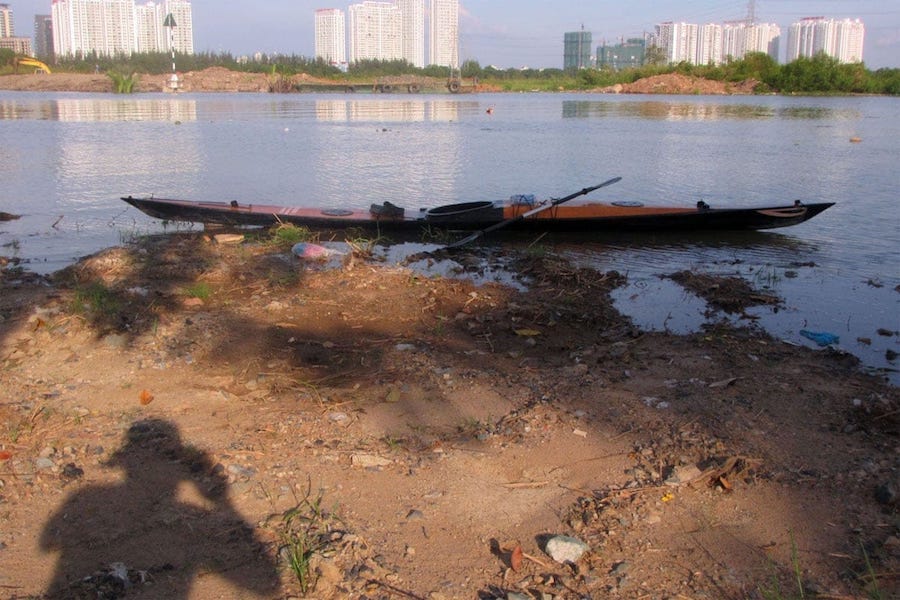
Serene – 1 p4
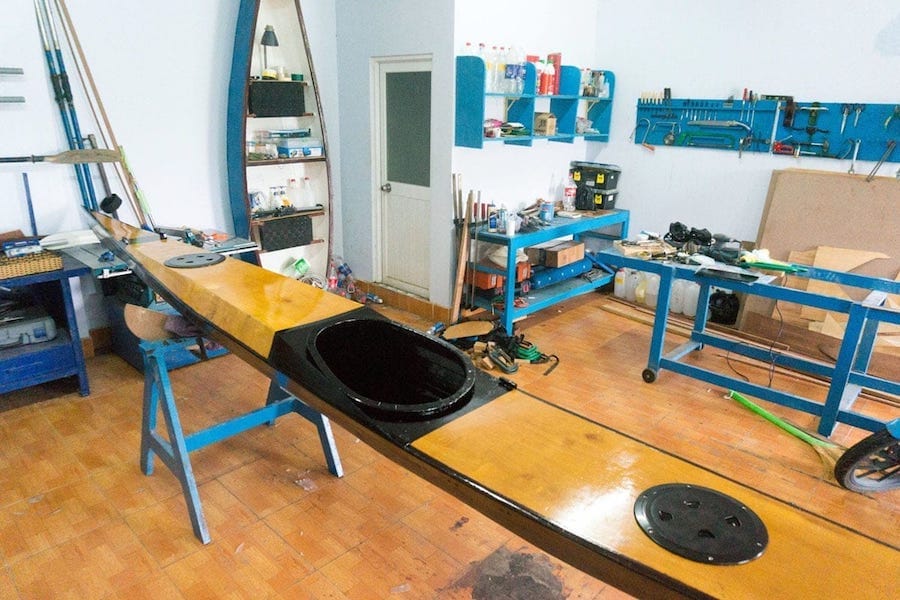
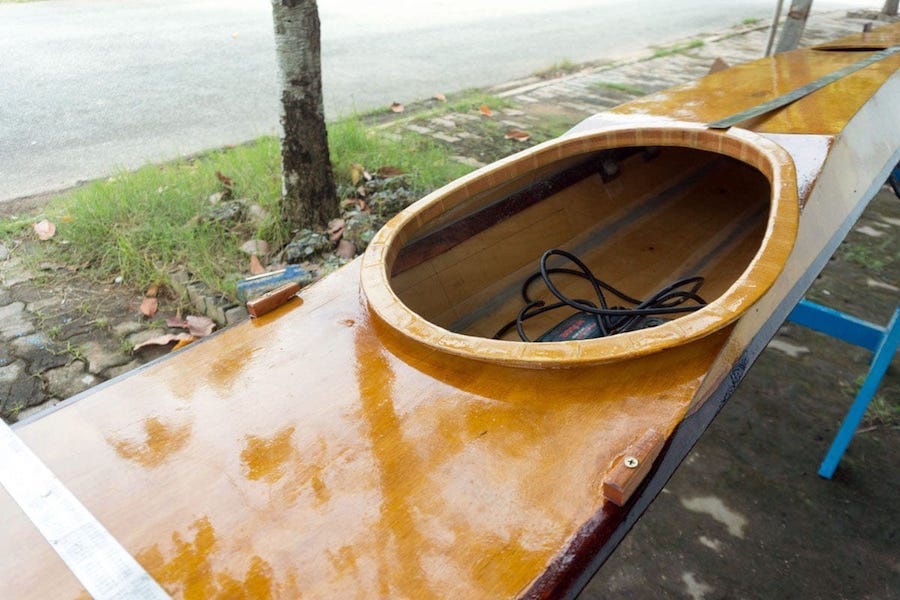
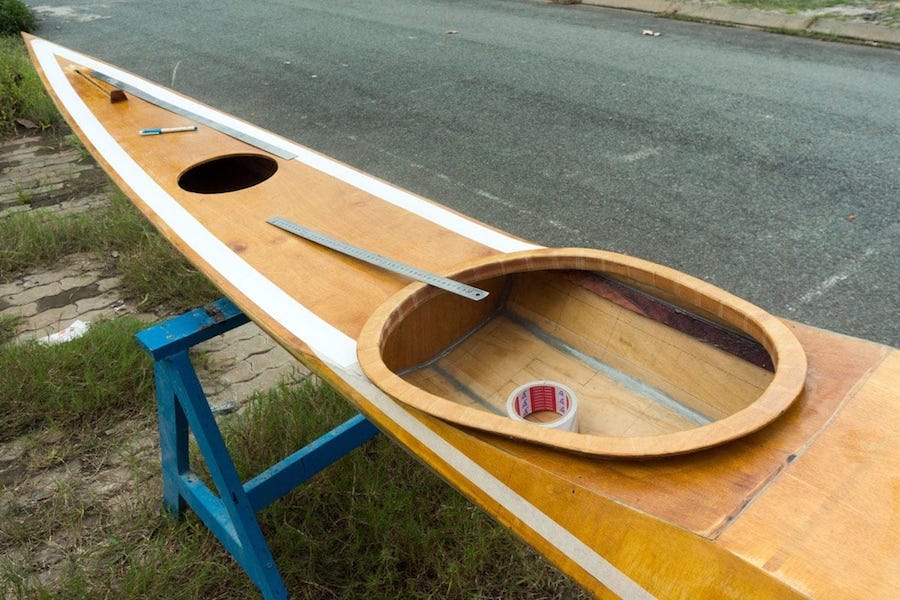
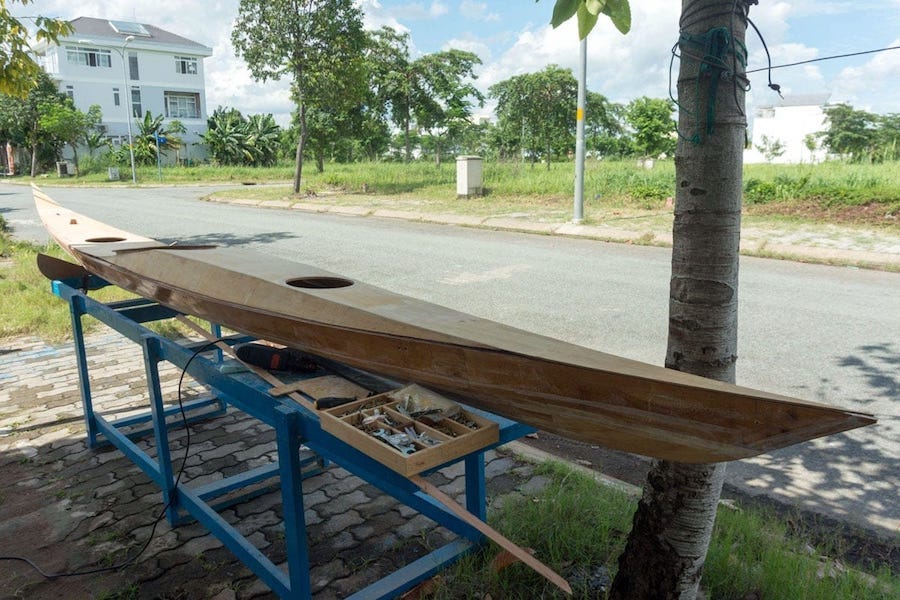
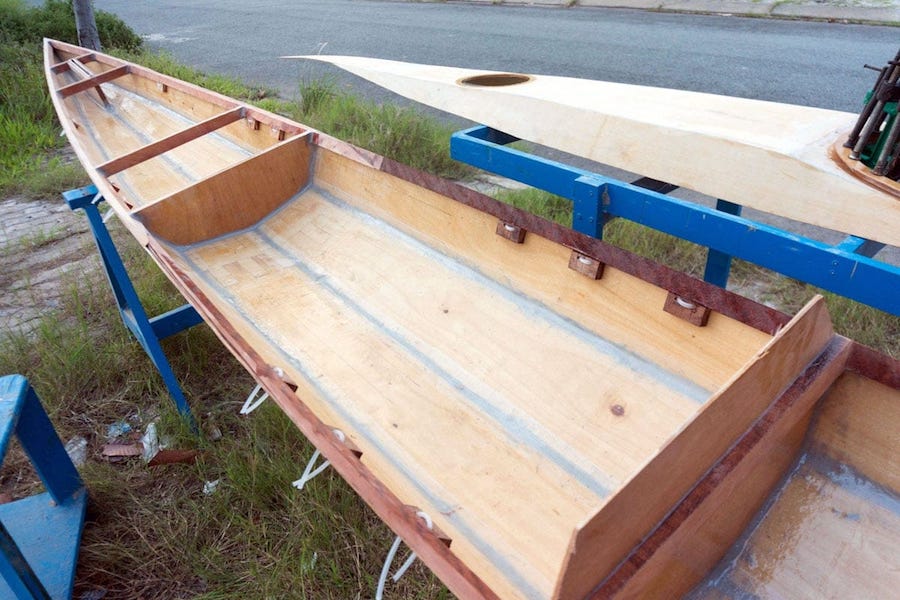
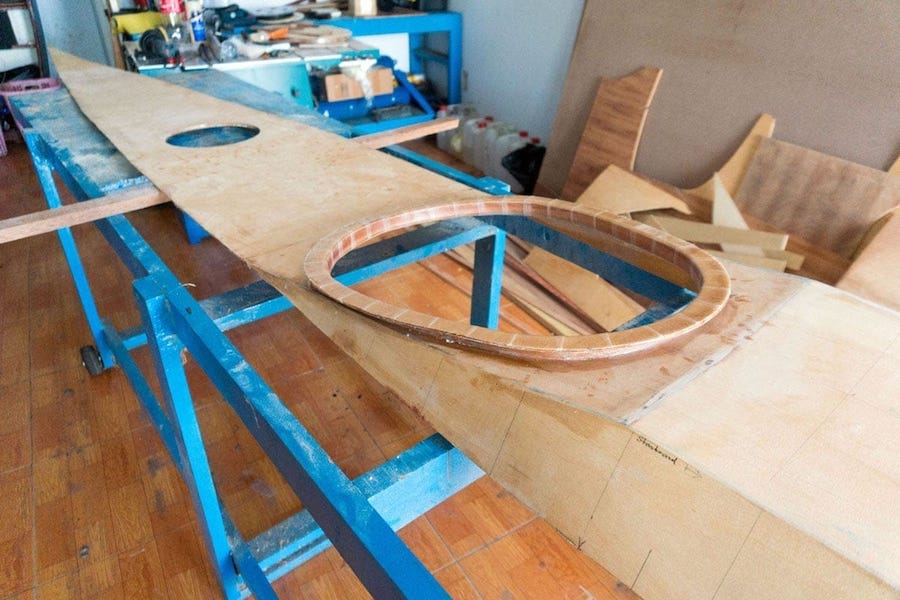
In my opinion, a problem with most commercially – available kayaks is that, the cockpits are usually placed too far aft. It’s easy to understand the reason, cause weights of paddlers are variable, they are not fixed. It’s better for the producers to make some ‘reservations’…
to place the cockpit a bit further aft, so that the boat could be trimmed rearward for heavier paddlers. And trimming rearward is wiser for most kayaks, which usually have a Swede form. For a self – designed boat like Serene – 1, it can be tailored to suit your very own measures 😀.