Hồi ĐH, chắc chỉ ở hạng ruồi (fly weight ~ 50kg) hoặc hạng gà (bantam weight ~ 53kg). Thế rồi leo dần lên hạng lông (feather weight ~ 56kg), hạng nhẹ (lightweight ~ 60 kg). Vì leo rất chậm nên tưởng là dừng ở đó, nhưng không, qua vài năm lại leo tiếp lên hạng trung!
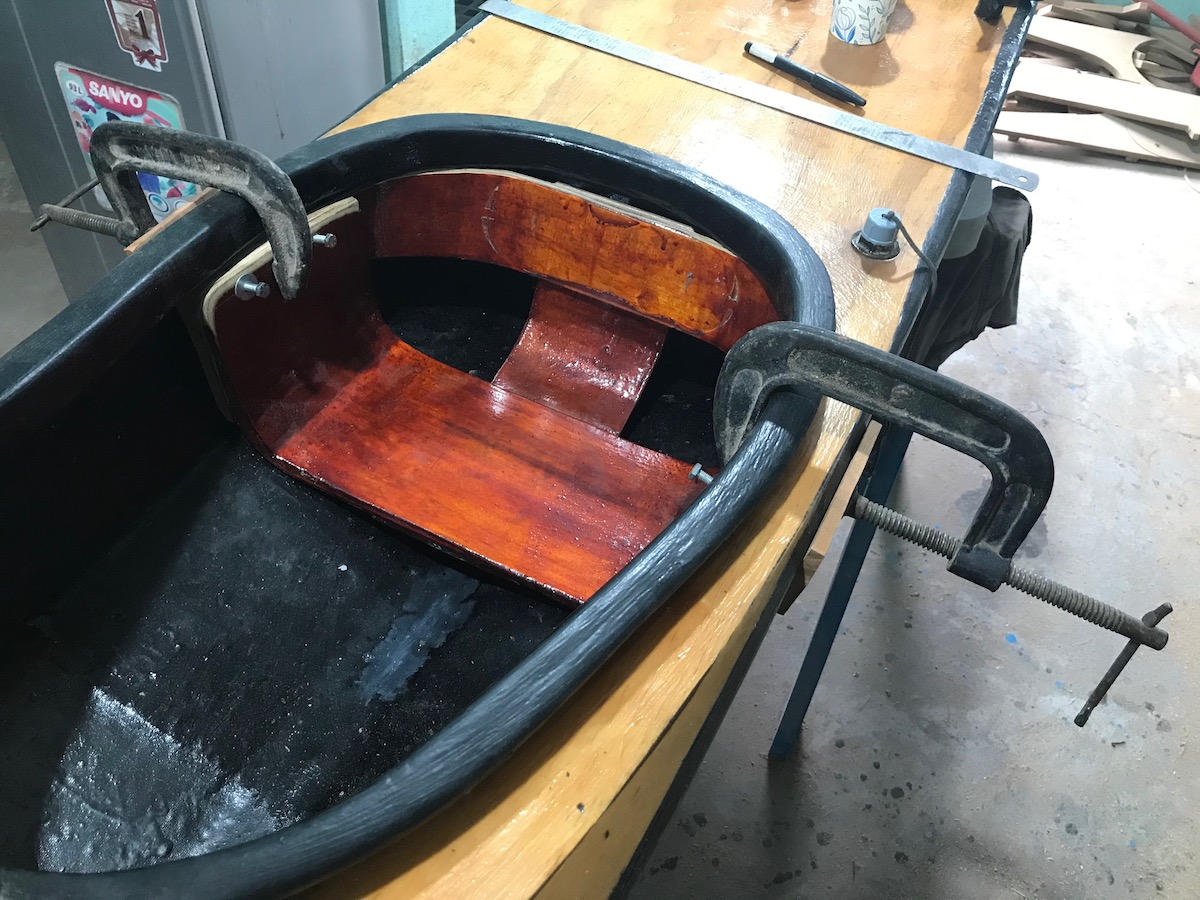
Giờ đã ngấp nghé qua hạng siêu trung (super middle weight ~ 76kg), cứ đà này nghĩ rằng hạng dưới nặng (light heavy weight ~ 79kg) là hoàn toàn có thể, lên nữa chắc không thể, trừ khi bị béo phì! Phải tháo bỏ cái ghế ngồi trên xuồng, không vừa nữa rồi!