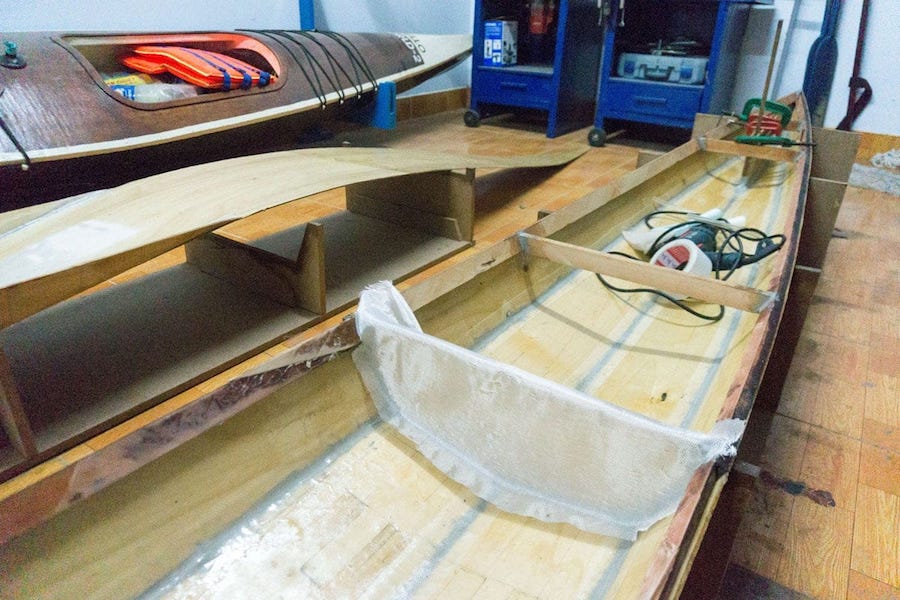
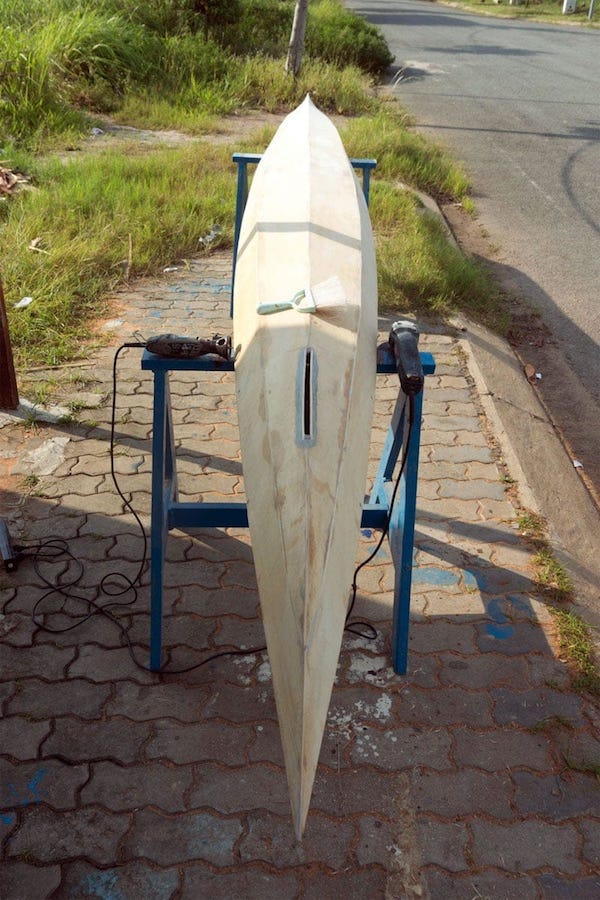
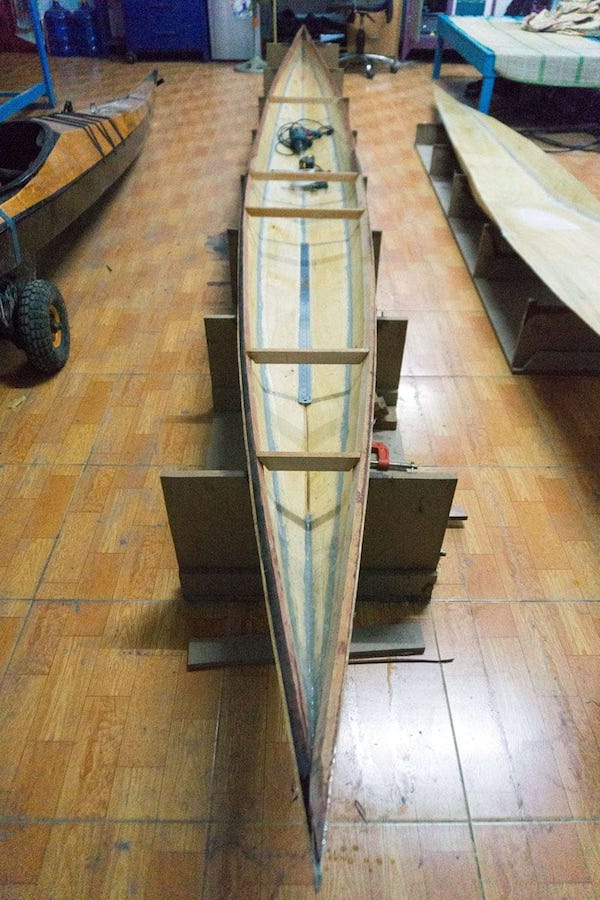
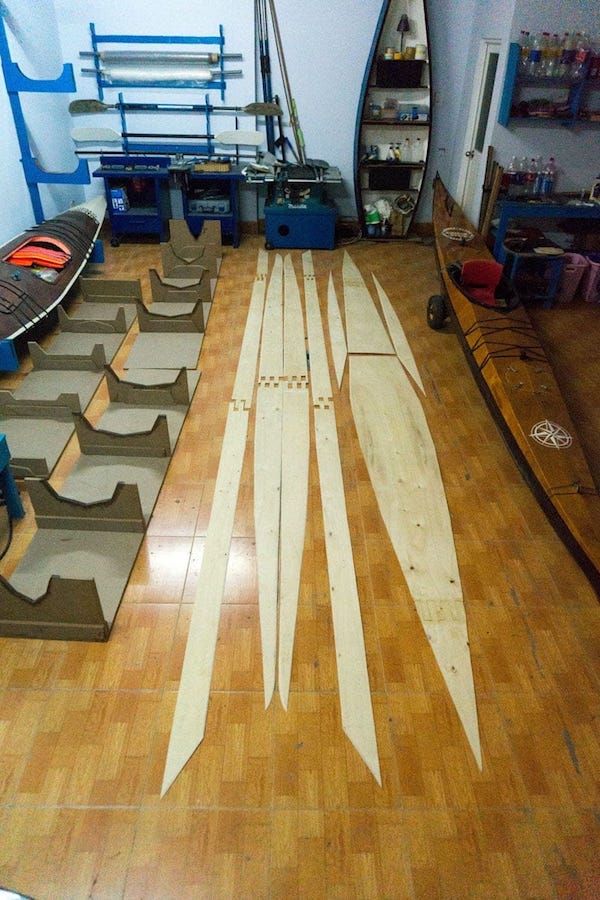
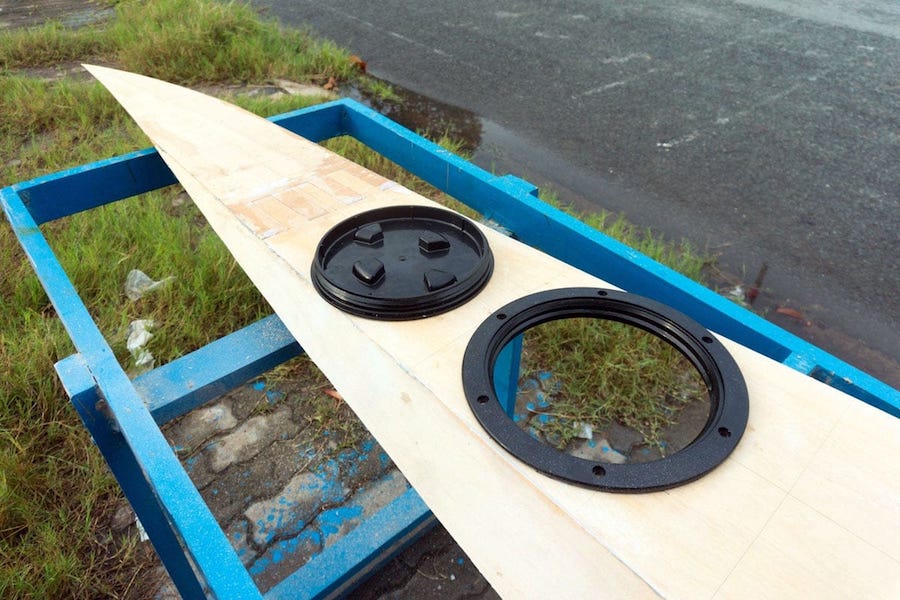
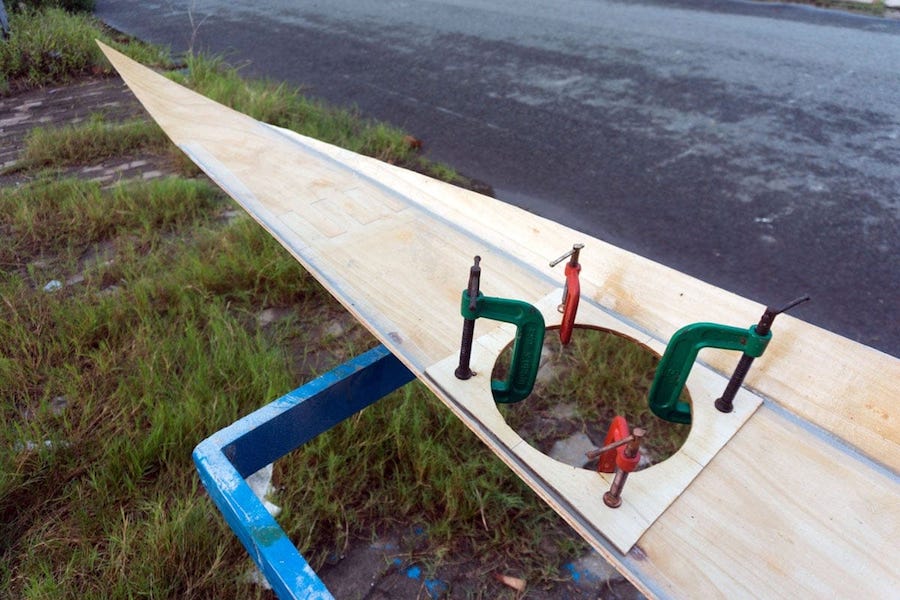
Most major tasks on the hull has been completed, now continue on the deck part. First is cutting out the fore and aft hatches’ holes and fit some reinforcement rims (the plywood is weak, it can deform badly around the hatches in the long run). The Beckson hatches are quite small indeed, the largest are 8″ in internal diameter, have to live with that for now anyhow since Beckson does not have a larger size. I also made a rough fairing on the external side of the deck. Next comes the cockpit.
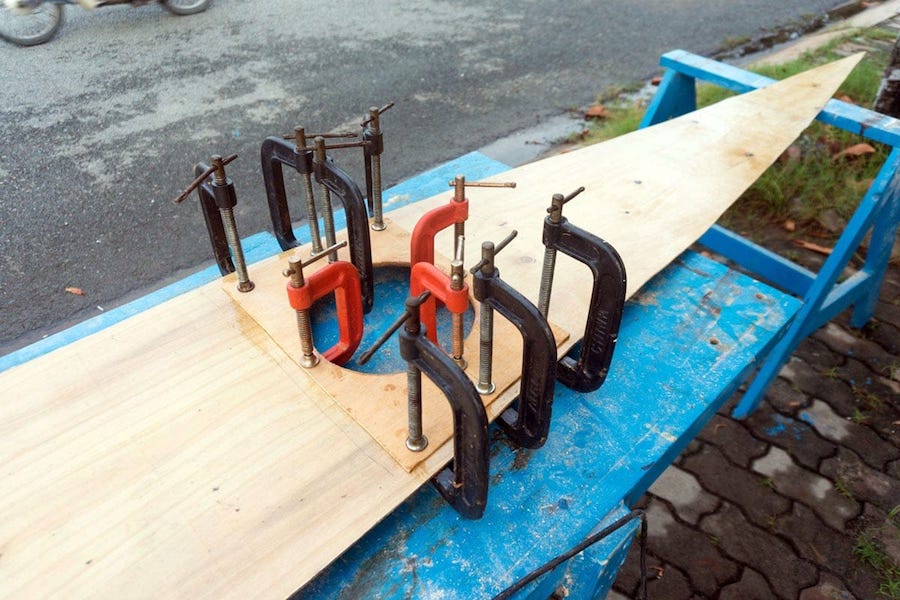

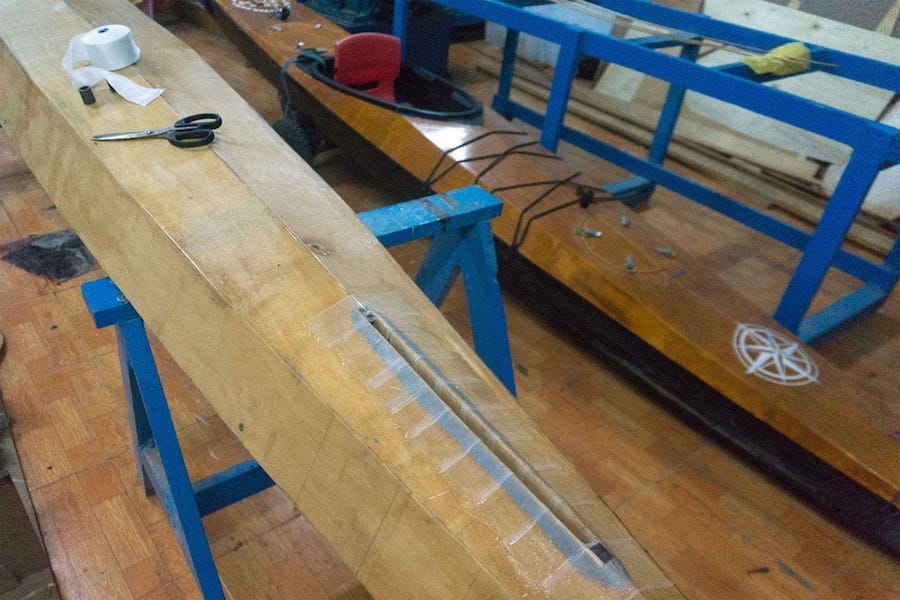
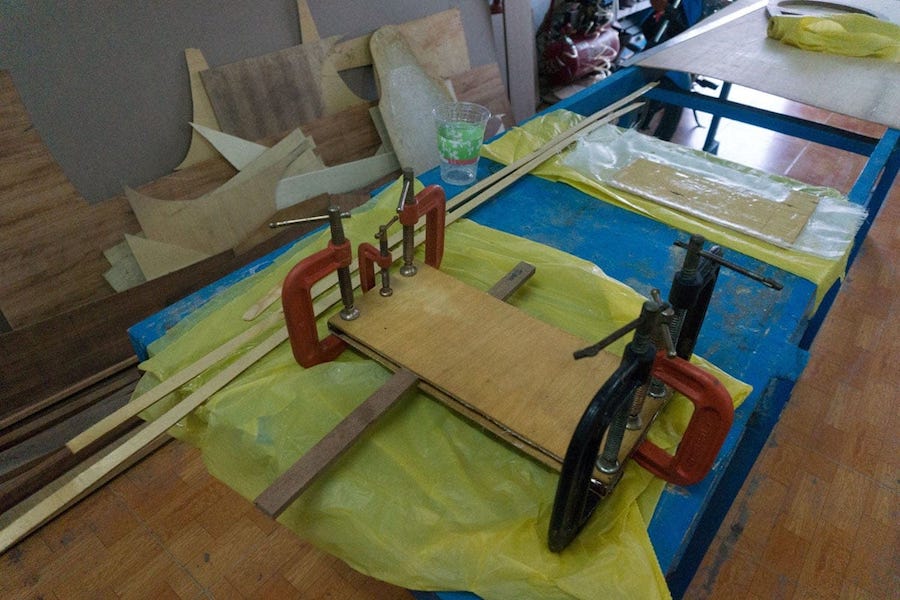
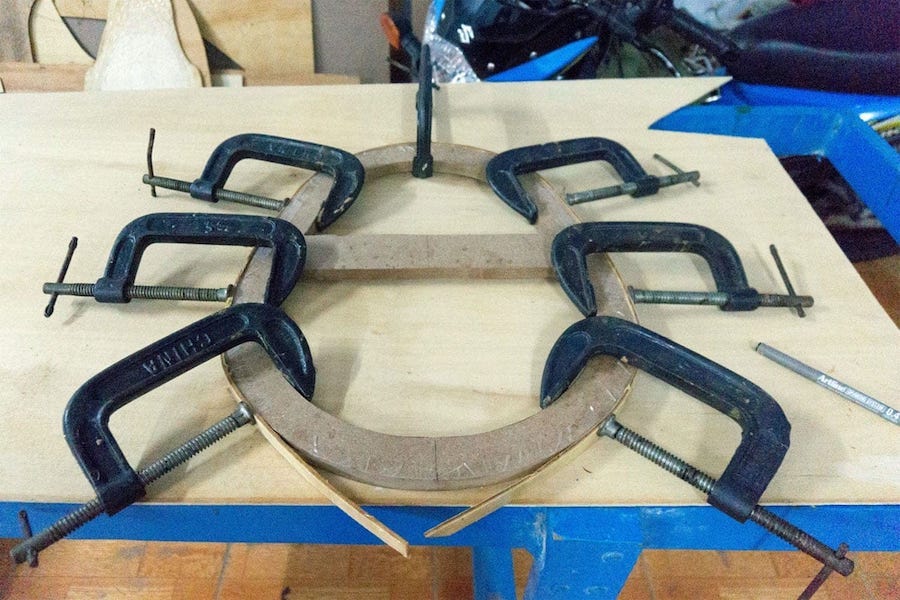
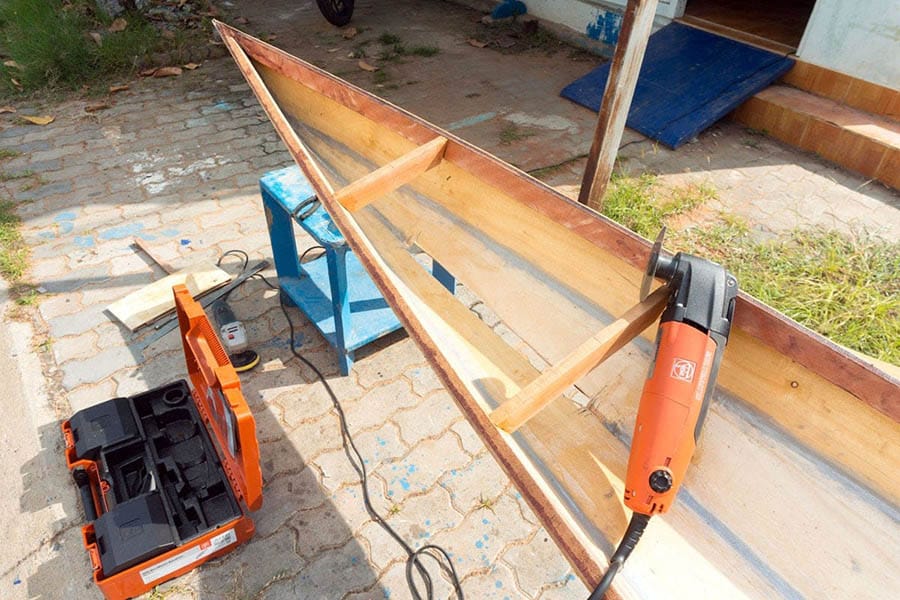
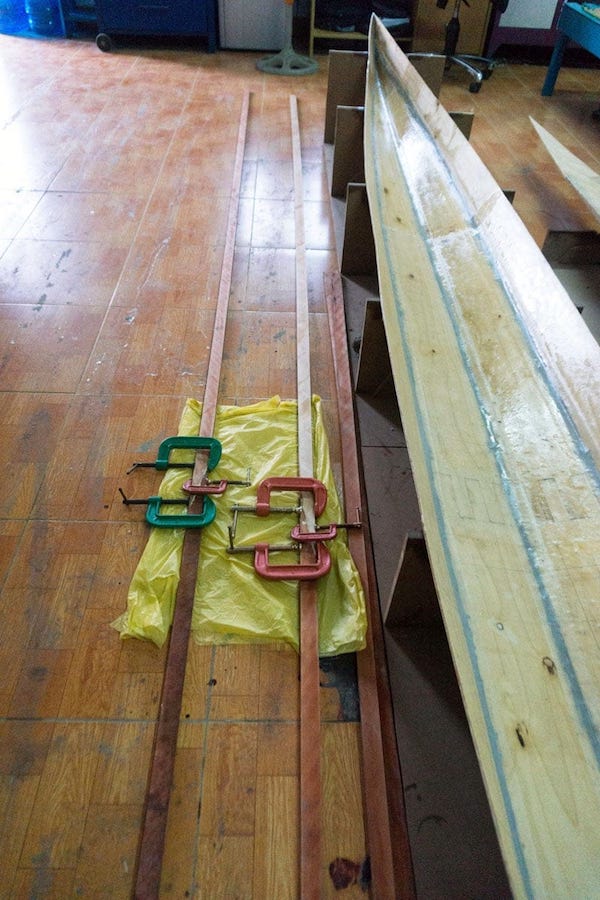
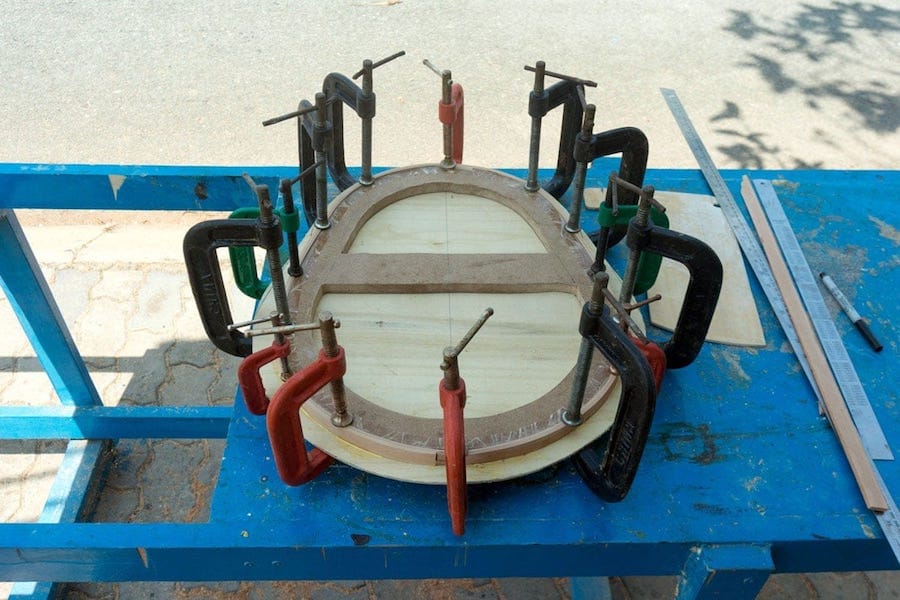
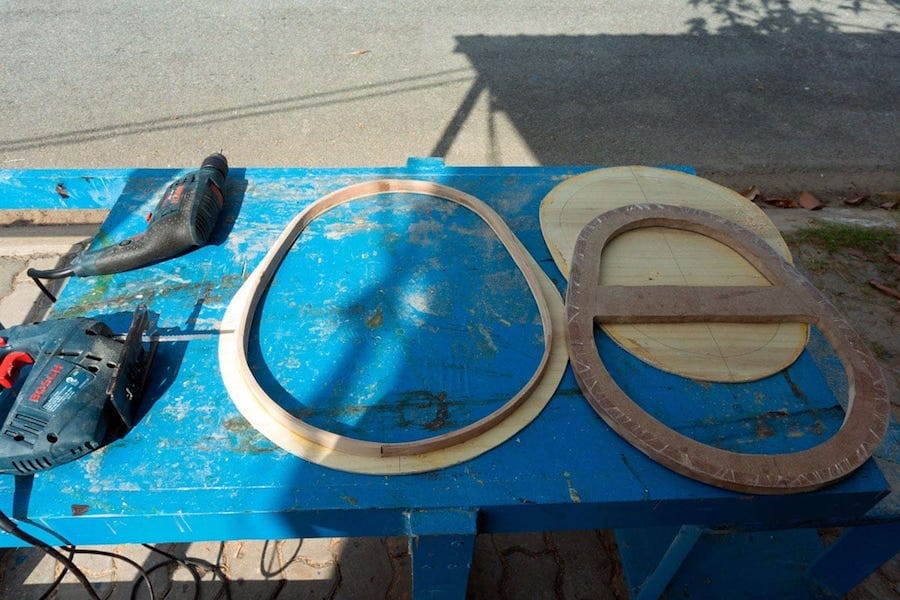
The plywood is so fragile and easy to crack, so I turned to using wood for building the cockpit coaming. 2 thin strips of wood is combined to form the cockpit coaming riser. The strips are cut 3 mm thick and easy enough to bend without steaming, just use the C – clamps to force them following the cockpit template. The riser is quite high, 2 cm, and would be jointed with the plywood coaming lip 3 cm in width, all would be reinforced with some putty and fiberglass before jointing to the deck.


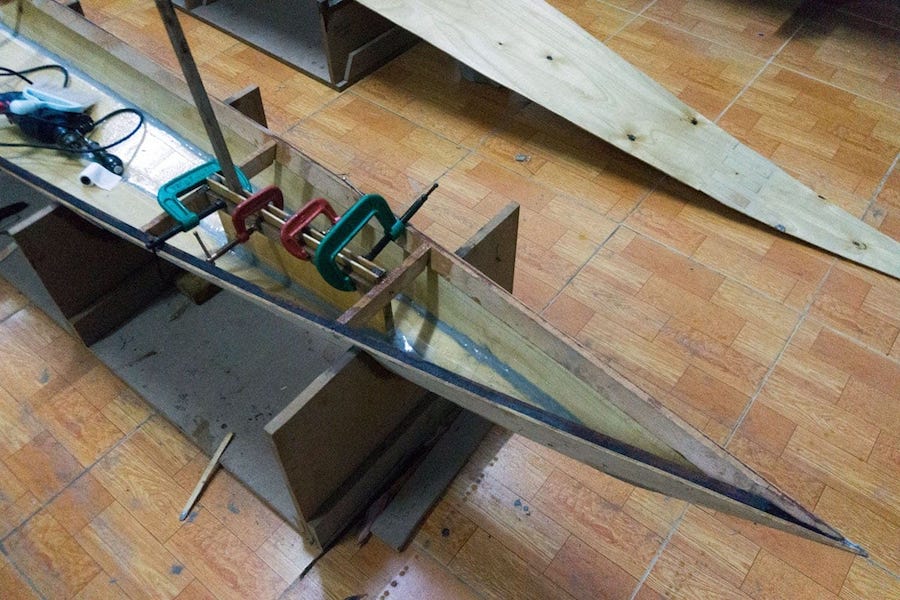
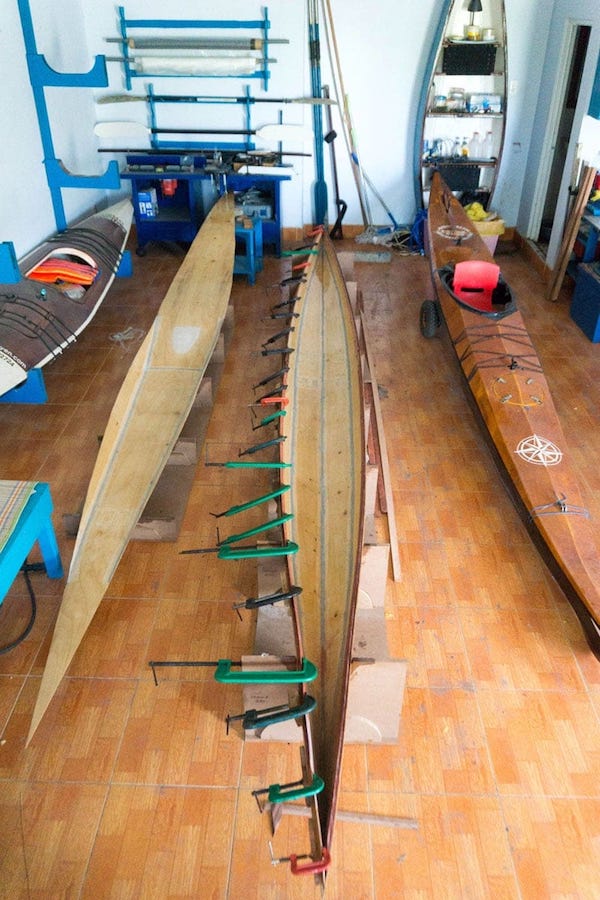
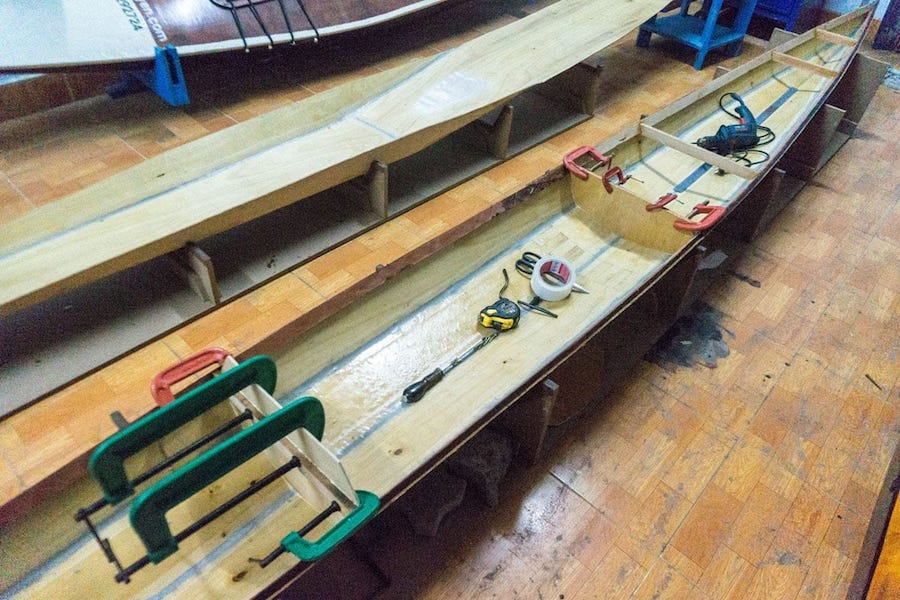
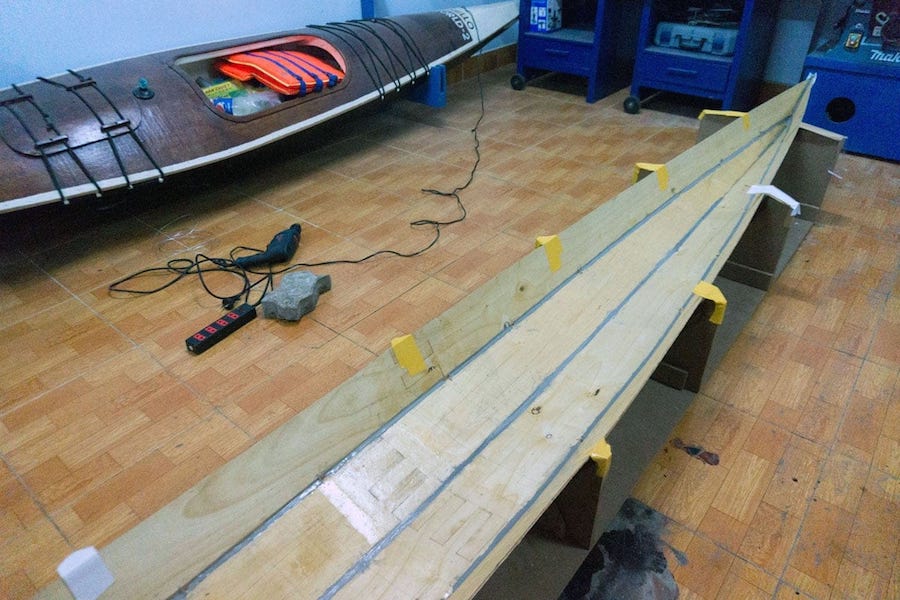
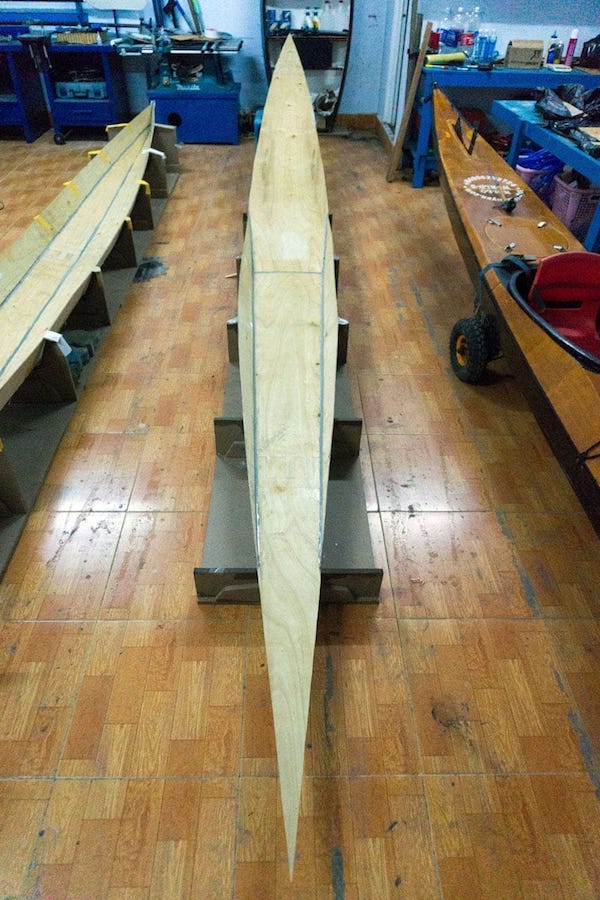
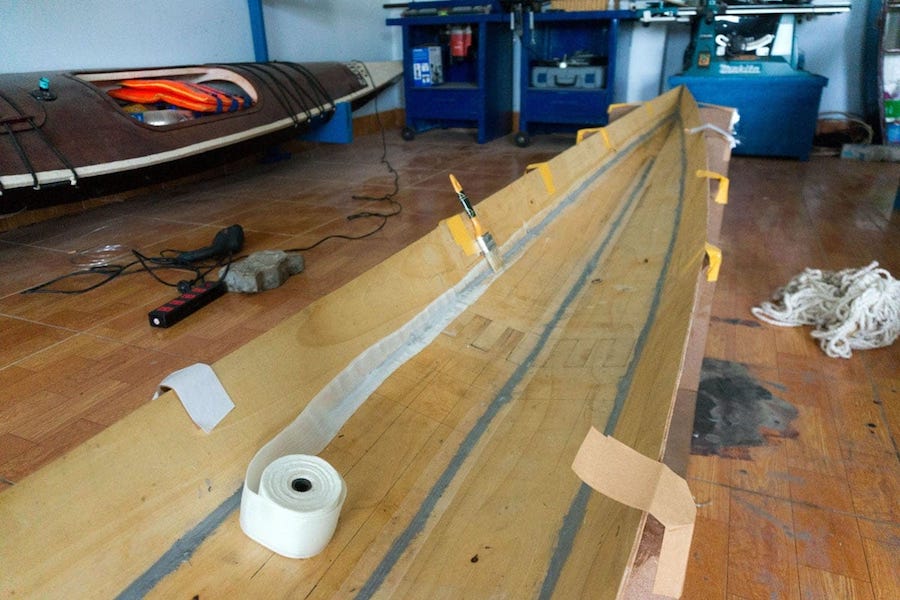
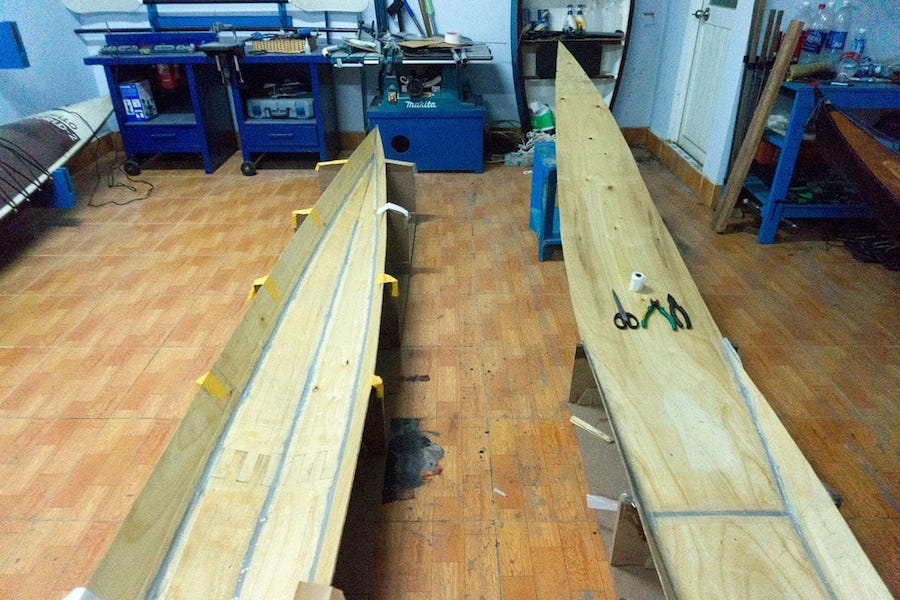
Using the angle grinder, I adjusted the bevel edges of the gunwales to better match the hull and deck. Also glassed the 3 hull’s external seams, each with about 80 gram of epoxy (240 gram in total). With experiences gained by now, I can control the amount of material used quite precisely. Hence, this gonna be the first boat which I could have weight truly under control, my projection is somewhere around 17 ~ 18 kg overall (everything not including the paddle). Let just see if I could make it there!
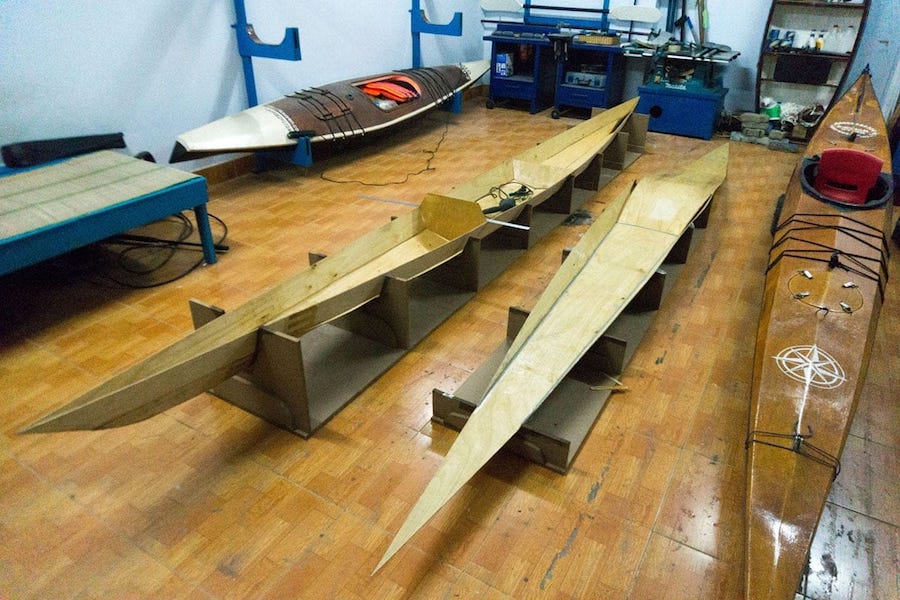
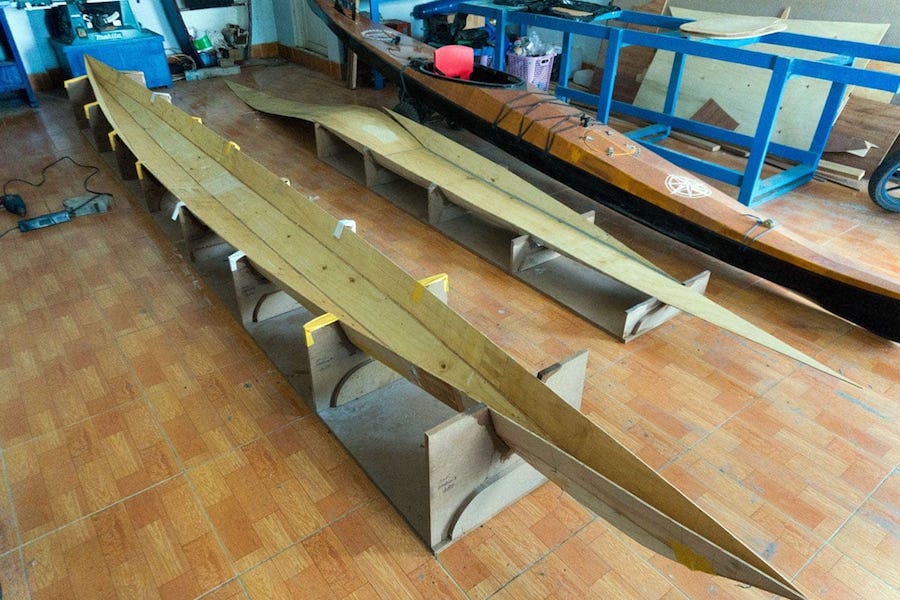
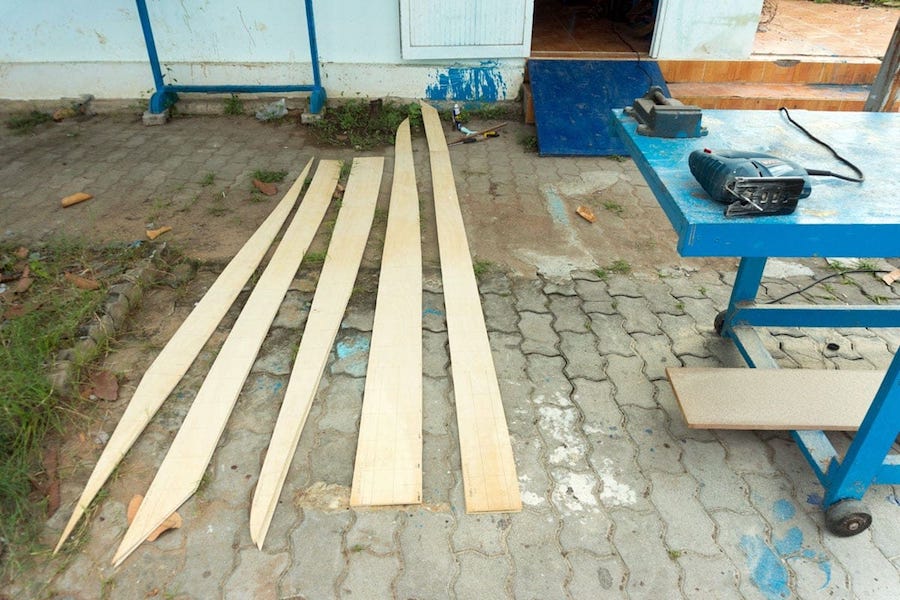
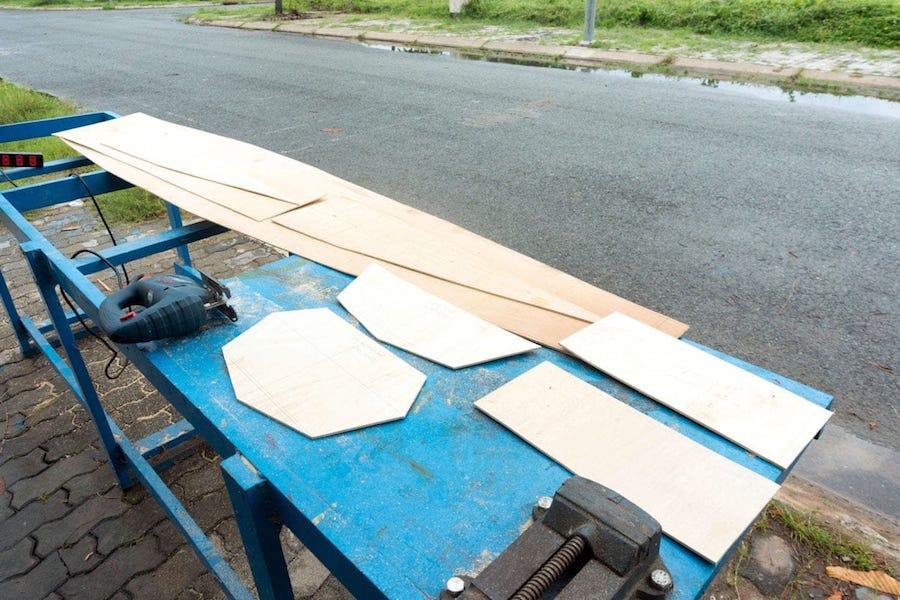
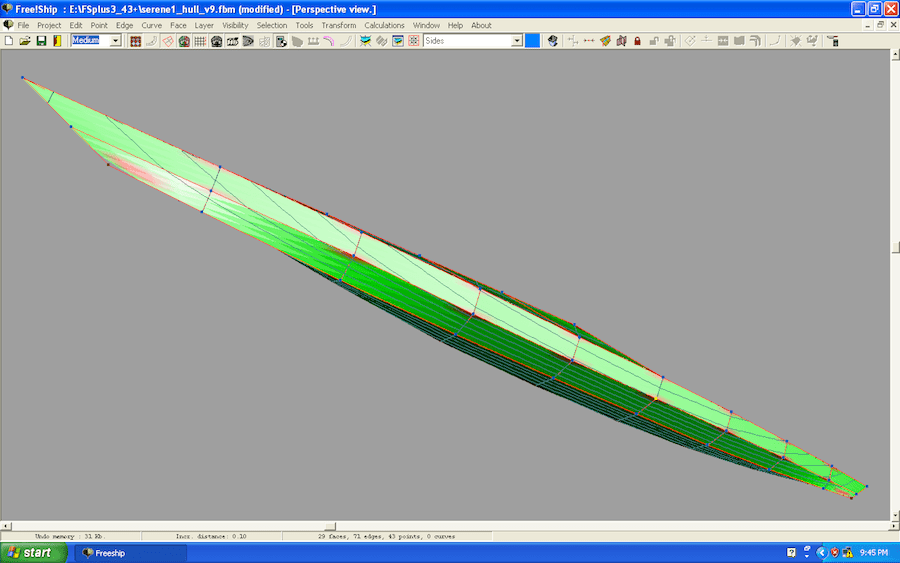
Serene – 1 p1
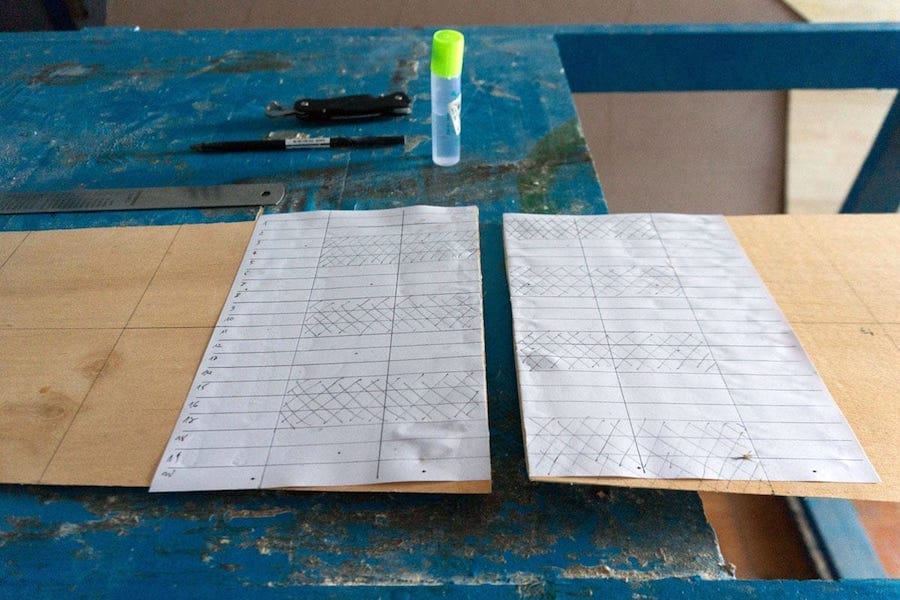
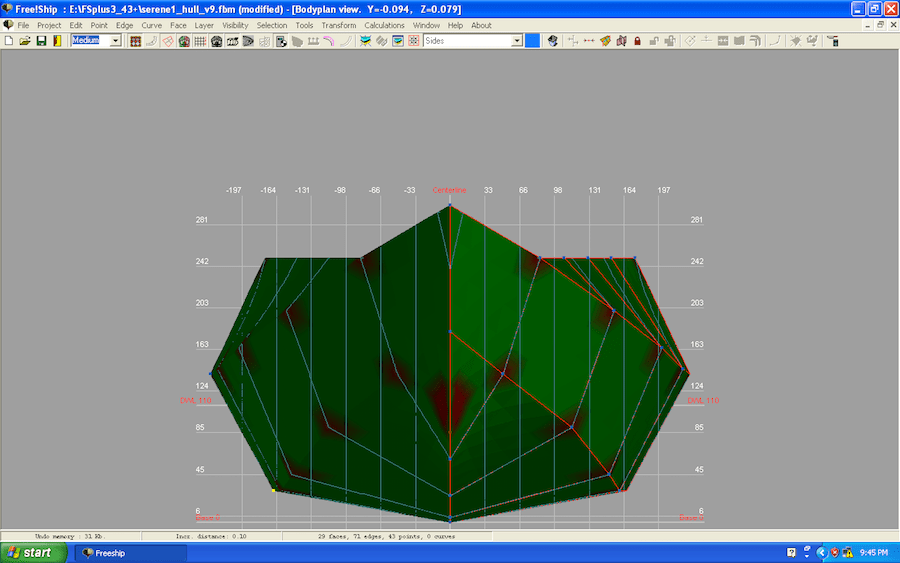
Serene – 1 p2
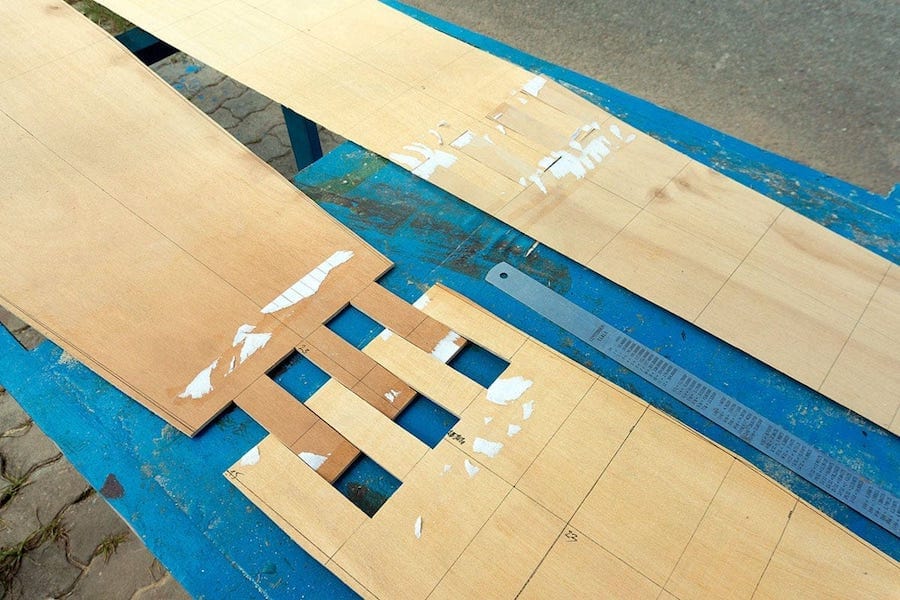
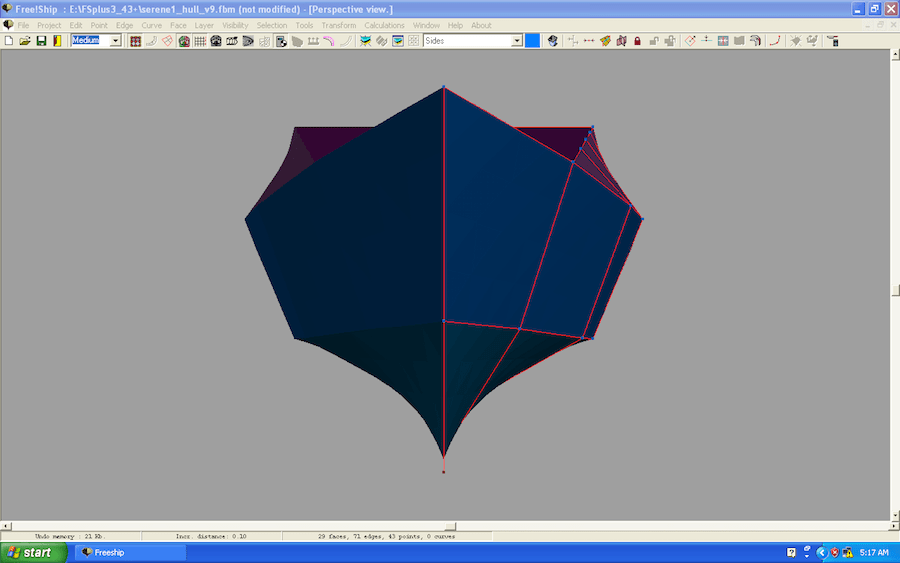
Serene – 1 p3
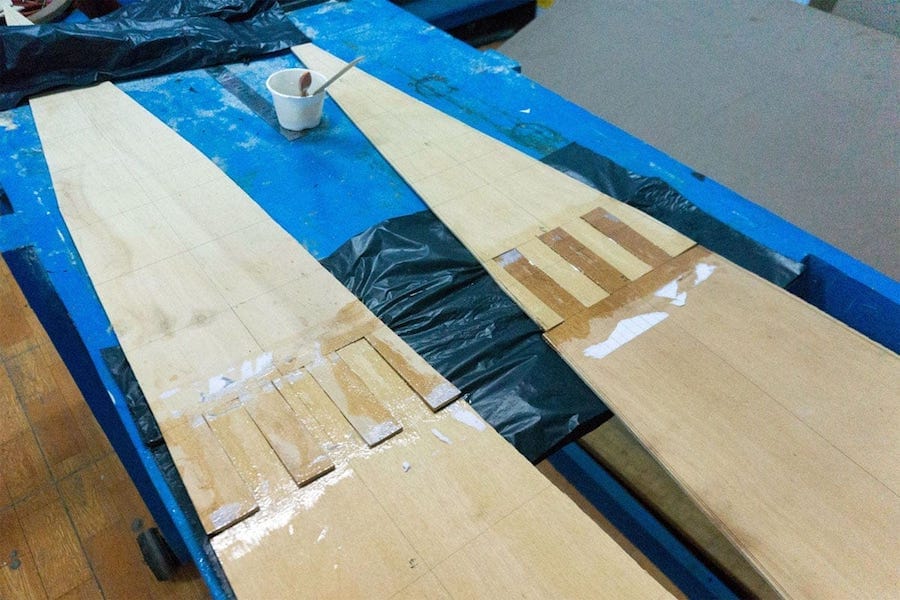
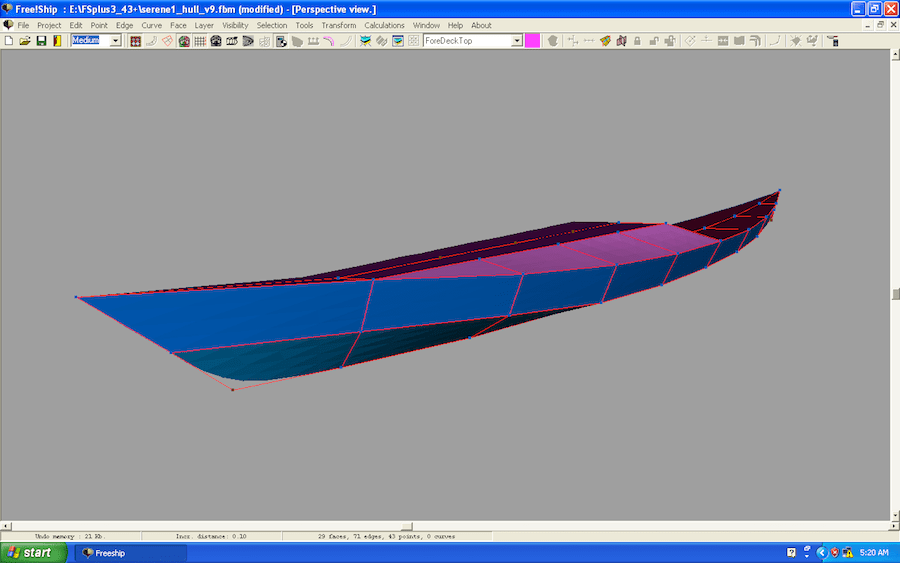
Serene – 1 p4
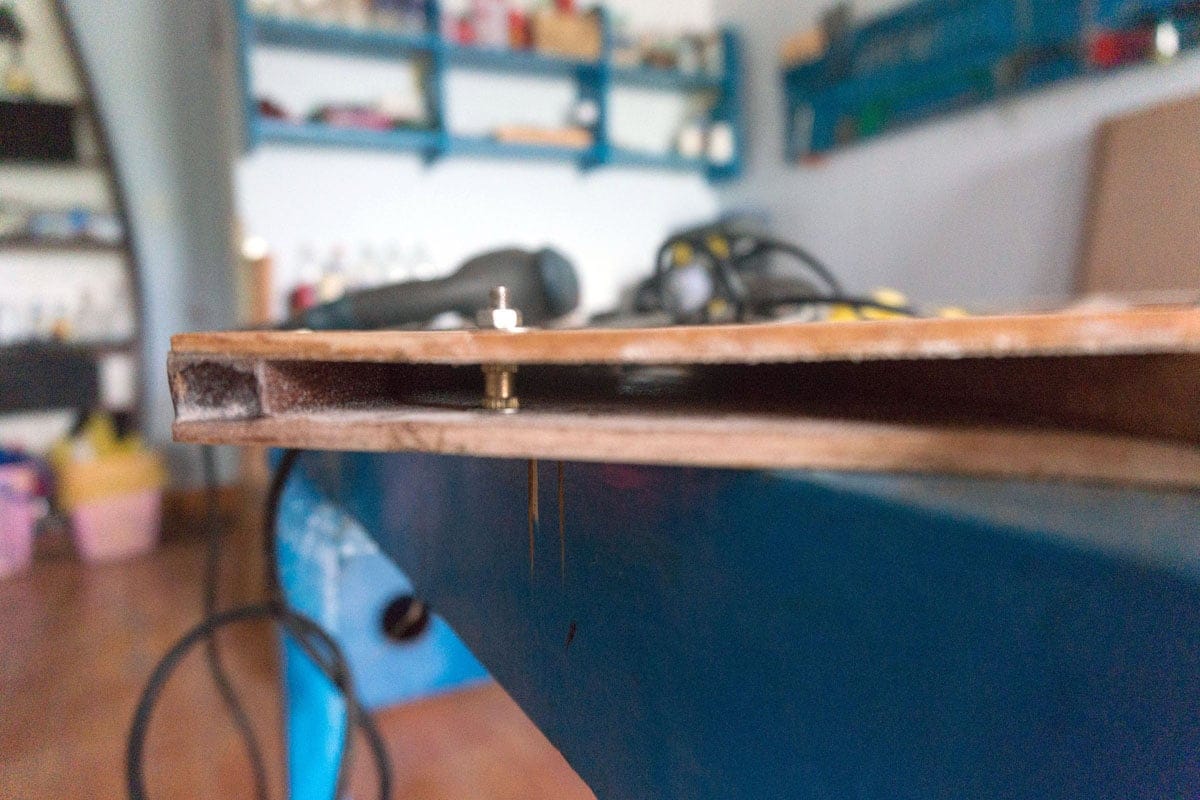
The Beckson hatches come with rubber o – rings that make the water – tight sealing. I made a mistake using some petroleum – based grease as lubricant on the rings, which could degrade and wear out the rubber. Have to clean it out and use some silicone – based grease instead.
One more ugly thing working with epoxy is that I usually need to mix them in a very small batches, just 30 ~ 40 gram or so (using an electronic scale). It seems counter intuitive, but the smaller the batch, the harder you would need to stir in order to have them mixed thoroughly.