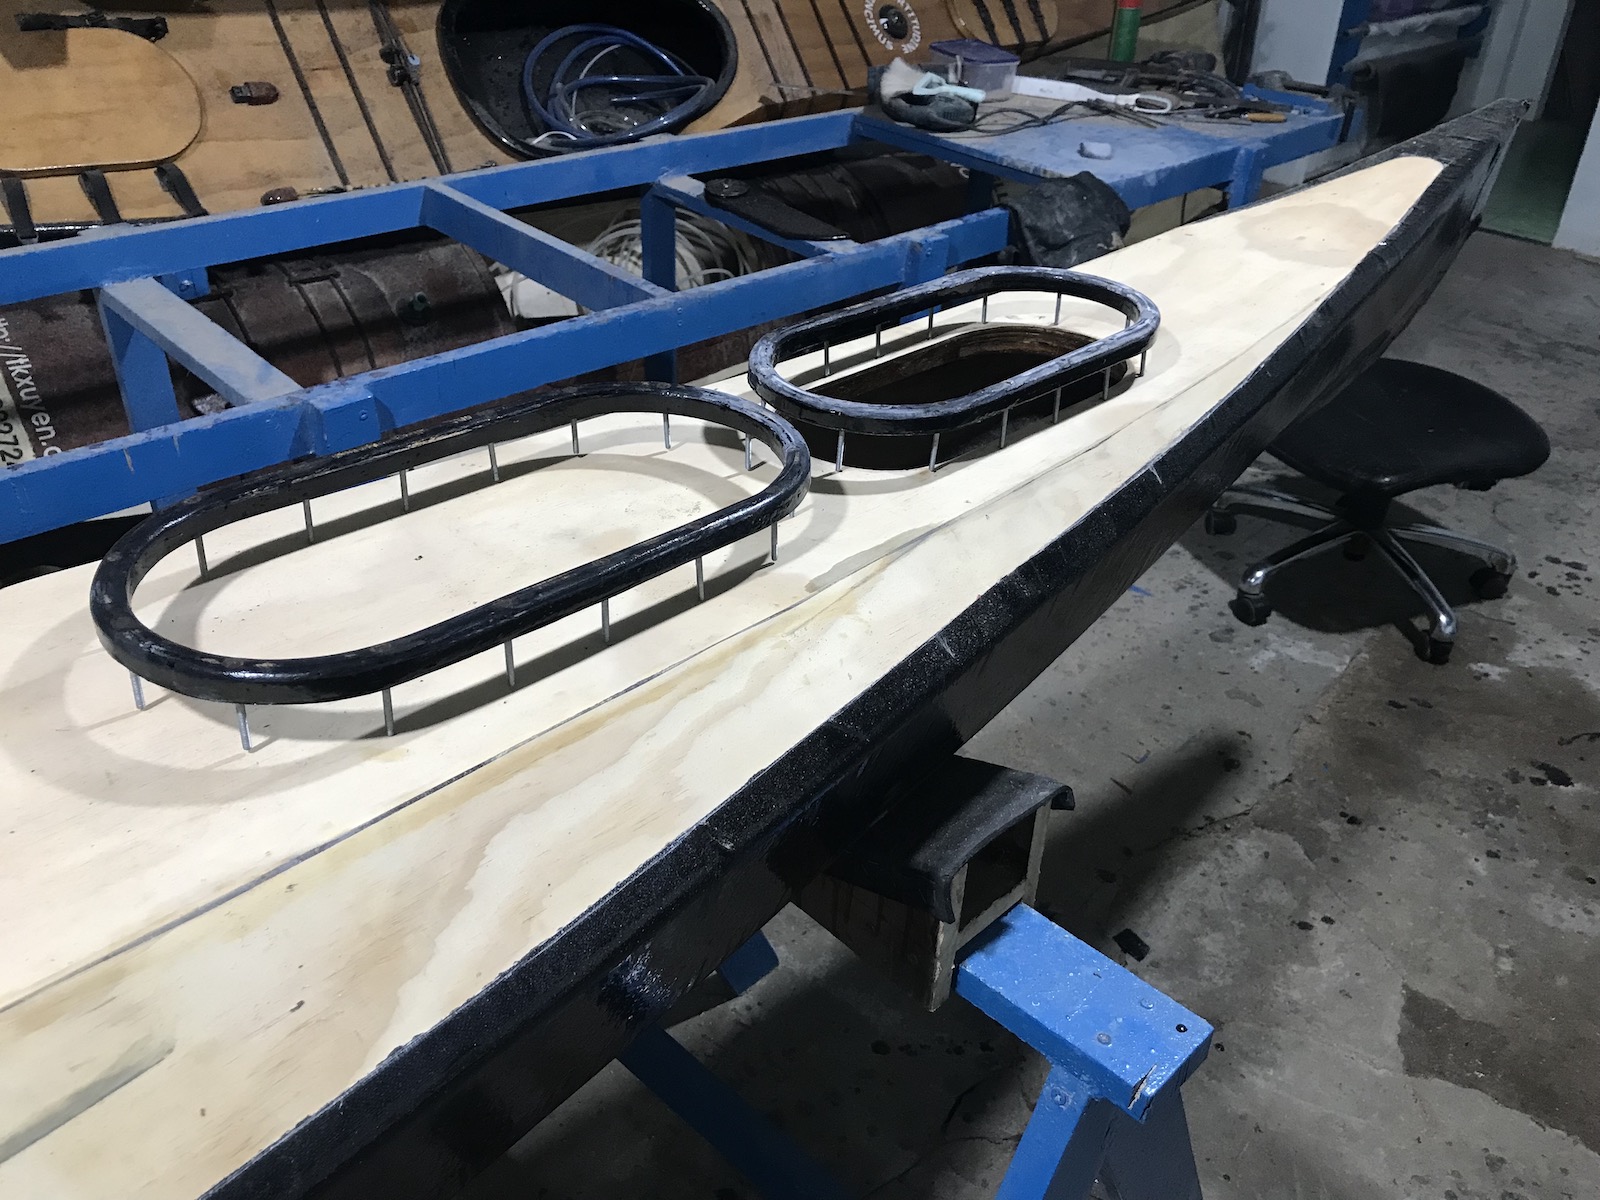
Ten more days into the new year, and the boat status is still… near complete! Some more failures and the holidays are so long, every stores is closed so I can not purchase some necessary materials. Anyway, here’s the progress so far… Finish molding the silicone gaskets, now I used a harder type of silicone (A25) instead of soft epoxy! The gaskets create a very tight brace indeed, you have to push a bit for the rims to fit into the U – shaped gaskets which embrace 3 sides of the rims! The hatches’ caps will be secured to the boat deck (on the internal side) with short pieces of paracord. Explaining to other peoples: the paracords prevent losing the caps accidentally!
Explaining to myself: since the hatches, caps, rims and gaskets are all built by hand, there’re some small cutting, gluing, molding errors. So if you rotate the caps the other way around, they won’t fit properly to the gaskets, the paracords mark which end should the rims and gaskets go together! The hatches’ rims are bolted with small 3.5 mm bolts to the deck (with supporting stringers on the internal side). This way, if somehow the rims are broken or damaged, they can be pulled out for repaired, or replaced. Also, I’ve finished building the compass cup! The compass cup is made from… paper, I just use a long roll of paper, wrap around a round cylinder after soaking it with epoxy.
Once eopxy cured, the paper roll is harder than plywood, and since the cup sits inside the deck, protected from water, that’s good enough! Also, I’ve carefully drilled a small hole in the compass and inserted a small white LED bulb (the compass I could find here with built-in lighting is too big for my kayak). The compass cup is secured to the deck with 3 copper bolts (most steel bolts are ferromagnetic, and they will affect the compass heading given their very closed proximity to the compass’ magnet). This way, the compass cup can easily be detached for repair / replace later on). Also, I’ve finished building the rudder, and 2 new LED bulbs.
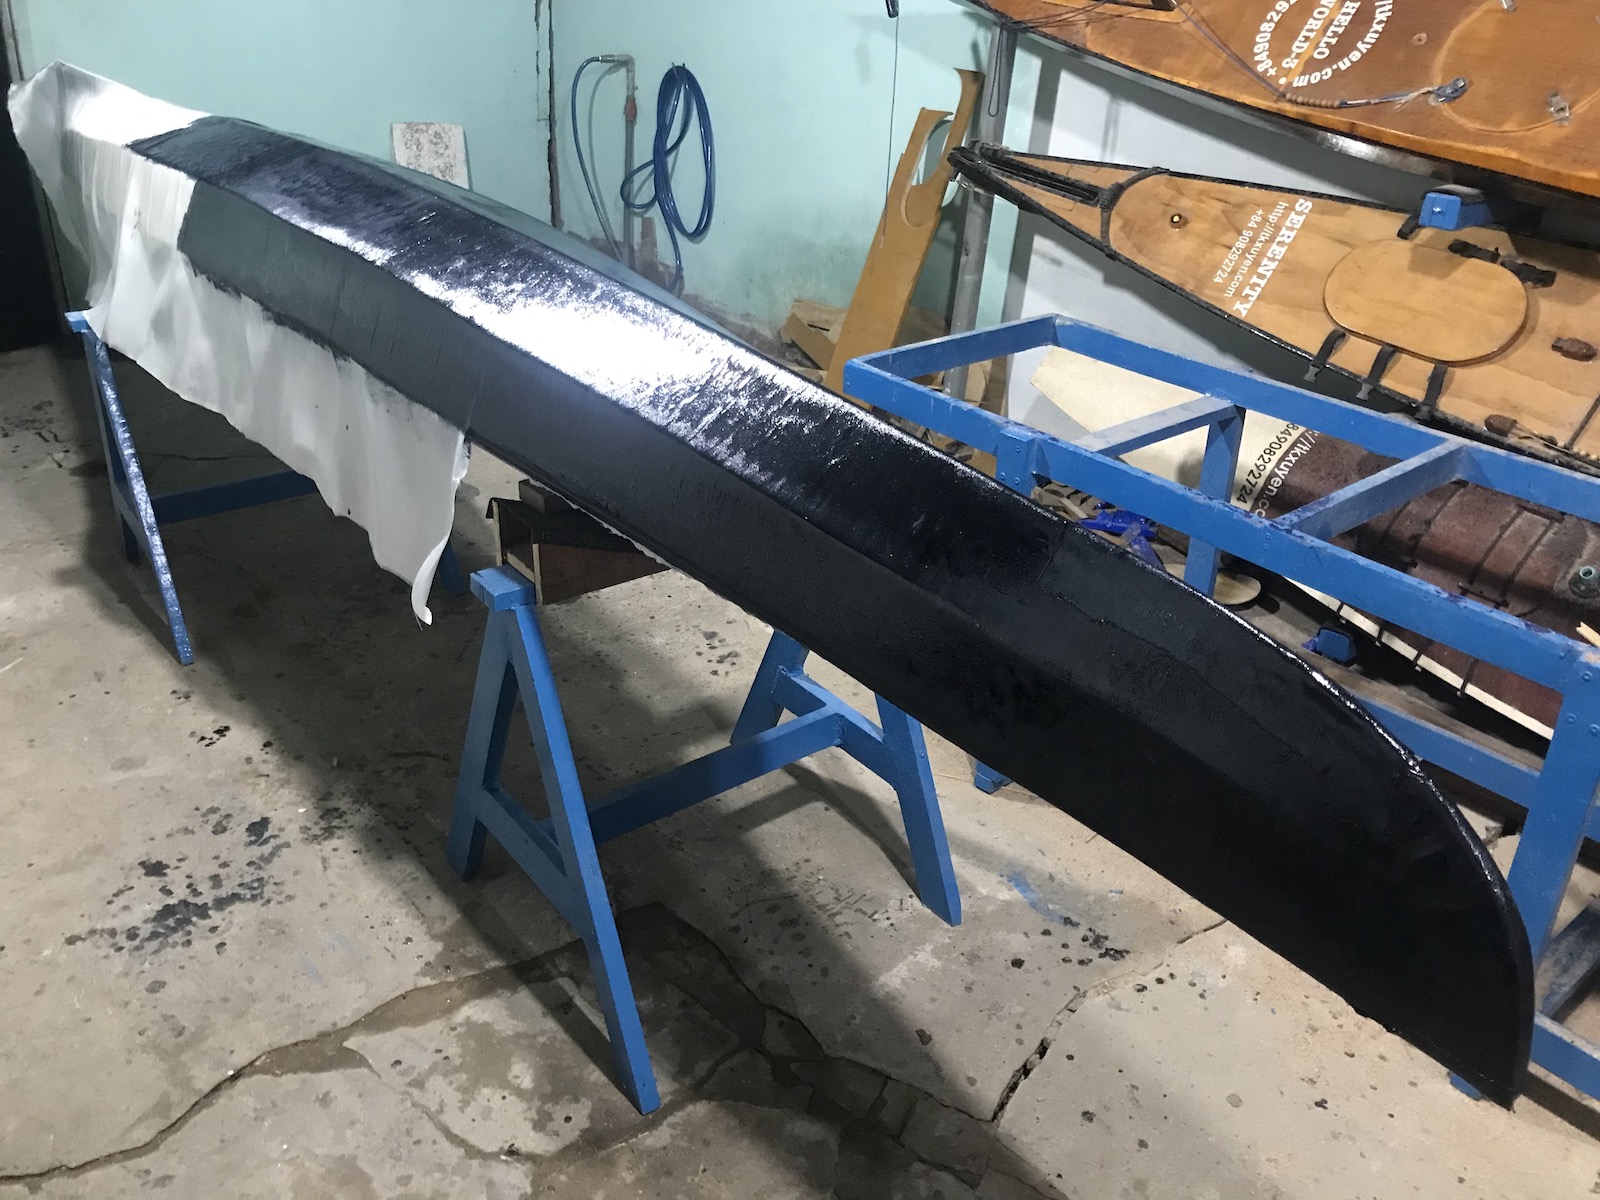
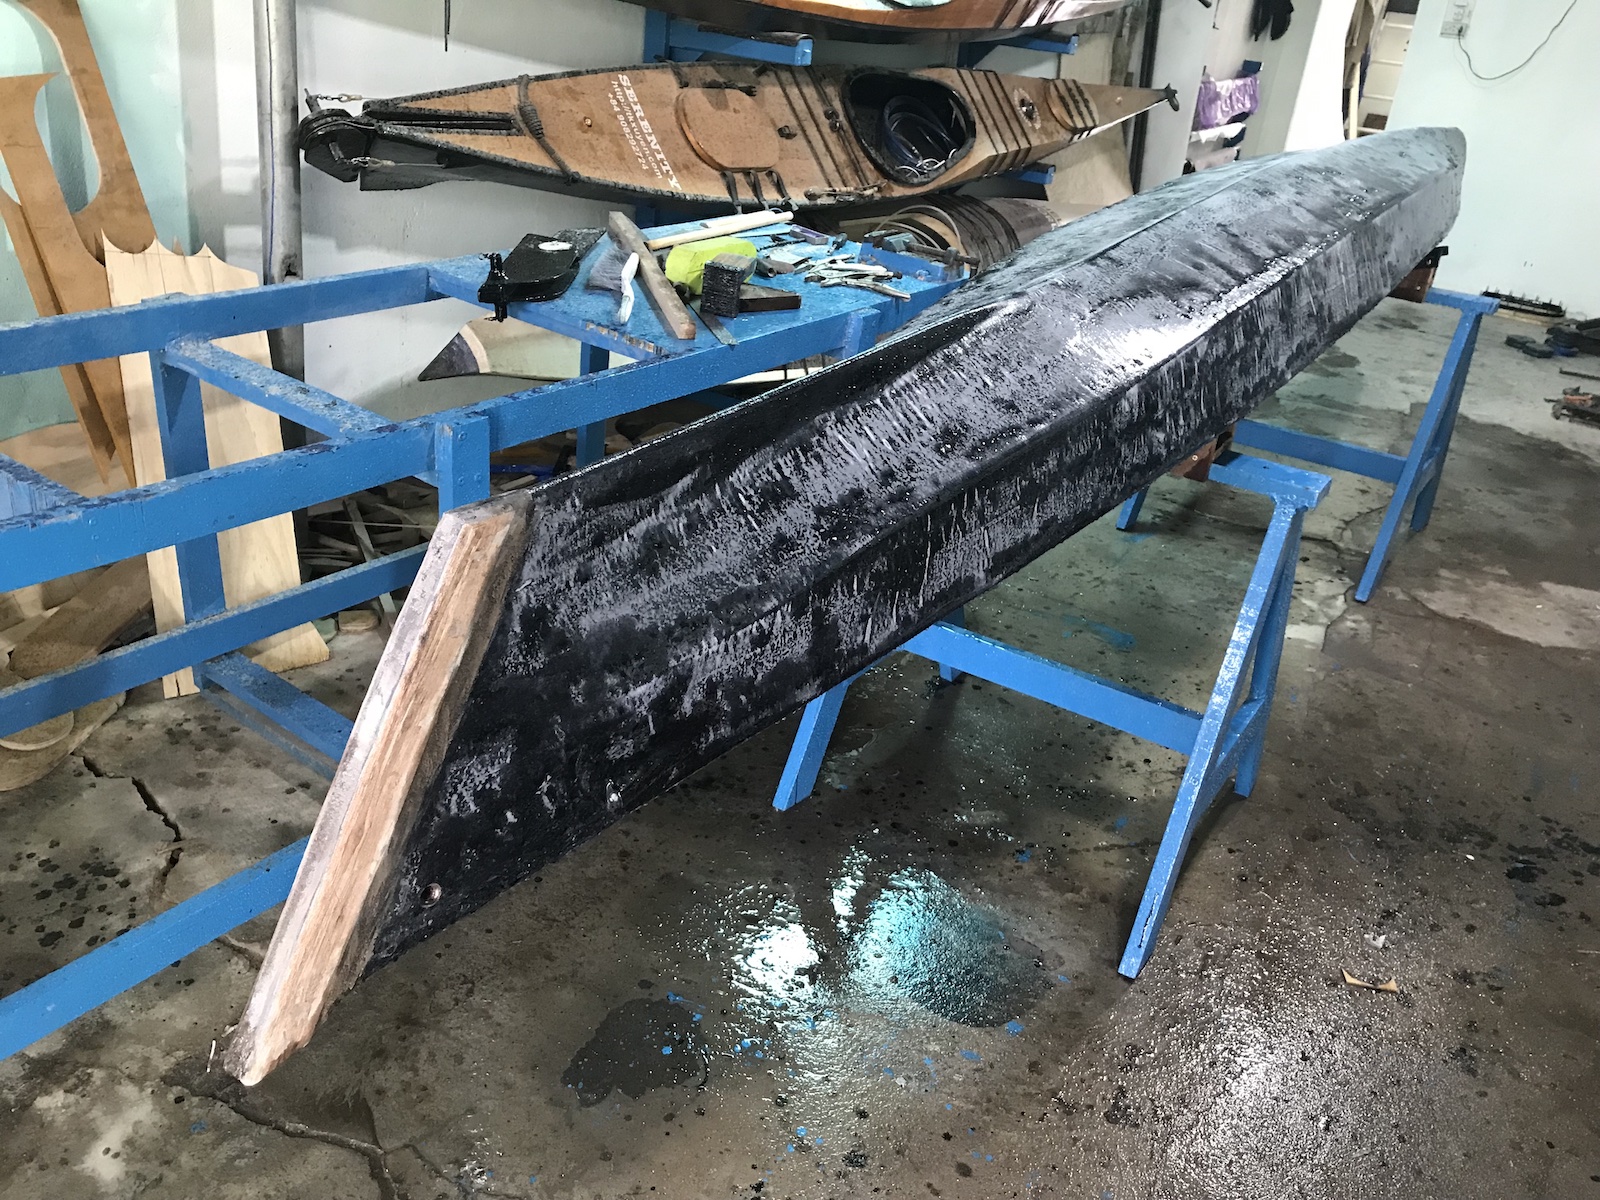
The hull is given 2 layers of gelcoat already, a topcoat would come next! All of a sudden, the temperature in Saigon drops to just below 20 Celsius for the last few days, which is a quite strange indeed. So the gelcoat tooks longer to cure, I have to leave it overnight for each coat. For all these 2 – components chemical things (epoxy, gelcoat, PU paint, silicone, etc…), they do not “dry” like paint, they’re real chemical reactions. So, temperature and humidity have great effects on the curing process, and sometimes it just fails “for no obvious reason” (actually, some certain combination of environmental factors that we don’t fully understand). There’re quite some more jobs to be done to finish this building…