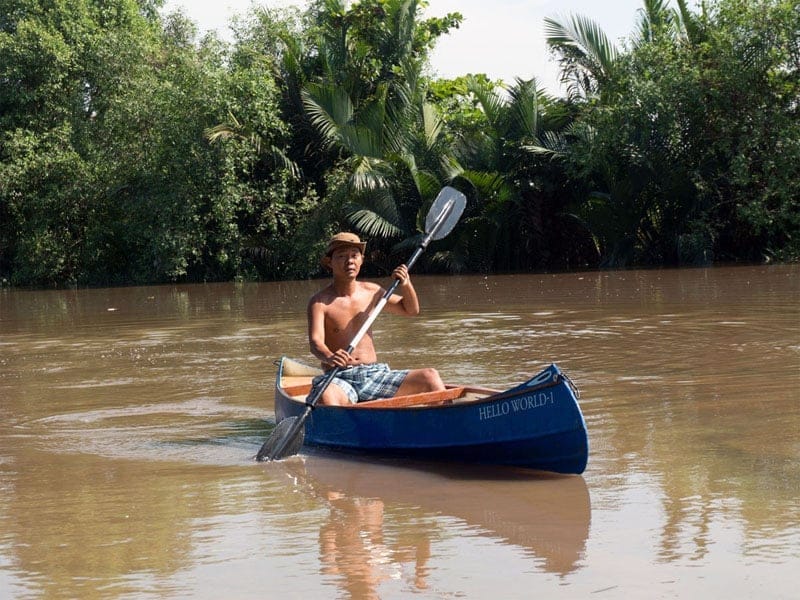
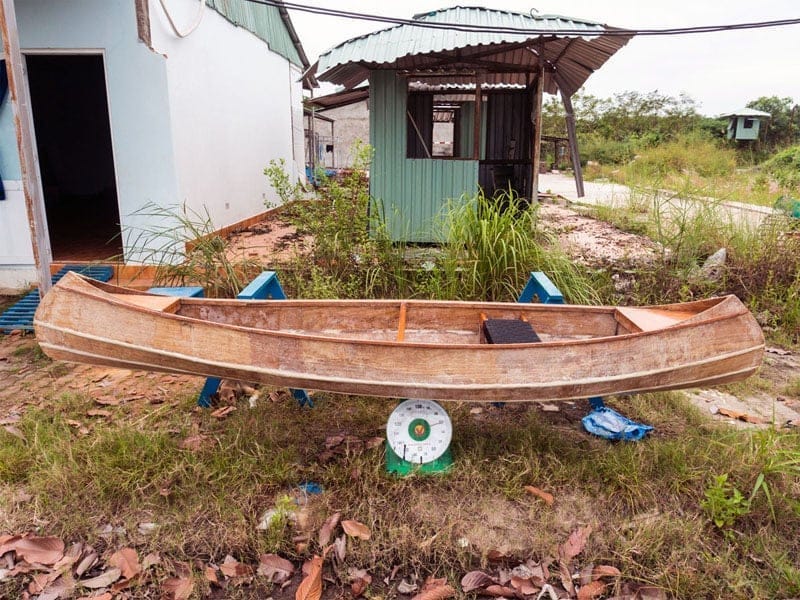
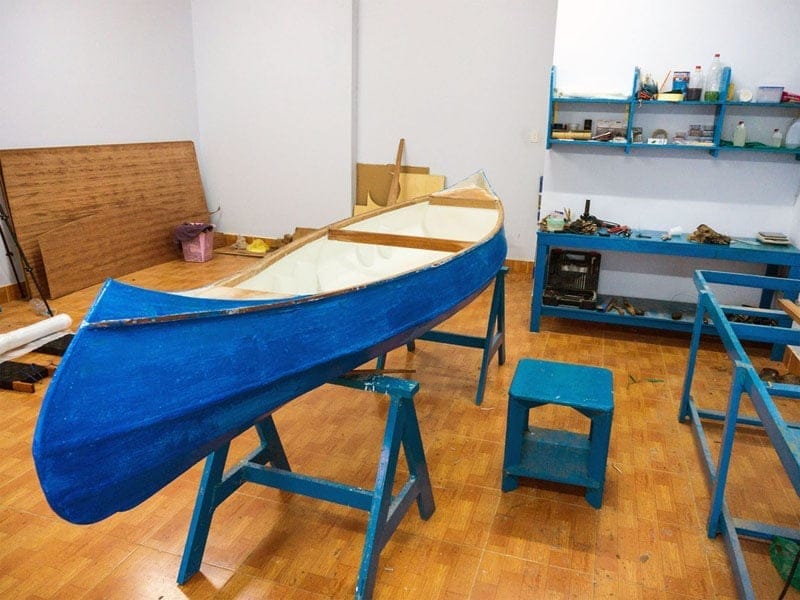
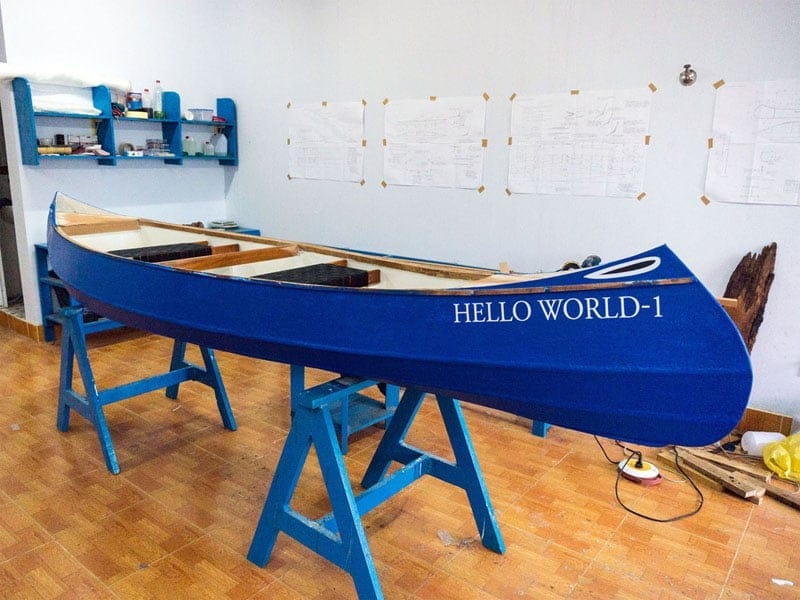
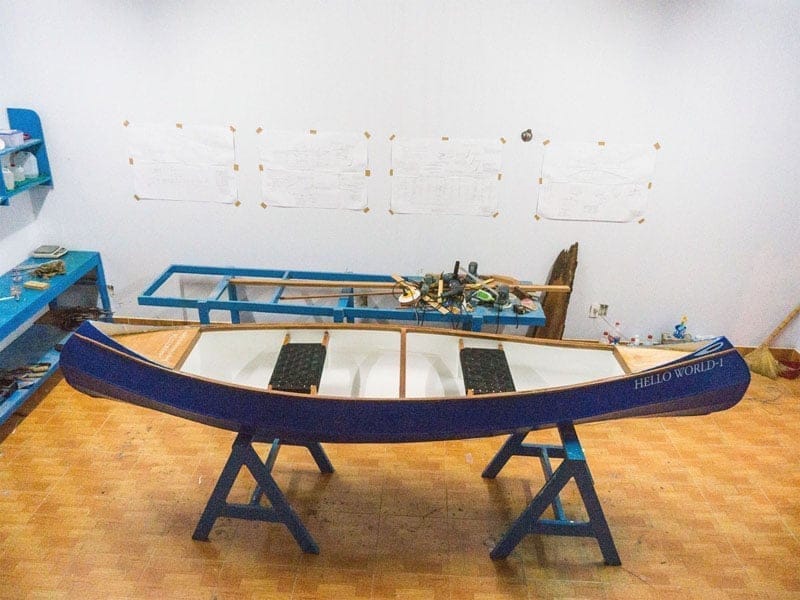
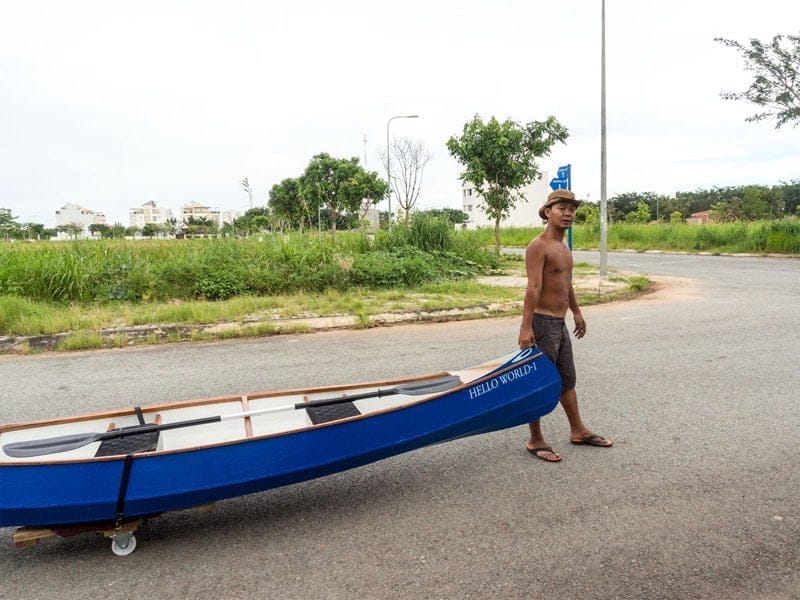
hello world – 1, part 5

was choosing a good day, and also waiting for the tide (it’s just after full moon and the water is low still), time seemed to be so long. Finally, christened, trialled the boat, and started its maiden voyage, all in this same day! 😀 First impressions: the boat is very agile, good speed, better than the plastic boats I used. It’s a real pleasure once you ride into, and the boat gets momentum after just a few paddling strokes, the feeling was light and firm. It tracks very straight, perhaps even too straight. On the minus sides: the canoe’s fat hull makes the turning angle a bit wide (it’s a bit difficult to turn quickly), and it’s somewhat shaky at times, probably because the seats are too high, maybe I should cut the seats’ legs down a bit to lower the center of gravity (or maybe not).

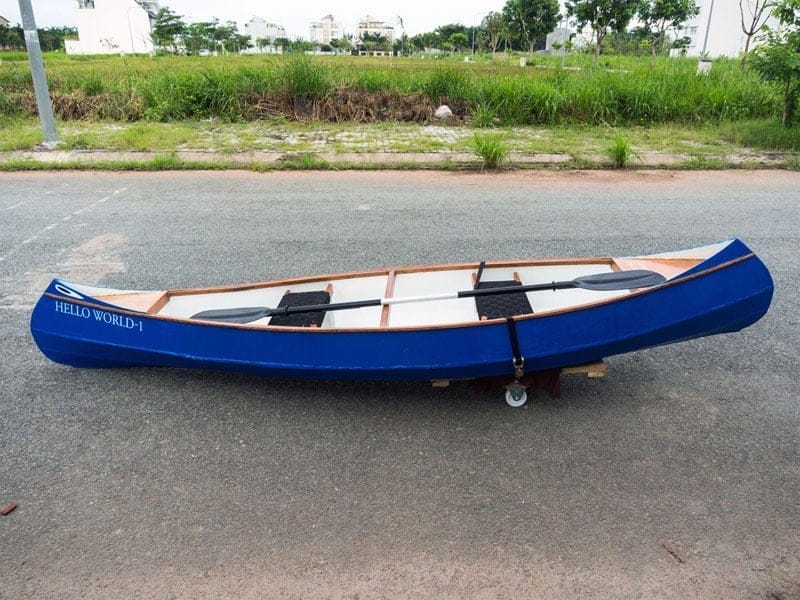
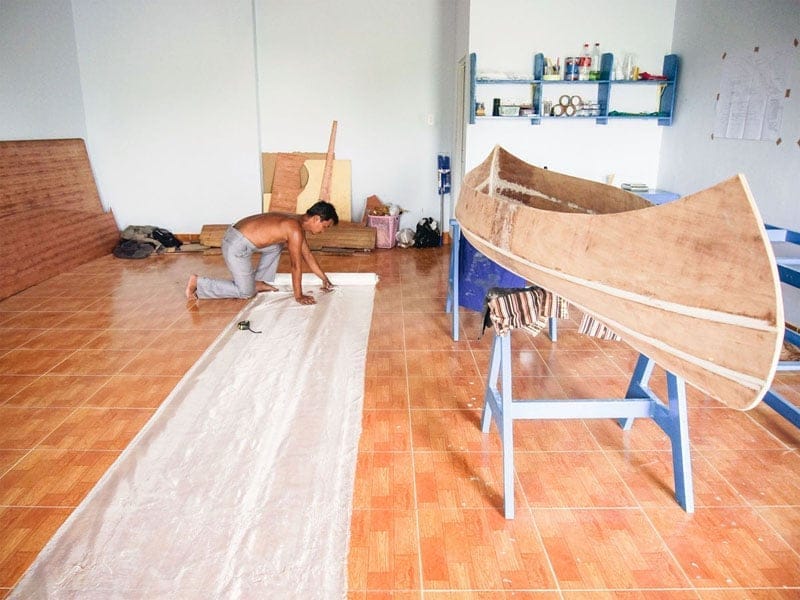
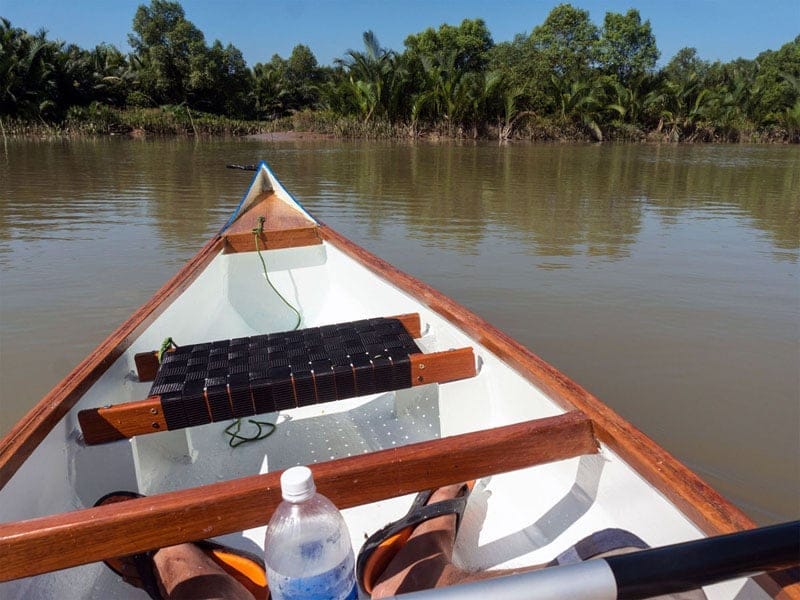
Some photos for now, would post in – action videos once I finish trialling the boat more thoroughly on longer distances… The last several days, I’ve finished two additional testings: one 10km run and another 15km run. Overall, I’m very pleased with the canoe’s performance. The sustained speed is improved by a small margin, from 5 km/h to nearly 6 km/h, but the paddling effort seems to be much less, I don’t feel that tired like with those plastic boats. The windage is good, given that the boat tends to keep straight very well, once it gets momentum, it doesn’t drift much under unfavourable wind. The rolling motion can be unpleasant for novice paddlers, but I’m ok with that still, actually I prefer to have some little shaking, after all, it’s not solid flat land, it’s bobbing water!

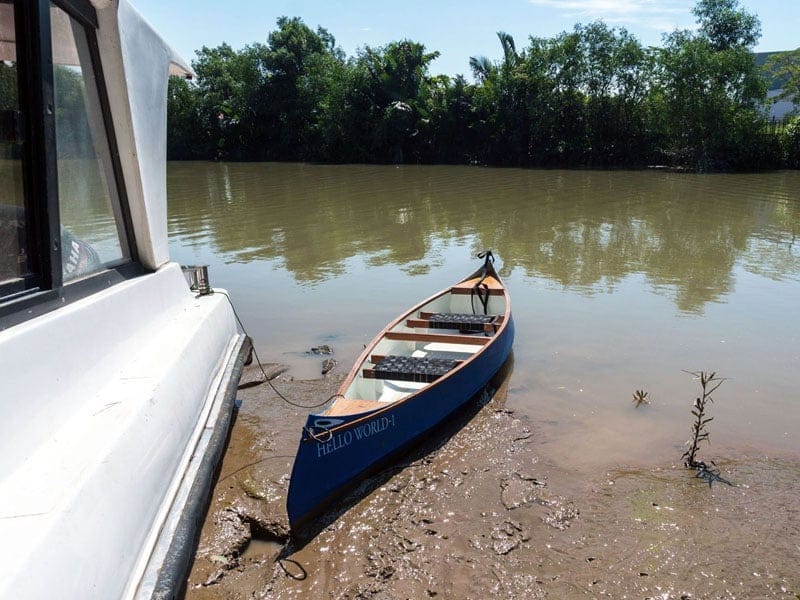
Some very beautiful scenes captured when trialling my new canoe. It rains sometimes, but the sky was clear was bright. Waterways in this region have lots of traffic, high buildings along the riverside, many activities afloat, most people I met was opened and friendly. And everyone was asking from where I bought such a nice and handy boat! 😀 And many ones who patiently spends hours along the banks for casual fishing look at me with envious eyes 😀! It is pure pleasure to enjoy the river in many of its status: tranquil, wavy, windy, sunny, rainy… all within one same day, and it is even more pleasant to enjoy all those things in a built – by – your – own – hands boat! Well… every journey begins with a single step
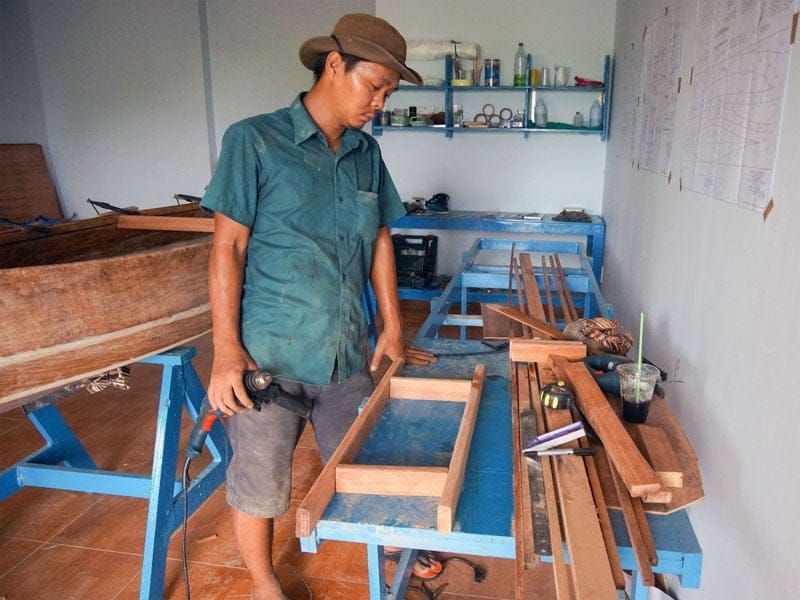
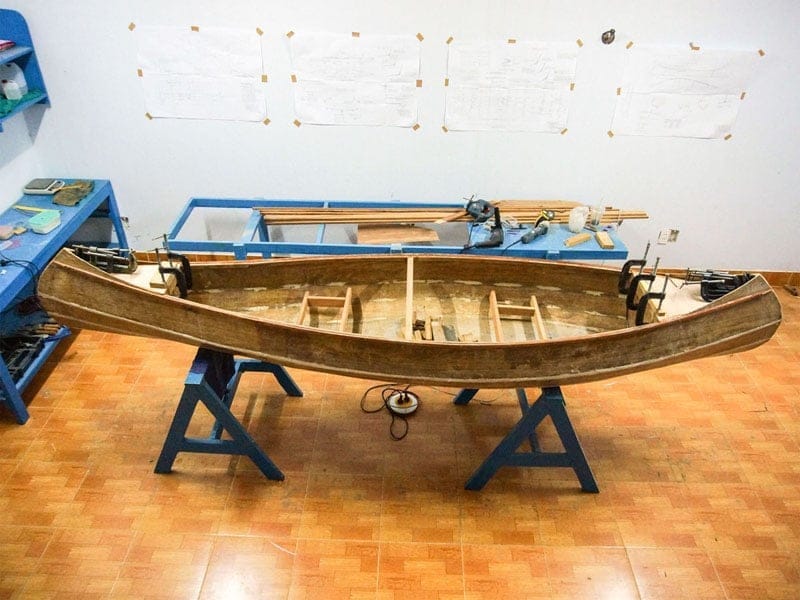
… consider this first step successfully done! 😀

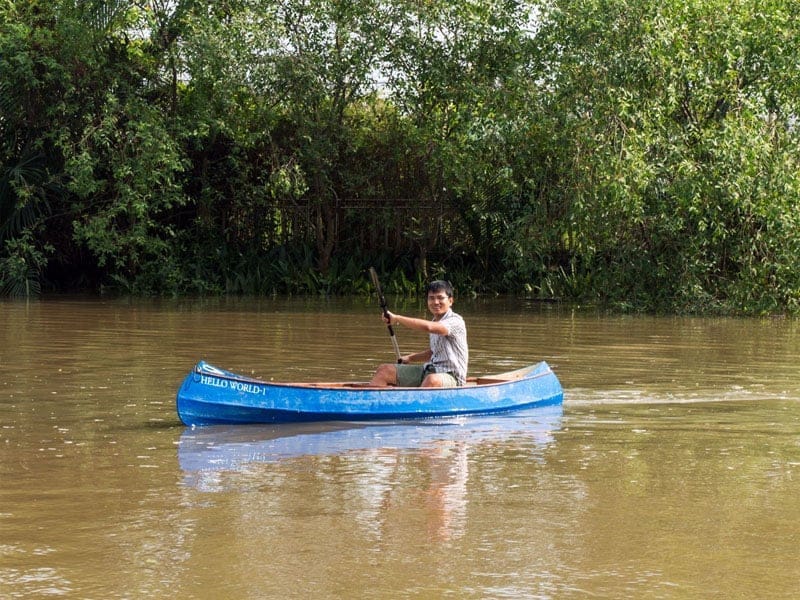
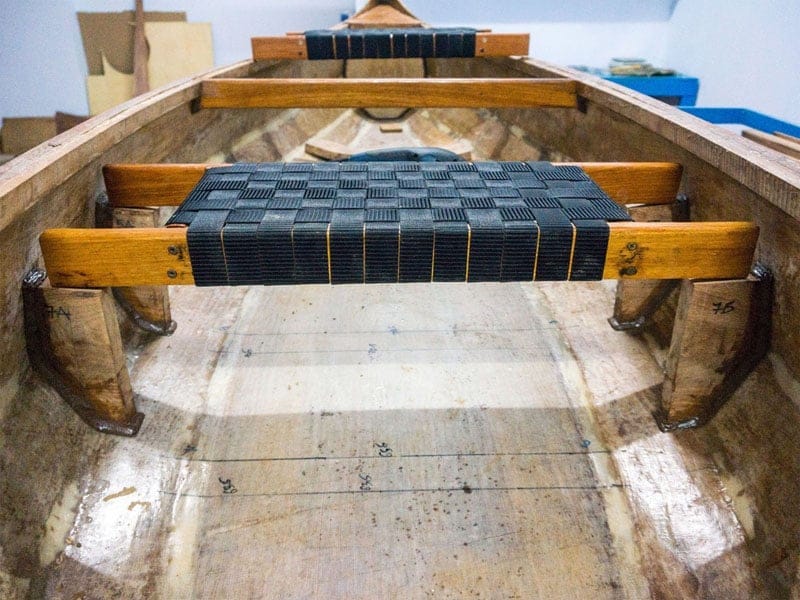
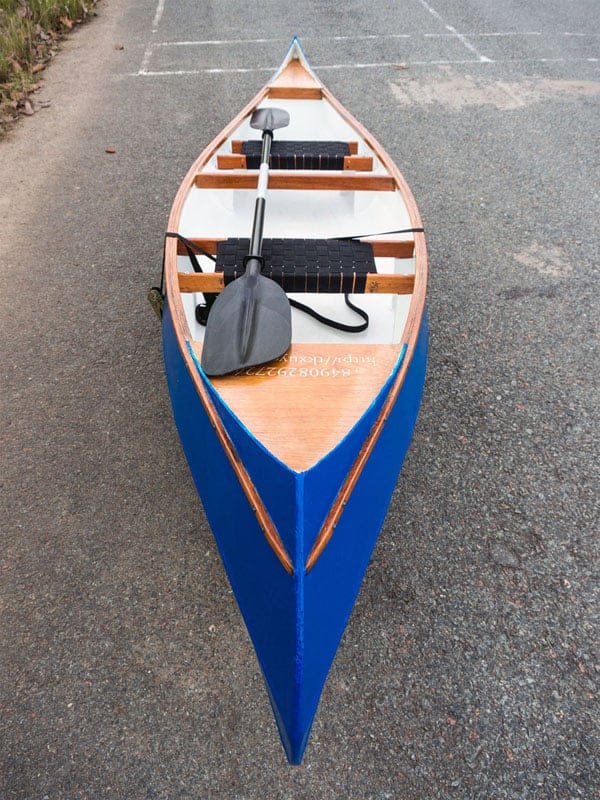
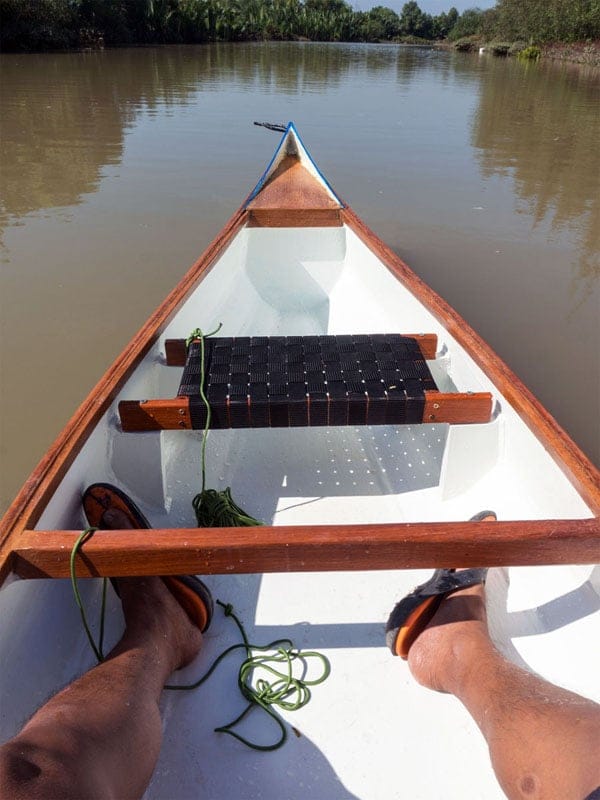
Today, I tested the canoe in tandem configuration, and I must admit, it’s a failure! The only point that I’m pleased with is that the boat is still very light and agile with two paddling hands, it’s very quick to get momentum, velocity is very good, and there’s less effort needed to propel the boat to optimal cruising speed. Things to be improved in tandem configuration: 1. distance between two seats is too tight, the paddles can collide if two hands are not paddling in sync; 2. the canoe rolls a lot, to the point of instability, the only cause is that seats are mounted too high. It’s a dilemma, I don’t really want to lower the seats, they make comfortable positions and reduce paddling effort. I’m considering possible fixes to this problem and would update the canoe in the upcoming weeks.

hello world – 1, part 4

he canoe construction has reached about 3/4 of the overall progress, but there’s still much work ahead. Lots of small errors and mistakes made here and there, lots of lessons learned, but I’m happy to see the general status of the canoe standing well. Since I’ve put more materials (epoxy, fiberglass, hard wood…) into the boat, its final weight might far exceed the projected 20 kg, but that’s not very important anyhow. If it’s too heavy to be easily carried on one’s back, I’ll make a simple carriage to help moving the thing (with my bicycle) around then! Although designed to be mostly a solo canoe, for now I see it can easily accommodate two persons and some little gears, making it a nice weekend fishing canoe very soon in the next 10 days or so! 😀.

10.     SEATS

One of the most important things when go paddling for extended time is… the seat. If you spend several hours mostly with your upper body in action while the lower part doesn’t move much, you’ll understand why a comfortable seat is very much needed. I’m gonna install two seats, to prepare the boat in tandem configuration. Usually, seats are just mounted (hang) against a single bilge, but I think that installation is too weak. Instead, I will make 4 legs to support a seat, each leg also serves to link 3 bilges together, hence strengthen the boat overall rigidity. It could take some times to cut and install the 8 legs into the correct shapes and positions, but if done properly, the boat structural strength would be much improved, that’s worth the efforts.

11.     PAINT

Next comes the job of painting… Unlike the old – day, one – part paint, which is simple to use, today two – part PU (polyurethanes) offers superior properties, but is more complex to work with. First I would need to sand the hull at 120 grit in preparation, then apply two layers of primer, sanding after each layer (150 & 180 grit), then apply two other layers of main coats, then briefly sanding again at 240 grit, finally a topcoat of gloss. In total: 5 layers of paint and 4 times of sanding are required for the interior and exterior, a huge pile of work. I allocate 5 days (could be more) just for this painting job 😢! Actually, I don’t expect a really fine, shiny finish, and the topcoat would only be semi – gloss (or even satin – gloss), it just need to be smooth, that’s already good enough for me.

12.     FINISH

There’re still many small jobs that need to be done to finish the canoe: polish and varnish the naked wooden parts, cut and stick the decal decorations (boat name, owner’s contact information and especially the boat eyes, a must – have, intrinsic part of Vietnamese boats); apply the topcoat (a semi – gloss on top of the decals to protect them from the weather), adjust and fit the two seats, fit two handles at two ends to help lifting the boat… and some other miscellaneous items (styrofoam fenders…) I intend to build also a simple trailer (some wooden planks with two small wheels) to reduce the burden of moving a 35 kg mass on longer distances. Thinking like if I can wait one and a half month to get the boat done, I can wait a few more days to go paddling in it! 😀

hello world – 1, part 3

aving worked with epoxy resin when setting up the workshop, I’ve gained some experiences with it. When mixing component A & B together, the pot time is so short in tropical climate, as the rule states that: reaction time is reduced by half when room temperature increased by 10° Celsius, I usually have less than 3, 4 minutes before it hardens. The average day temperature in Saigon this season is around 33° ~ 36°, it makes a tedious task working with epoxy, quite many times did the mixed epoxy burn hot into smoke before I can use it all. Epoxy also exhibits the characteristic of a “chain reaction”: it easily burns hot when the mixing weigh exceeds a “critical mass” of just 30 grams or so (depending on temperature), forcing me to mix into smaller batches.

7.     GLASSING

Finally, I devised a trick to cope with the situation: before mixing, I put the components A & B into the fridge for an hour 😀, to cool them down and lengthen reaction time, giving me more time and flexibility. Also, I would glass at night to avoid the higher day temperature. For the fiberglass fabric, I can only find cloth of 1m width at the current time, not enough to cover the whole canoe’s beam, but decided to proceed with it anyhow. The missing part will be left as is for the interior, and will be covered by other fiberglass pieces for the exterior. Though glassing would add about 2 ~ 2.5 kg to the final boat weight (just estimate, I use 6 oz, or 200 gram/m2 cloth), it would re – enforce the hull with more stiffness, anyhow this is my first build and rigidity is a bigger concern over weight.

8.     FITTING

The hull is now completed, the next step involves many small works that help building up the boat structurally: fit the forward and aft bulkheads (I decided to seal the water – tight compartments permanently and not to use hatches for later maintenance), fit the inner gunwales, fit the forward and aft thwarts, then fit the outer gunwales, then fit three bottom runners (to protect the boat when touching ground), and some other miscellaneous works. It seems there’s alway more effort and time spent in each step than I originally planned, partly because I’m an inexperience first – time boat – builder, partly cause I want to do it carefully to learn and improve my skills. It’s just like when you go on long – range paddling: don’t think about the destination, concentrate on each steps!

9.     MORE FITTING

For the gunwales, thwarts, seats… my chosen wood was a very hard and heavy tropical one, Vietnamese name: căm xe (Xylia xylocarpa) and the choice was not quite right. Having density at 1.15 (1150 kg/m3), the wood is too hard to bend into desired shapes, it’s even hard to saw or to chisel. I was thinking of setting up boiling devices to steam and bend the wood, but it requires much more effort, so finally I decided simply to compromise and change the design: instead of “flush decks” at bow and aft, I lower them a bit to fit with the “sunken” gunwales. Also, I’m worrying that this wood would add much more weight into the boat. On the plus side, hard wood makes the boat more sturdy, and if done right, its grain and colour would be very nice after polishing and varnishing.