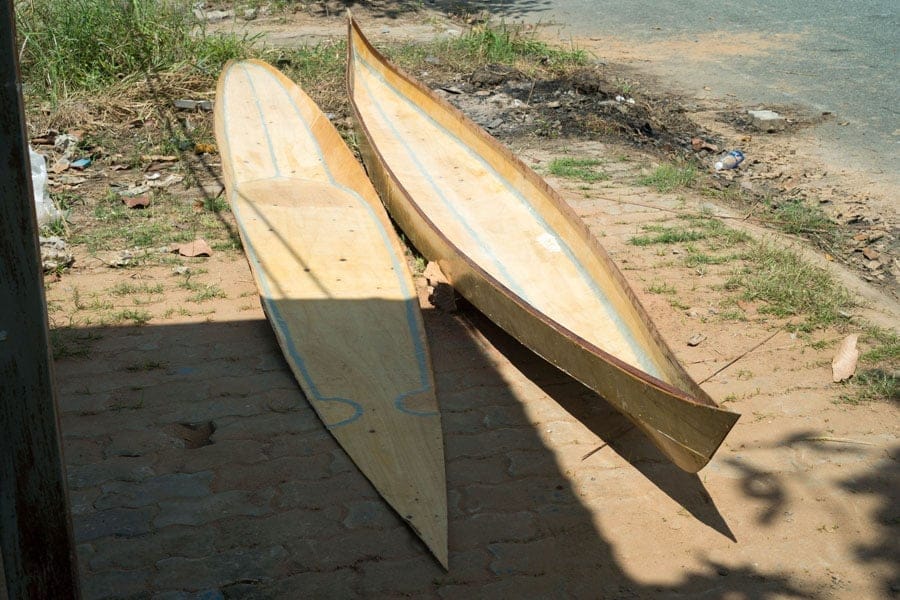
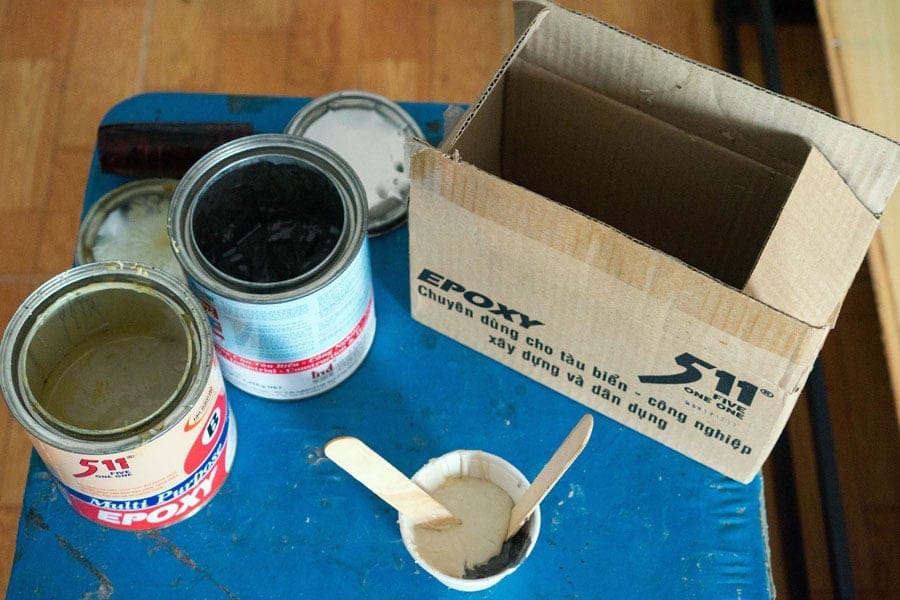
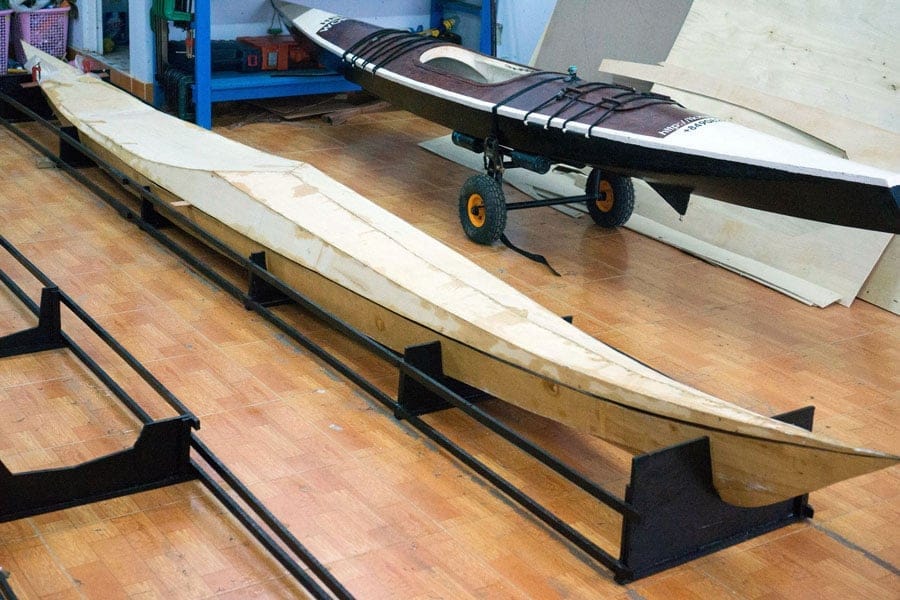
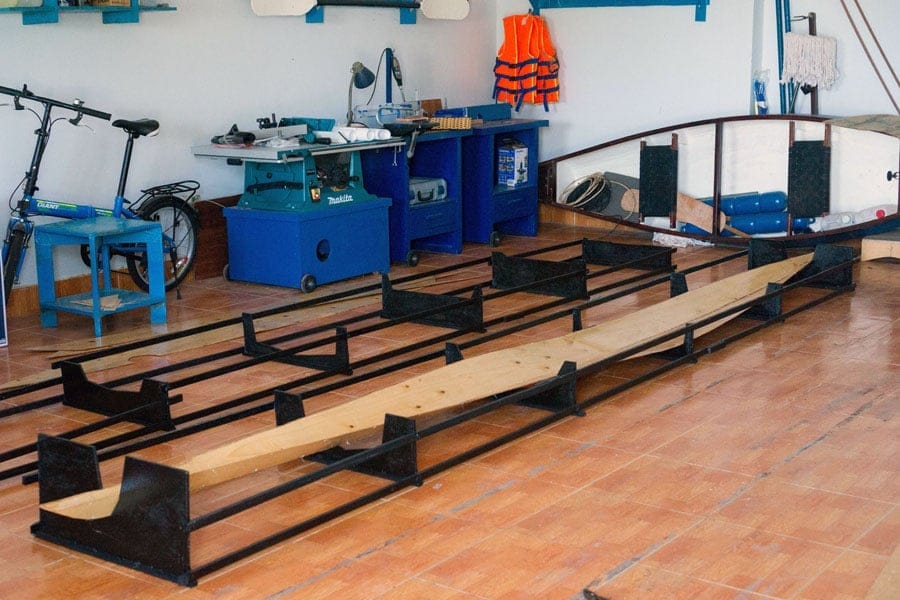
hello world – 3, part 9

efore installing the inwales, I expose the hull and deck into the afternoon tropical sunlight for a few days, for the epoxy to completely hardened. Noticed that for the currently used epoxy, it takes time (several days) for the “amine blush”, a wax like substance, to appear on the surface of the cured epoxy, like drops of dew. I need to wash & brush them with hot water & soap thoroughly, then giving it a slight sanding, then I would be able to install the inwales.

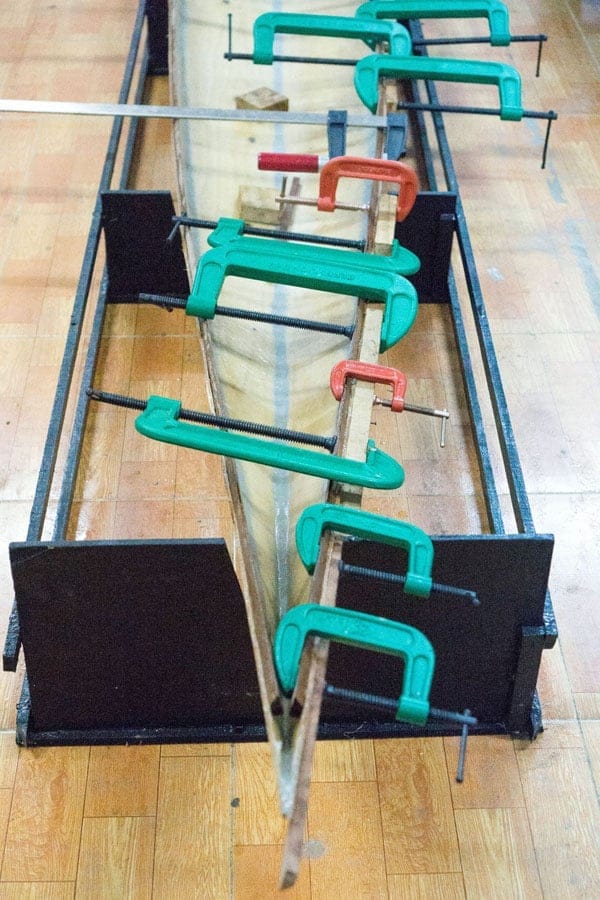
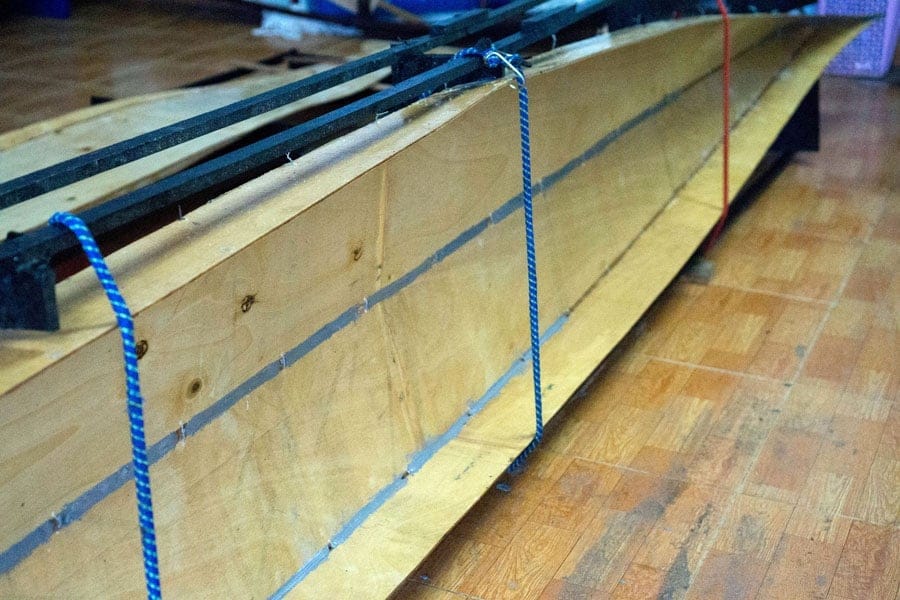
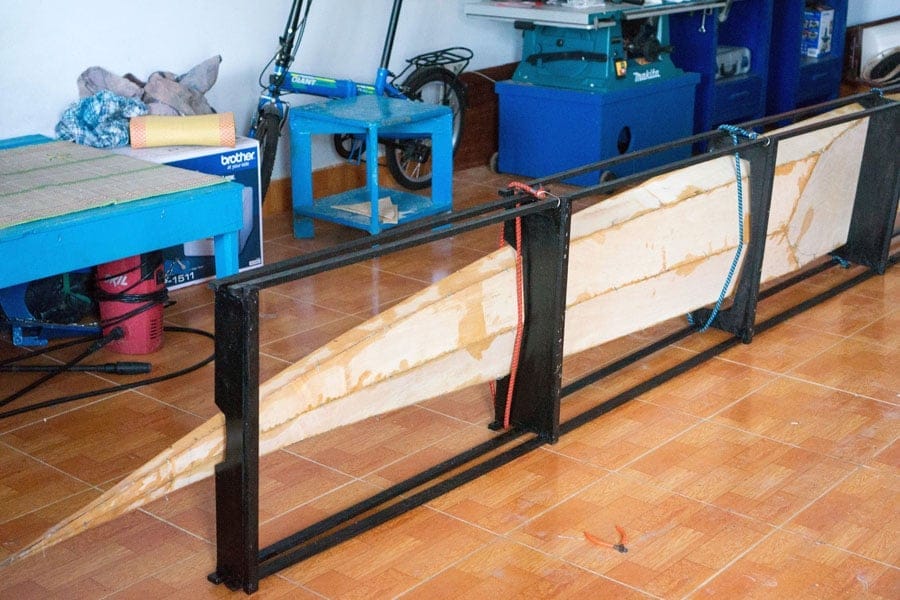
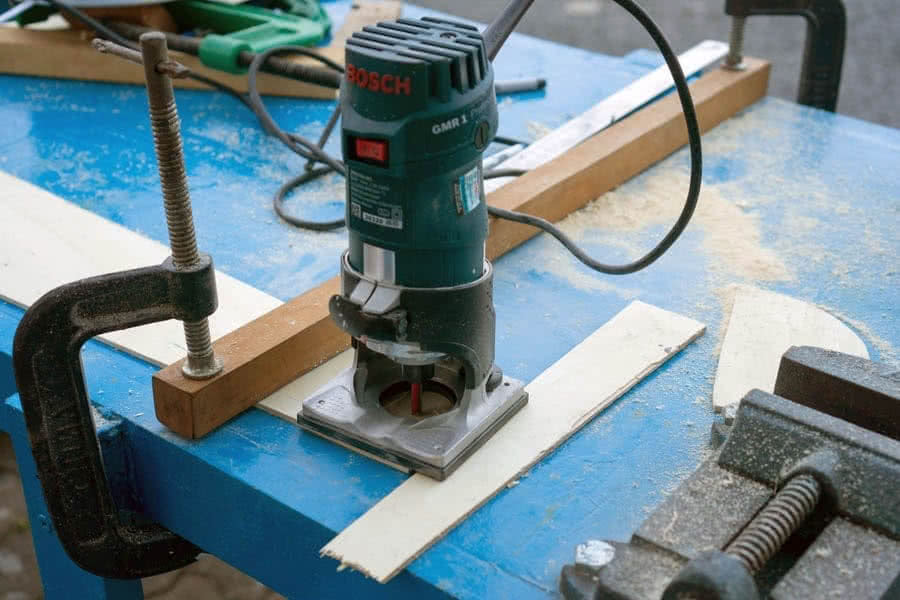
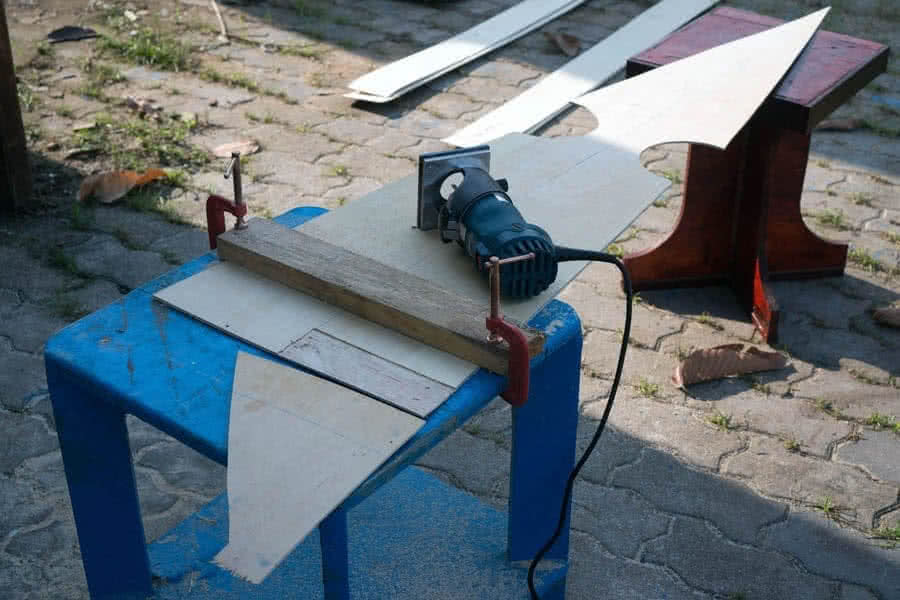
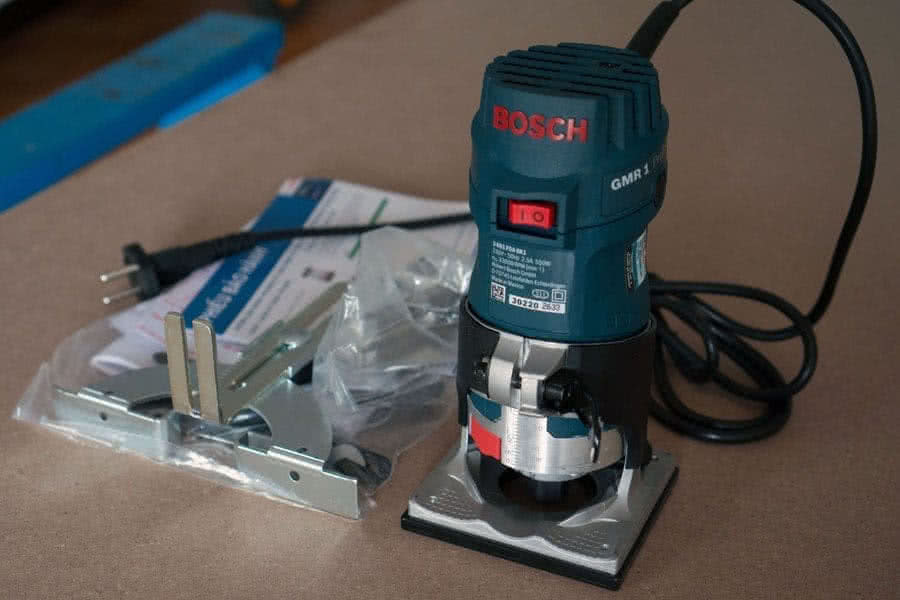
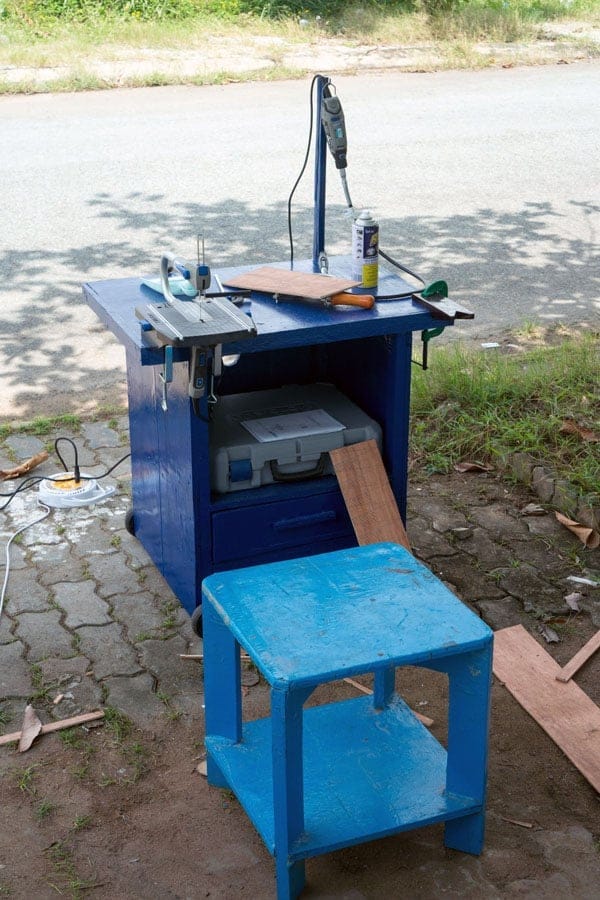
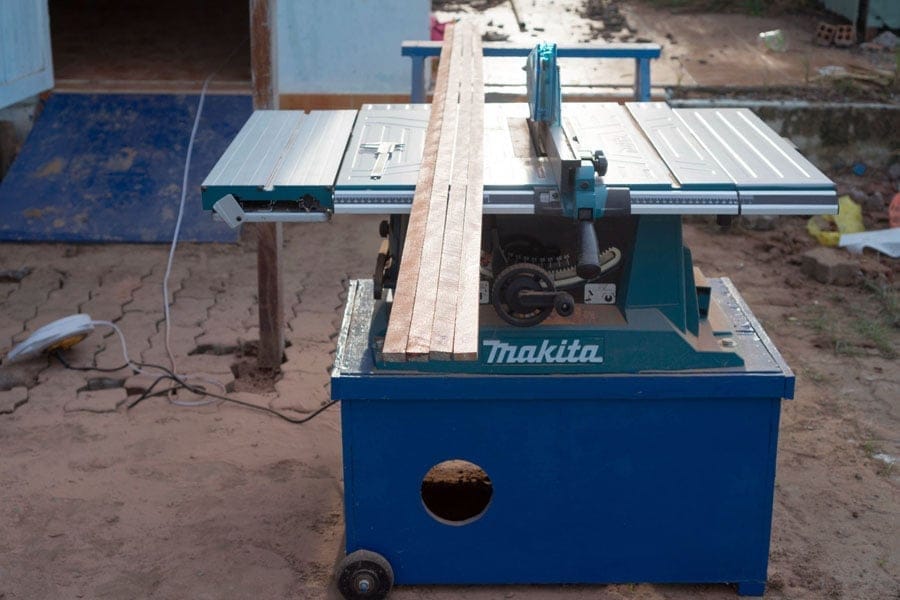
I cut thin wood stripes, 3 m long, 1 cm thick, and join them to the 5.5 m length of the inwales. The inwales just serve to join the hull and deck together, and as a frame to install the deck rigging hardwares later, so they don’t have to be too thick and strong. Next is to bevel the inwales, I used my table saw to make a 45° cut, then split cutting the two ends into halves, for it to easier to bend into the bow & aft curves. Later, I would use the angle grinder to bevel it more precisely.

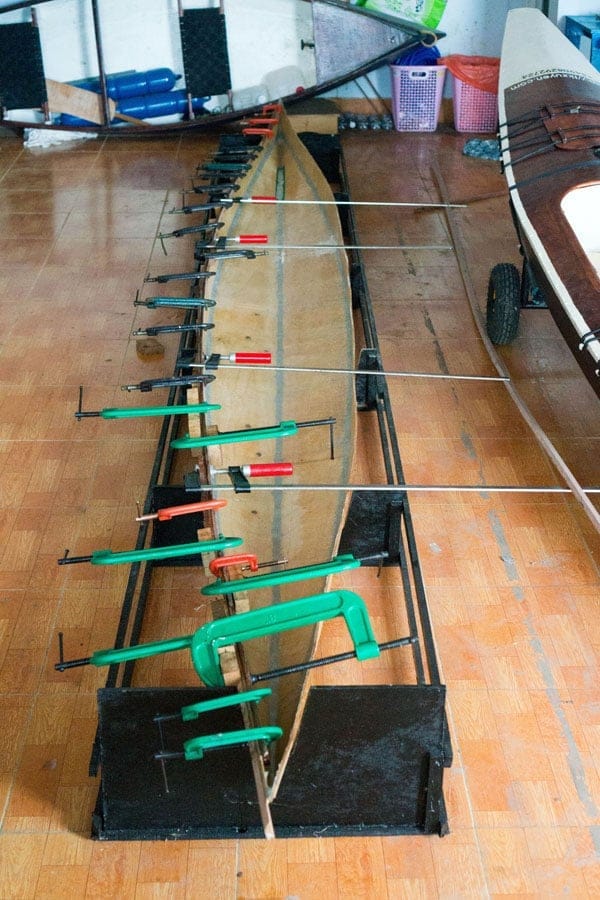
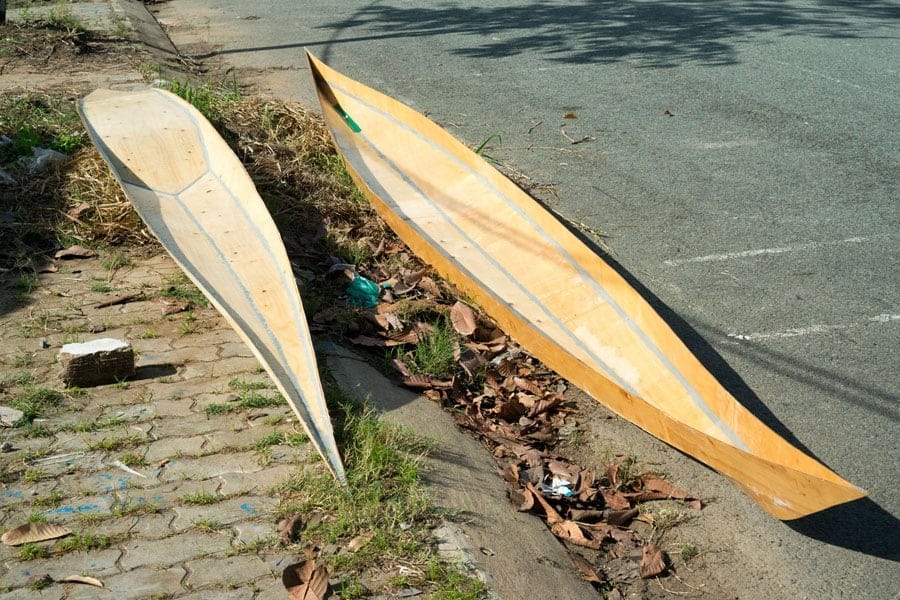
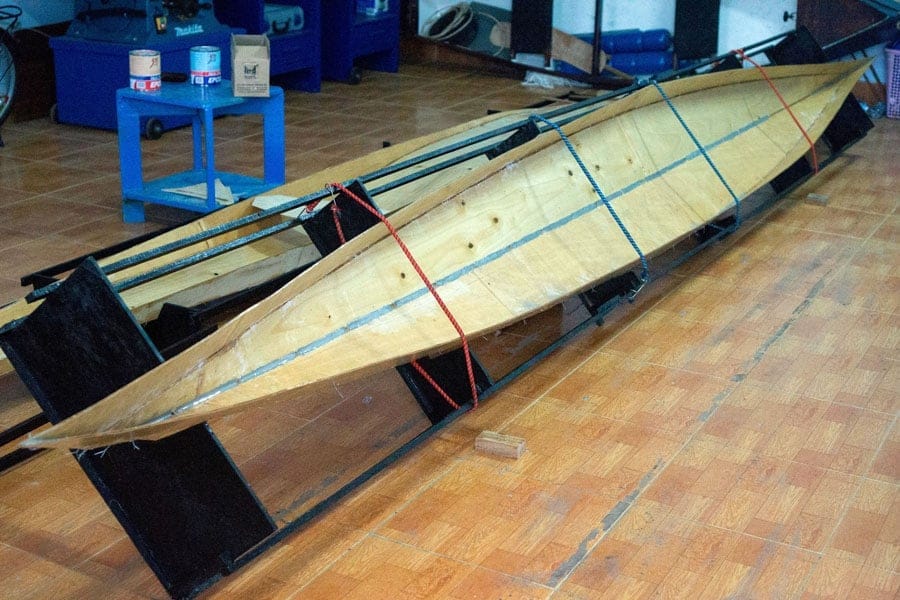
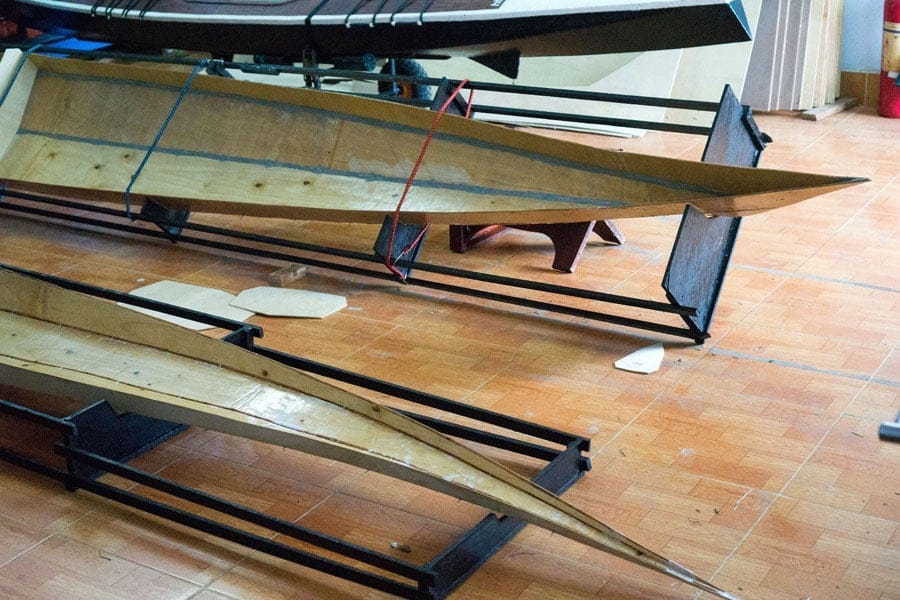
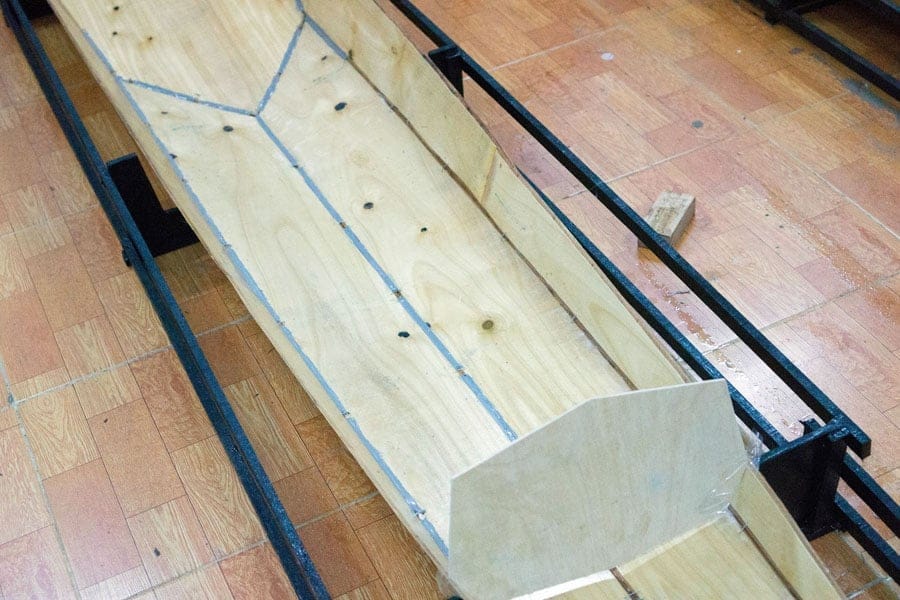
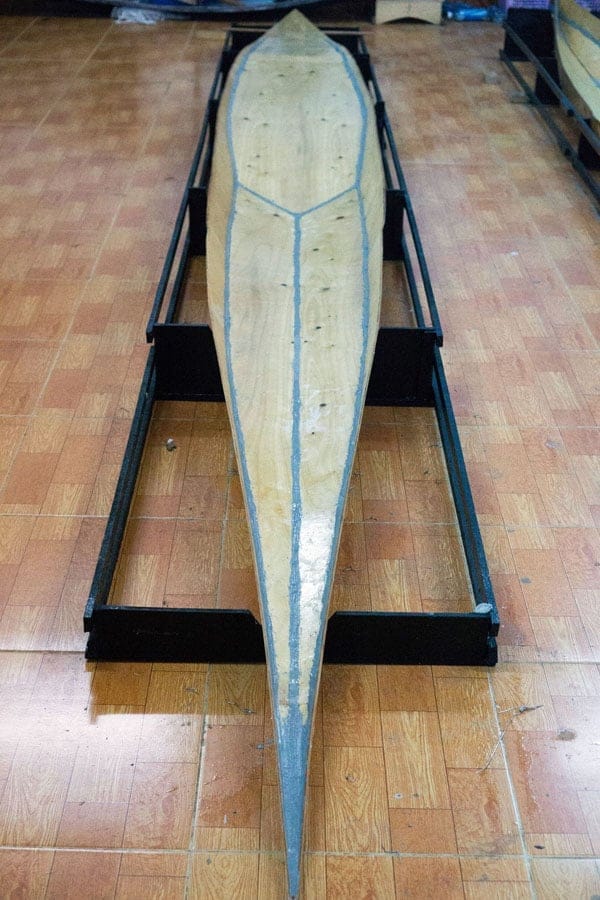
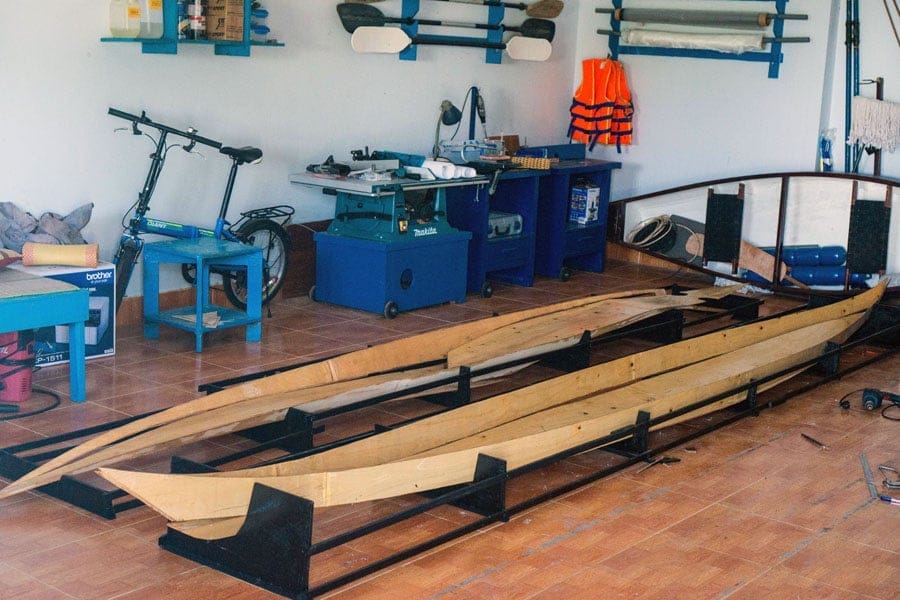
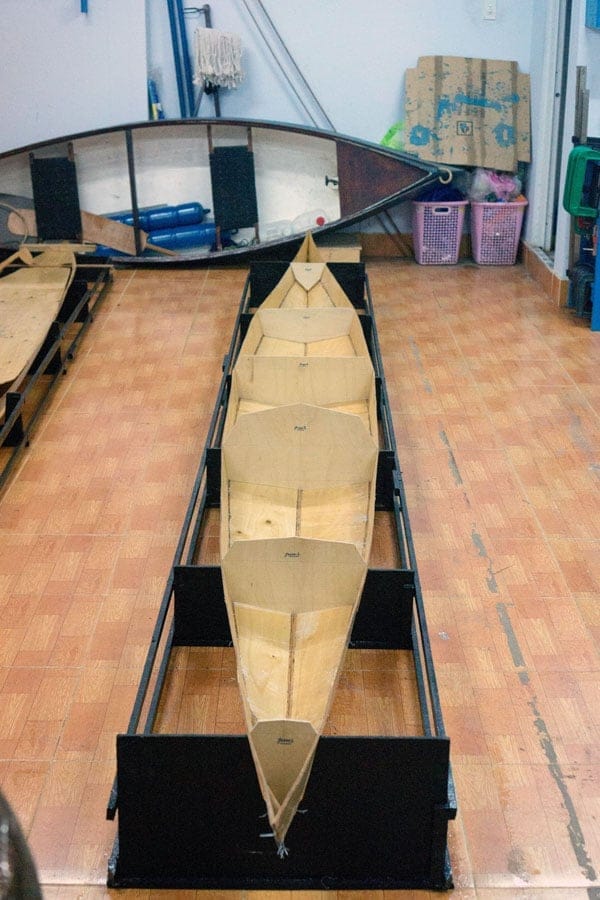
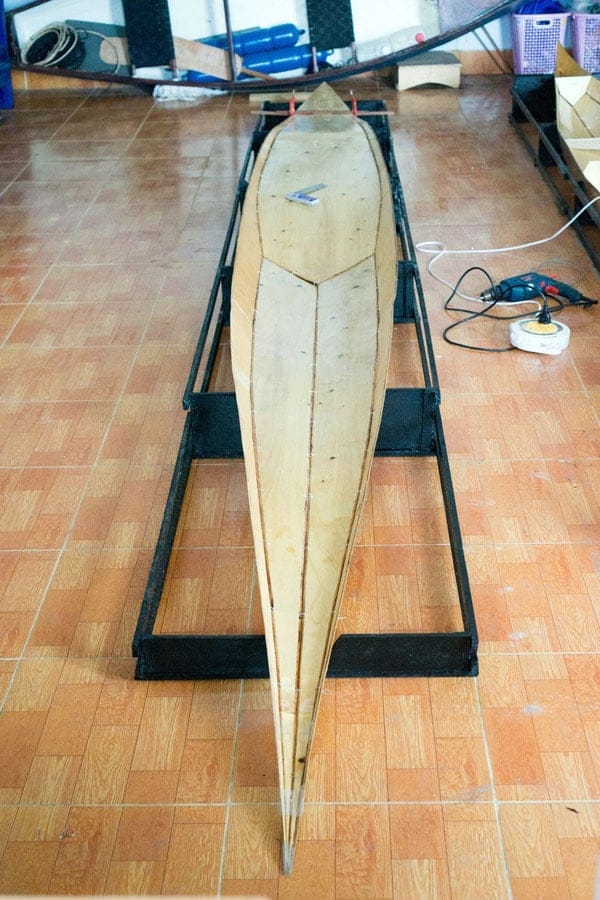
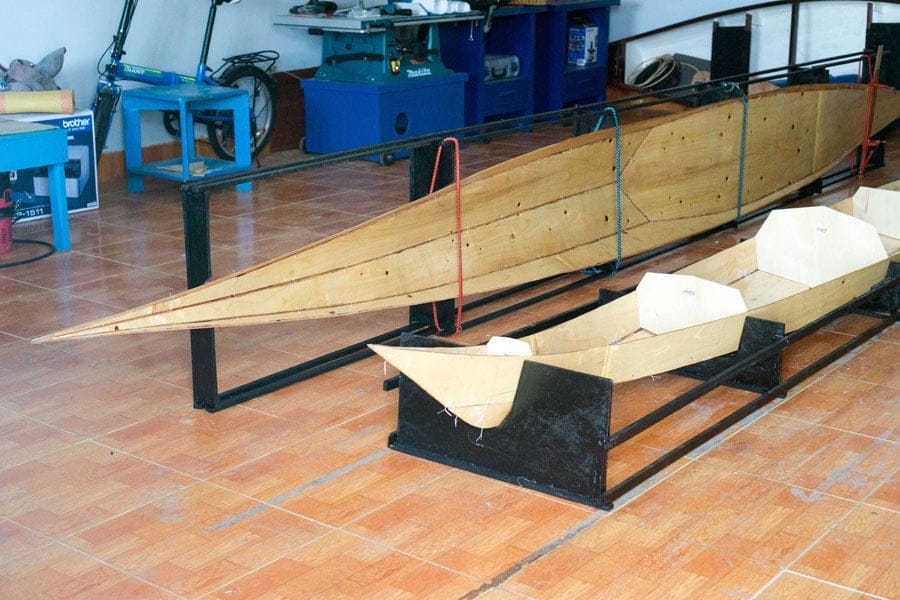
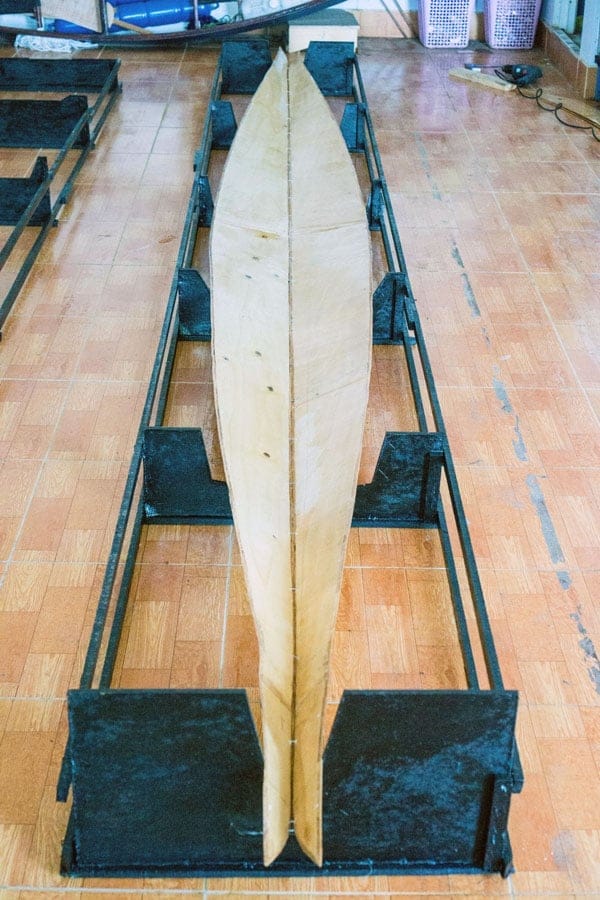
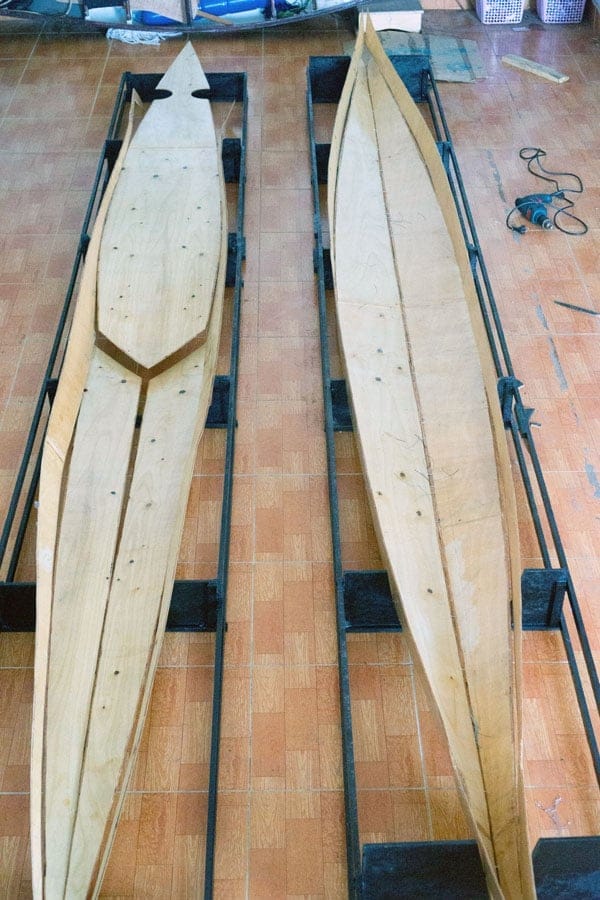
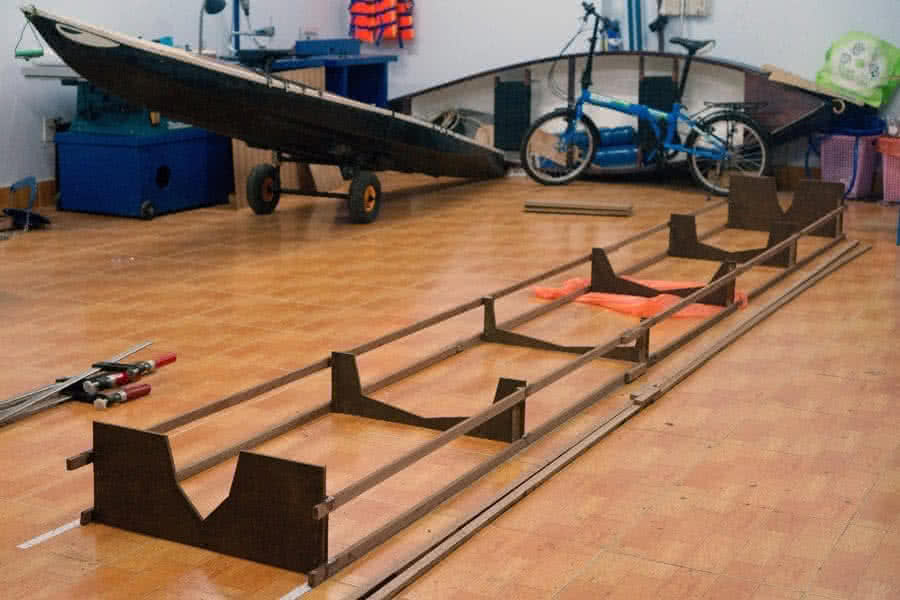
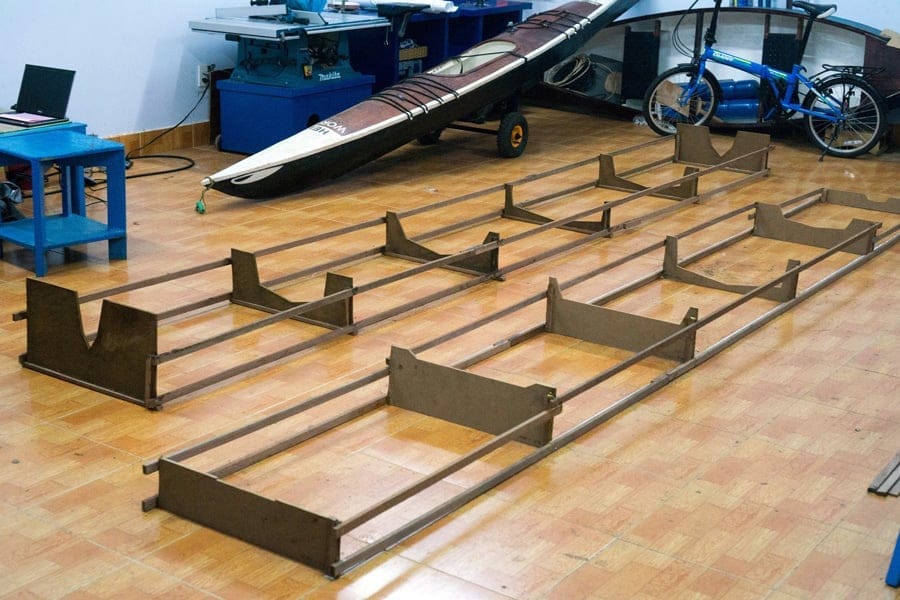
Next, fitting the two forward and aft permanent bulkheads would stabilize the hull into it final shapes. The plan places the two bulkheads about 1.45 m apart, but my legs are not that long, I decided to reduce the cockpit size to 1.25 m, that is also counted the space reserved for a small bilge pump. It happens that the 3rd temporary bulkhead is approximately at that position, so I just use the temporary bulkhead as the permanent forward bulkhead, plus a newly – cut aft one.

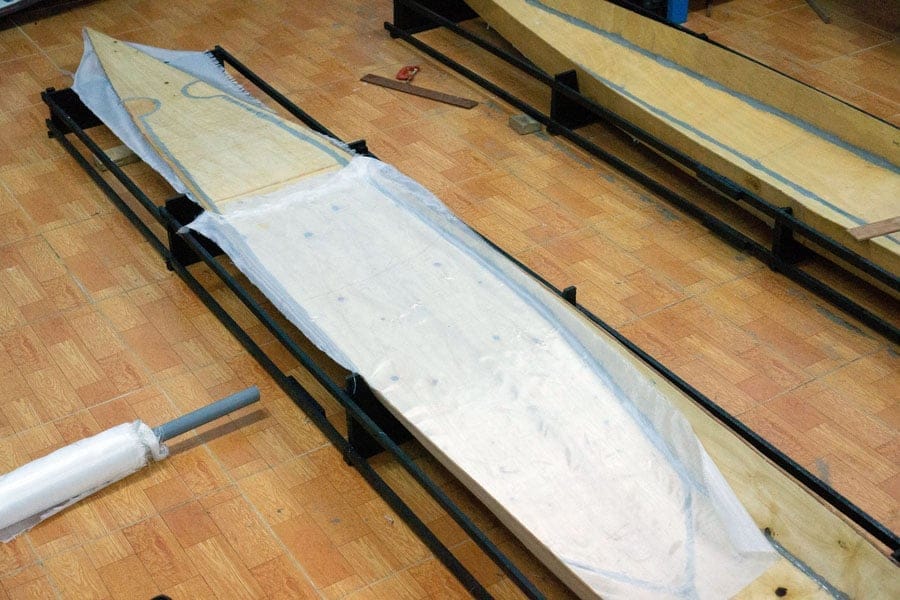
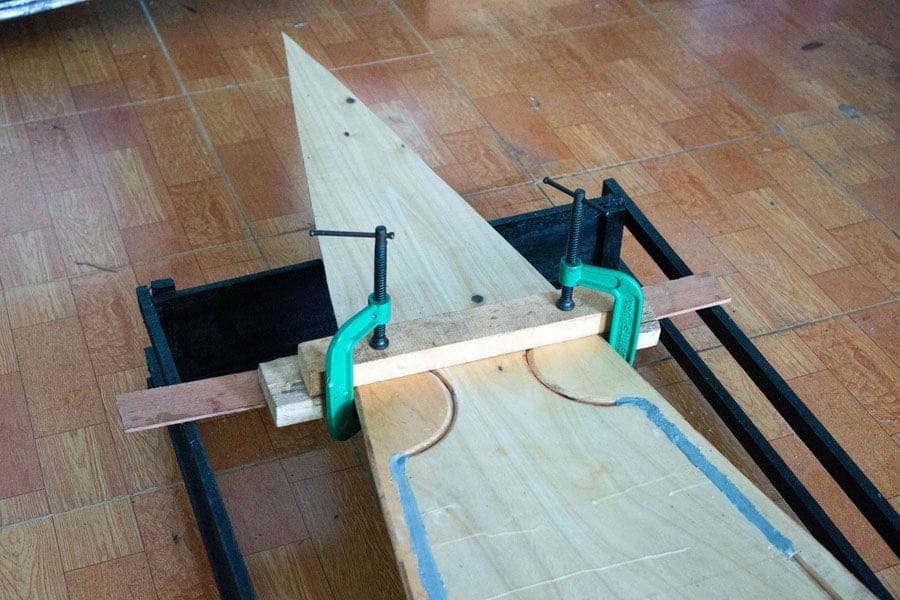
The bulkheads fit well with some minor whetting on the edges, I decided to glass them on one side (the cockpit side) to prevent water leaking through. Having noticed that the curve profiles of the hull and deck (along the gunwales) slightly differ with each other, I’m gonna install some temporary spacing thwarts into the hull, to make it better match with the deck. Those are just temporary and would be removed once the two halves are joined together.

hello world – 3, part 8

oticed that the hull’s plywood scarf joints happen to be closed to the seat and (sail) mast base position, I decided to reinforce those places with a narrow (20 cm) stripe of glass. Also noticed that a small paint roller helps distributing the epoxy more even and quicker compared to a brush, though it does absorb (and hence waste) a considerable amount of epoxy. Saigon this season is so hot, all glassing need to be done at night, precisely and quickly.

Next is glassing the hull’s seams, and internal glassing for all the hull and deck (I don’t glass the deck’s seams, feeling that one layer of glass is enough). I use epoxy with the B5 hardener for the seams, it’s slow curing and somewhat elastic nature is more suitable for all glueing, joining, better bonding to some tropical hard wood (compared to the TETA). And I use TETA for the overall glassing, its hardness helps creating a rigid external shell, and it is also cheaper to be used in greater quantity.

I can’t find fiberglass tape suitable for boat work of any kind here, so decided to use bias – cut fiberglass (cut along the diagonal line) instead. At this point, I tried to bend the side bilges a bit, it’s really really tough, with the internal glassing only (the external is not yet on). Feeling pleased with my epoxy and glassing work, and by my estimation, I’ve put about 1.8 ~ 1.9 kg of epoxy on (for both the deck and hull), I’m now counting the epoxy to help reducing the final boat weight.

Next is installing the gunwales (the inwales), just learnt that these are British English, for American English, it’s called the ‘sheer clamp’. The plan suggests joining the hull and deck using fiberglass tape, but since I have no such, and since I have less confident in that method, I resort to the known technique of using the inwales instead. This gonna be a bit tricky, since the inwales need to be bevelled differently along their length, the good side is that there would be little difficulty in bending them.

hello world – 3, part 7

he 511 putty comes in 2 parts: the resin and hardener, both premixed with a certain kind of thickening agent (filler), one has a dark gray and one has a yellowish color. Just stir them until you have a consistent light gray, highly viscous mixture. Since the hull and deck are tied to the framing boxes, I can easily slant the boxes to get the putty cured into the exact position, resulting into very clean seam lines. No need to use duct tapes to mask the lines though.

Fill the seams, wait for the putty to cure, cut the wires, then fill the remaining, repeat that for both the hull and deck parts. My precautious nature steps in as always, I made the seam lines of the hull much bolder and thicker, while the deck has very thin lines only. It’s easy, but it would take a few days to finish all these glueing tasks. After this, I would dry fit the two halves, to see if they match each other well, and to produce an initial impression of the final product also!

I recall glueing the seams of Hello World – 1, my first build. I used a small masonry trowel to apply the putty, about 1/2″ thick, and epoxy is all messing around. Now it’s much tidier and cleaner, and I don’t even need a pair of gloves and just work with my bare hands. Well, lots of little know – hows, skills and experiences that you could never learn if you don’t just really do it. About this time last year, I was so doubtful if I could even finish myself a boat, now it’s (almost) the third! 😀

A bit off topic here, but the thinking has been in my mind for a long time. About educational methodology, they’ve been arguing all the time, about knowledges, information, attitudes, practices, etc… But for me, it works a different way: if you want someone to build a boat, show him / her the immense beauty of the sea. Similarly, you don’t have to learn all those maths and algorithms to become a good coder, seek the inspiration in something else, e.g: the art of hand writing calligraphy! 😀

hello world – 3, part 6

he game of paper cutting and glueing again! 😀 The efforts of building all those framing box and temporary spacing bulkheads now come into fruition, seeing the bilges fit perfectly, not any noticeable gaps between them. All temporary bulkheads fits well to the hull and gives you an assured feeling that the boat is taking a good shape. It’s a real pleasure to see things properly executed and the building quality is under your control.

I use smaller wires and drill smaller holes into the bilges’ edges, as the 4 mm ply need less fastening force compared to the 5 mm one. The ugly thing about the “Stitch and Glue” method is that there’re so many small holes to be drilled into the hull, about 250 for this Hello World – 3, and later, you would need to check and re – fill each of the holes before glassing, a tedious task indeed. The bevelled edges leave a good space for putty to go into, making very clean seam lines.

Contrary to my initial thought, the sharp edges stand together pretty well, they need some adjustments, some dots of Cyano Acrylate glue here and there, and some little wires fastening too. But overall, both the deck and hull part shapes are very satisfactory to me. My boat building workshop has been becoming too overcrowded and cramped with three boats, and many kinds of machineries, to get some good shots showing off the boat shapes. Oh, those gorgeous curves and shapes!

I proceed slowly as I would have little free time this week: check the geometries, fasten the wires, then glue the seams. I use a good local epoxy putty called: 511. The 511 came into my favor since it has long curing time, don’t have to worry about epoxy burning in pot anymore (it’s a real problem in hot tropical climate). It also has a constant viscosity giving you a consistent, predictable working behaviors (unlike the fillet I manually mixed with wood flour, which differ from time to time).

hello world – 3, part 5

he S & G Night Heron plan calls for beveling the bilges’ edges, and I follow it exactly, the bevels will help forming the boat shape more precisely, and also help to strengthen the putty joints. At first, I intended to use my routers to do the edges’ beveling, but switch to the frequently – used angle grinder instead. With the angle grinder, it’s harder to do the job, but it allows you to adjust the angle along the bilges, it’s steeper toward the boat’s aft and bow.

Next, I would add several layers of ‘penetrating epoxy’ onto the joined planks. This is my own experience in dealing with plywood, epoxy, and glassing. ‘Penetrating epoxy’ is nothing more than epoxy (with slow hardener, the B5) thinned with a solvent, I use xylene, which works best for me, mixed in 4/6 ((resin + hardener) / solvent) ratio. The plywood I could find here in Saigon is usually not of very high quality, I can see it absorb lots of thinned epoxy cause the veneer is so porous.

Using a slow hardener plus a solvent (applied in 3, 4 layers) causes the epoxy to cure slowly, usually within 12 ~ 18 hours. This prolonged time allows the plywood to absorb a significant amount of epoxy, and hence strenghthen the veneer. I estimate that the ‘penetrating epoxy’ adds up about 1 ~ 1.2 kg to the boat’s final weight, but that also helps glassing in the next steps to be more clean and strong, no more ‘white spots, white areas’ in fiberglass cause the wood is already well – saturated.

‘As usual’, I have the unpleasant feeling working with these long, narrow stripes of plywood. At this stage, they are very fragile and delicate, easy to break at any moment. But all would gradually build up strength once stitched together into a structure, have the seams filled with putty, and especially after being reinforced with fiberglass and epoxy. Nevertheless, it’s a very good feeling at this step to see the boat takes its initial shape, I work first on the hull, then proceed to the deck part.

hello world – 3, part 4

nitially, I’d planned to use dovetail joint (or finger joint) to combine the plywood pieces together, but after cutting them, the 4 mm ply is quite thin and fragile to work on, so decided to use scarf joints instead. I used this Bosch laminate trimmer to remove 2 mm of ply on the surfaces, apply the TiteBond 2 glue, then clamp them together overnight. The Bosch fixed base router is an excellent tool, easy to adjust the bit’s depth, small enough to be handled comfortably.

I’ve finished the scarf joints with almost no mistake. Next I would slightly sand the joints, bevel the edges, then apply a few layers of thinned epoxy (epoxy mixed with xylene solvent, that is what they call ‘penetrating epoxy’, more about this in the next post). A layer of fiberglass with un – thinned epoxy over the joints would make the scarf joints strong enough. Some notes about epoxy below, and I hope the information would be useful for anyone having to work with the resin in Vietnam.

There’re several kinds of epoxy resin, the ‘component A’, but for most tasks, the vendors will sell you the correct, most – frequently – used one, just say ‘epoxy resin’ and they will understand. For the ‘component B’, or the hardener, there’re at least 3 types that I know, named (after the local nomenclature): TETA, B5 and T31 (guess they’re the abbreviations of some chemical formulas). The TETA can be called the fast hardener, would cure within a few dozen minutes (in tropical weather).

TETA can be mixed by any ratio from 1/1 to 10/1 by weight (I usually mix in the 2/1 ~ 5/1 range), it produces a very hard but brittle output. The B5 can be called the slow hardener, it takes hours to cure, and need to be mixed at the exact 2/1 ratio. B5 produces a hard, but flexible result, with very little bubbles (but it’s more expensive than the TETA), also it has to be stored in the dark to remain its chemical behaviors. Both has a light ammonia odor. For the T31, I haven’t tried to say anything about it.

hello world – 3, part 3

aving put no pressure on a launch day, I spend my free time thinking over about the implementation details, trying to apply lessons learnt from my previous boats. From what I’ve learnt from the internet, boat building forums, books… to the reality is a quite different thing. Here in Vietnam, the materials, tools are not the same, no West System epoxy, no marine grade plywood, no good carbon fiber, even the vendors don’t know what is S – class fiberglass.

“The epoxy can be mixed at any ratio”, said the seller, no reliable way to mix paints to the correct desired colors, etc… even the “words”, the “terminologies” used to communicate between the seller and buyer is kind of mess, no standard, no common understanding. Well, a bit off topic here but, Vietnam has always been a very bizarrely unorthodox country, anyone has the same thinking as me!? At least I’ve been feeling so ever since I was 17, 18 years old or even younger.

Hence, my boat building progress has been a tedious learning curve, as I have no trustable standards here, and many trials and fails have to be done. Anyhow, after 2 builds, I’m quite confident now, to start the third boat that I think will meet my quality standards. Begin to measure, draw, and cut of the plywood today, then joining the parts together, then stitch them up. Stitch and Glue is no longer a challenger for my skills now, maybe with the next boat, I’ll try another different building method.

But that’s another thing, just concentrate on the building of Hello World – 3 for now, simple things that need to be properly executed! In total, 22 pieces cut, and 15 joints need to be made just for the hull and deck. The overall structure of this kayak is like nutshell, you will be building 2 halves, then stitch them together. Cutting only takes me half a day, but joining will take considerably much more time. I used 4 mm plywood for both the hull and deck, as I had difficulty purchasing the 3 mm ones.

hello world – 3, part 2

am making a slow start, working mainly on the implementation plan. It’s better to think out all building details beforehand carefully and thoroughly. Unlike a software project though, which is more flexible, in a hardware project, you would have little chance to correct something that went wrong, or correcting it would cost much time, effort, materials… There’re many things to be considered, and require experiences to get done right! One important concern is weight.

HW – 1 weighs at 35 kg, HW – 2 is roughly 30 kg. With my previous two boats, and with my inexperiences, I did put lots more materials into the building, hoping for strength, but they turned out to be really heavy indeed. If HW – 3 could be built at 20 kg, it’s a great success! Imagine that your boat is 10 kg lighter, and that 10 kg saved could be used for additional food, drink on longer trips! And of course, the weight saving should come without any compromisation on quality and durability!

HW – 3 is a really complicated boat, the hull will be stitched together with 4 plywood bilges , while the deck has 5 main bilges. And since the 5.5 m hull length exceeds twice the standard plywood sheet length (2.44 m), there will be 2 joints in each of the hull’s bilges, which I’ve decided to be dovetail joints to further reduce weight and increase strength. In all, every parts of this boat will be more complicated (compared to my previous boats), and hence requires ‘astute’ planning and execution.

Below, I’m building the two halves (hull and deck) of the framing box that would help forming the kayak from plywood planks into the precise desired shape! With the new air compressor and nail gun and glue, all these frames are just quick and easy task which takes just several hours to complete. I’ve switched to using the excellent TiteBond 2 wood glue instead of other normal Polyvinyl Acetate (PVA), which has much better water resistance capability.

hello world – 3, part 1

ll preparations is almost finished, to “lay the keel” and start the building of Hello World – 3, my next boat, a Nick Schade designed, 18 feet (5.55 m) S&G Night Heron sea kayak. Many would ask why building another boat, while I’ve already had the Hello World – 1 & 2. Actually, HW – 1 is just a simple, slow canoe for poking around, HW – 2 is a recreational kayak suitable only for short trips, as proved in my last paddling to Vũng Tàu in June this year.

First, consider some facts, many of Vietnam islands are around 100 km off from shore. Phú Quý island is about 85 km from Mũi Né, Phan Thiết; Phú Quốc island is 110 km from Rạch Giá, Hà Tiên; Thổ Chu island is another 100 km from the southern most point of Phú Quốc; Côn Đảo island is about 95 km from Hậu Giang estuary, Sóc Trăng; Bạch Long Vỹ island is also 100 km from Cát Bà, Hải Phòng… Some are nearer such as: Cồn Cỏ, Chàm, Lý Sơn islands… all around 30 km.

Second, consider some other facts. If your sustained paddling speed is around 5 ~ 6 kmph, it’s not really possible to reach those islands, at least with a coastal – cruising small kayak which is, by design, not suited for multi – days sea crossing without resting, 14 ~ 16 hours of continuous paddling is almost the upper limit for an average man like me, after which you would need a good sleep to recover. Obviously a boat capable of sustaining 8 ~ 9 kmph and beyond is very much needed.

Third, is the target of 100 ~ 110 km in 24 hours really feasible!? The answer is: ça dépend! It depends on too many things: the weather, the wind, waves, the current, the temperature, all of the unknown factors. And for the known factors: your boat, your equipments, your physical preparation, your planning and strategy… all need to be the – very – best – of – class to push the limits and reach the target. That’s why I would invest lots of time and efforts into the building of this HW – 3 kayak.

lés travailleurs de la mer

Nơi nghĩa trang chật hẹp, tiếng vọng âm vang,
Chẳng một nhánh liễu xanh mùa thu trút lá,
Không một khúc hát ngây thơ buồn bã,
Góc cầu xưa người hành khất thường ca.

ritten with a Pencil stylus on an iPad using our own home – brew inking technology. Excerpt from the famous novel Lés travailleurs de la mer (Toilers of the Sea), Victor Hugo, and my literal, clumsy English translation: Navigation, it is education, sea is the brave school… The voyageur Ulysse had done lots more deeds then the Achille combatant. The sea quenches man, if soldiers are made of iron, then the mariners must have been made of steel. Look at them, in the ports, those tranquil martyrs, the silent winners, man figures with a religious look in their eyes as they’ve come out of the abyss…