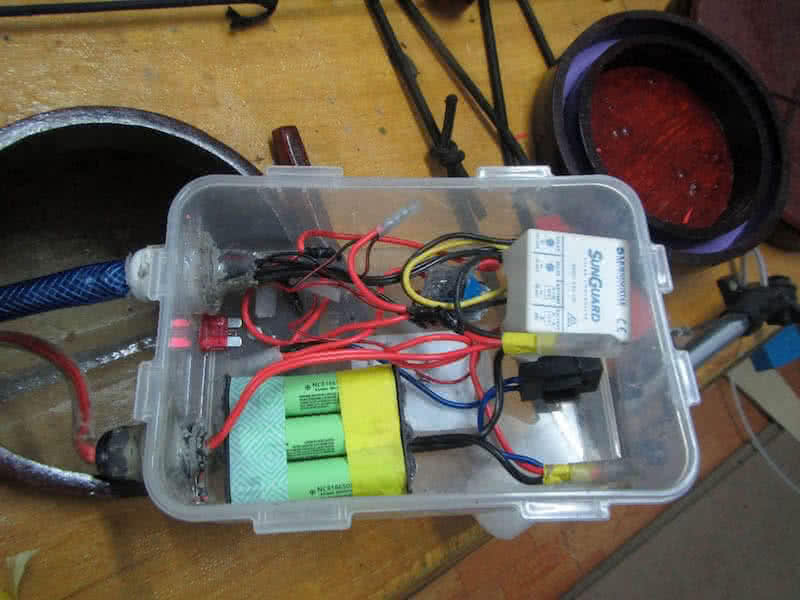
Continue trialling and adjusting various boat equipments. The 2.2 Amph SLA battery works, but not to my expectation, first, it’s too heavy, second, its capacity is quite small, and third, the battery doesn’t hold its electricity for too long, about 2 days without charging and the battery would exhaust… After consulting with some other paddlers, I’ve decided to replace it with 3 Lithium cells, the results are just… superb!
I now have about 10 Amph in the very small 3 Li-ion cells, almost 5 times more the capacity, and 5 times less the weight, yet 5 times the price, advancements in battery technologies is just amazing! According to one of my friend, an “expert” in electric and electronic devices, the Li-ion would usually last longer, and compared to the SLA, with zero maintenance cost. After replacing the battery, I fitted the last electrical components.
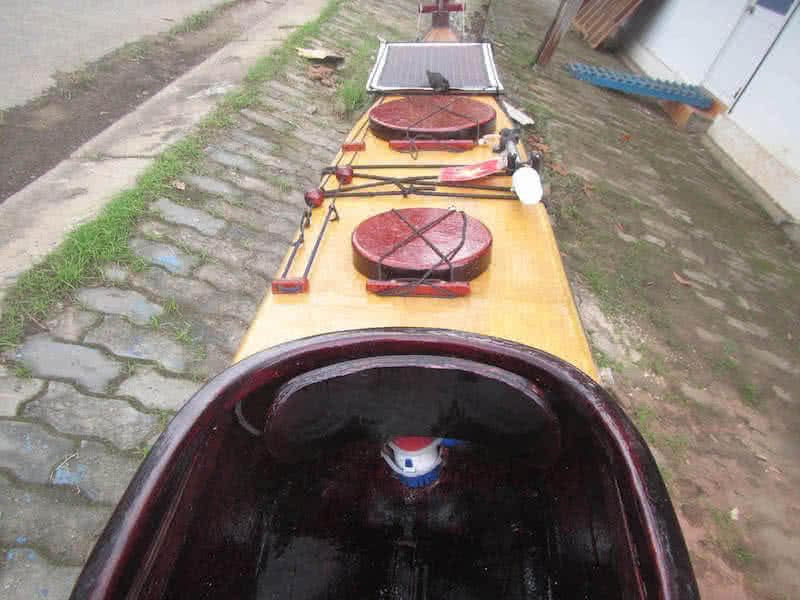
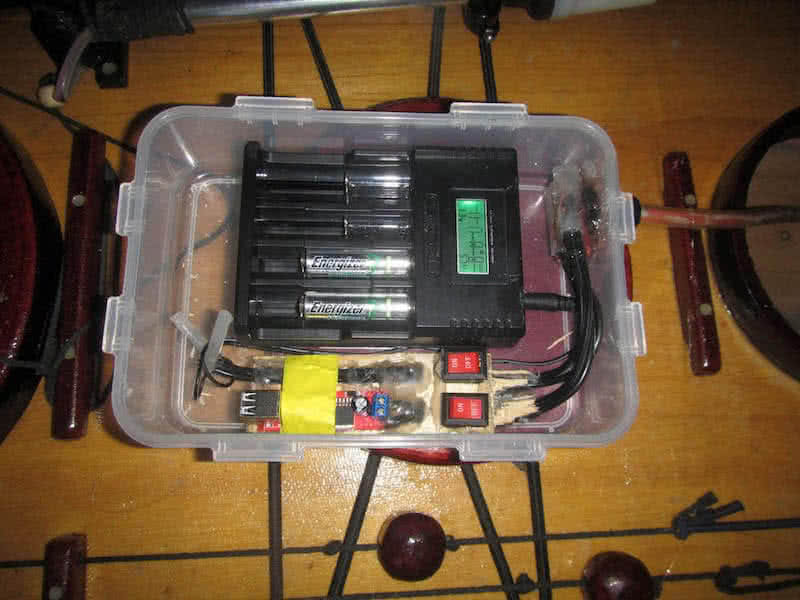
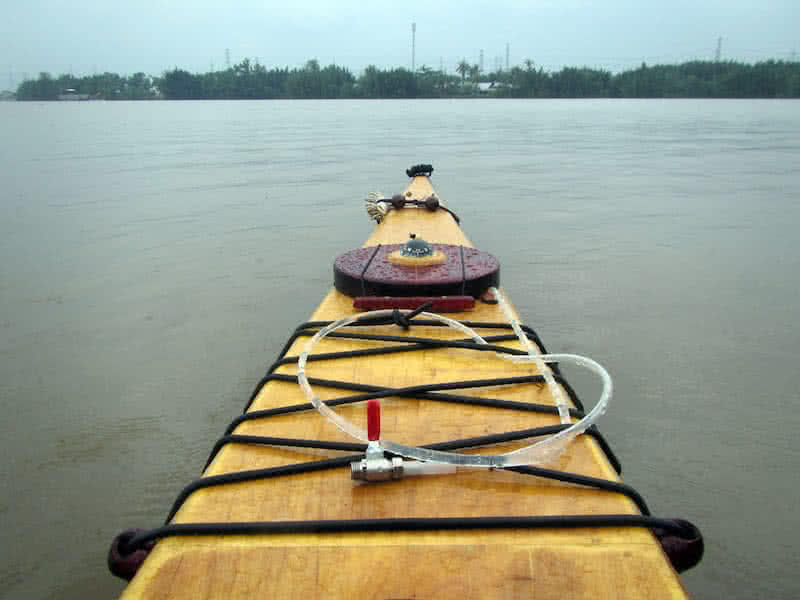
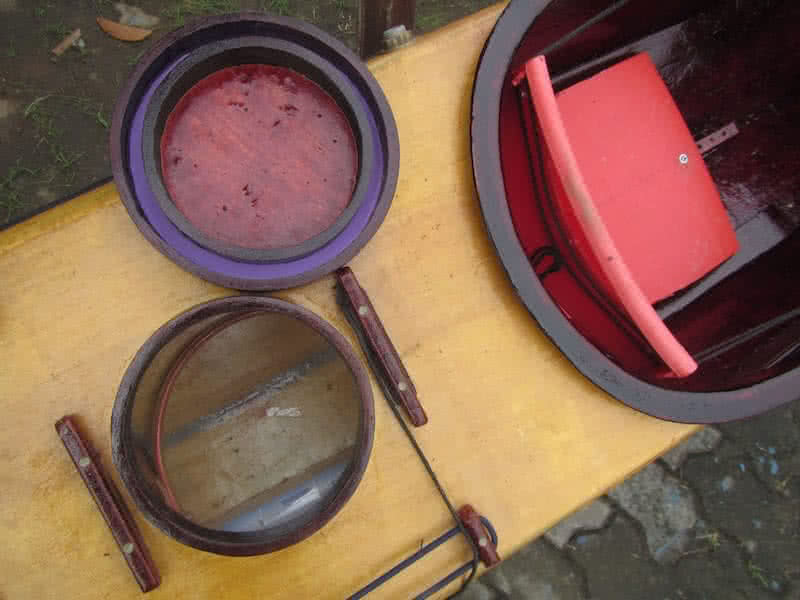
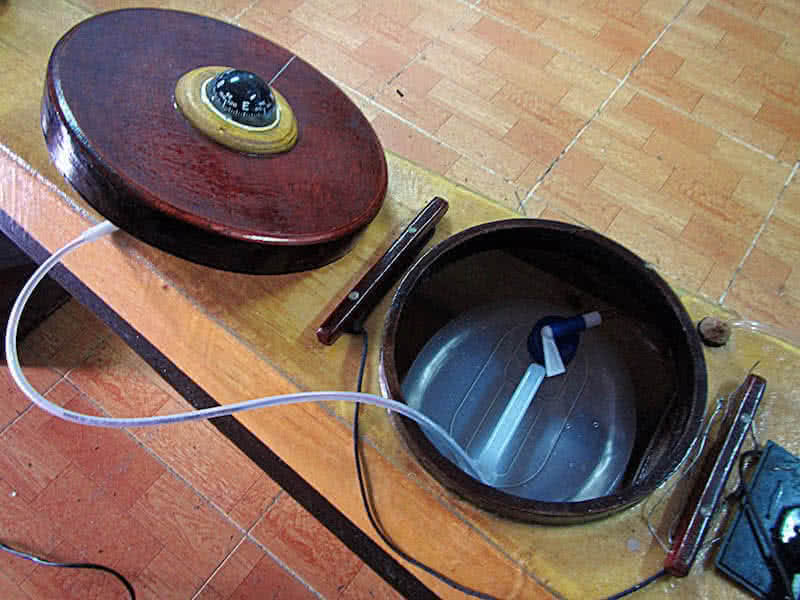
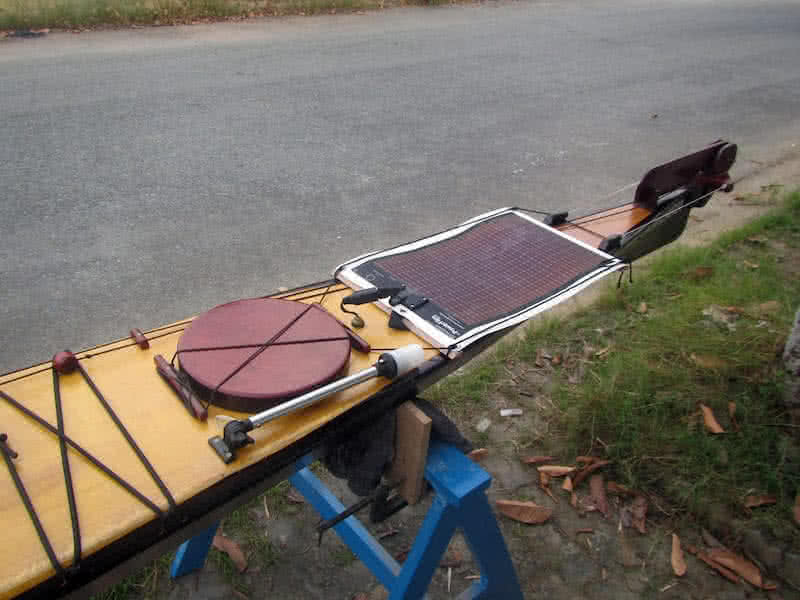
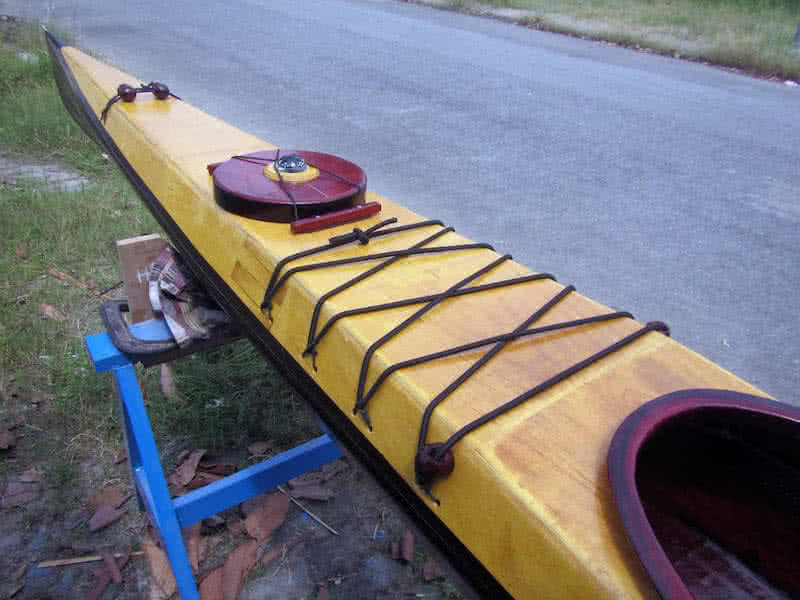
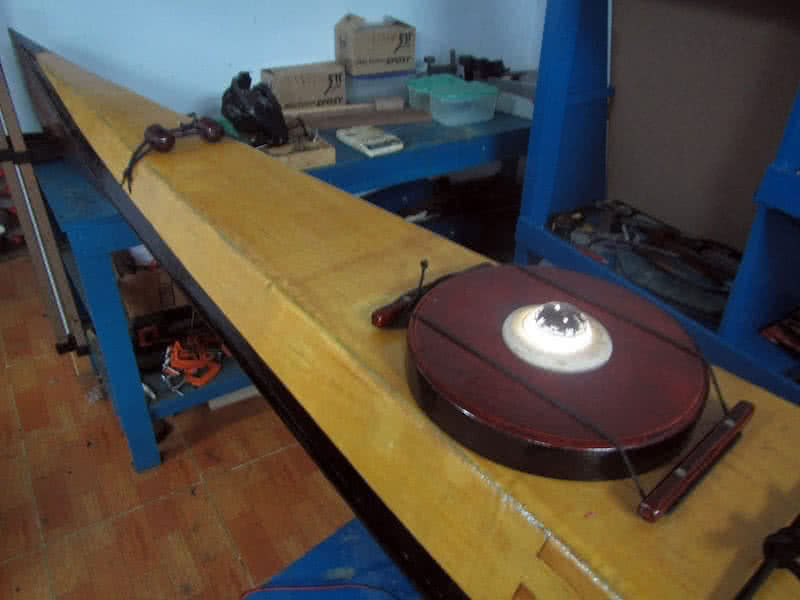
The AA charger and the USB charger, they’re positioned inside another waterproof box, connected to the battery box with electrical wires inside a plastic tube. The installation is pretty easy, the two devices are connected via two switches, simply put your iPhone (or your VHF radio, or your AA batteries) into the box, turn on the switch, close the box, and let the Li-ion cells, plus the solar panel do their job!
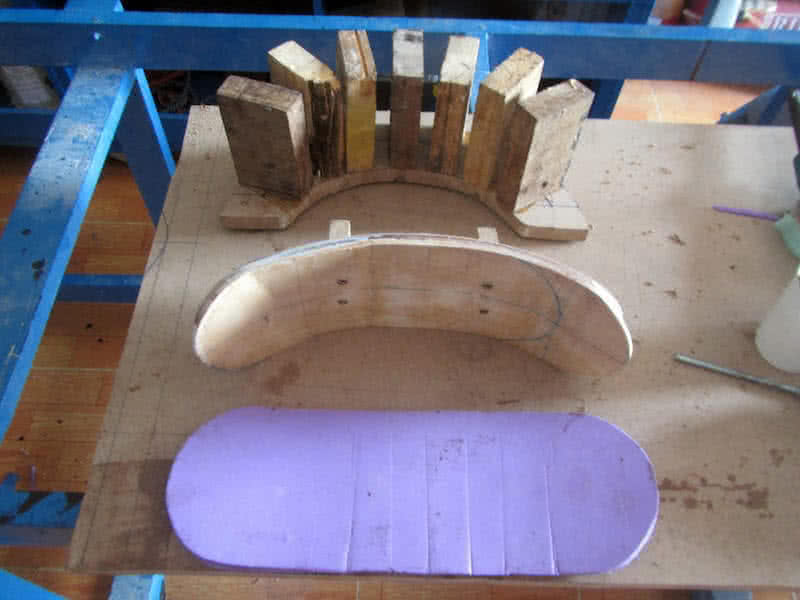
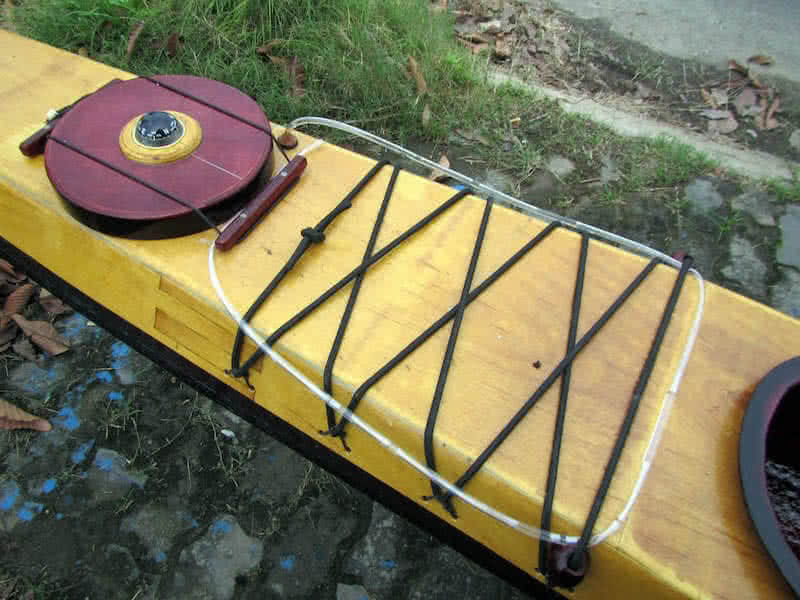
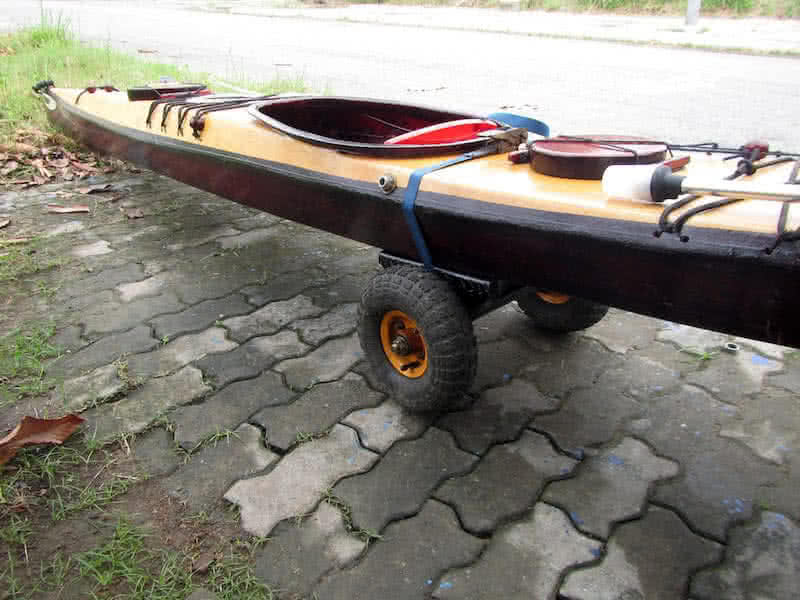
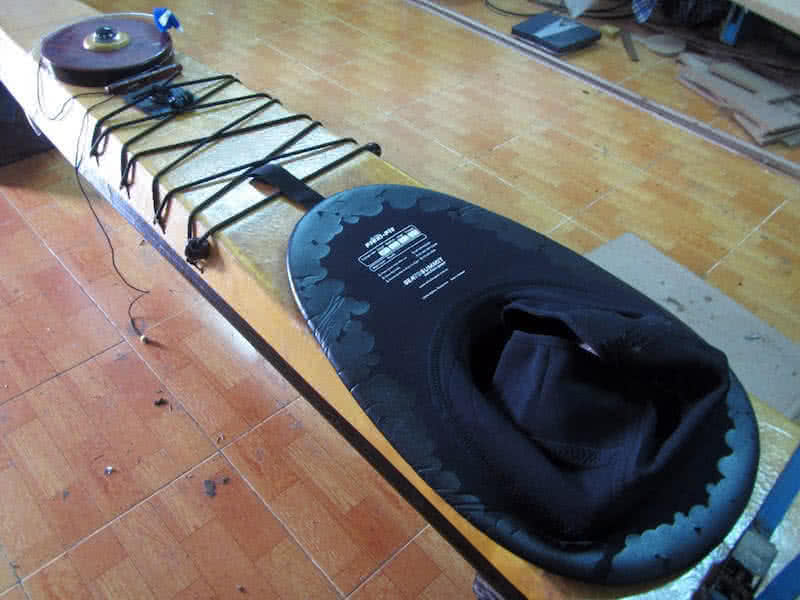
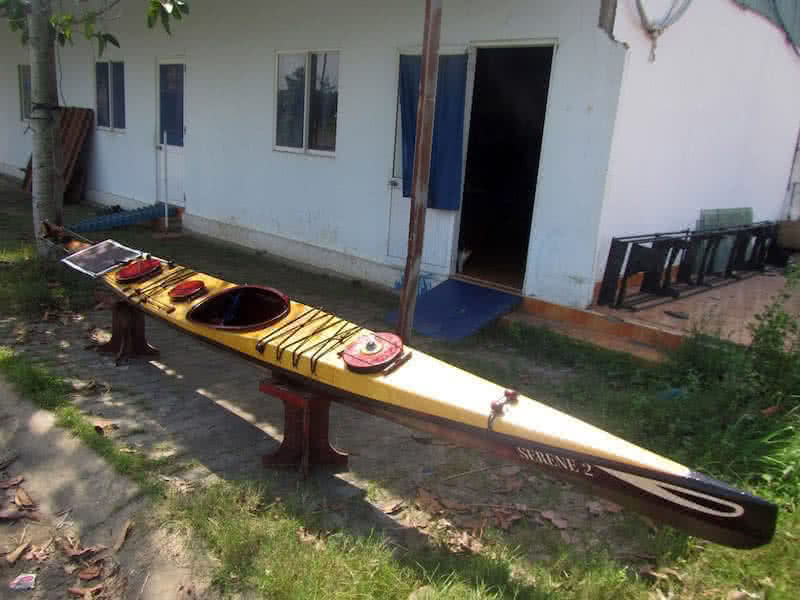
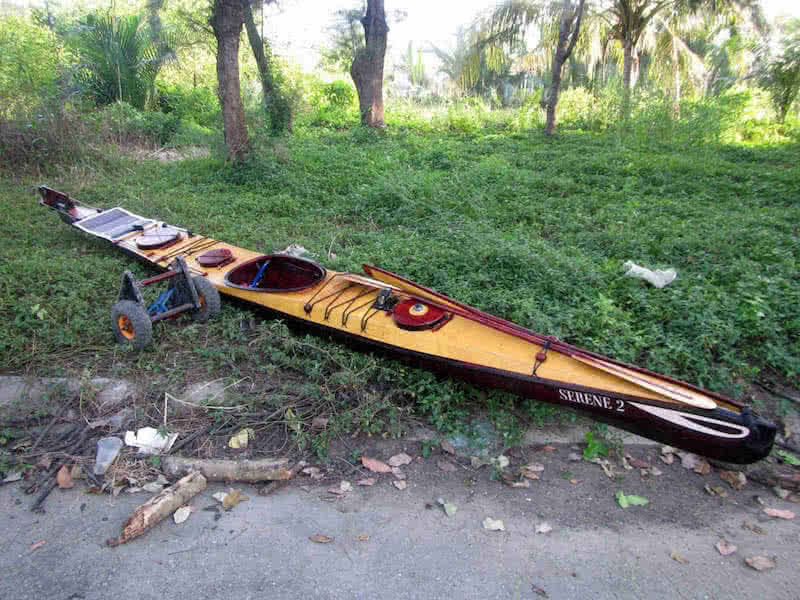
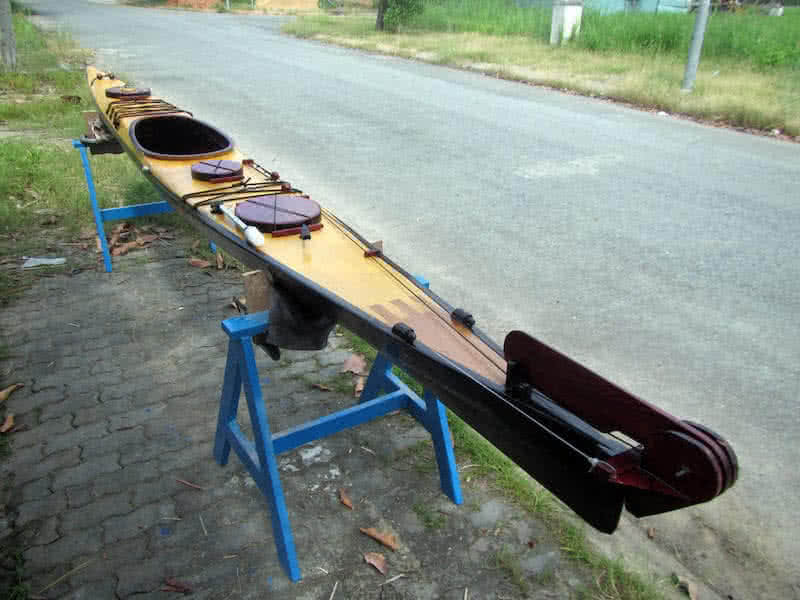
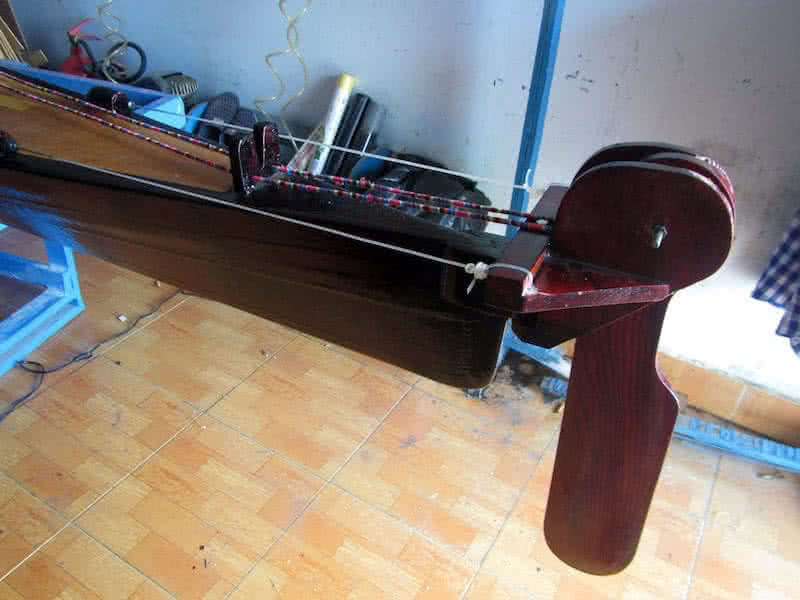
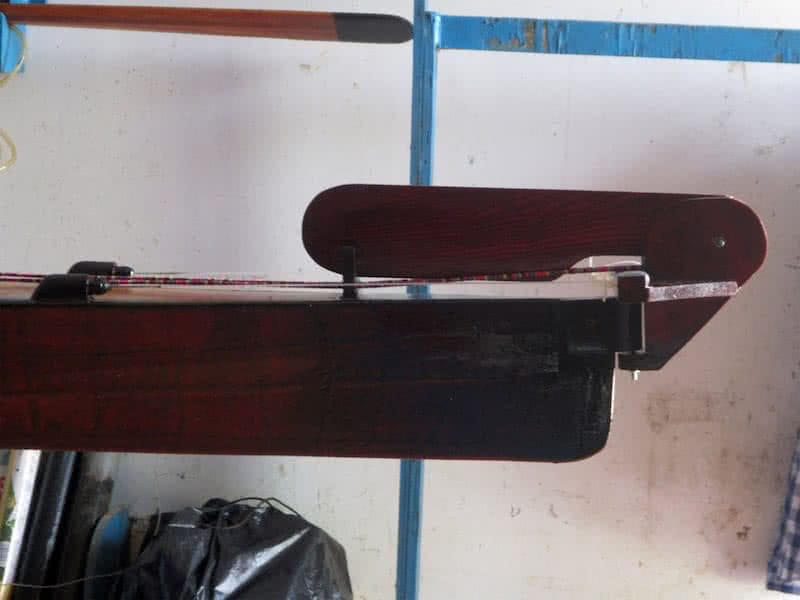
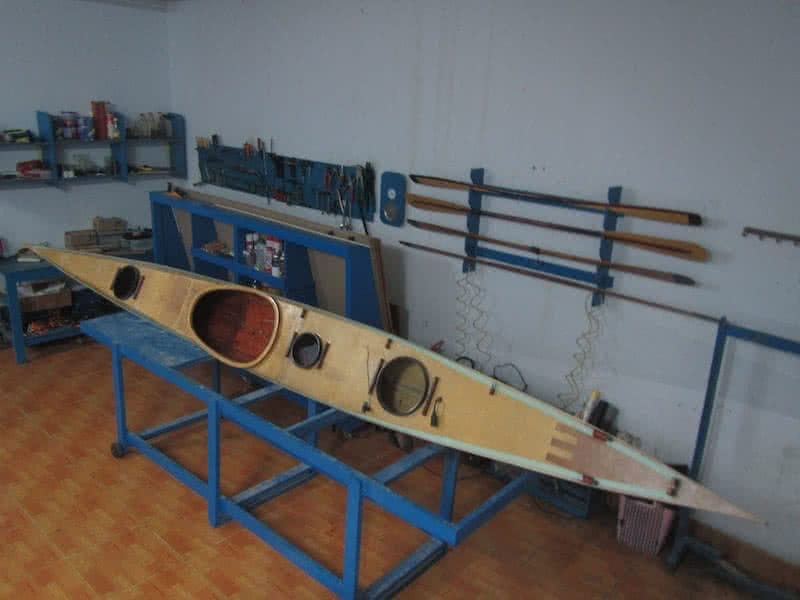
Also, I’ve removed the plastic seat, replace it with just a back – rest instead. The back – rest is built from plywood, bent into a curved shape, covered on 1 side with a rubber sheet (to make your back resting more comfortable), and fitted into the cockpit aft, it could be rotated slightly to suit my various sitting positions. These are last updates for the boat in this 2016 year, now it’s time to just enjoy the water!