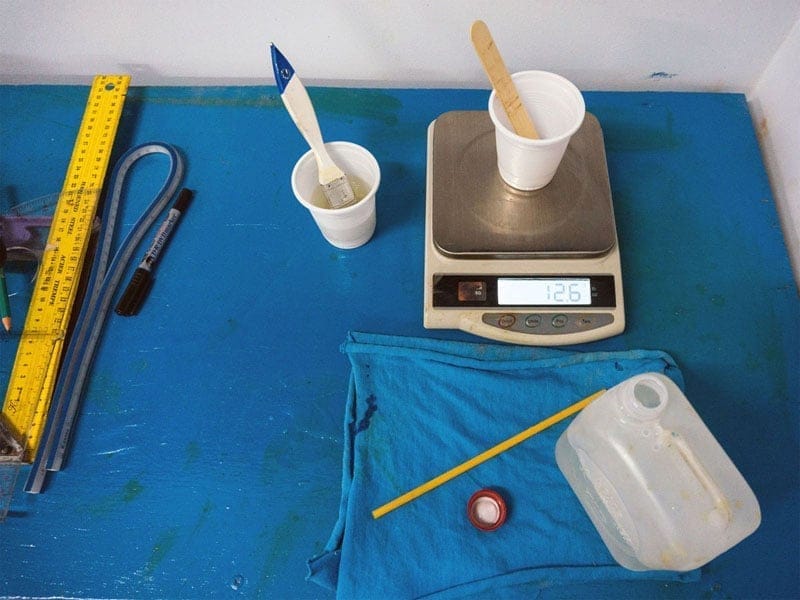
 aving worked with epoxy resin when setting up the workshop, I’ve gained some experiences with it. When mixing component A & B together, the pot time is so short in tropical climate, as the rule states that: reaction time is reduced by half when room temperature increased by 10° Celsius, I usually have less than 3, 4 minutes before it hardens. The average day temperature in Saigon this season is around 33° ~ 36°, it makes a tedious task working with epoxy, quite many times did the mixed epoxy burn hot into smoke before I can use it all. Epoxy also exhibits the characteristic of a “chain reaction”: it easily burns hot when the mixing weigh exceeds a “critical mass” of just 30 grams or so (depending on temperature), forcing me to mix into smaller batches.

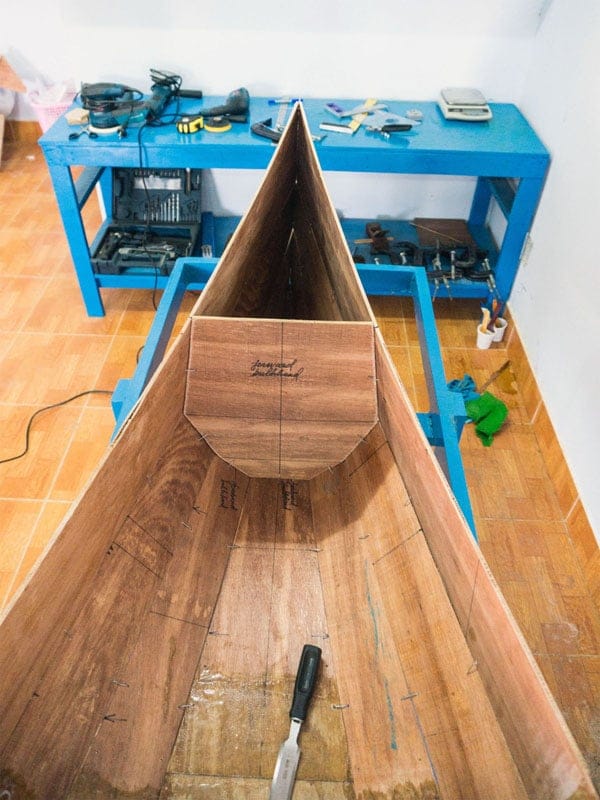
7. GLASSING
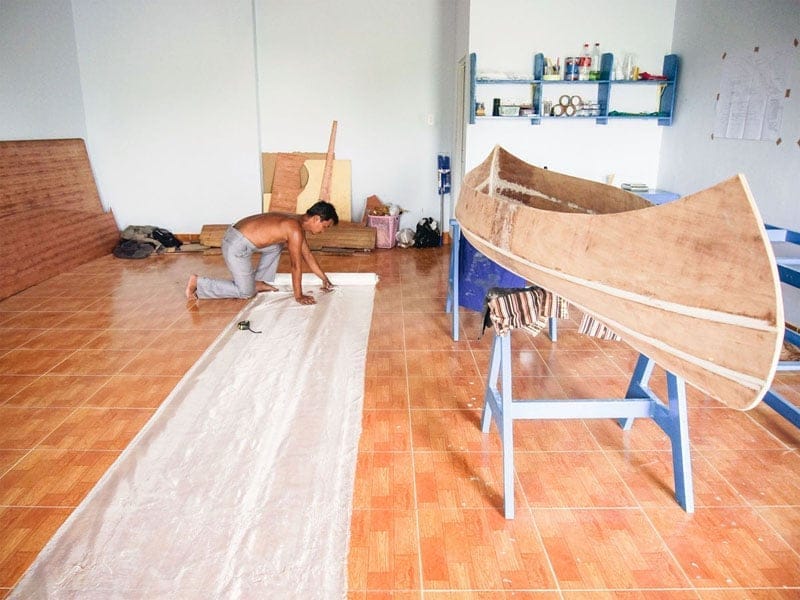
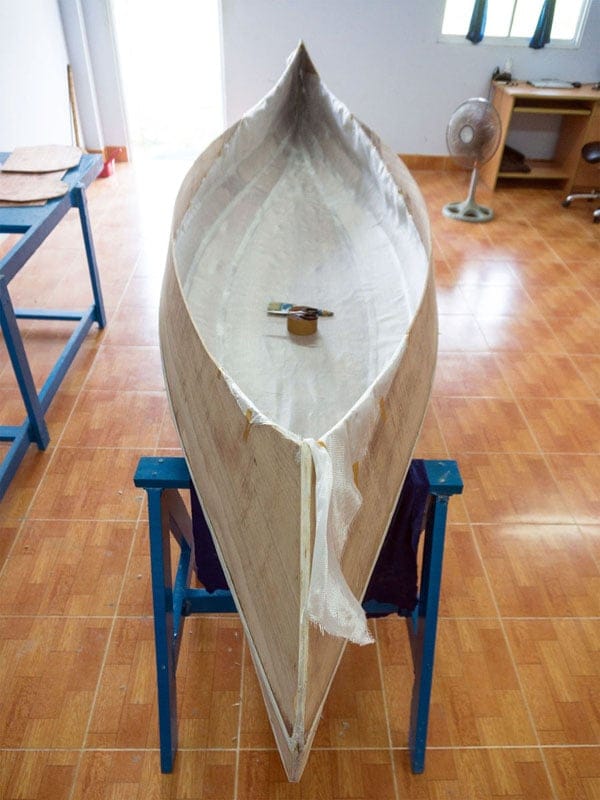
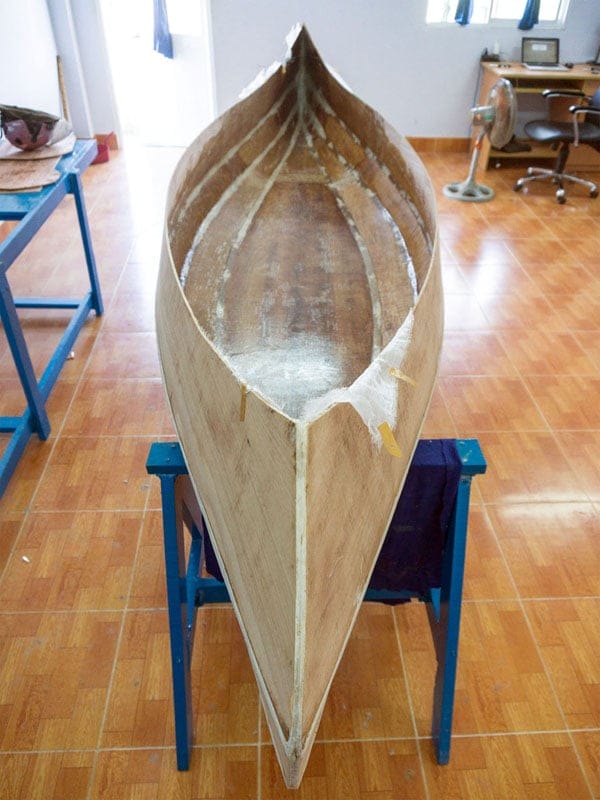
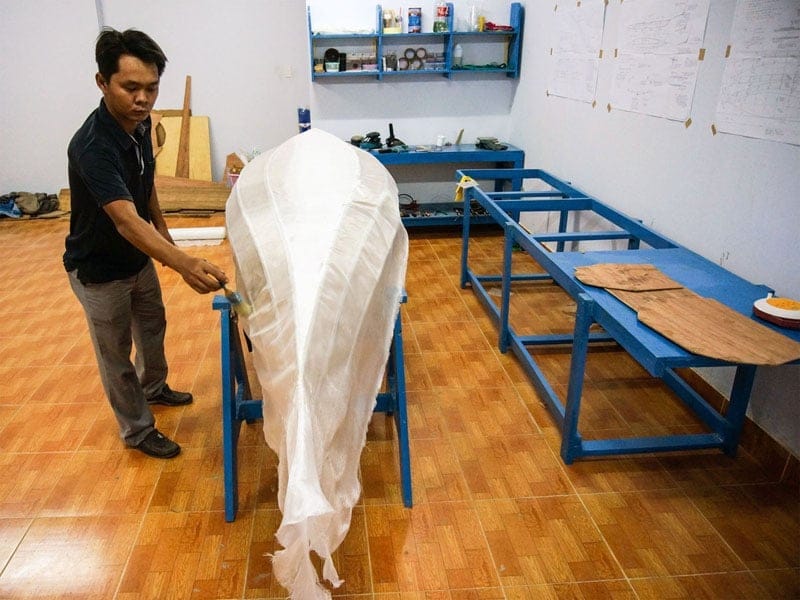
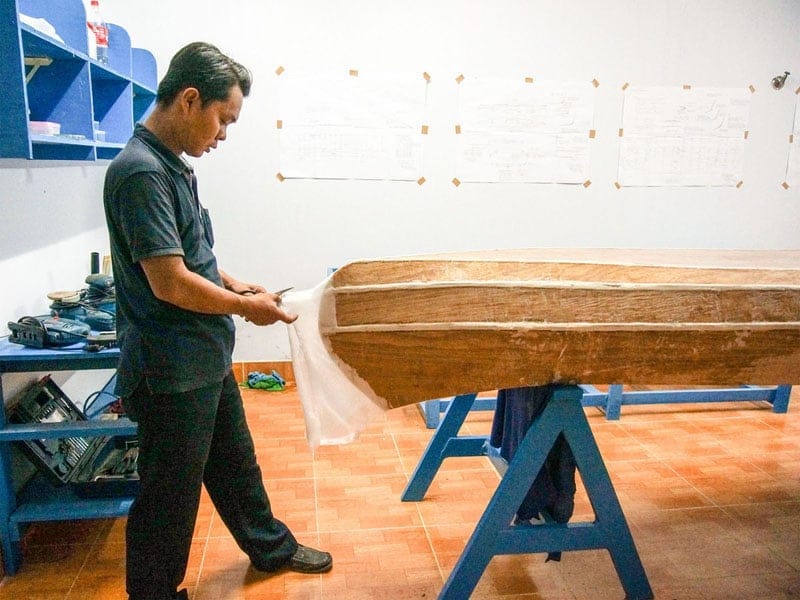
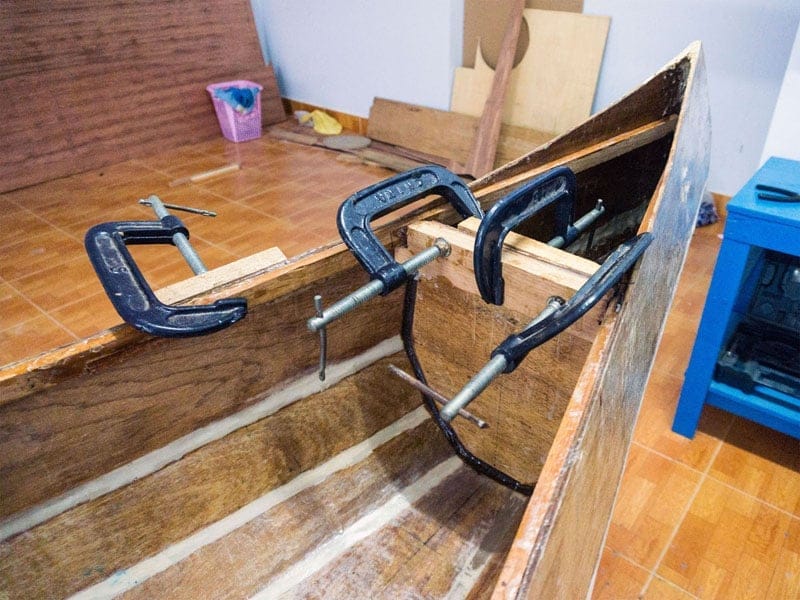
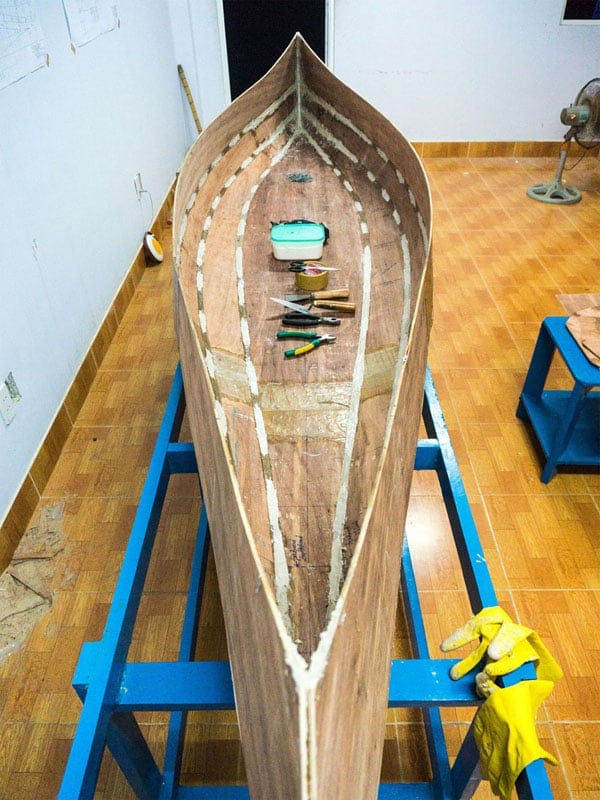
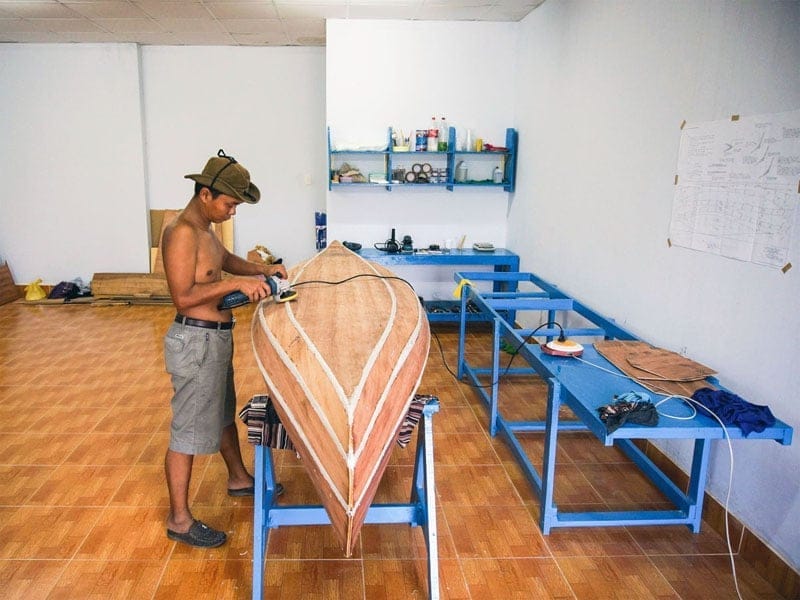
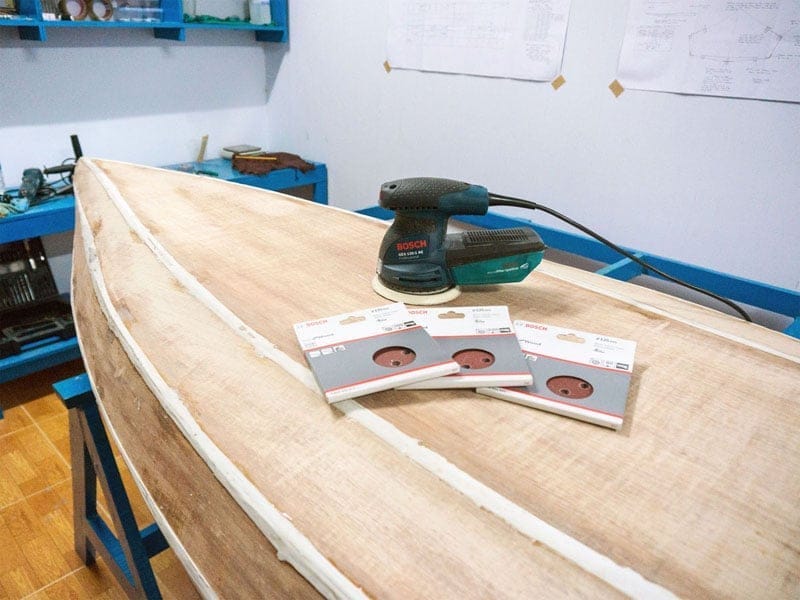
Finally, I devised a trick to cope with the situation: before mixing, I put the components A & B into the fridge for an hour 😀, to cool them down and lengthen reaction time, giving me more time and flexibility. Also, I would glass at night to avoid the higher day temperature. For the fiberglass fabric, I can only find cloth of 1m width at the current time, not enough to cover the whole canoe’s beam, but decided to proceed with it anyhow. The missing part will be left as is for the interior, and will be covered by other fiberglass pieces for the exterior. Though glassing would add about 2 ~ 2.5 kg to the final boat weight (just estimate, I use 6 oz, or 200 gram/m2 cloth), it would re – enforce the hull with more stiffness, anyhow this is my first build and rigidity is a bigger concern over weight.


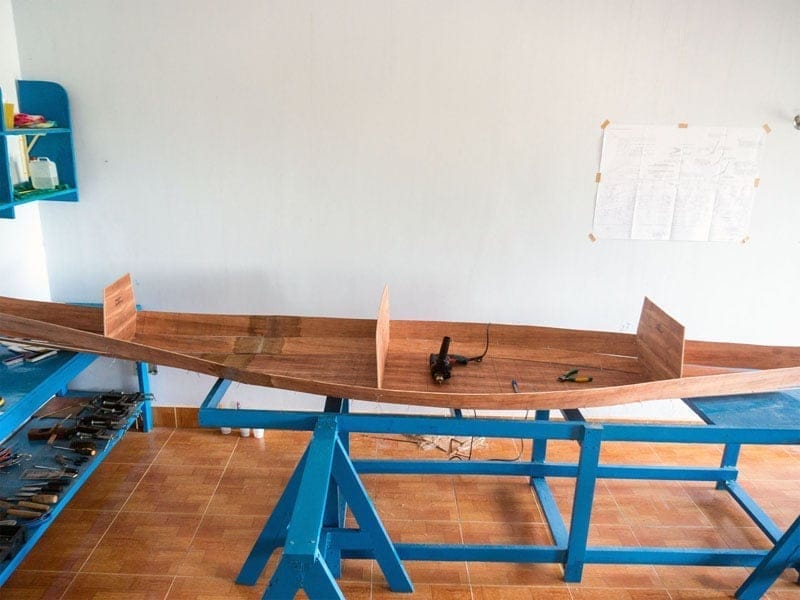
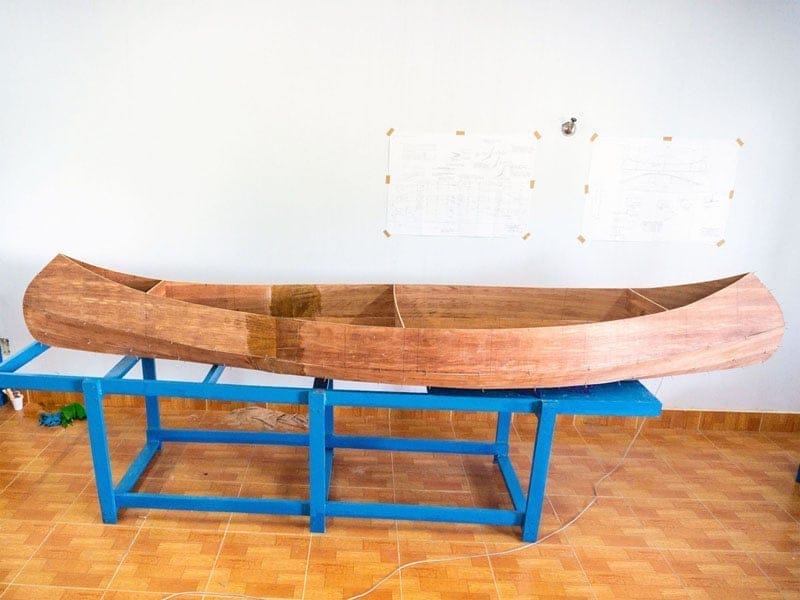
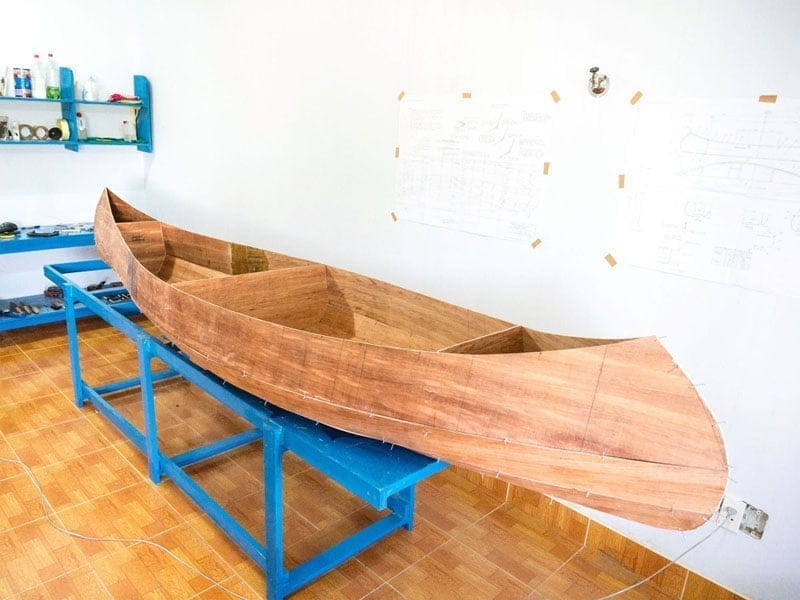
8. FITTING
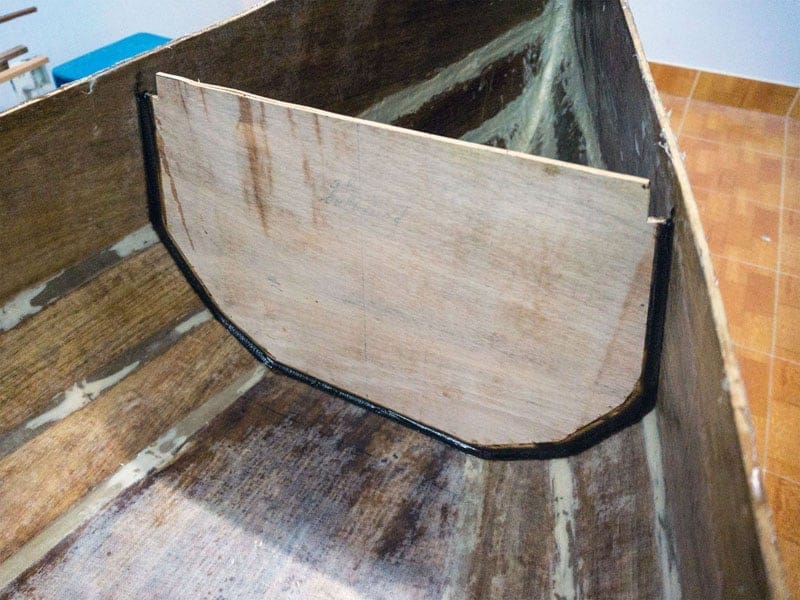
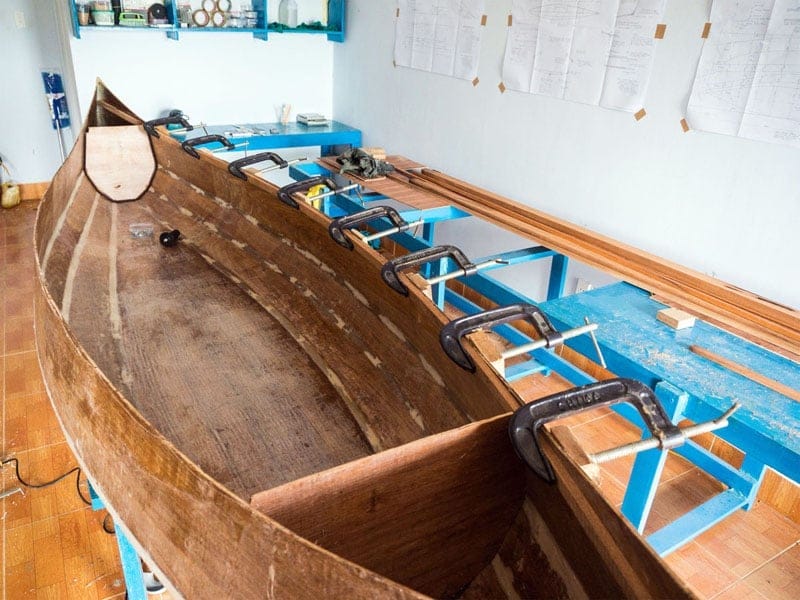
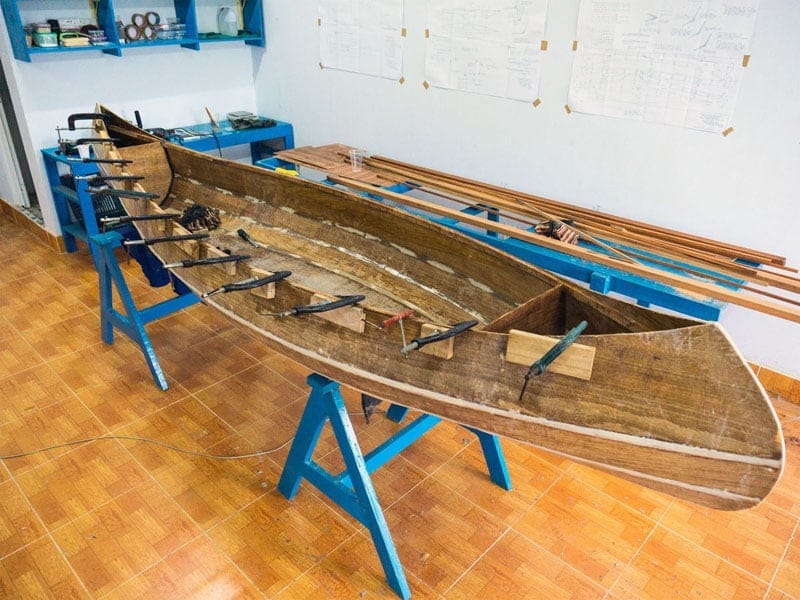
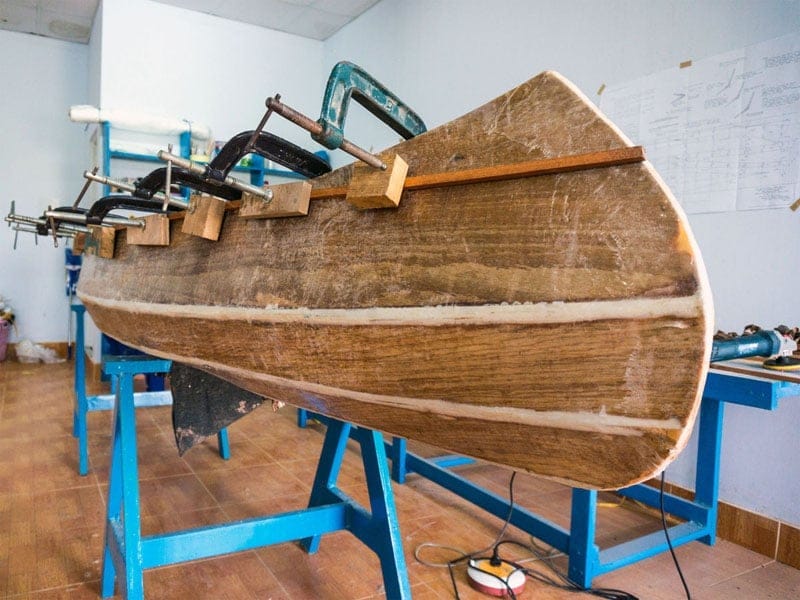
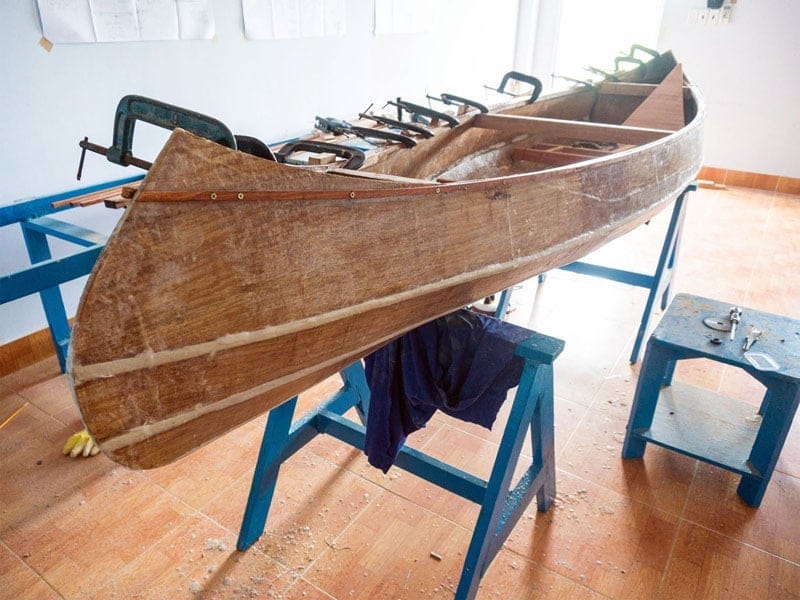
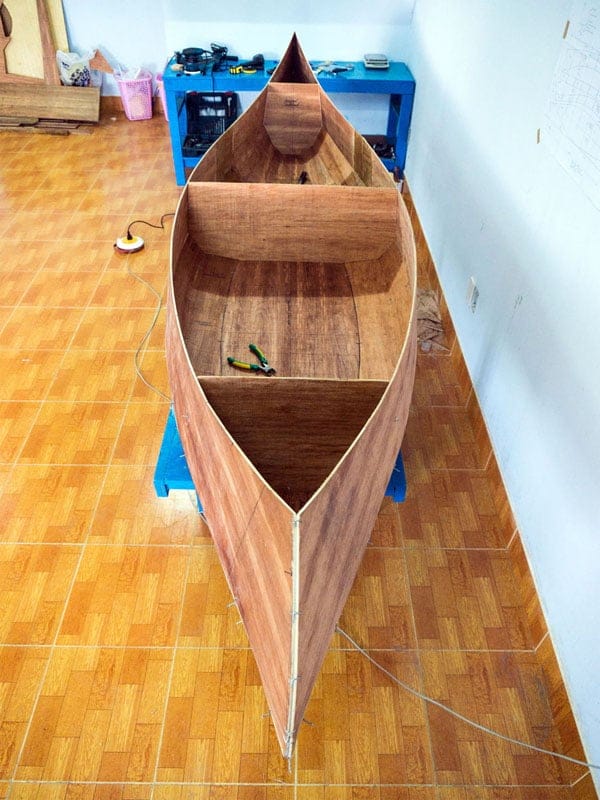
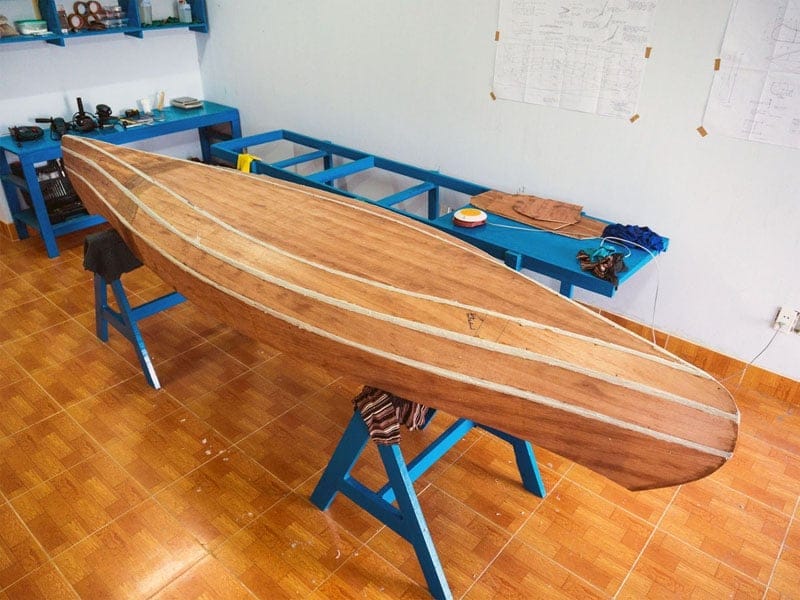
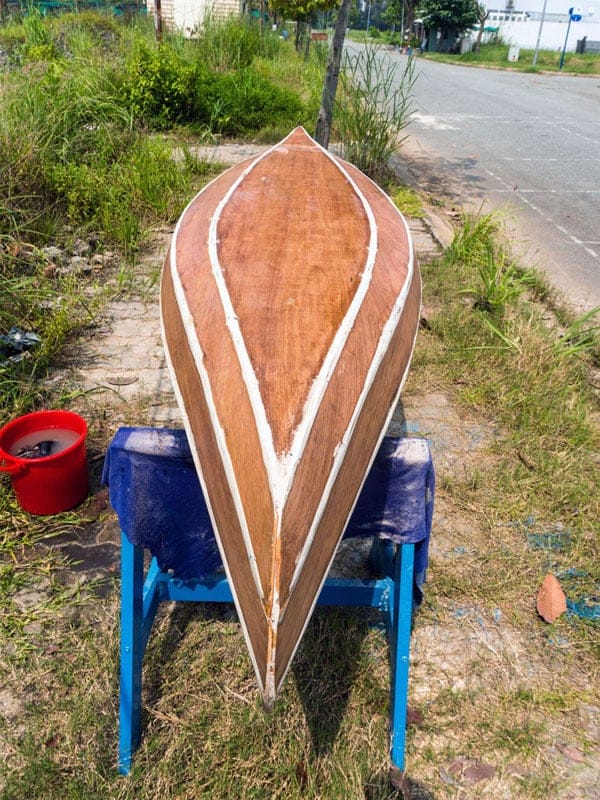
The hull is now completed, the next step involves many small works that help building up the boat structurally: fit the forward and aft bulkheads (I decided to seal the water – tight compartments permanently and not to use hatches for later maintenance), fit the inner gunwales, fit the forward and aft thwarts, then fit the outer gunwales, then fit three bottom runners (to protect the boat when touching ground), and some other miscellaneous works. It seems there’s alway more effort and time spent in each step than I originally planned, partly because I’m an inexperience first – time boat – builder, partly cause I want to do it carefully to learn and improve my skills. It’s just like when you go on long – range paddling: don’t think about the destination, concentrate on each steps!
9. MORE FITTING
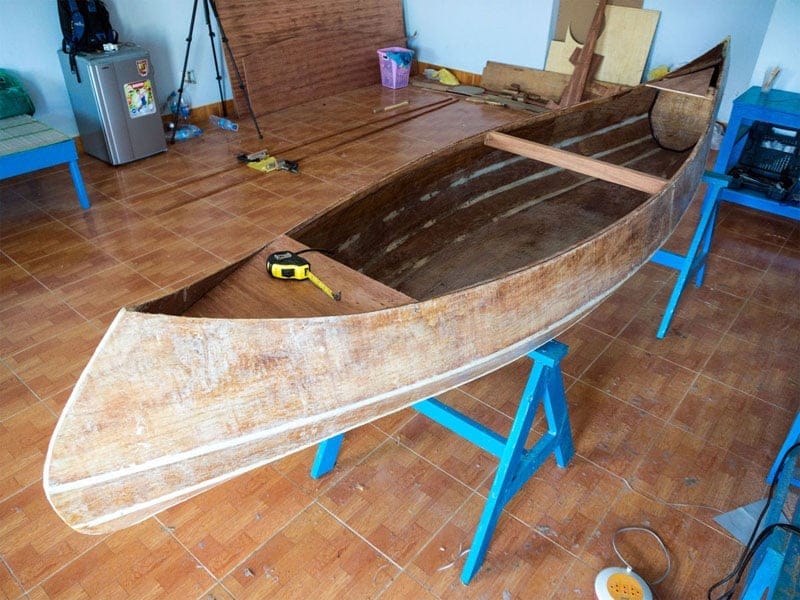
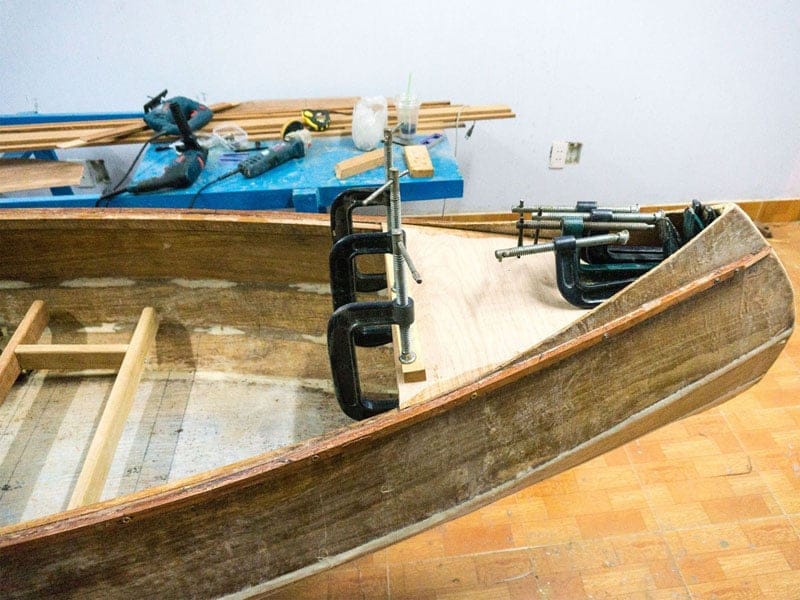
For the gunwales, thwarts, seats… my chosen wood was a very hard and heavy tropical one, Vietnamese name: căm xe (Xylia xylocarpa) and the choice was not quite right. Having density at 1.15 (1150 kg/m3), the wood is too hard to bend into desired shapes, it’s even hard to saw or to chisel. I was thinking of setting up boiling devices to steam and bend the wood, but it requires much more effort, so finally I decided simply to compromise and change the design: instead of “flush decks” at bow and aft, I lower them a bit to fit with the “sunken” gunwales. Also, I’m worrying that this wood would add much more weight into the boat. On the plus side, hard wood makes the boat more sturdy, and if done right, its grain and colour would be very nice after polishing and varnishing.
 was having quite lots of work, those coding stuffs, and suddenly I recall a popular joke of the IT field:
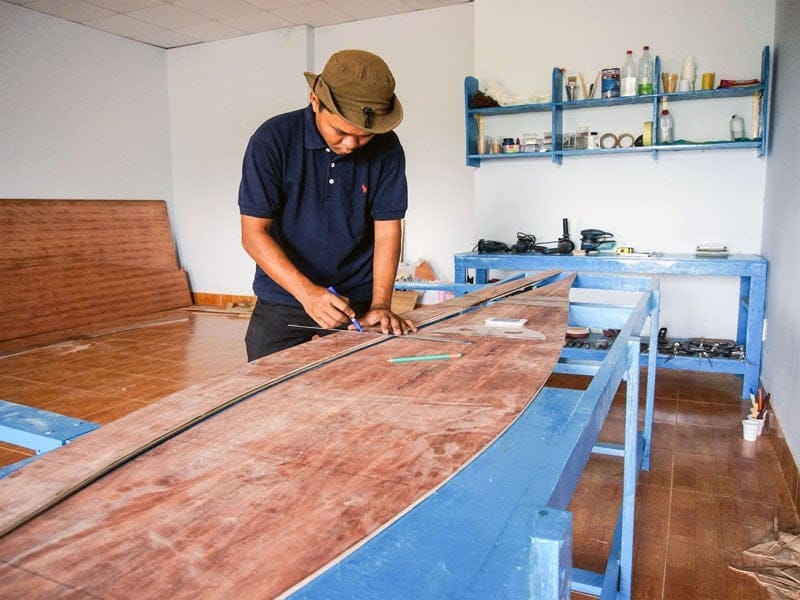


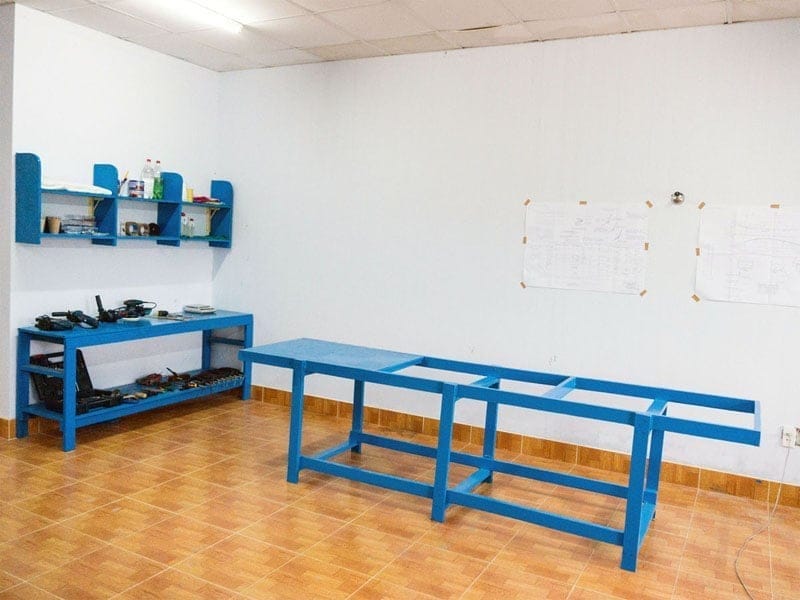
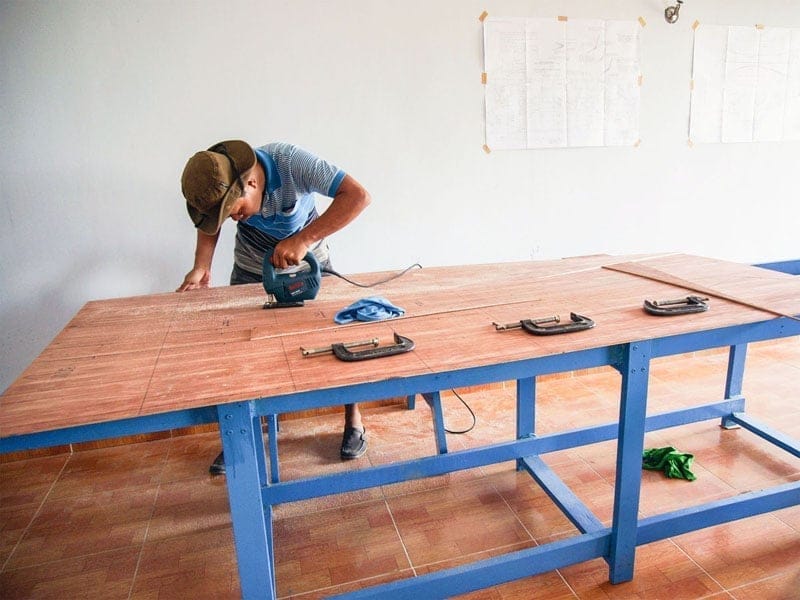
 y first boat project now officially starts! 😀 I’ve been thinking about building my own boat for a very long time, but still couldn’t arrange for it. Now, just have to stop daydreaming about “the ultimately – beautiful watercraft of my life” and roll up my sleeves. Given my poor woodworking skill set, after lots of consideration, I’d decided to start with a simple design and construction method, a 12 feet (3.66 m) Selway Fisher’s Asymmetric Baby Raven, intended to be my general purpose / fishing canoe with the given name: Hello World – 1 😀. In the upcoming blog entries, I will try to keep a log on the building progress, which is expected to finish within a month or so, cause I would mostly work at weekends, and some limited hours in the weekdays.