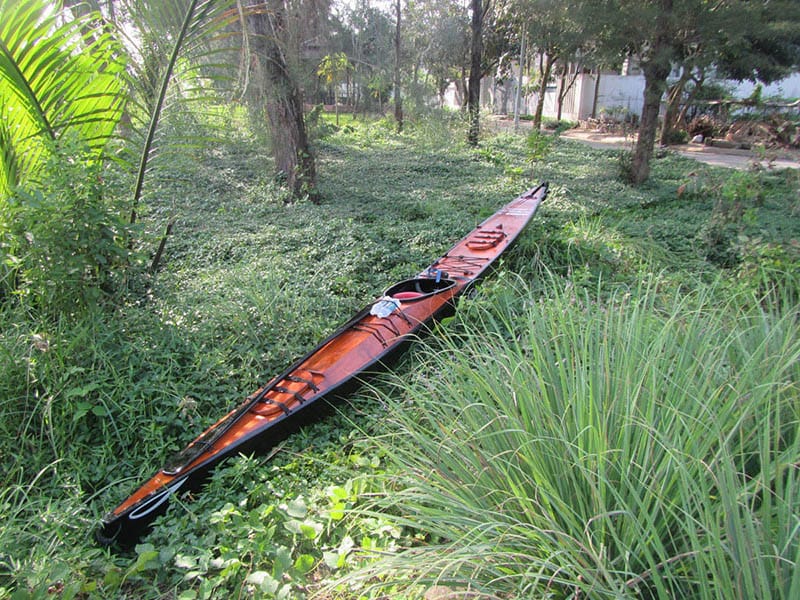
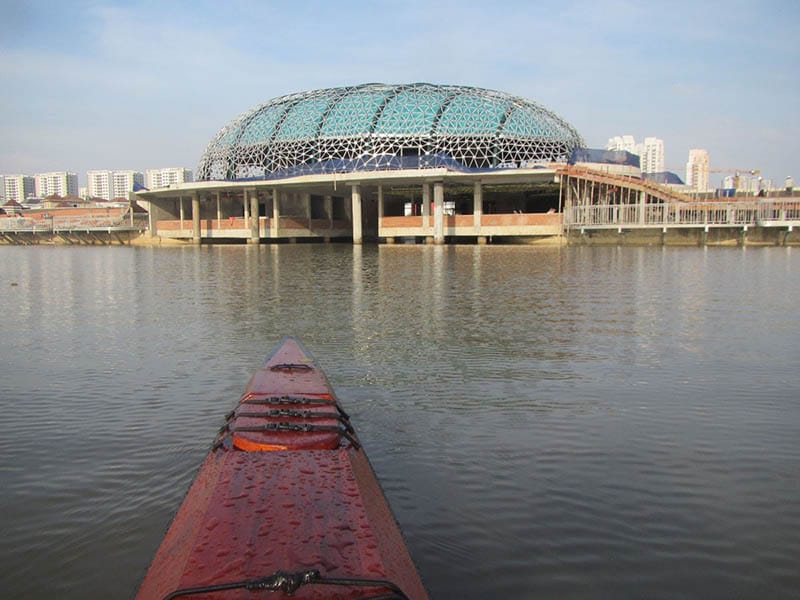
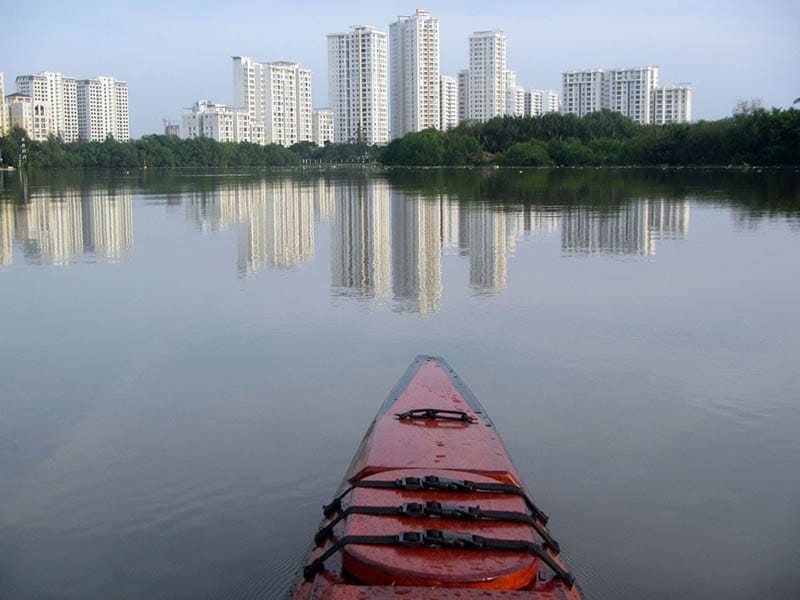
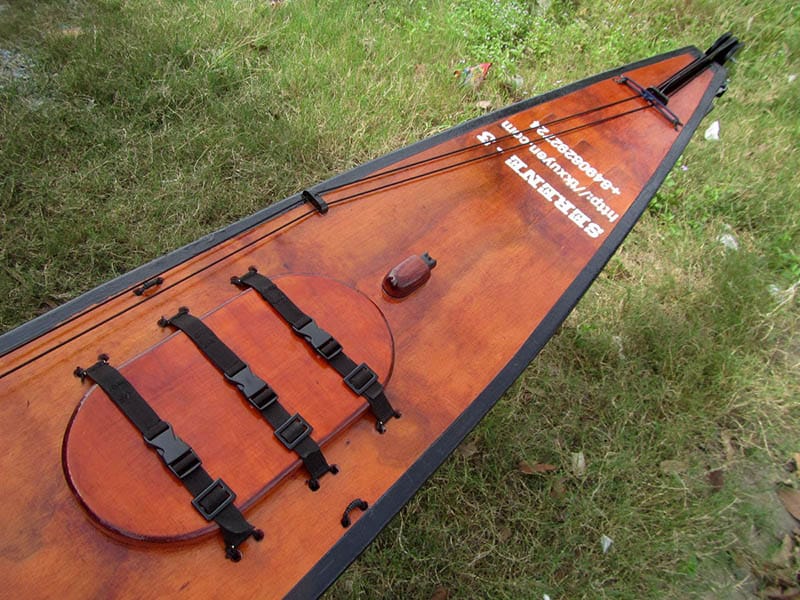
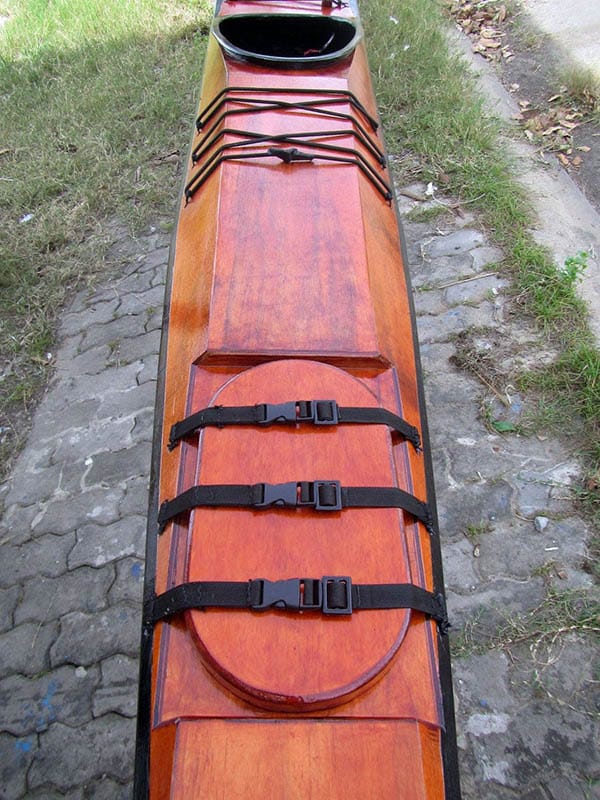
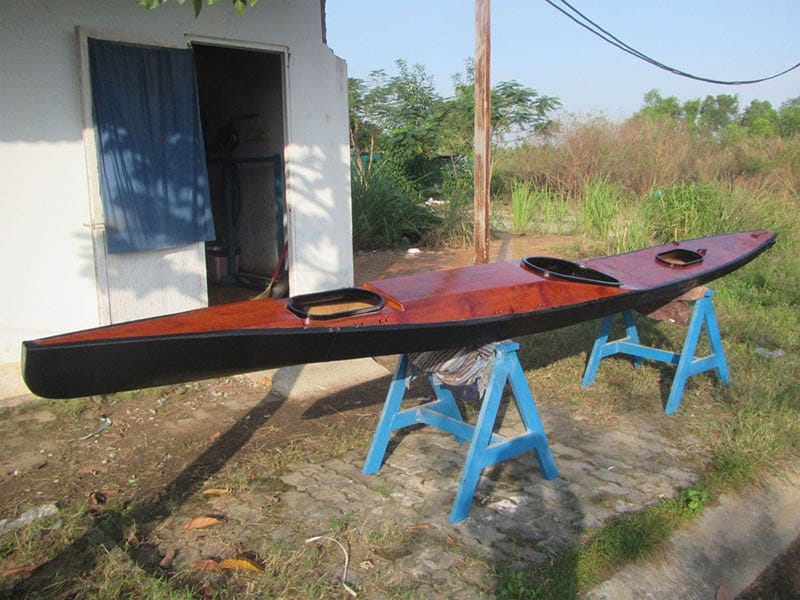
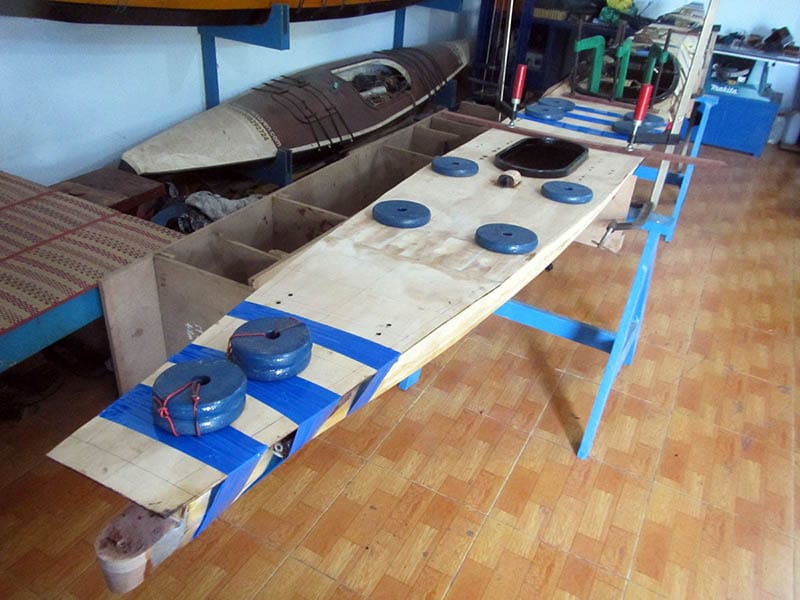
Launch the boat today, first day of the year 2018! Took the kayak out to water on a sunny, breezy afternoon for a 12 km paddling, the temperature was around 25 ~ 27 Celsius, considered “cool” with this hot – all – around – the – year tropical climate. The short paddling is just to get some first impressions, to check if everything works, and how it feels, the new hull shape, something radically different from my previous boats. Yet all confirms things I’d known from the design phase.
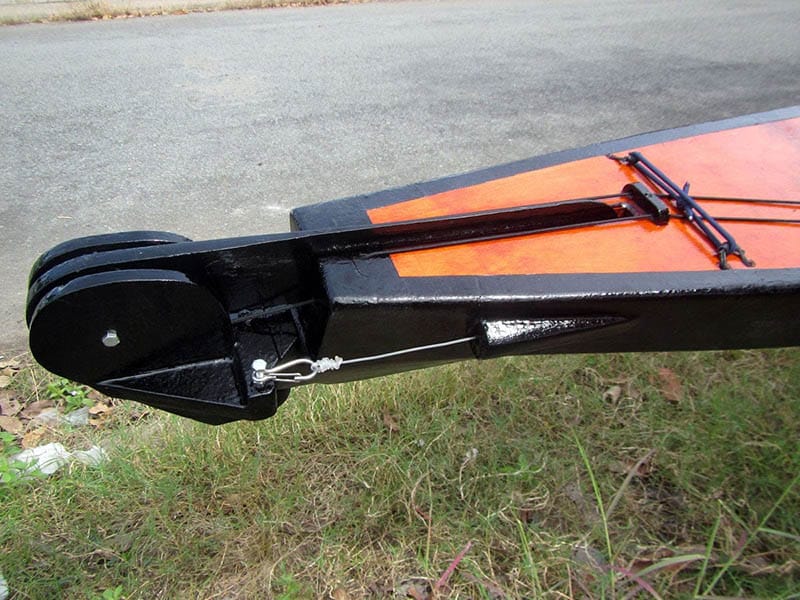
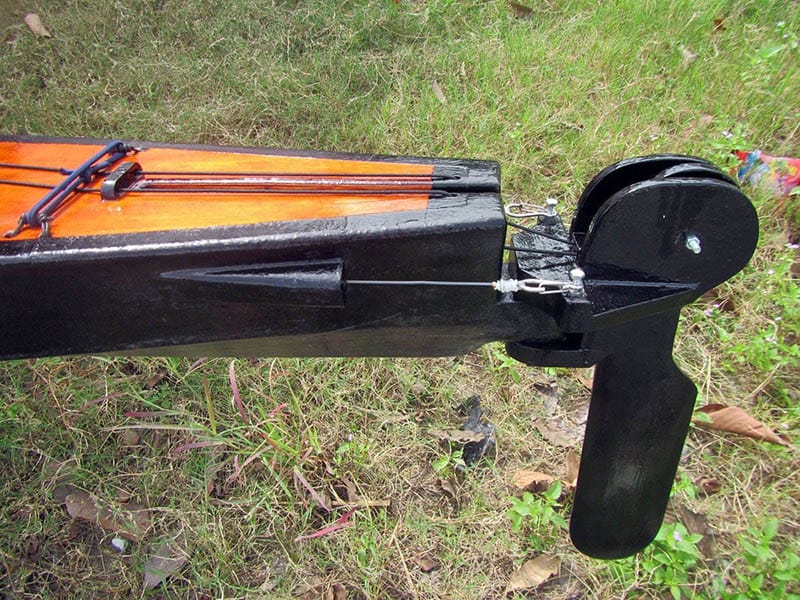
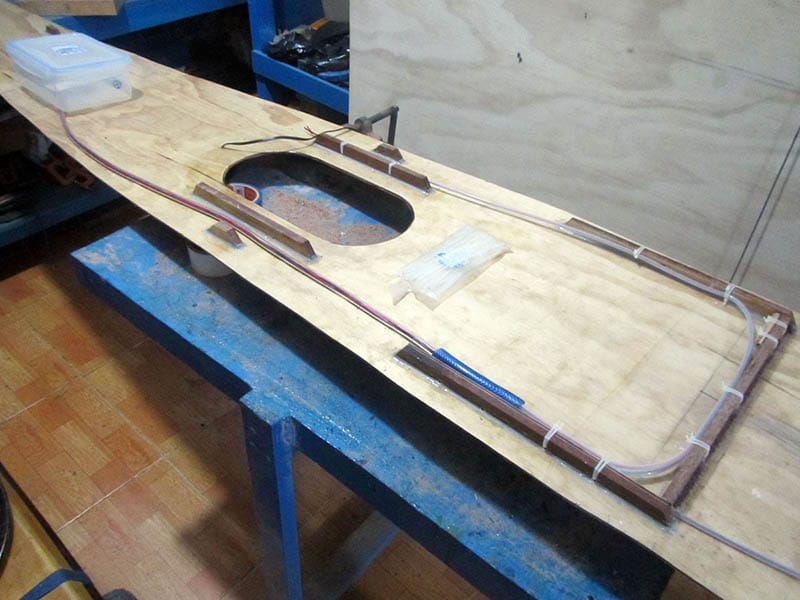
The kayak is nimble and very predictable, probably not too agile compared to Serene – 1 and Serene – 2, it’s also a bit more stable across all its axis. It’s easier to get in and out of the cockpit with these stabilities. The rudder works nicely, changing course instantly with just some slight pedal kicks, though I’ve come up with some new ideas to improve the “fine – tuning mechanism” for the rudder control lines’ tension (the cleats used are fine, but not too convenient for adjusting the tension).
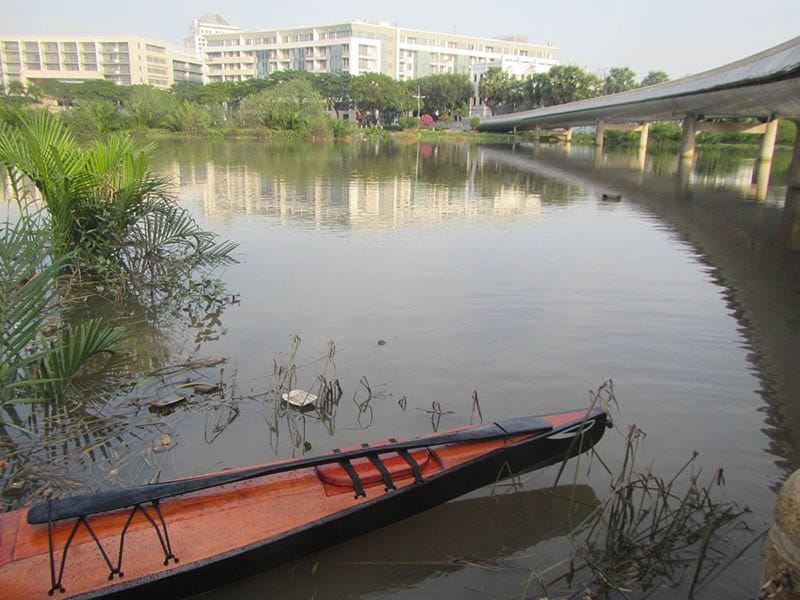
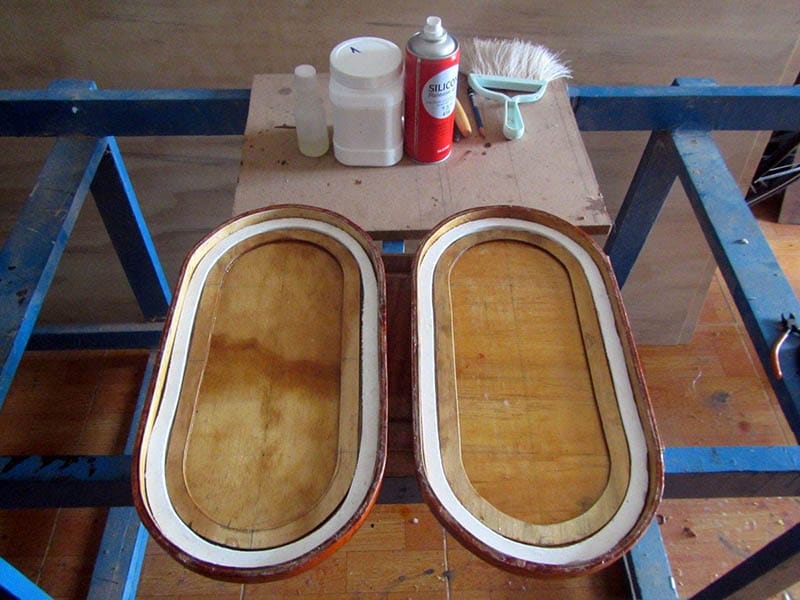
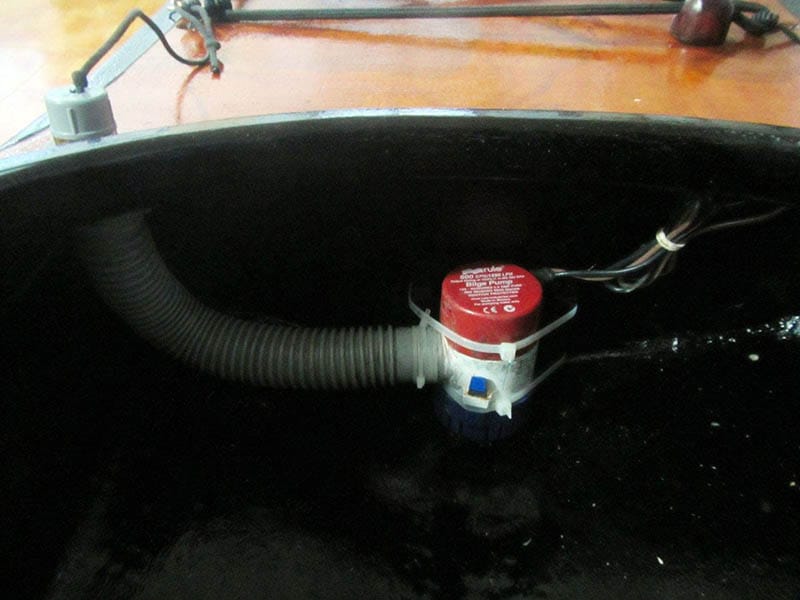
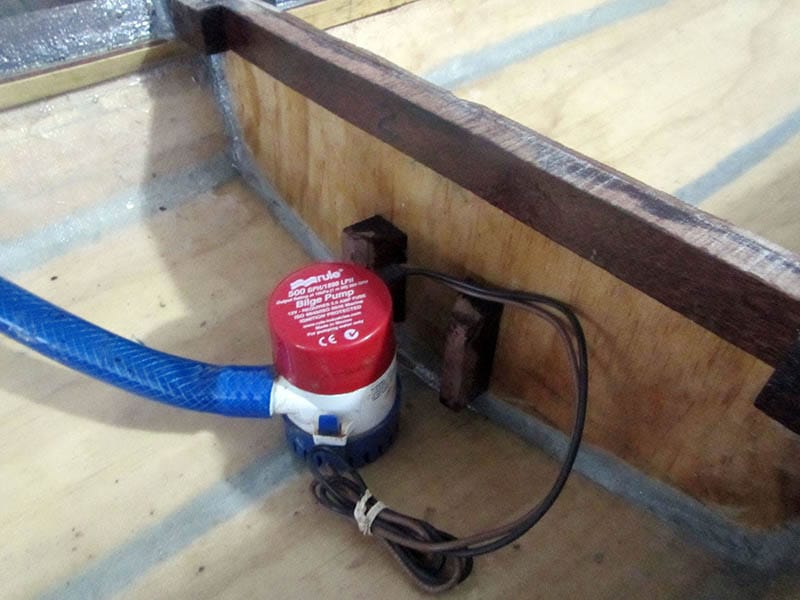
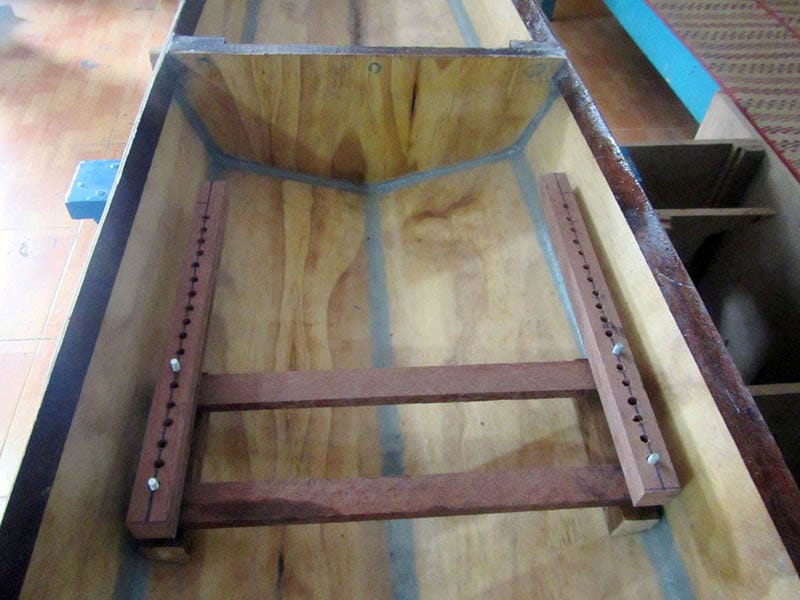
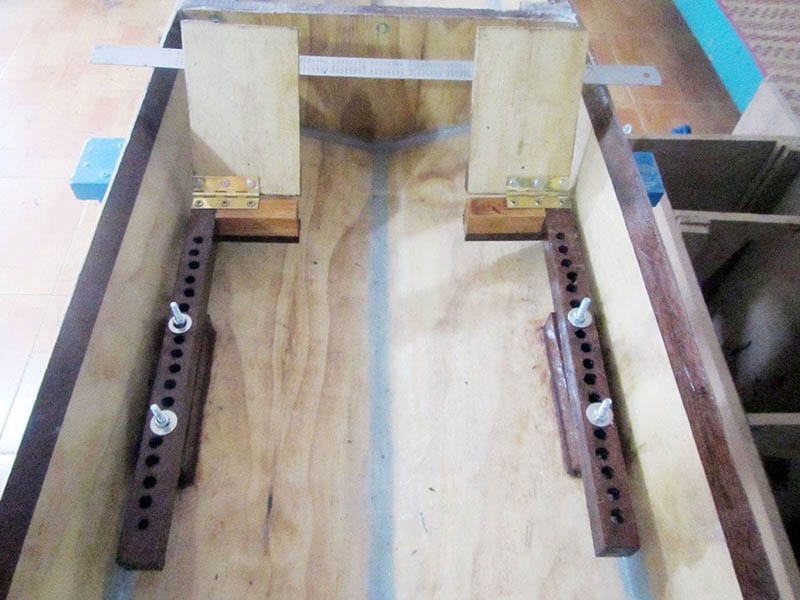
The rudder pedals offer very good seating position, together with the plastic seat (used for testing), fixing my lower body well to the hull. I would decide later whether to just use this plastic seat, or build another lower one to facilitate reentry actions. The hatches are absolutely water tight, an important criterion! The overall feeling is very satisfactory, yet more trials are needed, in different conditions, especially on rougher water, to really understand the capabilities of this new boat.