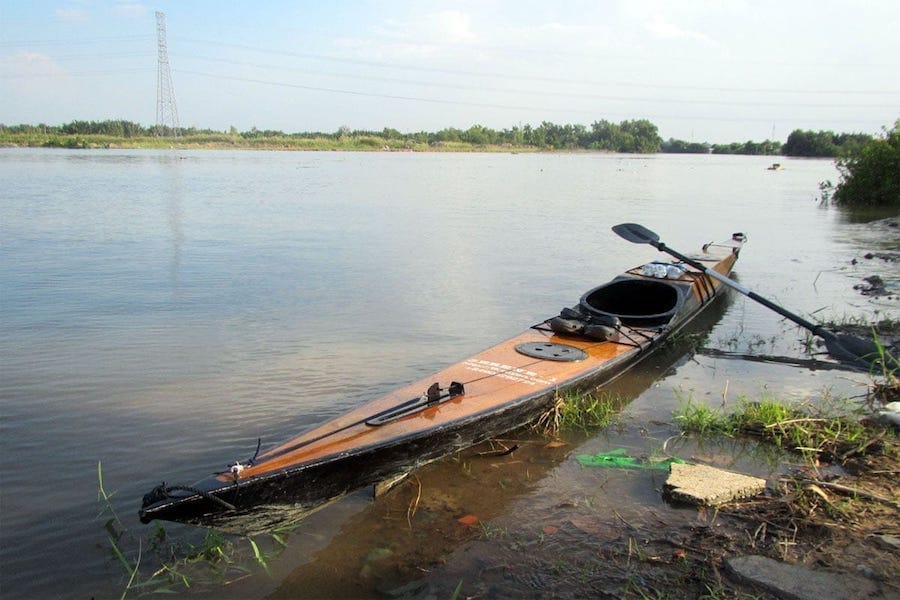
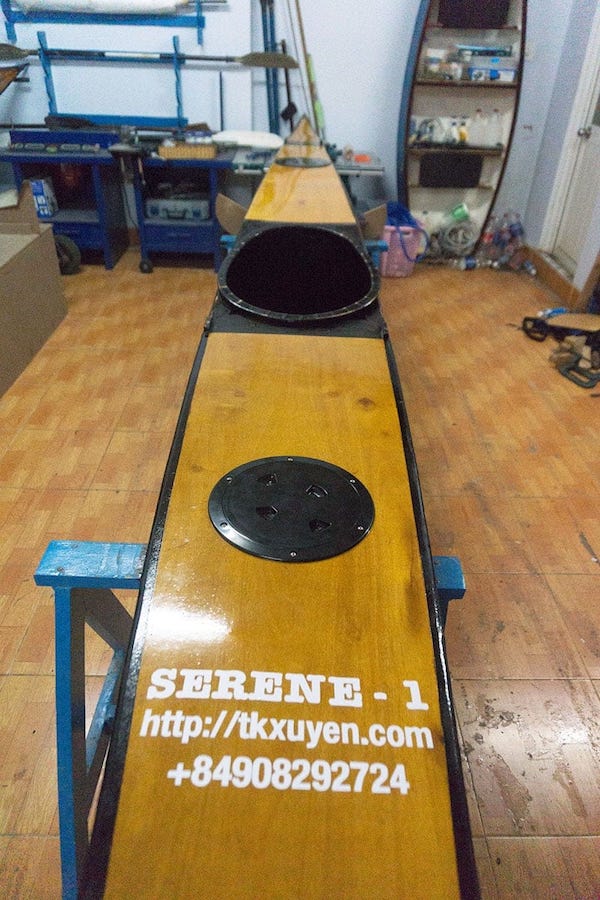
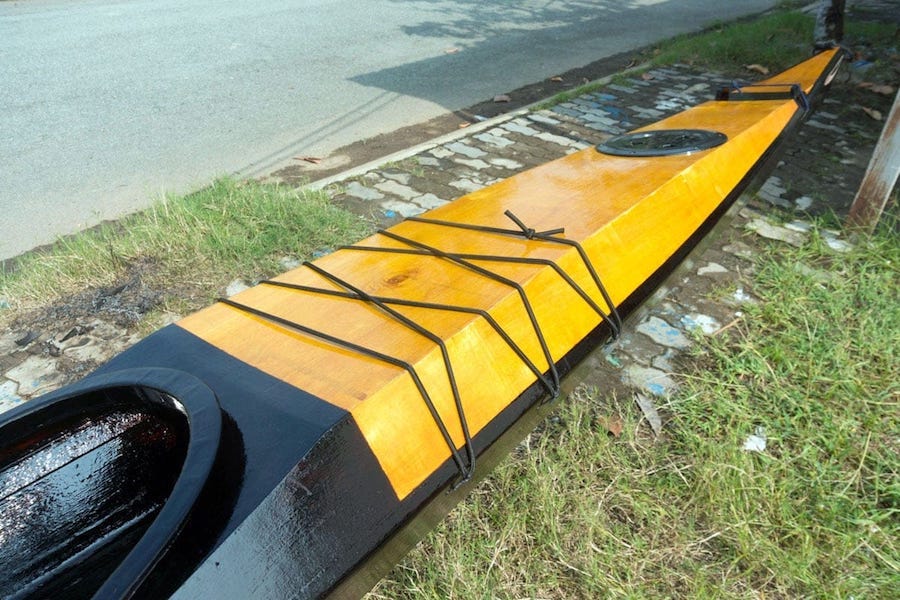
It’s good to see every parts of the boat work as intended. The hatches are completely watertight. When I left the hull out under afternoon sunlight for an hour for it to dry, the air inside warms up and expands, when I open the hatches, I can hear the sound of escaping air. That confirms not only the hatches, but the whole hull is airtight, and so they are obviously watertight. Then carrying gears inside could be housed with minimum protection against water (e.g: some normal plastic bags).

For the last two weeks, I only tested the boat on flat water, small river branches which are calm most of the time. Next would be some longer and rougher paddling. Been too busy lately and couldn’t keep up the planned pace of at least 40 km per week, and so my endurance has been falling drastically! Also, I’m quite lazy at video shooting and editing, after all, you can’t make it as good as a professional cameraman, and upto one point, you don’t see a necessity for much showing off any more.
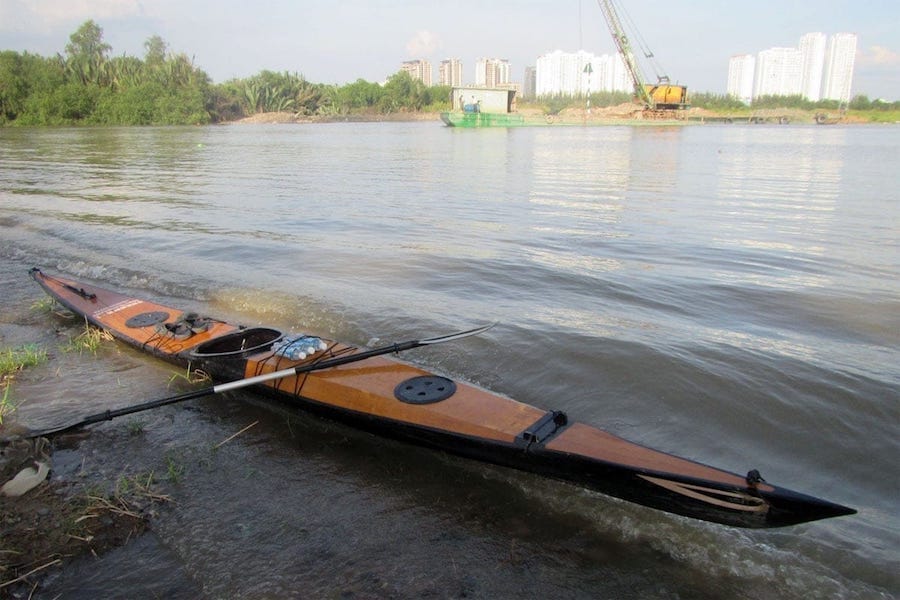
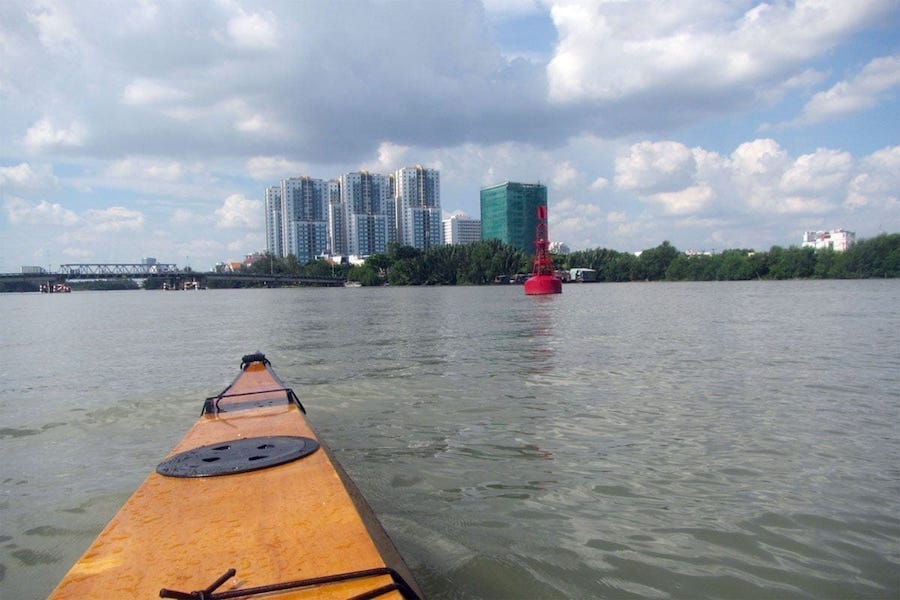
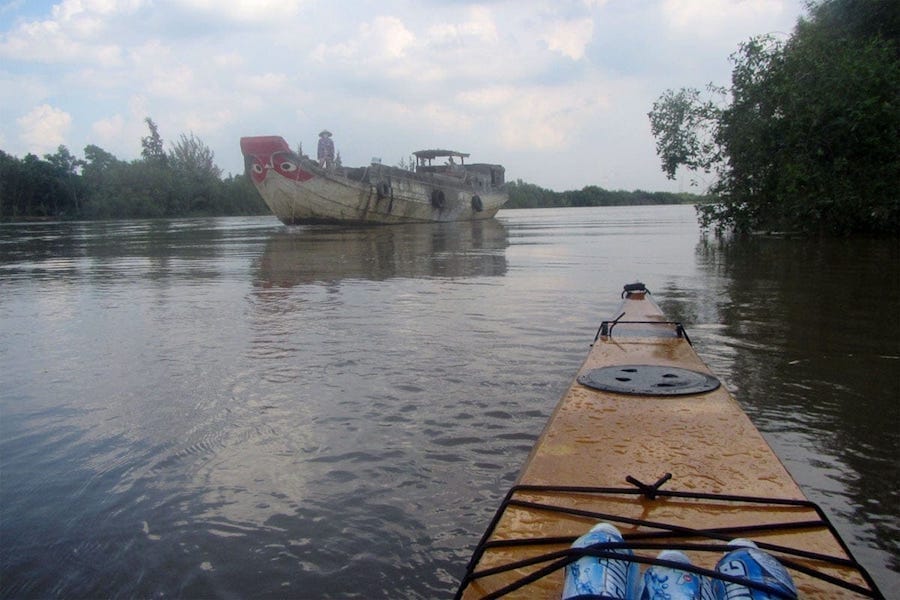
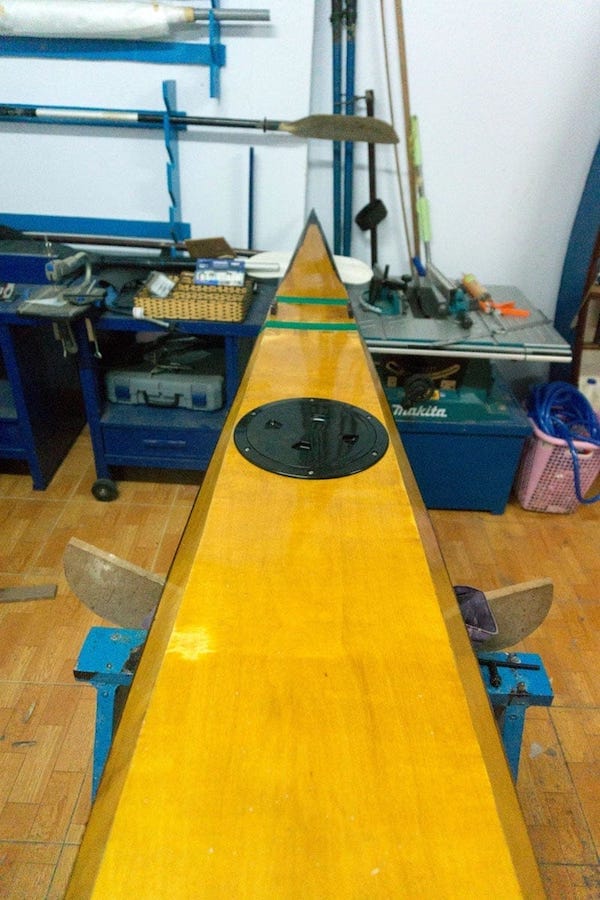
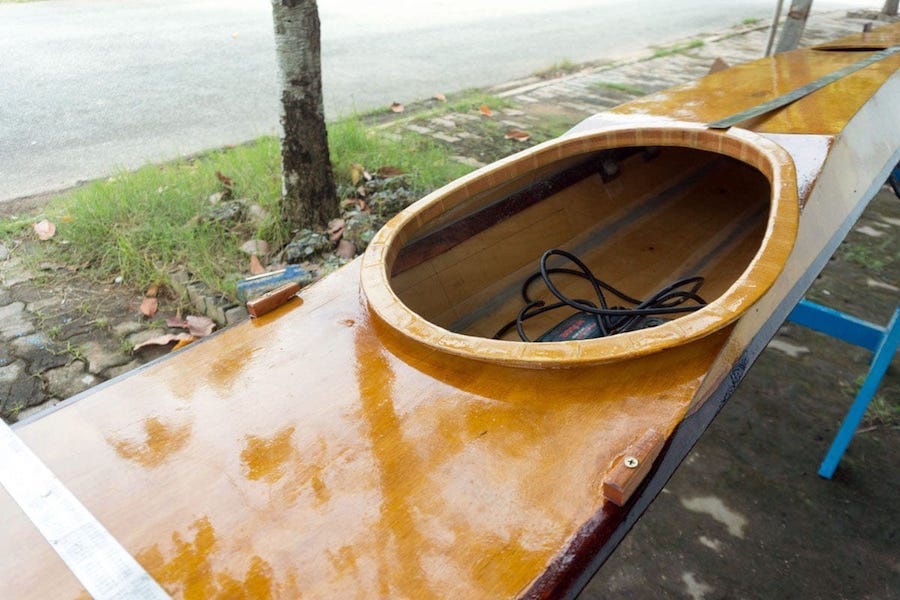
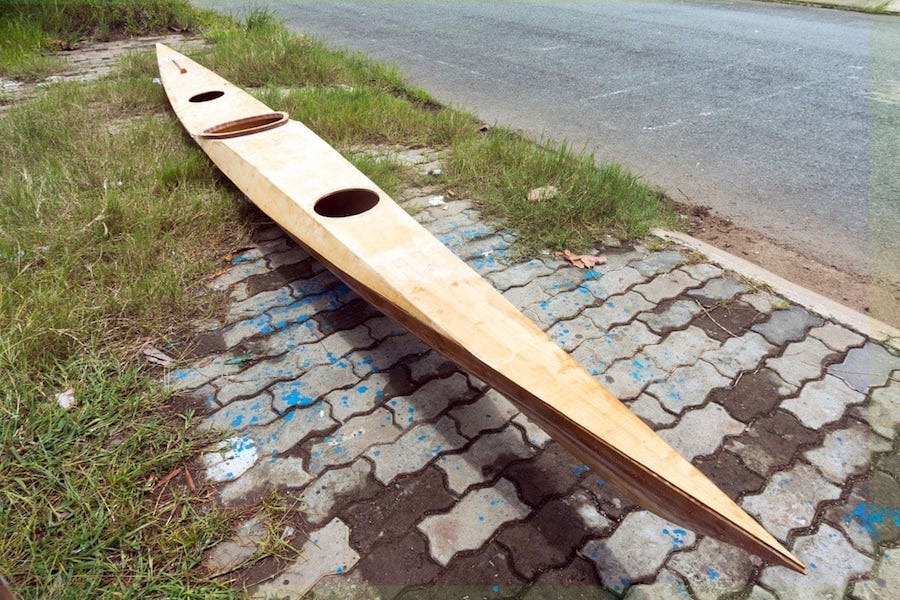
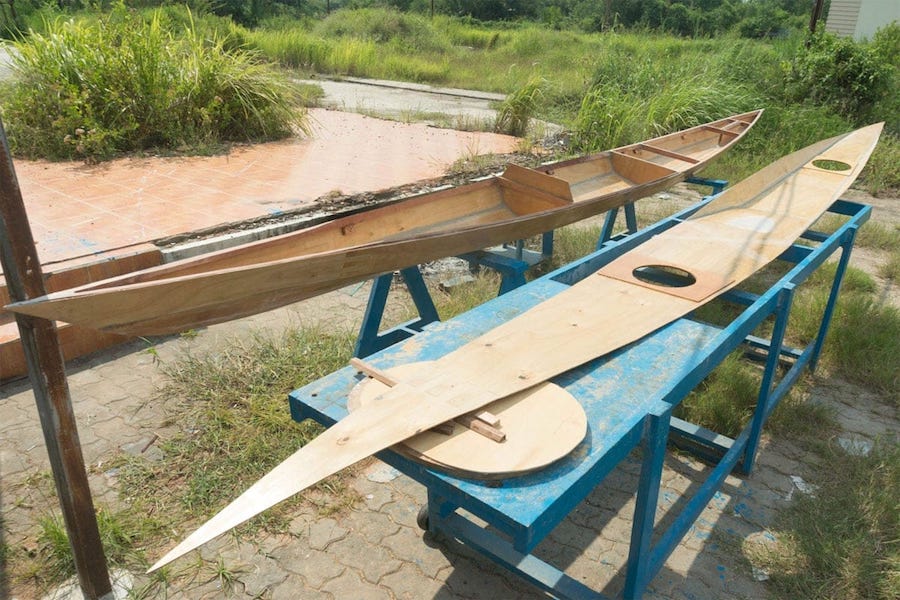
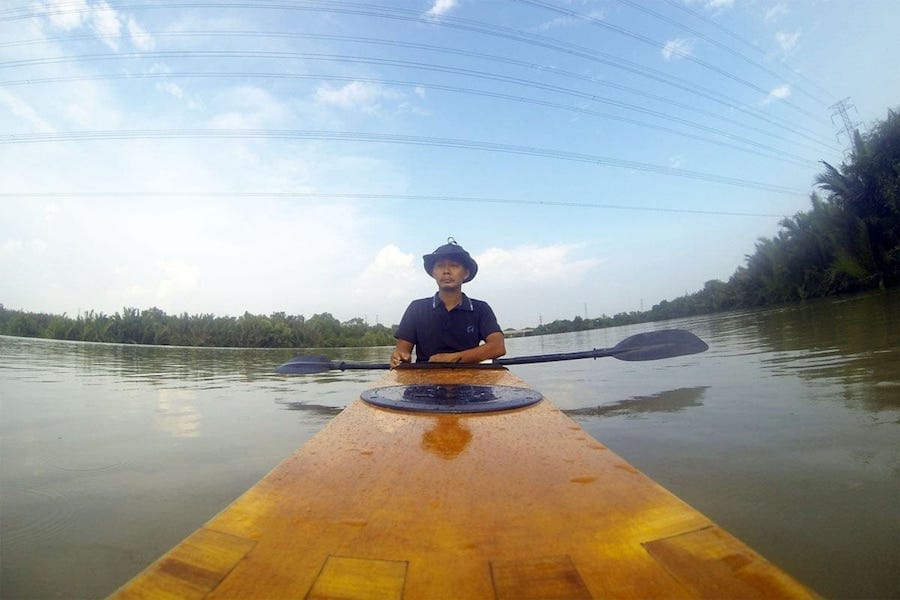
Sometimes, I wish I could just put everything aside, pick up the paddle and go, go light and go now! Nothing comparable to the paddling experiences, you and only you in the wild, and you don’t have to depend much on those delicate electronics to have a joyful journey, they’re just some more burdens. So maybe I my next trip, I would just leave the GoPro at home, a single small still – camera is stilled needed though. 4th image below: can only be happy when in open air and on bobbing water!
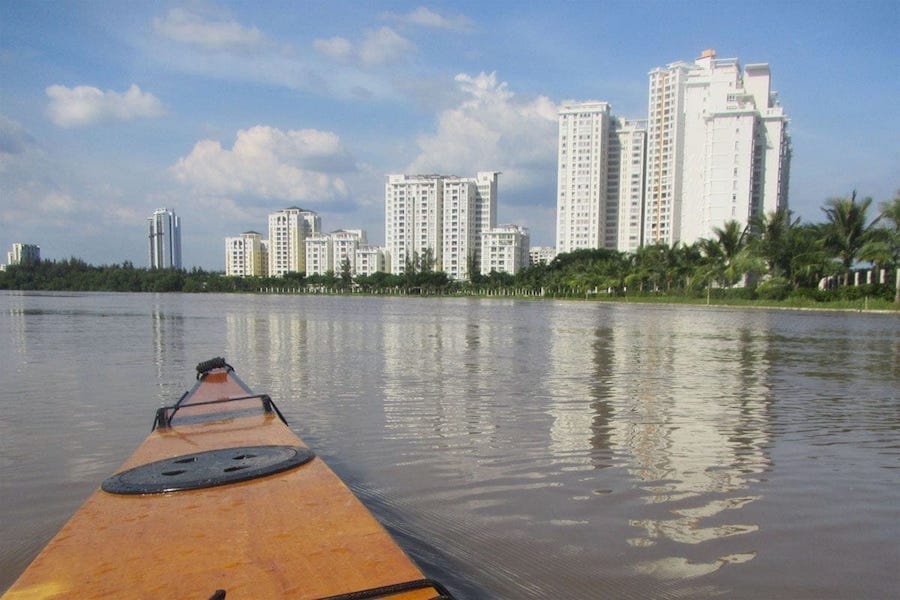
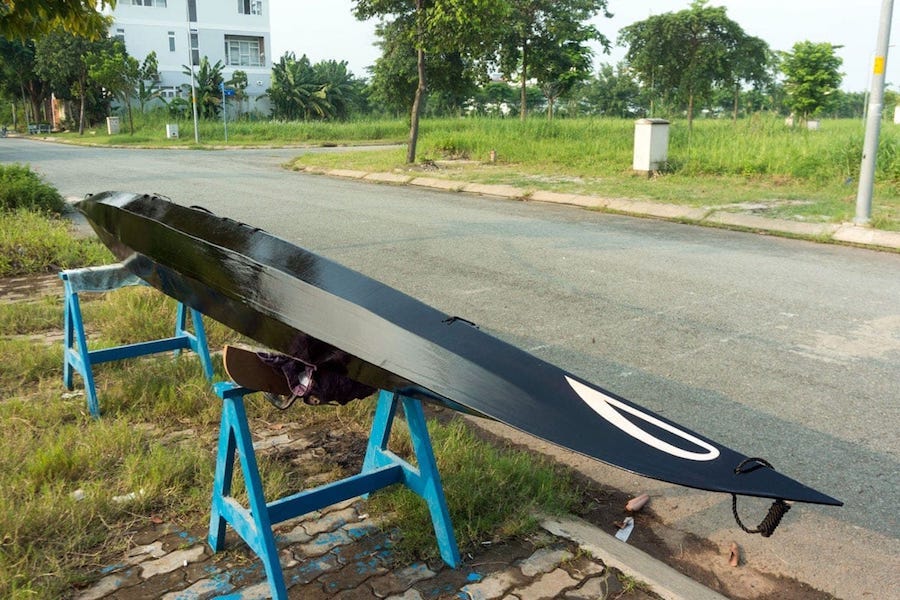
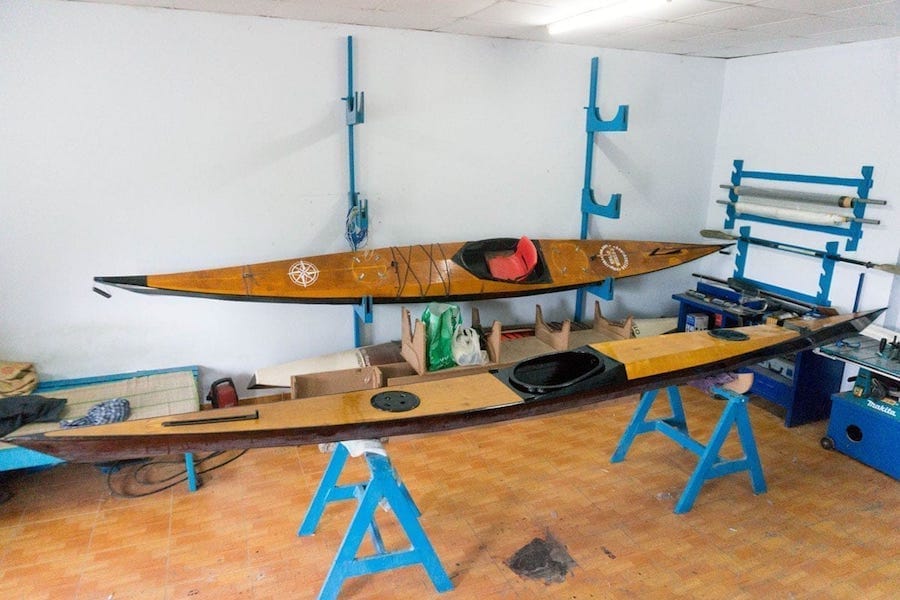
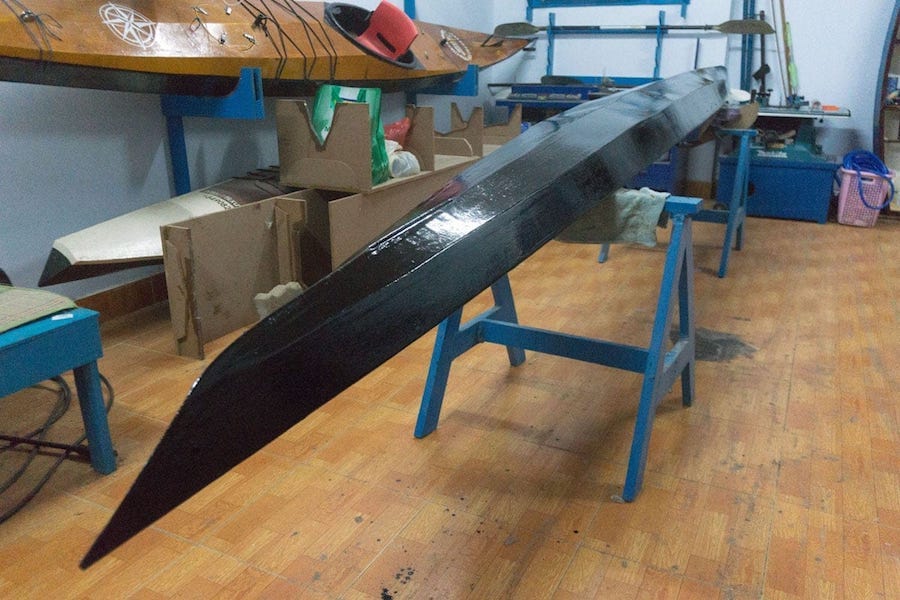
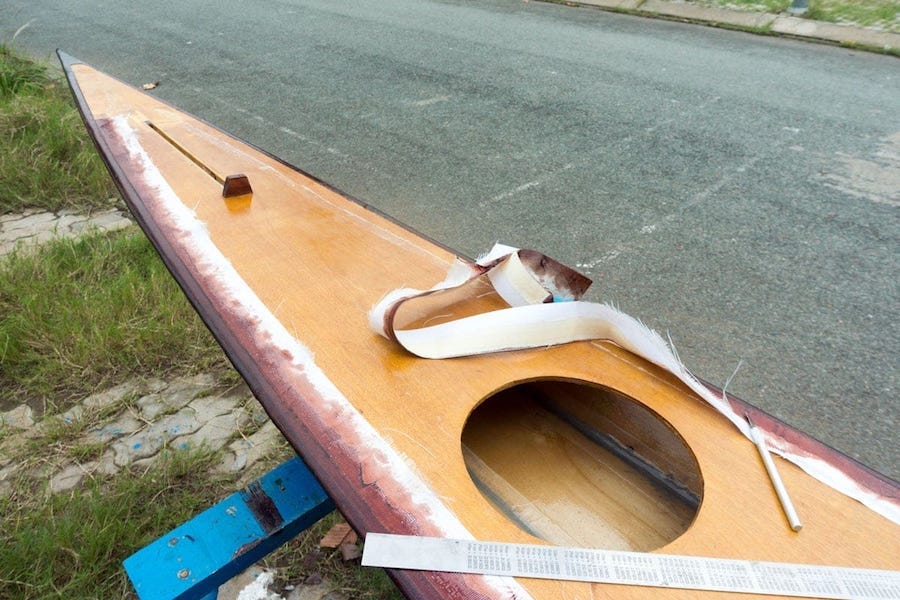
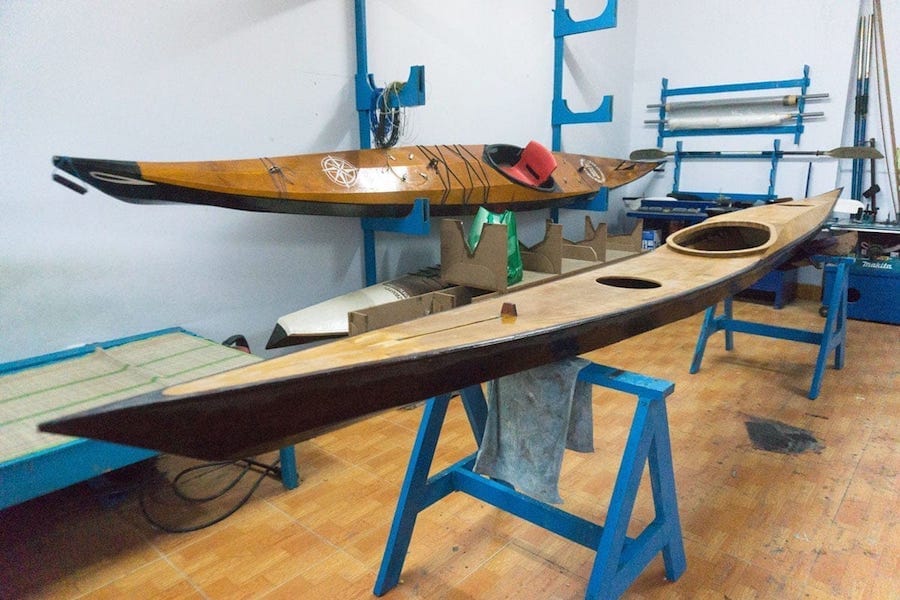
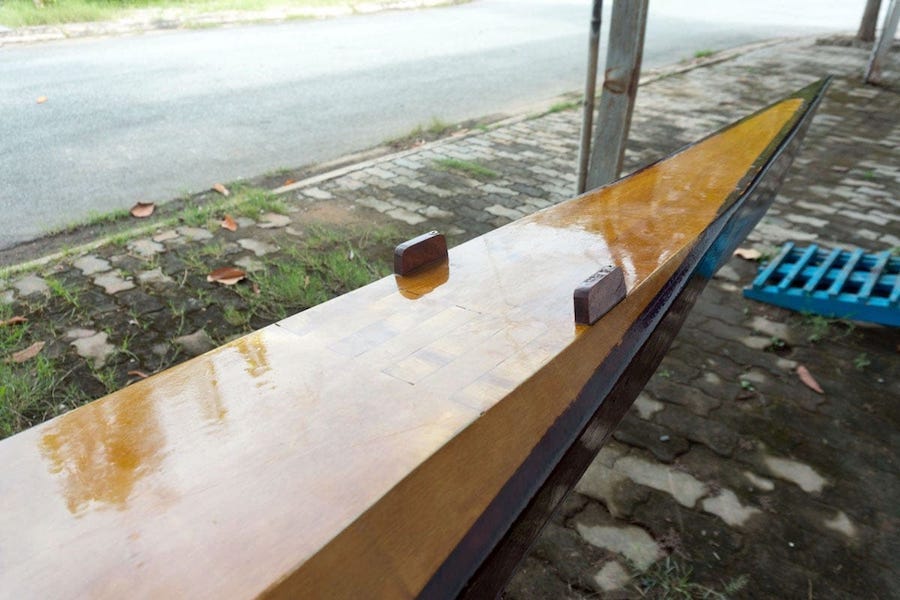
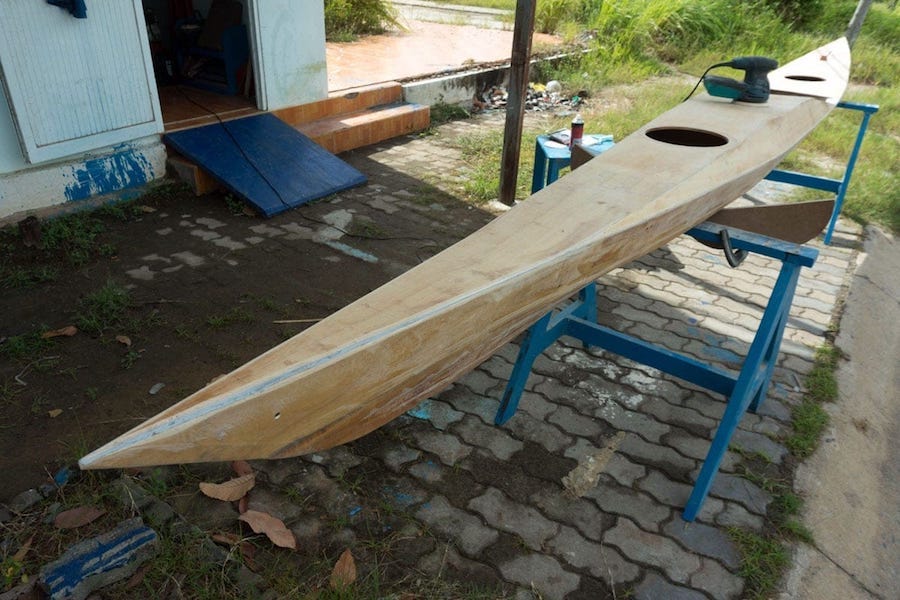
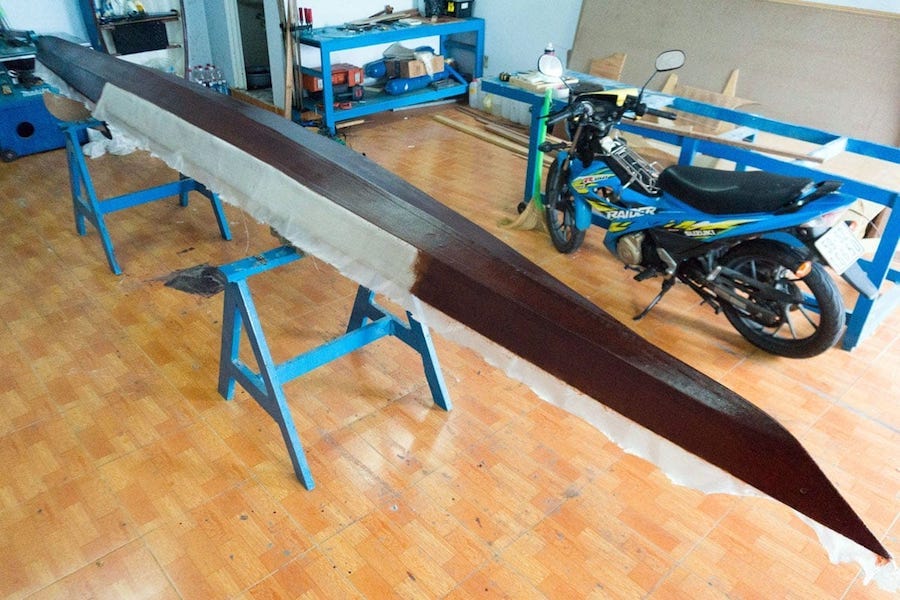
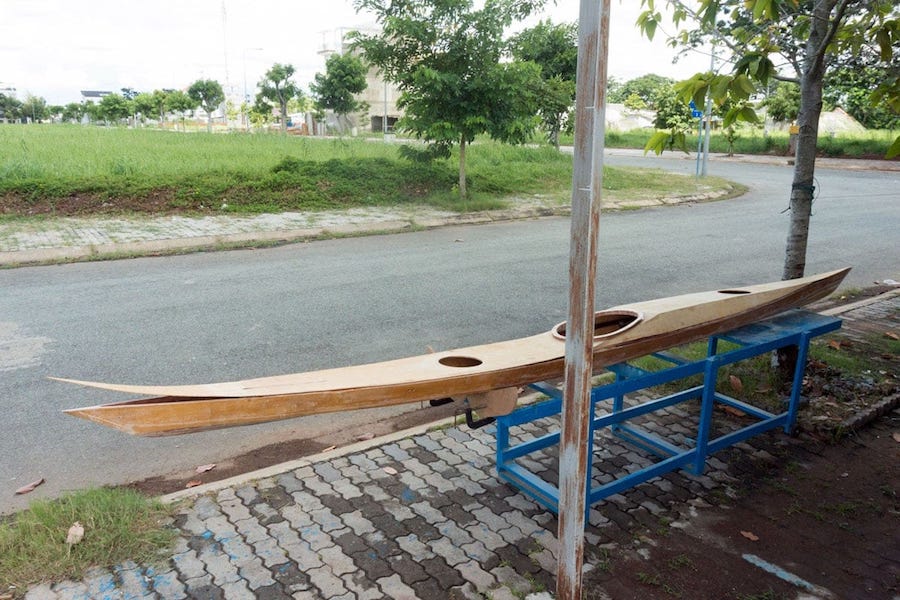
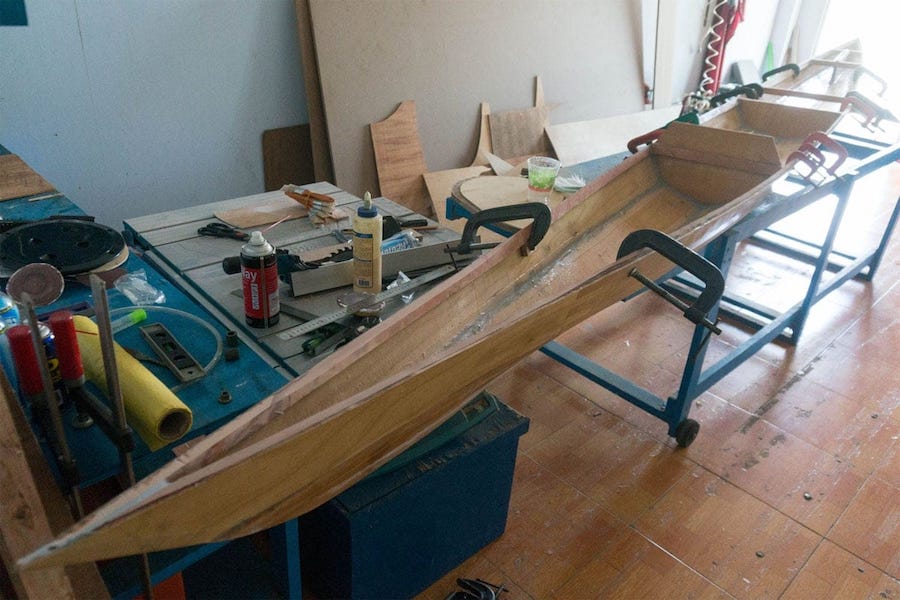
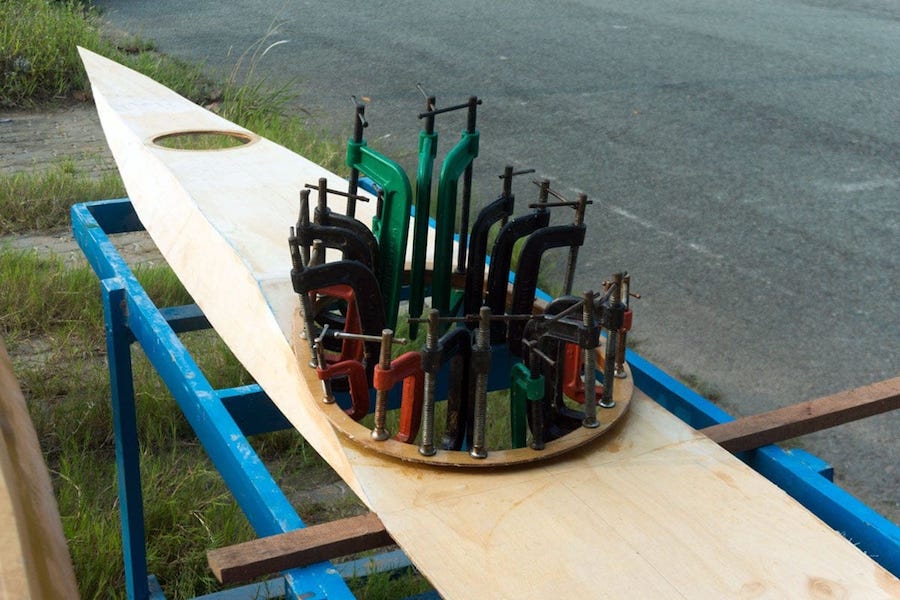
Serene – 1 p1
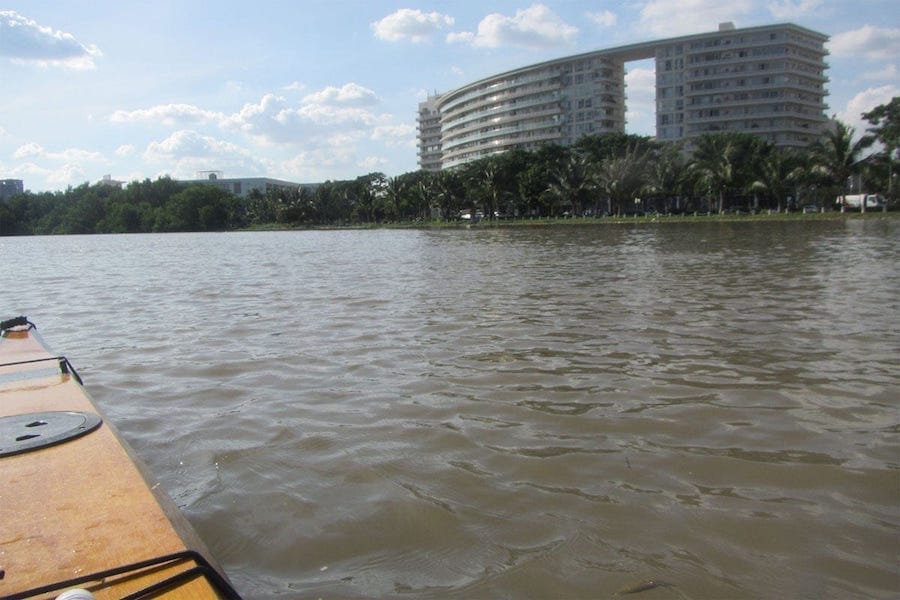
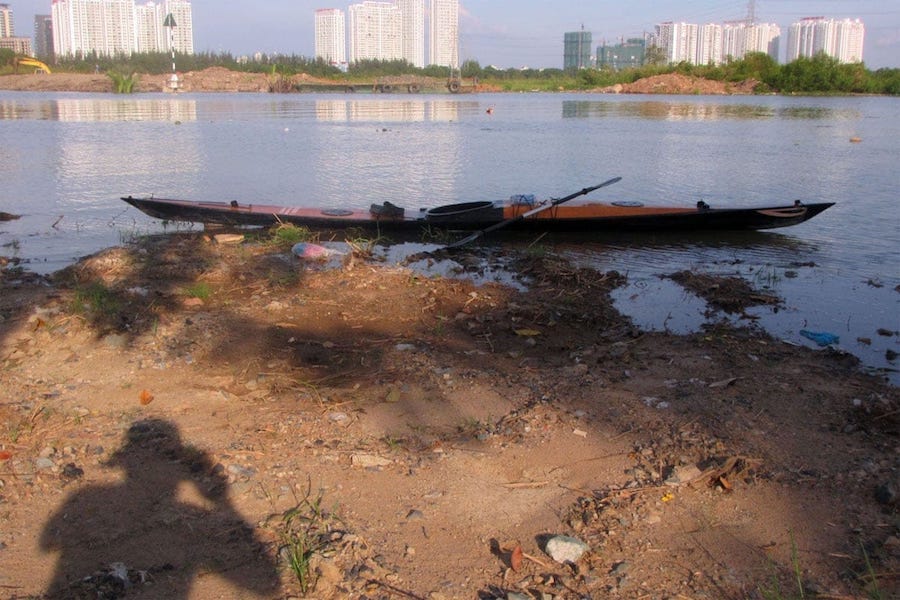
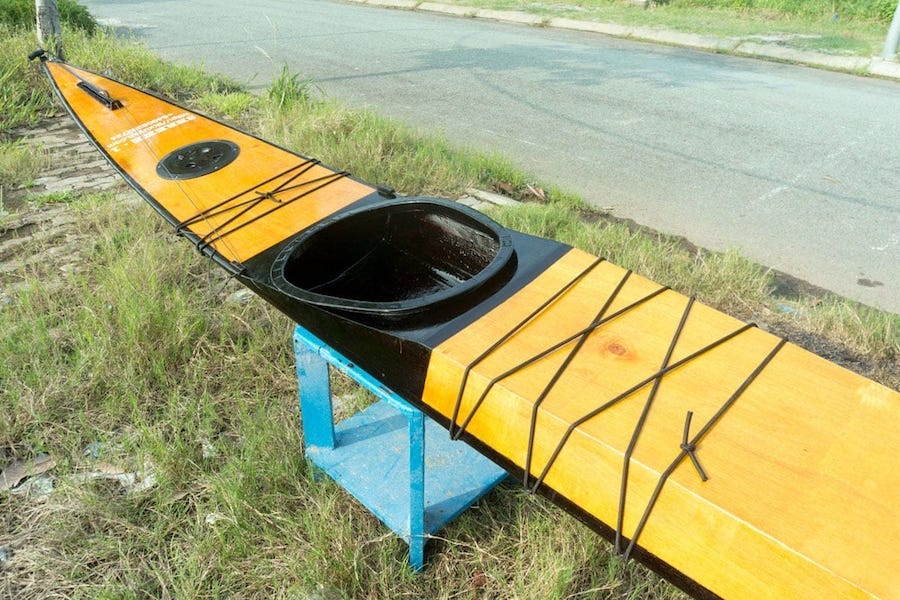
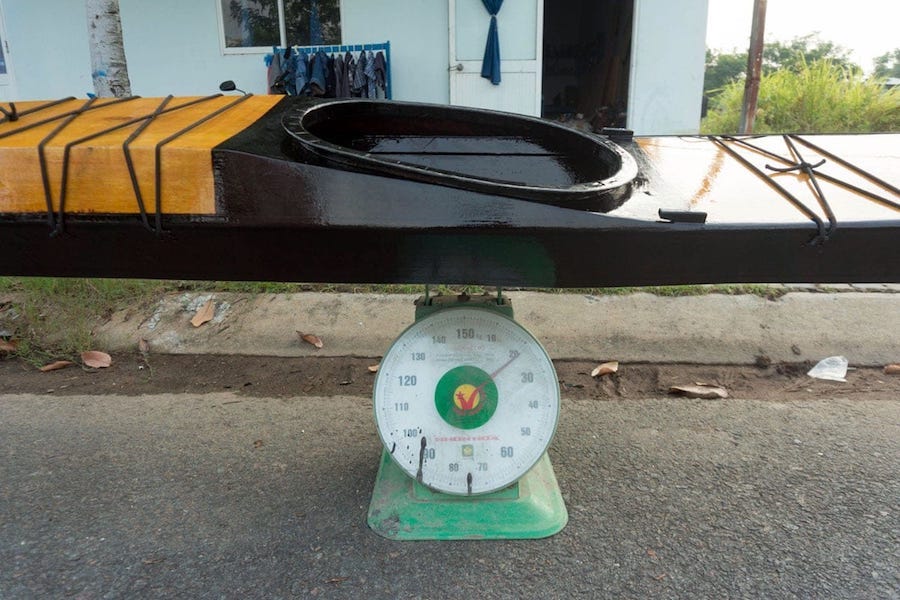
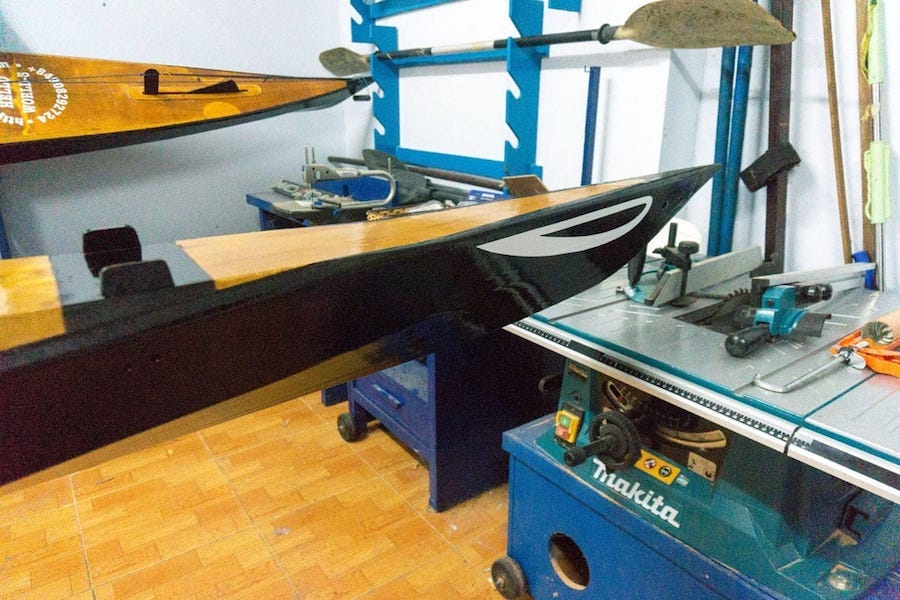
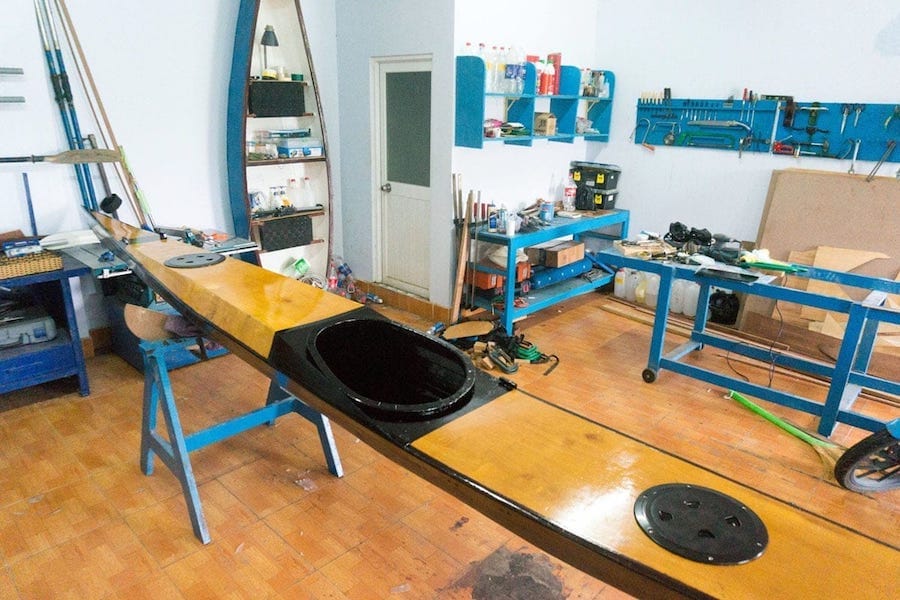
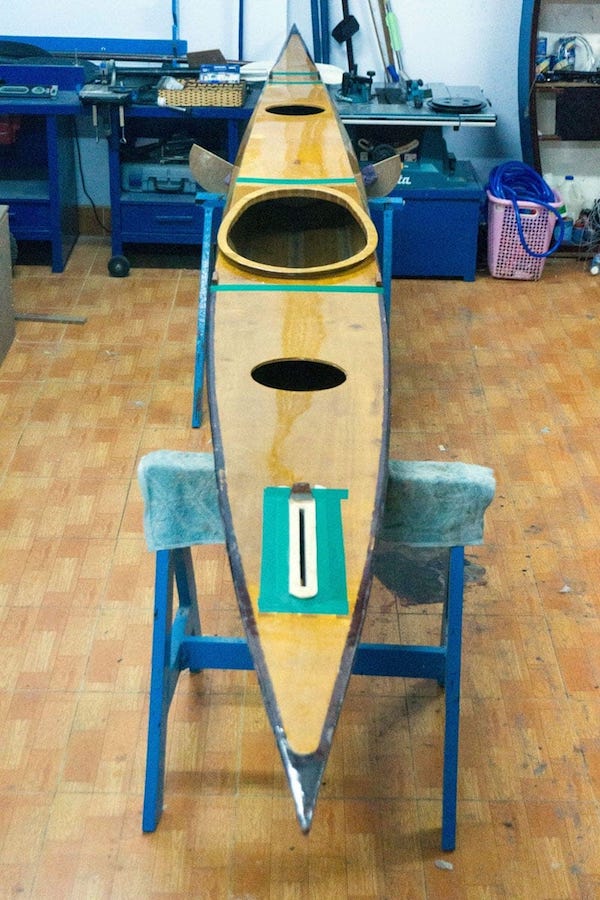
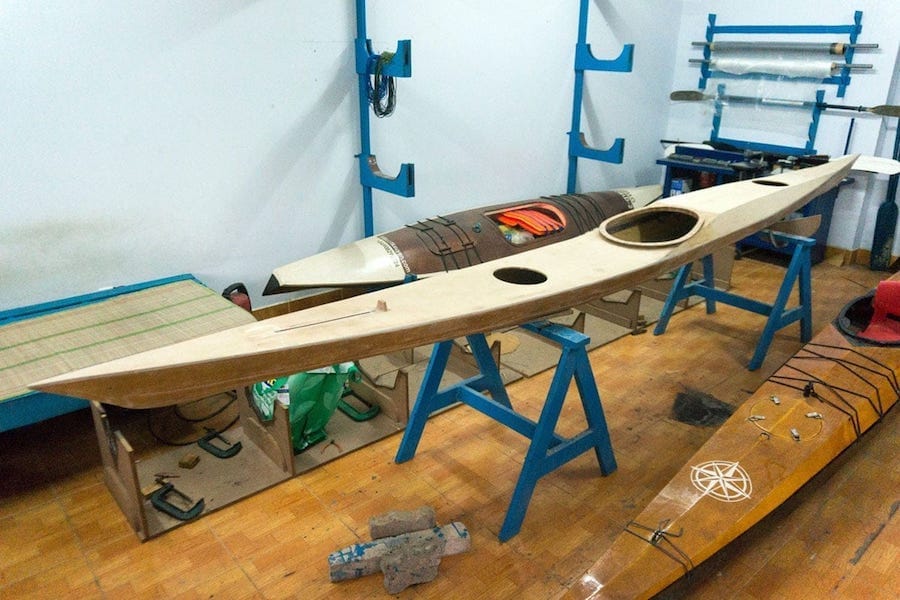
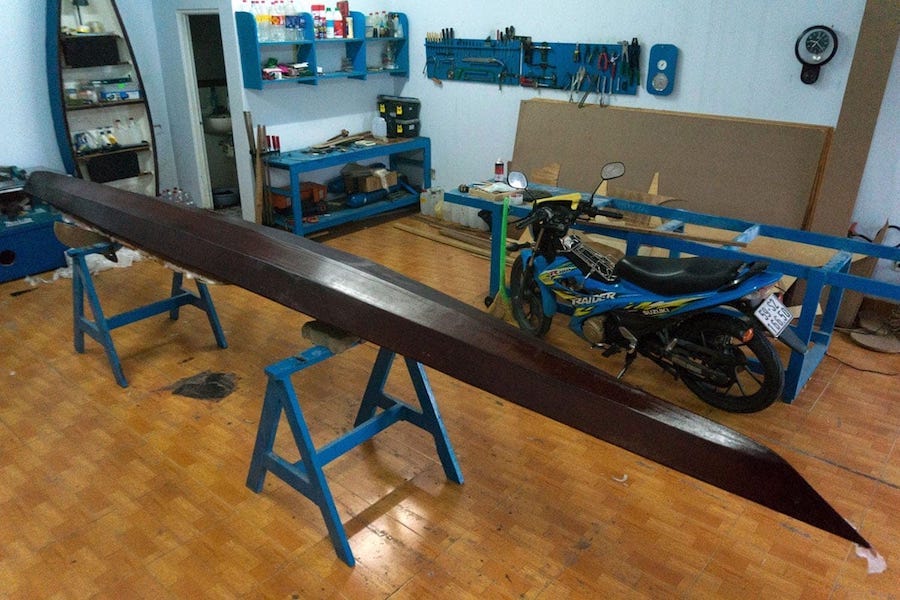
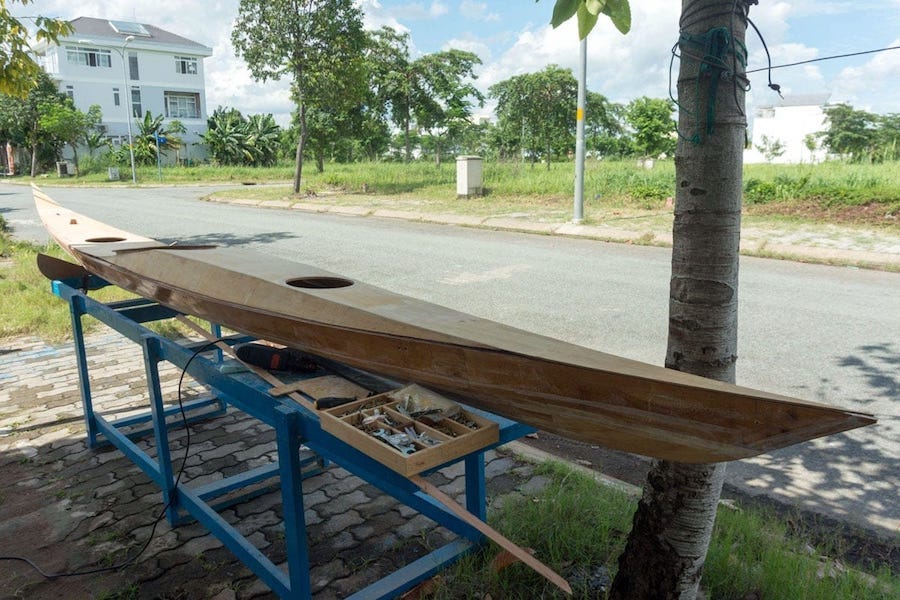
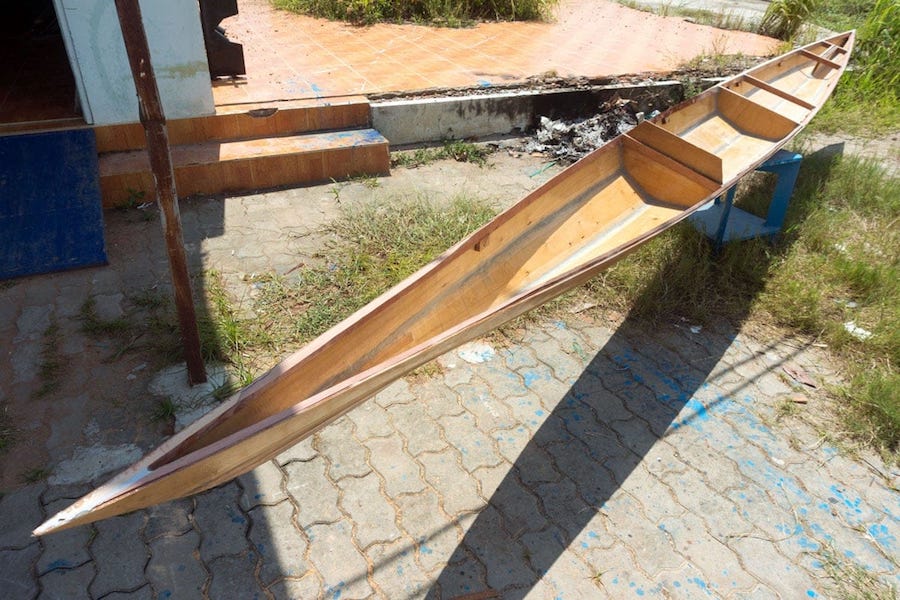
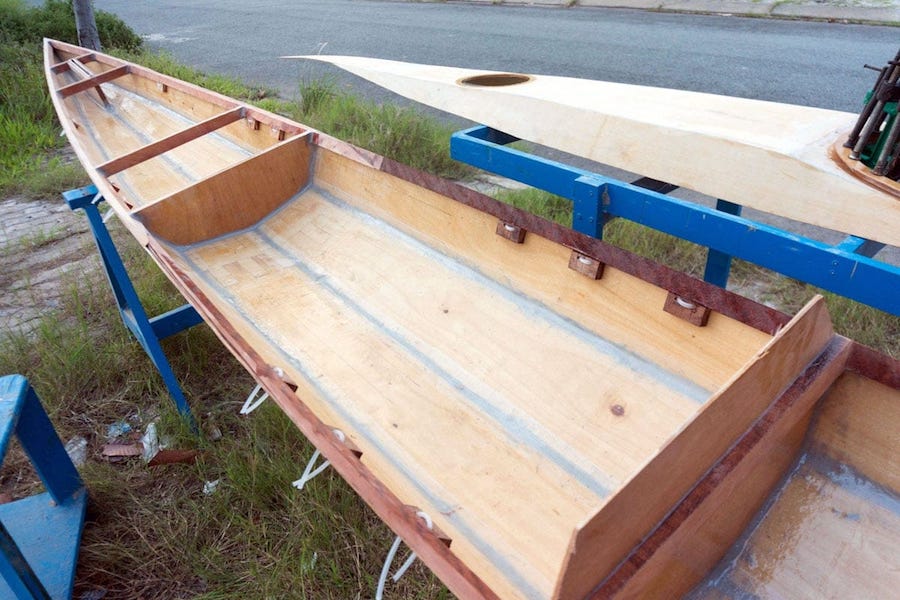
Serene – 1 p2
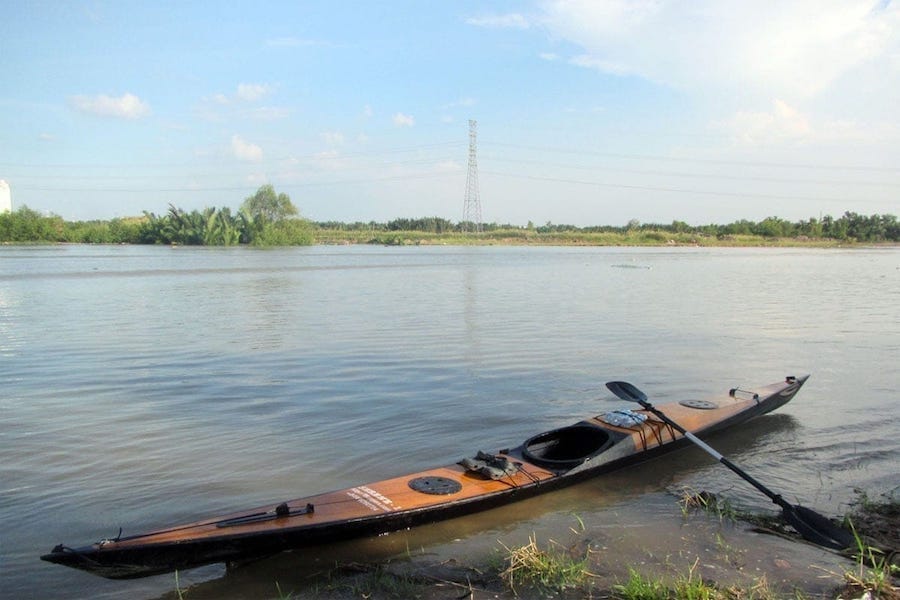
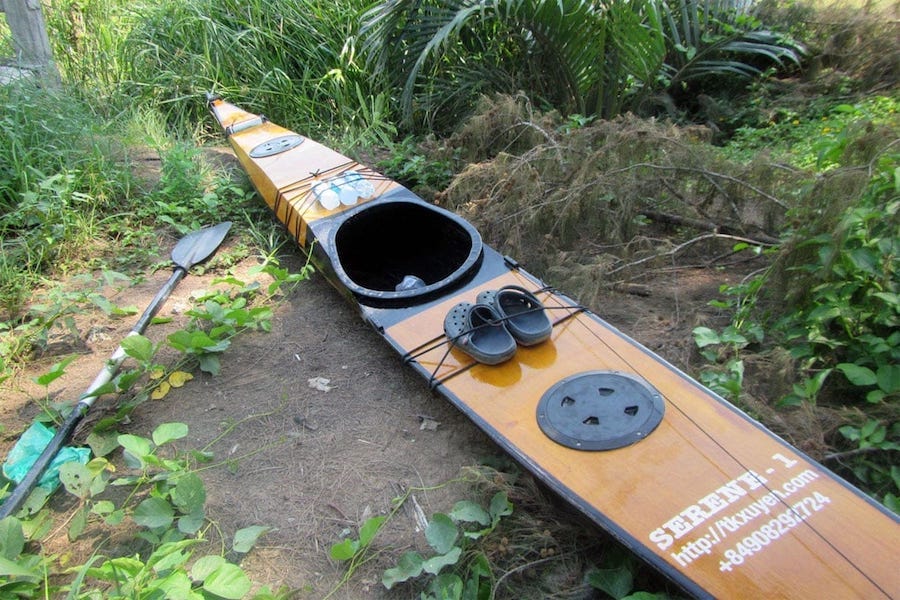
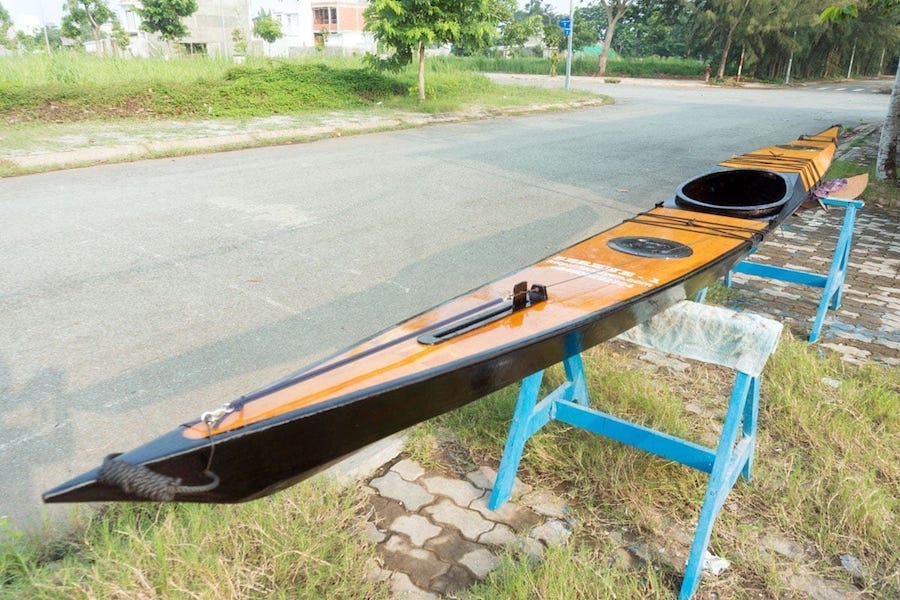
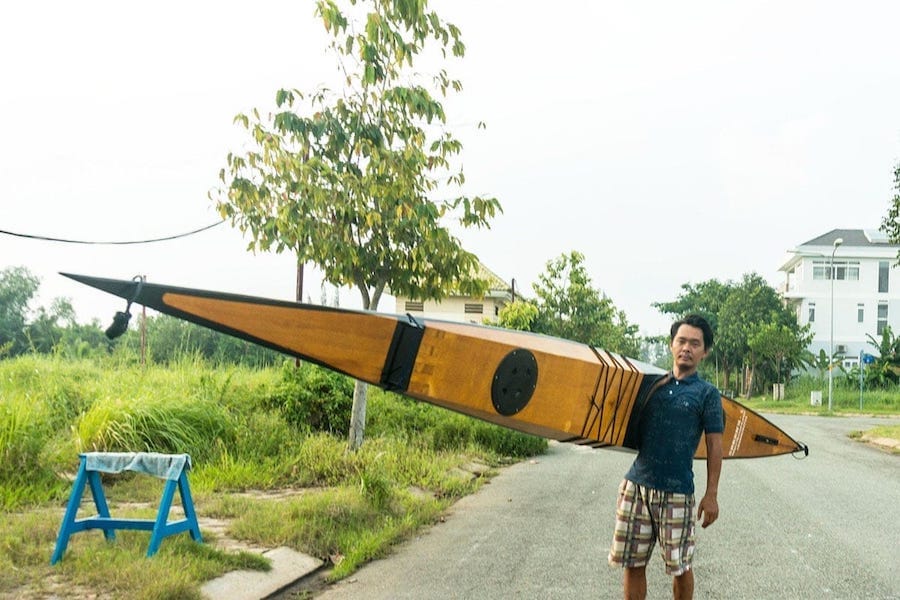
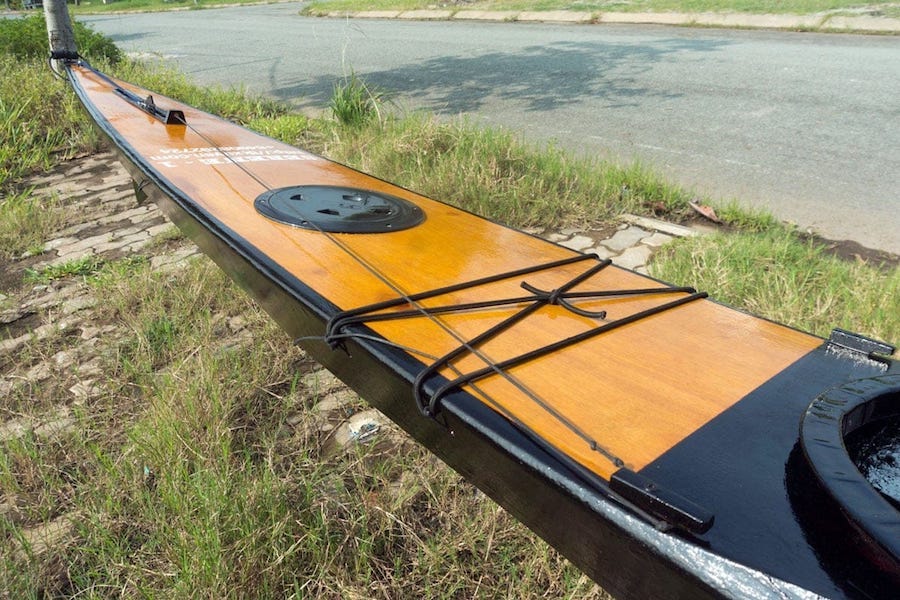
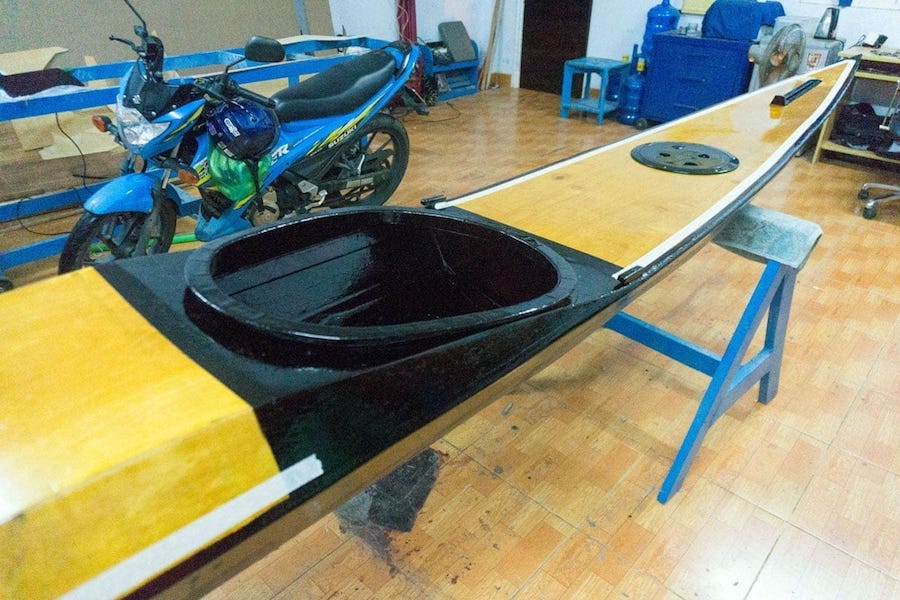
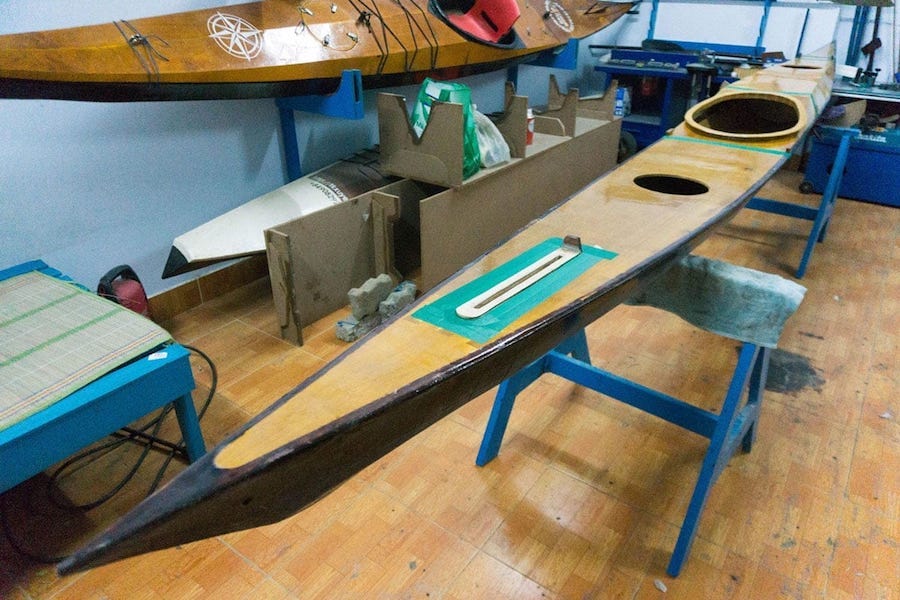
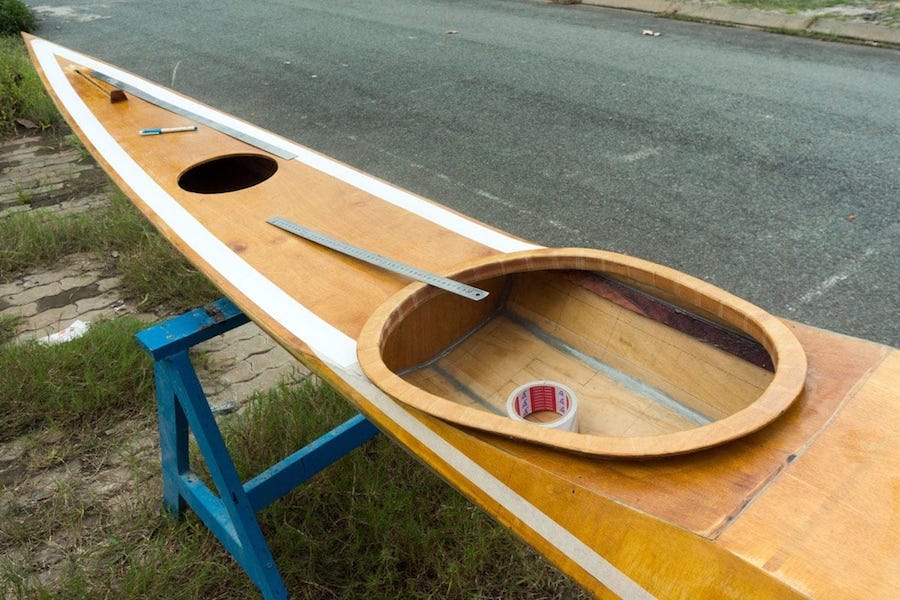
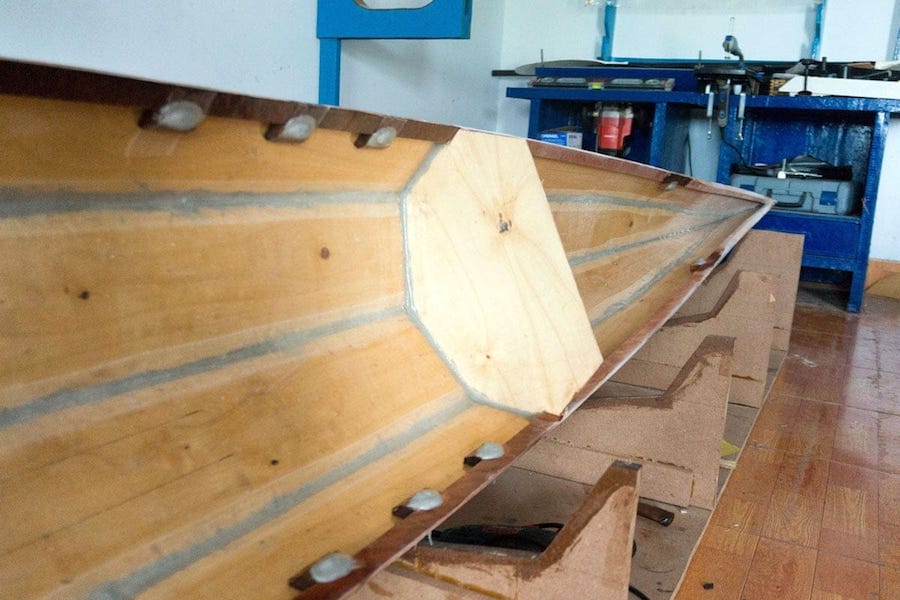
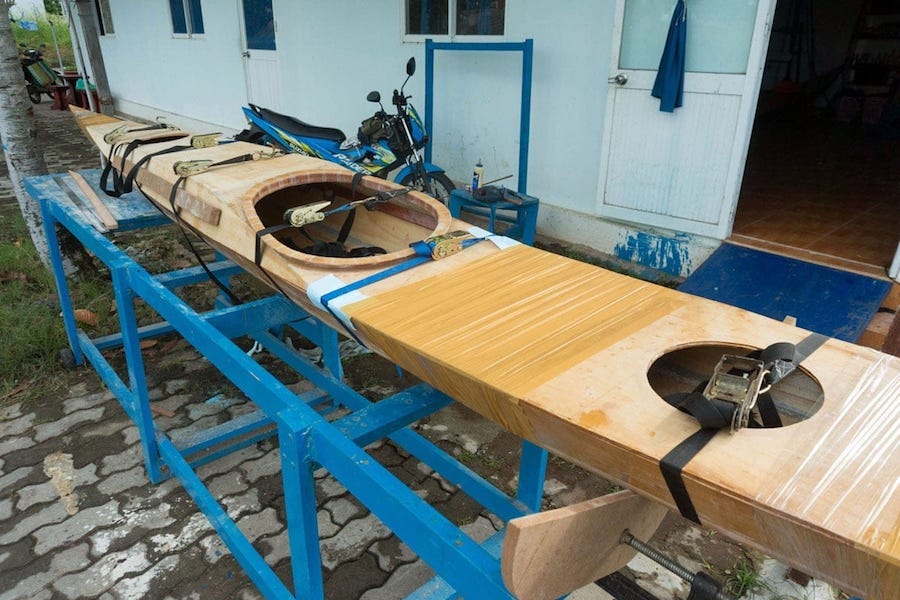
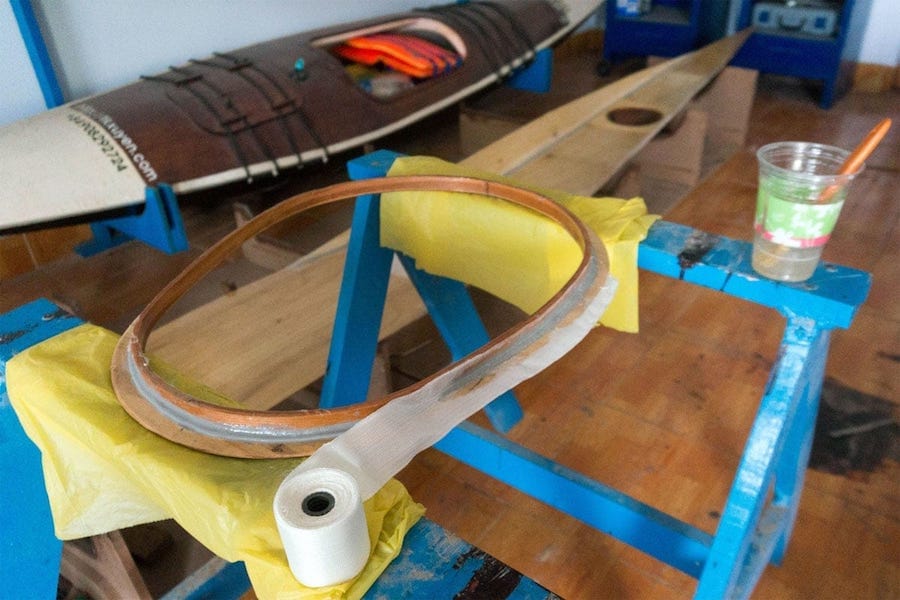
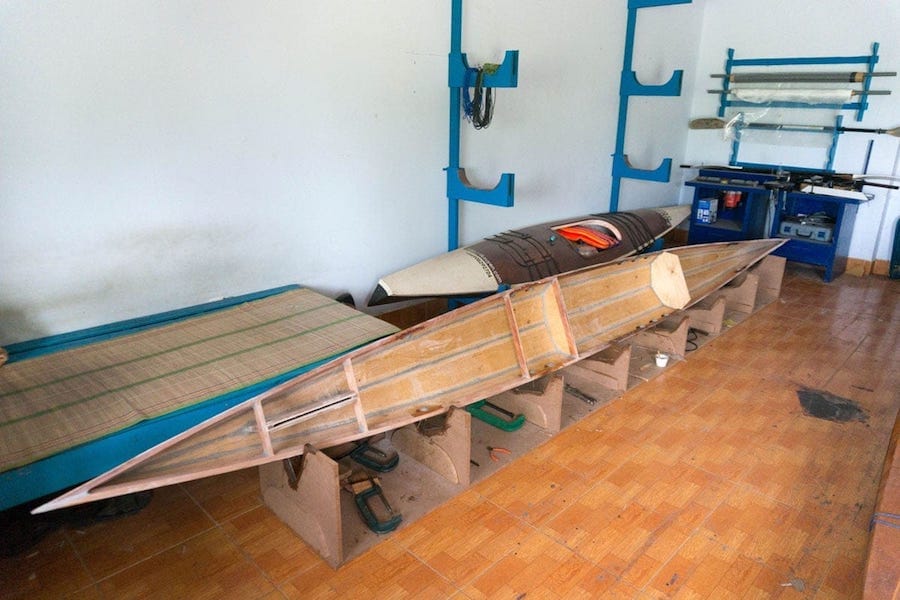
Serene – 1 p3
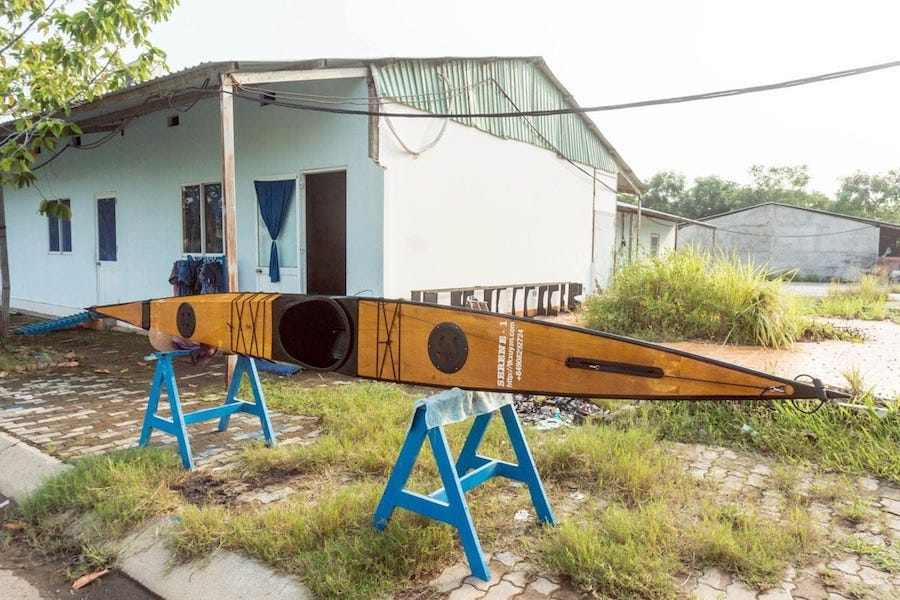
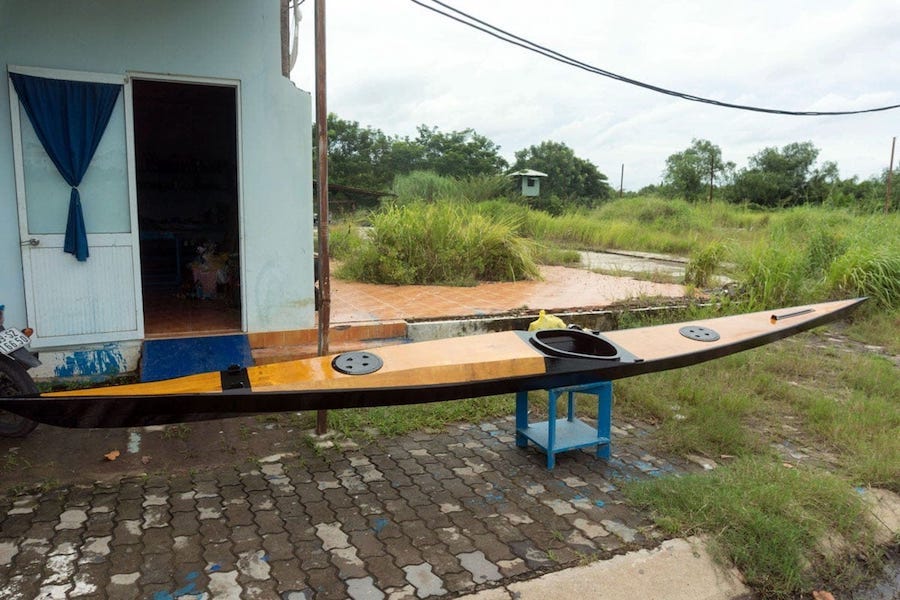
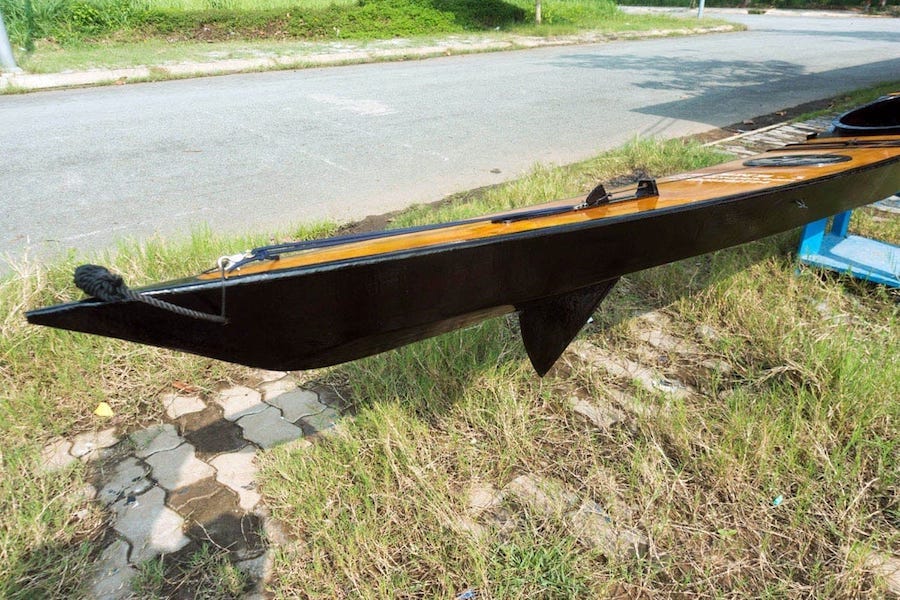
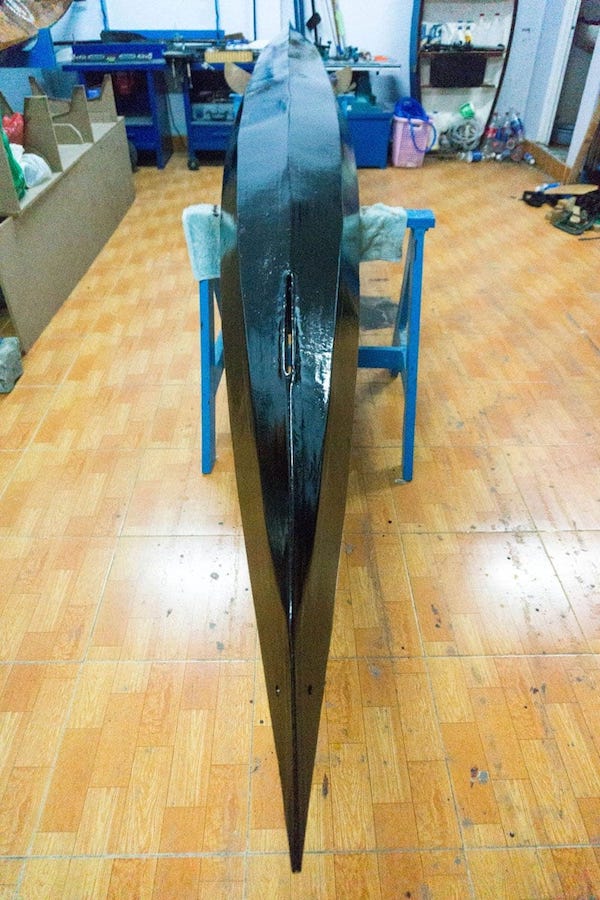
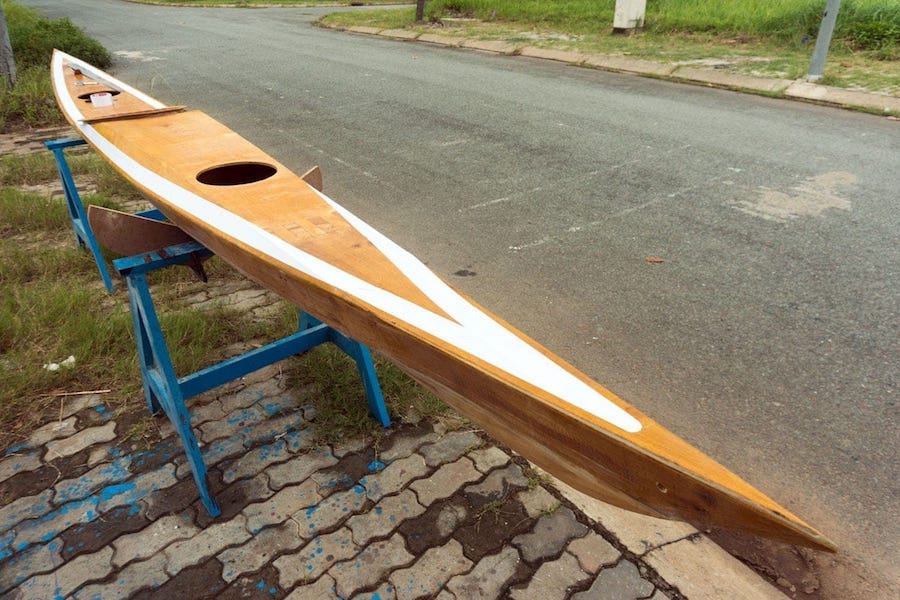
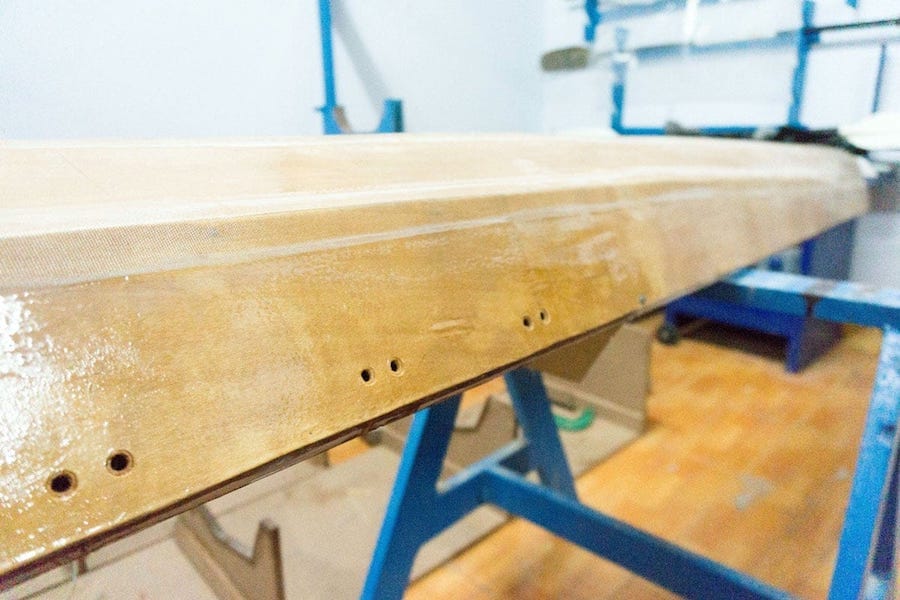
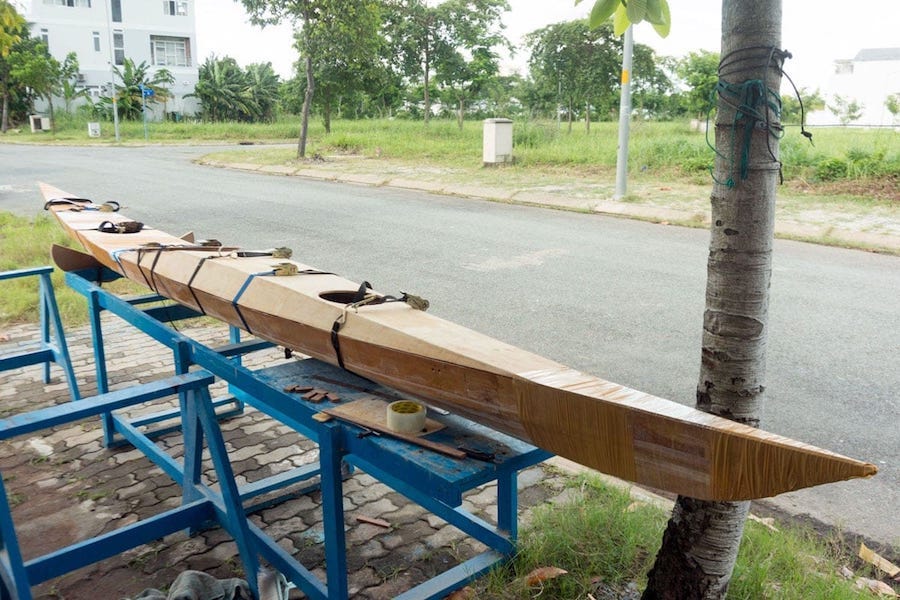
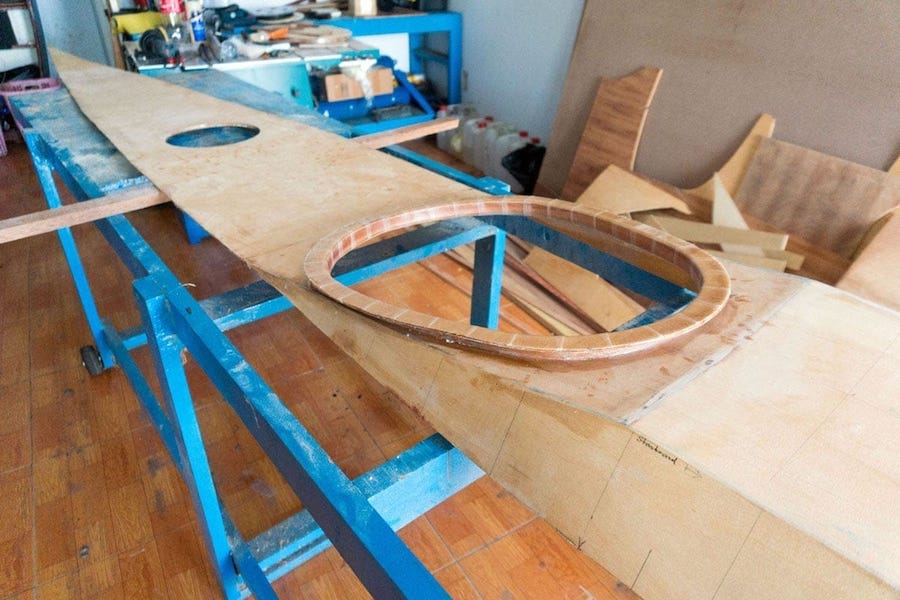
Serene – 1 p4
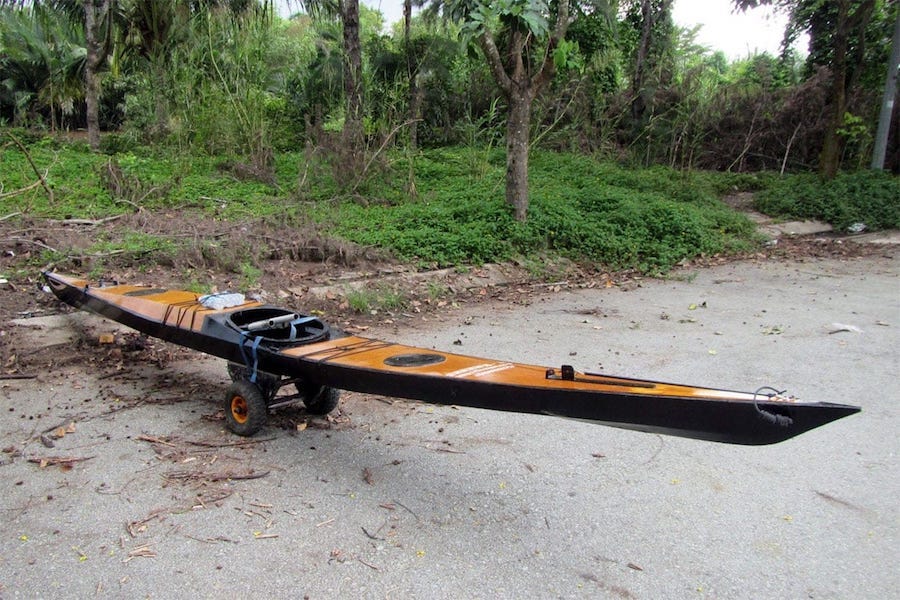
With that “go light” determination in mind, all next fittings, equipments for the kayak would be kept to the minimum and simplest possible. The boat is now lightweight enough, I don’t need to carry the kayak cart along my trips anymore. If required, I would just port the boat on my back.
There’ll be no seat, just a small block of foam used as the back rest. Also no signal pole, just some head – mounted lights I guess. No marine compass fit on deck as originally planned, I would just use the Garmin instead (plus a tiny hand – held magnetic compass as backup).