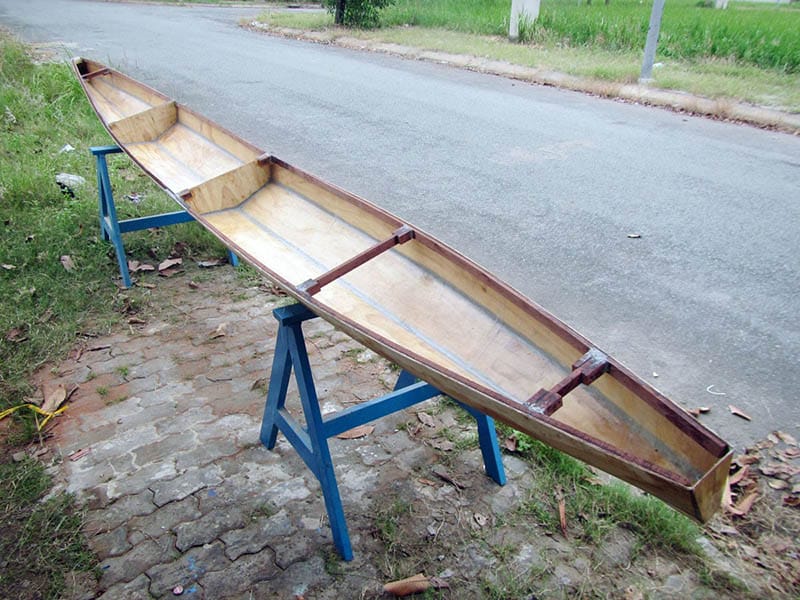
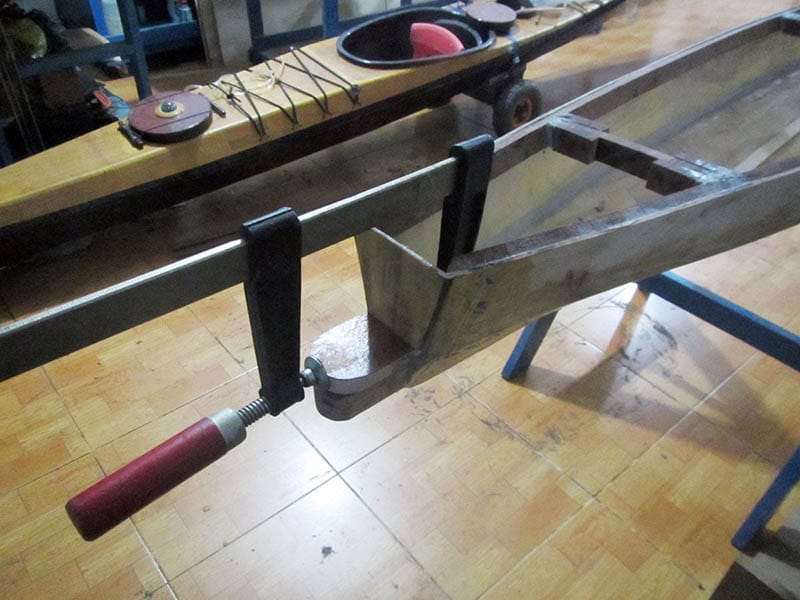
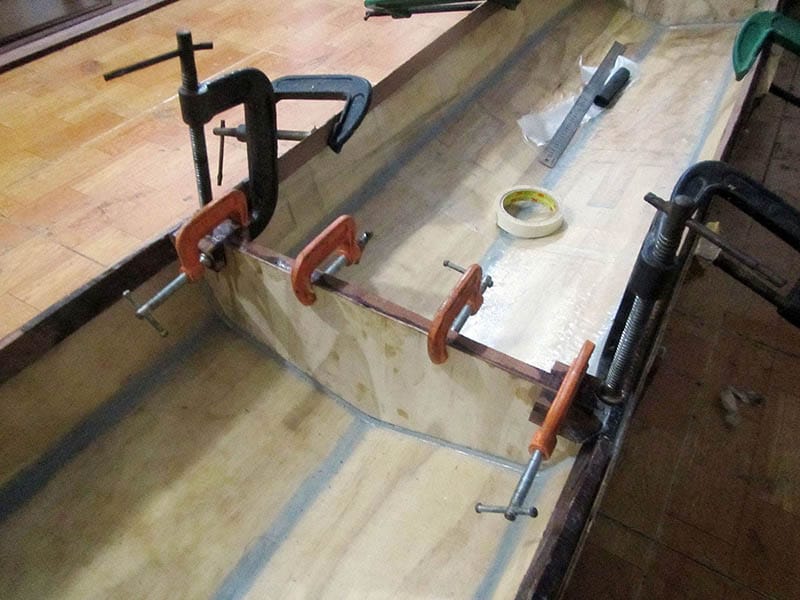
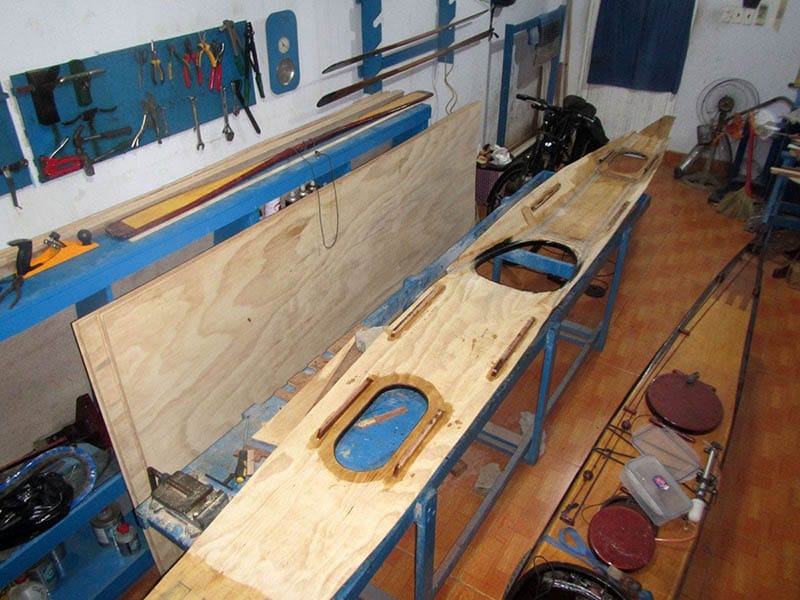
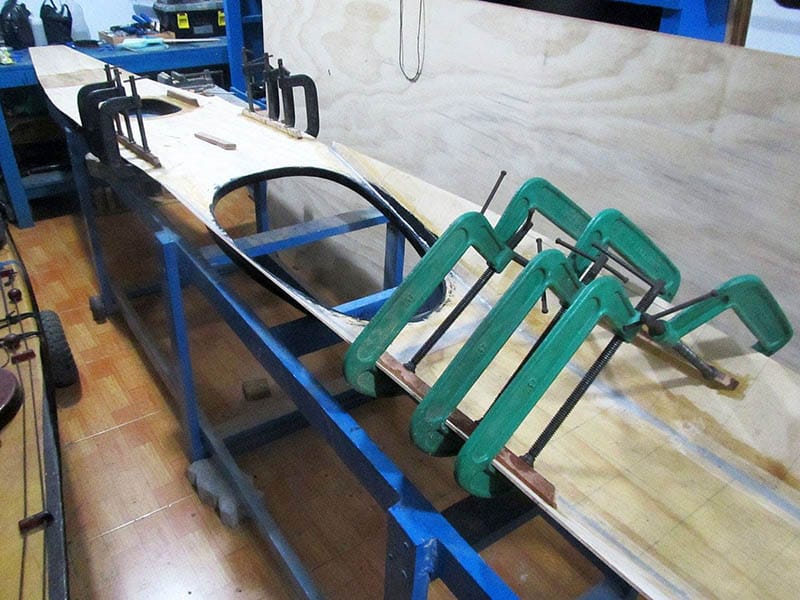
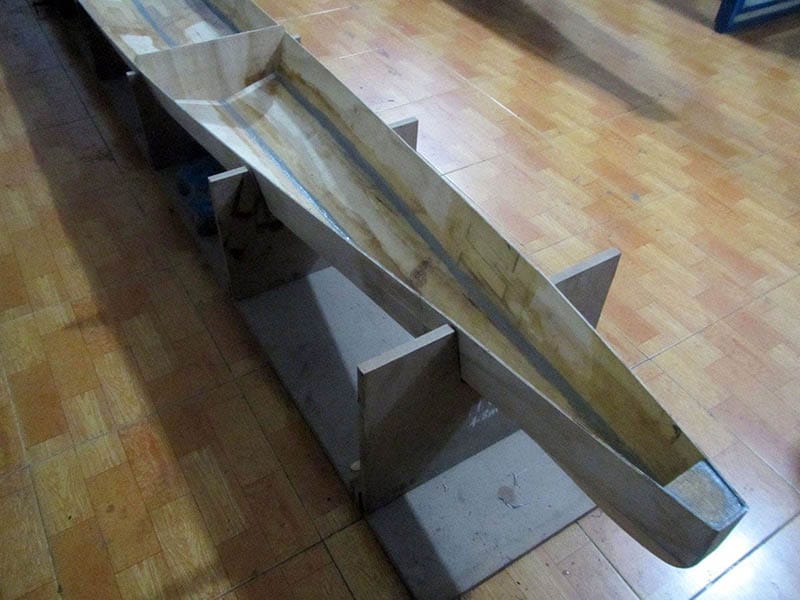
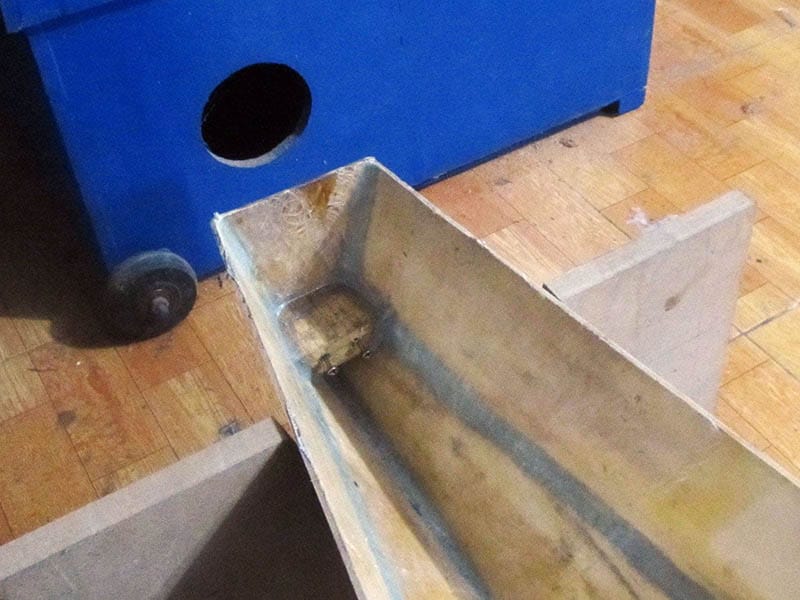
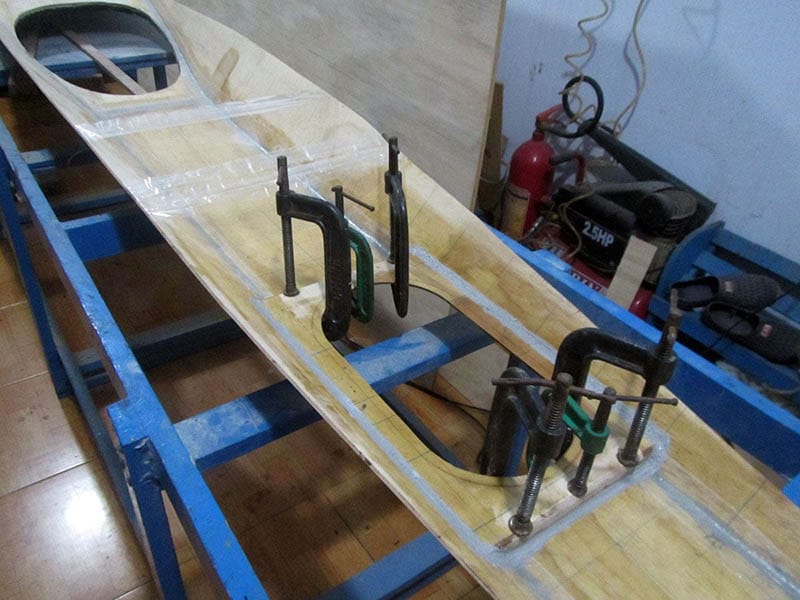
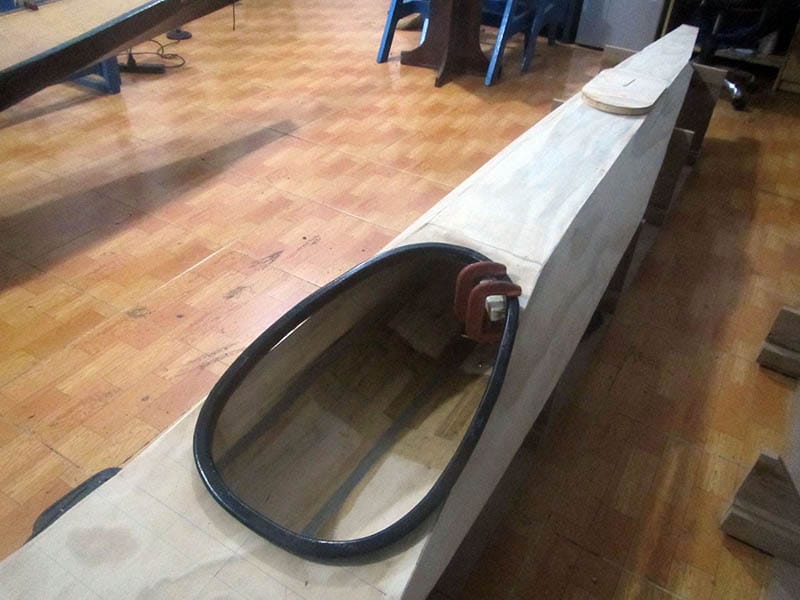
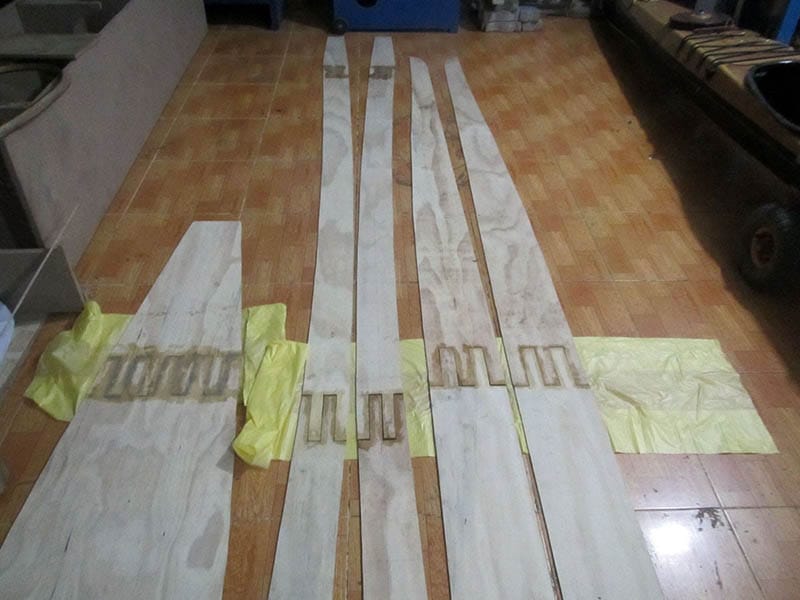
Hull is rigid like a walnut shell now, I took it out for a slight sanding on the external side before applying extra layers of glass at bow and stern, the two ends that would withstand quite some abuse when landing on unfavorable shores. Then I install the rudder post, a piece of wood that protrudes the flat stern about 7 cm, glued, screwed, filled with putty and then finally two layers of glass. Lots of extra reinforcement for this rudder post, a lamination of 3 different layers of wood.
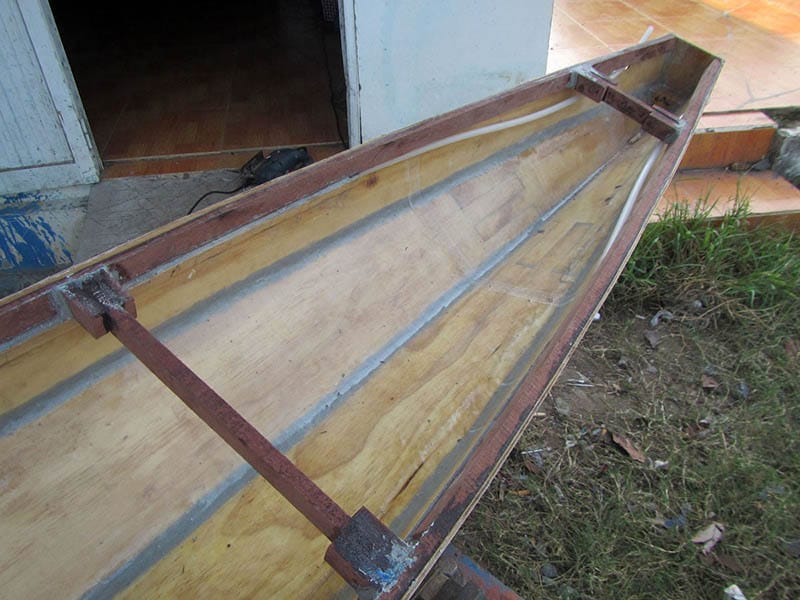
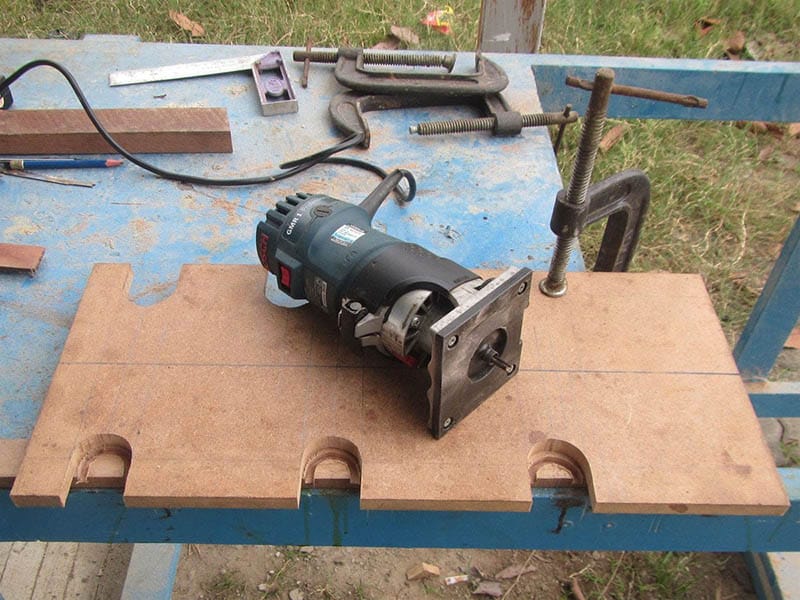
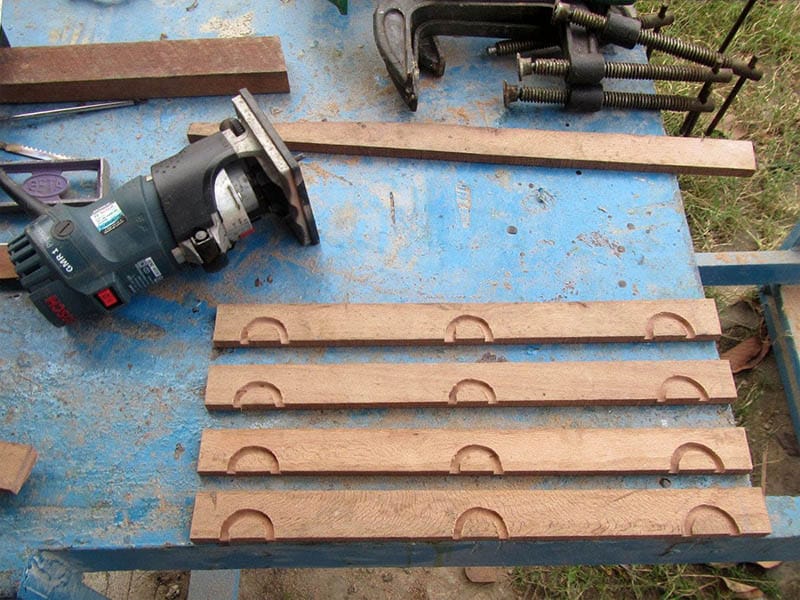
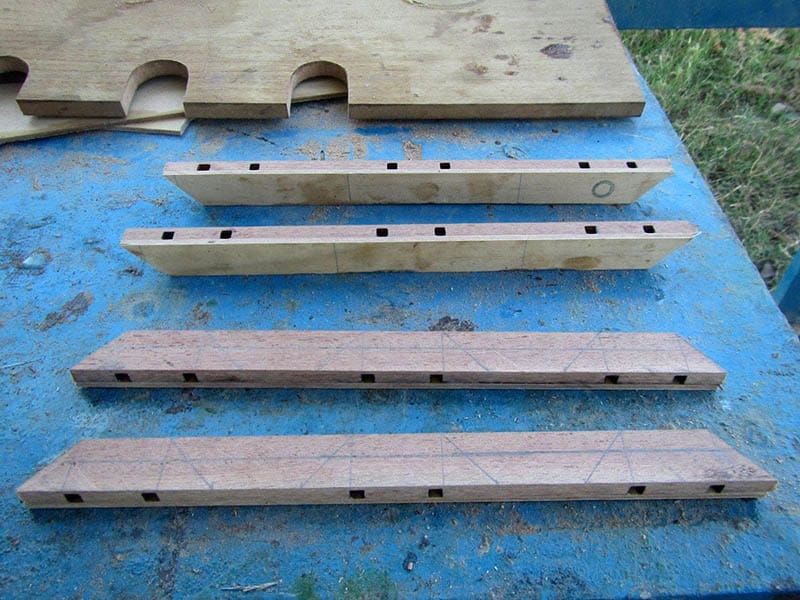
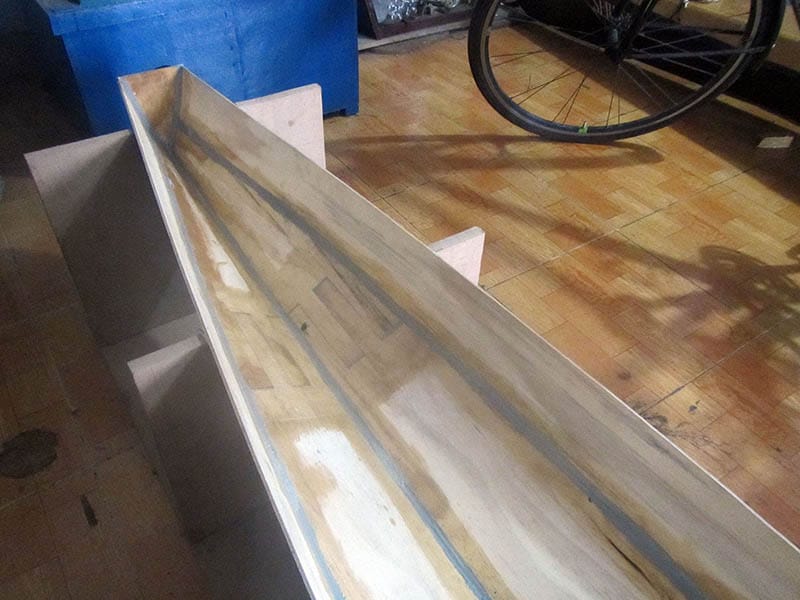
I carefully choose different types of wood, with different wood grains to make up this simple rudder post. The grains that run in different directions would ensure that this wooden block would be more resilient to forces from various “angles of attack”. Then I install the rudder control tubes, plastic tubes 10 mm in external diameter (6 mm internally), quite large indeed. The large tubes is, for later, I could easily try various types of rudder control cable, to see which works best.
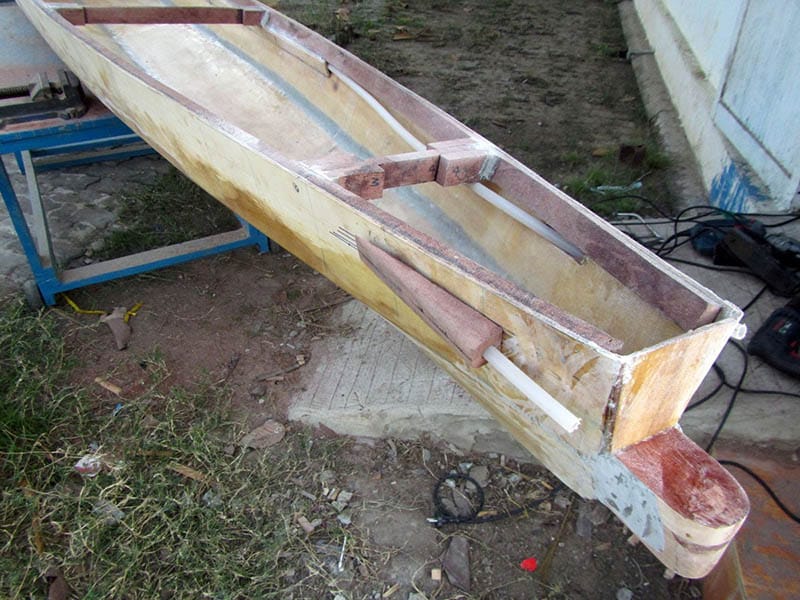
The tubes run just below, and along the gunwales, through the bulkhead, fixed in place using epoxy putty and small strips of plywood. A lesson learnt from my previous boat: fix the tube positions, don’t let them run loose, slightly different port and starboard tubes would result into different tensions on the control lines, or an awkward rudder pedaling control effect. The tubes exit the hull through small slots cut very near to the stern, protected outside by small blocks of wood.