Lỗi tất cả là ở nhạc sĩ Phạm Duy và ca sĩ Thái Thanh! Từ 7 tuổi cho tới 77 tuổi một đời người, lúc nào, âm nhạc của họ cũng xen vào được! Người thì đã ra đi, nhưng di sản âm nhạc của họ sẽ còn sống mãi!
Ngày xưa Hoàng thị - Thái Thanh


Lỗi tất cả là ở nhạc sĩ Phạm Duy và ca sĩ Thái Thanh! Từ 7 tuổi cho tới 77 tuổi một đời người, lúc nào, âm nhạc của họ cũng xen vào được! Người thì đã ra đi, nhưng di sản âm nhạc của họ sẽ còn sống mãi!
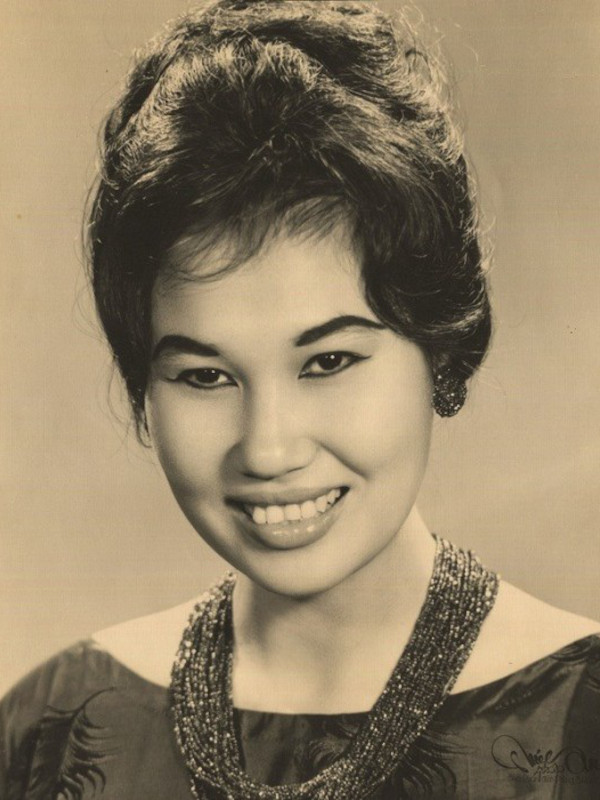
Riposa in pace è inestinguibile l’antico ardor! – Rest in peace is the inextinguishable antique fire! – Ngọn lửa bất diệt xa xưa đã yên nghỉ vĩnh hằng! Danh ca Thái Thanh đã ra đi – 17/3/2020 !
Chiều nào nơi bãi hoang, Lại ghé thăm mộ nàng, Nhặt đoá hoa rụng vàng, Thế thôi ngủ ngon em nhé, một giấc mơ màng. Nhìn hàng cây liễu dương, Chạy suốt muôn dặm đường, Chạnh nhớ câu đoạn trường. Cố nhân vừa rũ áo, về với vô thường. Chiếc bóng khoác nón ra đi cuối nơi con đường.
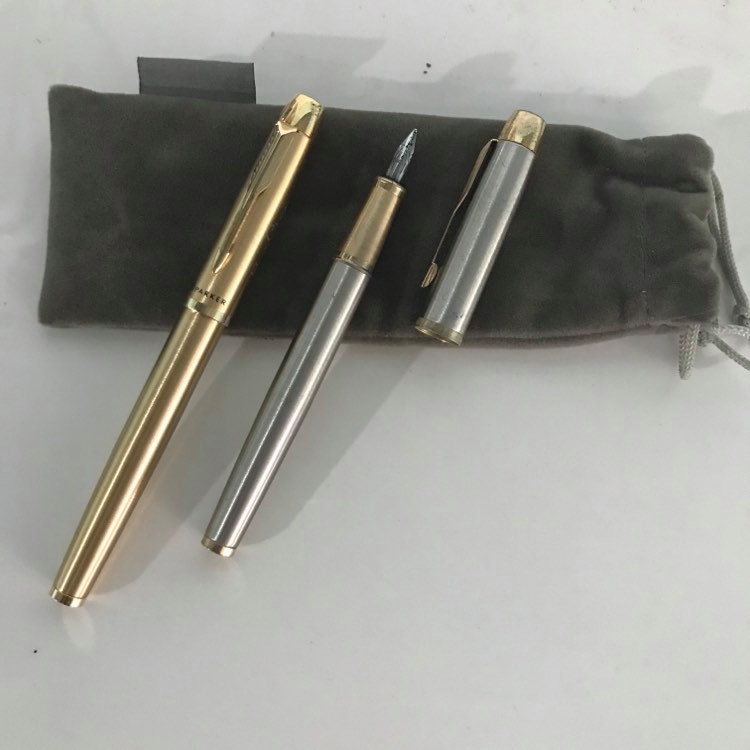
Hoài niệm – Nostalgia… nhớ bố H.Ngọc Anh xưa, hiệu phó TV, luôn có 2 cây bút, 1 xanh 1 đỏ, kẹp nơi túi áo. Cái thời người ta may áo sơ-mi nam luôn có cái vòng nhỏ trong túi áo trước ngực, chỉ để kẹp bút, giờ không thấy như thế nữa. Haiza cuộc sống, thời thế đổi thay. Hình dưới: 2 cây Parker quý giá của tui, sắm hẳn cái túi gấm để đựng bút cho khỏi xước! Năm 19xx hồi đó, ngày cuối cùng năm lớp 9, chuẩn bị rời trường cấp 2, ko biết ai còn nhớ, thầy hiệu phó Hứa Ngọc Anh đi thăm từng lớp một (cả thảy có 11 lớp 9), mỗi lớp ổng đều có bài nói chuyện ngắn, đại ý giống nhau:
Các em cố gắng tiếp tục học hành thêm, sau này kiếm lấy một vị trí trong XH, vì tuy là hiệu phó một trường XHCN, nhưng tôi nói thẳng với các em rằng, ko XH nào là ko có giai cấp!
” – Đúng người ta nói: “nhứt lé nhì lùn”! Giờ đã thoáng hơn trước nhiều, tại thời điểm đó, nói thế có thể mất chức như chơi, hoặc còn tệ hơn thế! Cái lứa tuổi 13 ẩm ương, giai đoạn “dậy thì”, với một số học sinh, những suy nghĩ như thế là khá sớm, nhưng với một số khác thì… cũng không phải là sớm lắm, cũng đủ gây nên những tiếng cười “khục khục”! Đến tận giờ tôi cũng chỉ phục nhưng ai sống thật được với lòng mình, “bần tiện bất năng di, uy vũ bất năng khuất”…
Bài thơ đơn giản, 4 câu 20 chữ, nhưng thâm sâu vô cùng. Chân lý nằm trong lòng ta, nhưng vì “mây che” nên không tự thấy được đó thôi!
Tùng hạ vấn đồng tử,
Ngôn sư thái dược khứ.
Chỉ tại thử sơn trung,
Vân thâm bất tri xứ.
Dưới thông hỏi chú tiểu đồng,
Rằng: thầy hái thuốc nên không có nhà.
Núi này quanh quất không xa,
Nhưng mây che, biết đâu là chốn đi?
賈島 – 尋隱者不遇
松下問童子
言師採藥去
只在此山中
雲深不知處
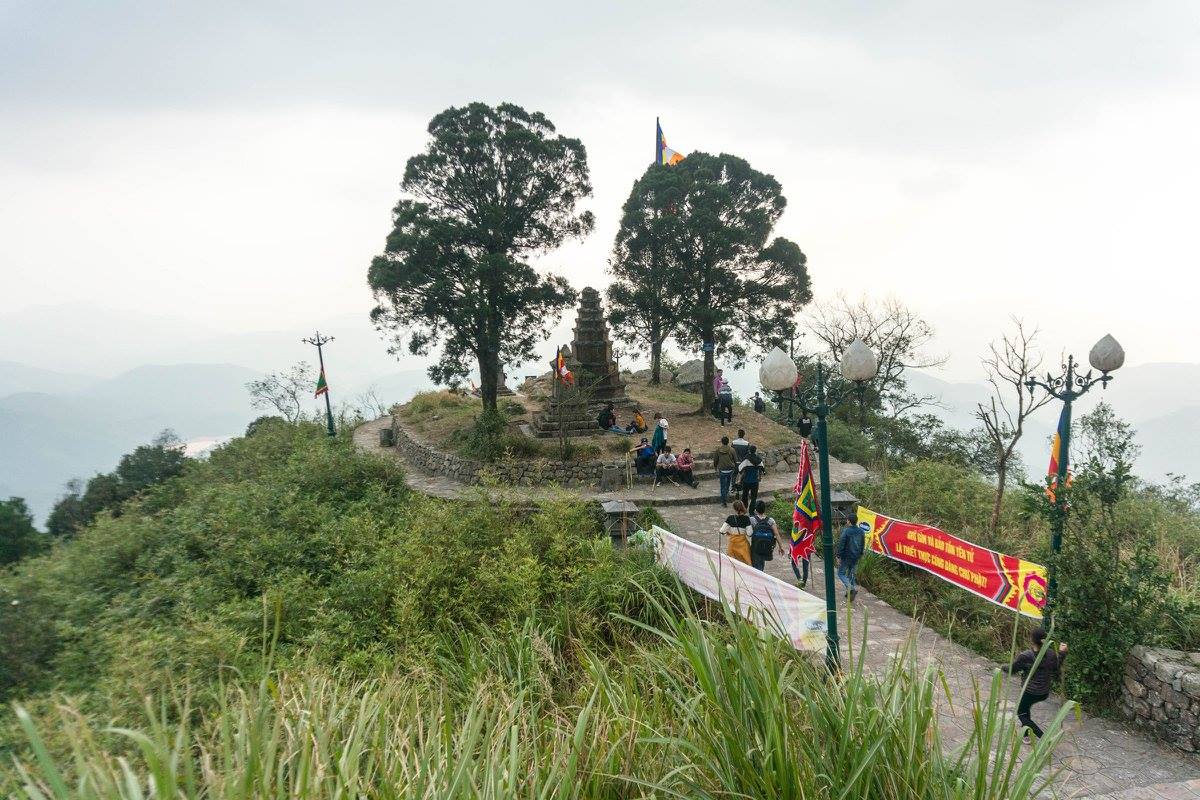
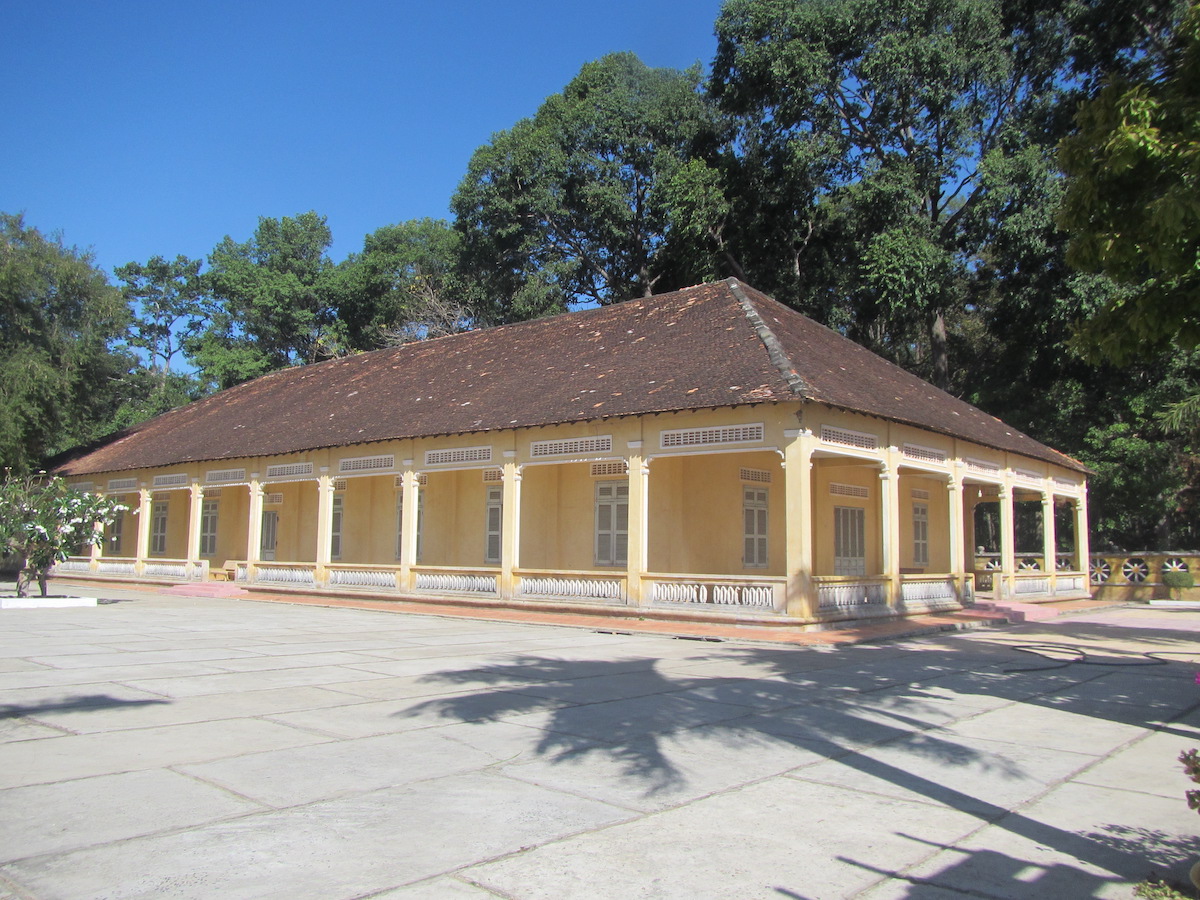
Gia Miêu ngoại trang, Hà Trung, Thanh Hoá (Gia Miêu quý hương, Tống Sơn quý huyện), đất “thang mộc”, đất “phát tích” của Nguyễn Phúc tộc… Một vài bức ảnh nhỏ không thể nói lên hết nét đẹp của miền đất này, một dải thung lũng nằm thoai thoải giữa hai dãy núi, cảnh quan rất quyến rũ. Nơi đây ngày xưa còn có cả một phiên bản thu nhỏ của kinh thành Huế (khu lăng miếu Triệu Tường), rất tiếc là đã bị phá tan hoang trong những cuộc đấu tố mang tính “ý thức hệ” sau 1954!

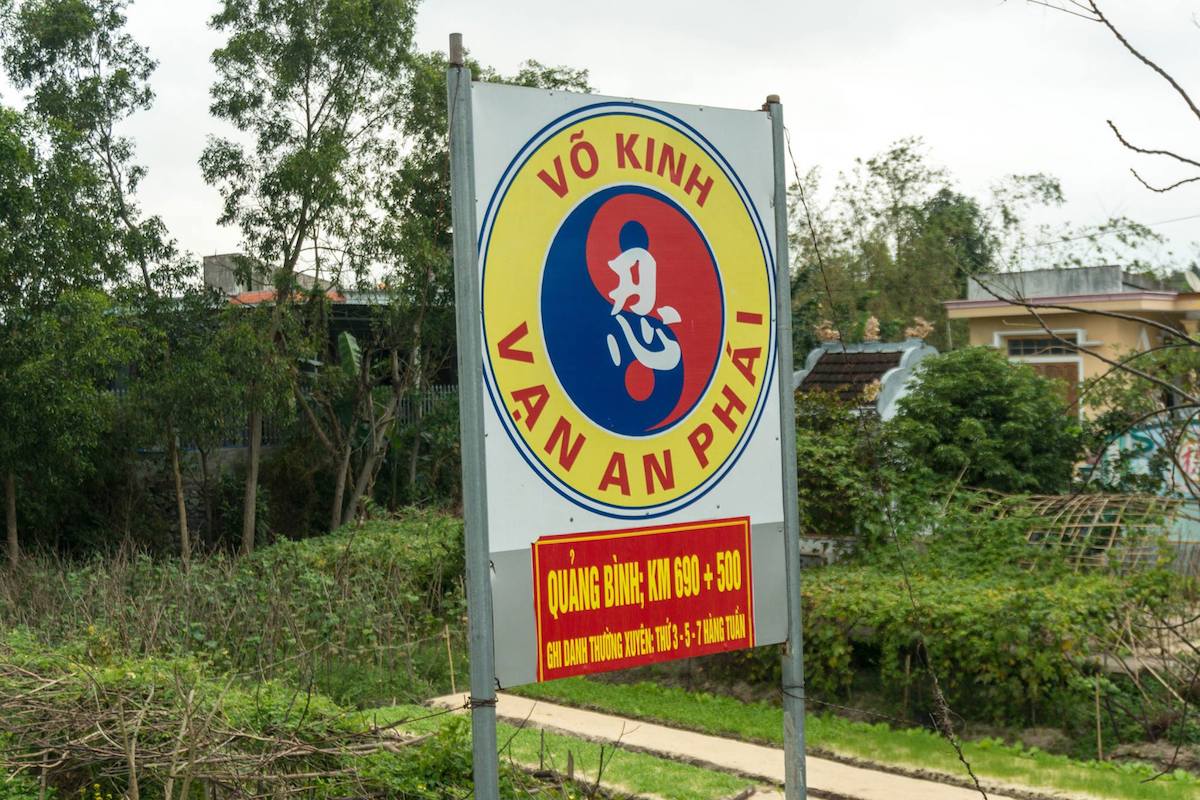
武京萬安派
Mấy lần chạy xe máy xuyên Việt qua đây, đều cố tình dừng lại xem diễn võ, mà vẫn không có duyên được gặp! Di sản các đời vua, chúa để lại không phải chỉ là các đền đài, lăng tẩm, thơ ca, bia ký, các món ăn, áo quần, gấm vóc… Nó còn là Võ kinh Vạn an phái, môn phái chuyên huấn luyện các “ngự lâm quân” ngày xưa, chuyên trị “trường quyền”: chủ về bài bản chân phương, đòn thế dài rộng, động tác cương mãnh…
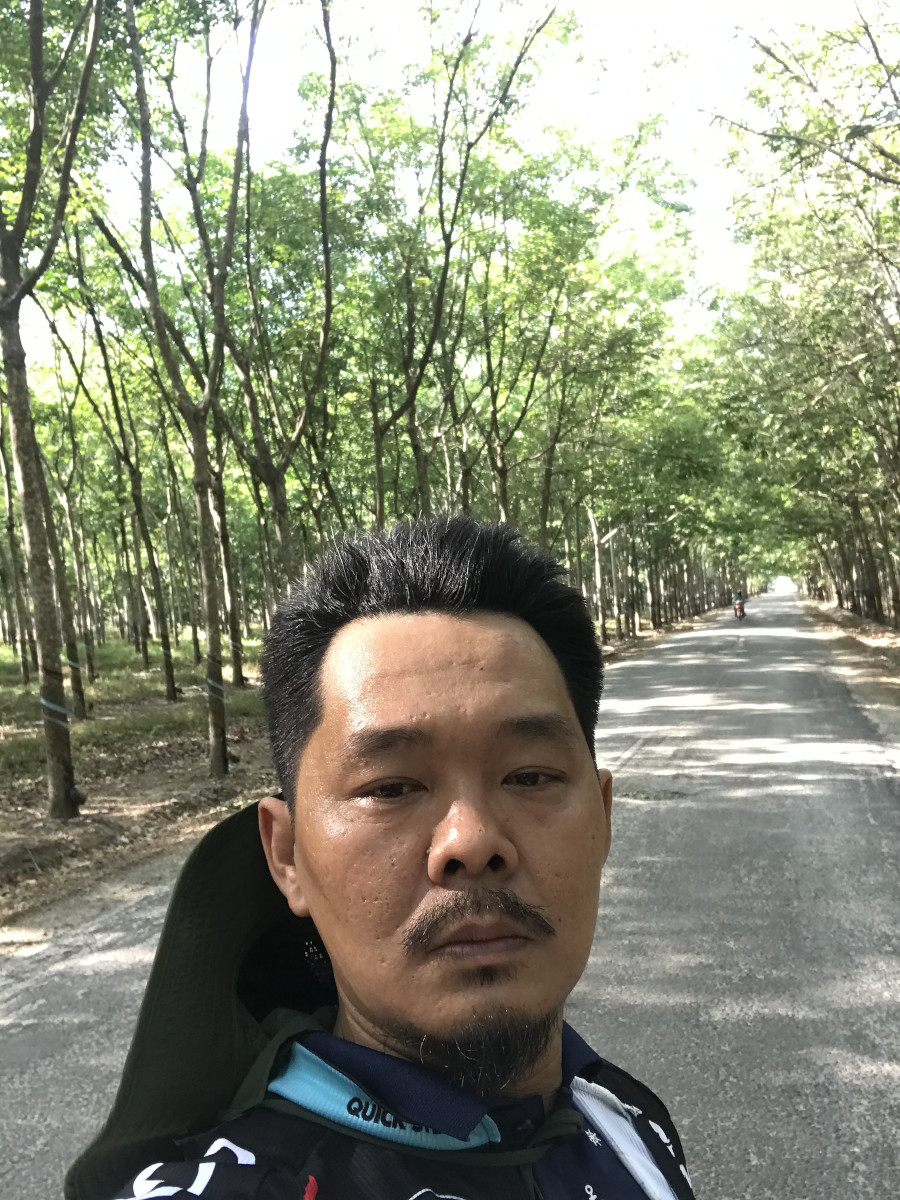
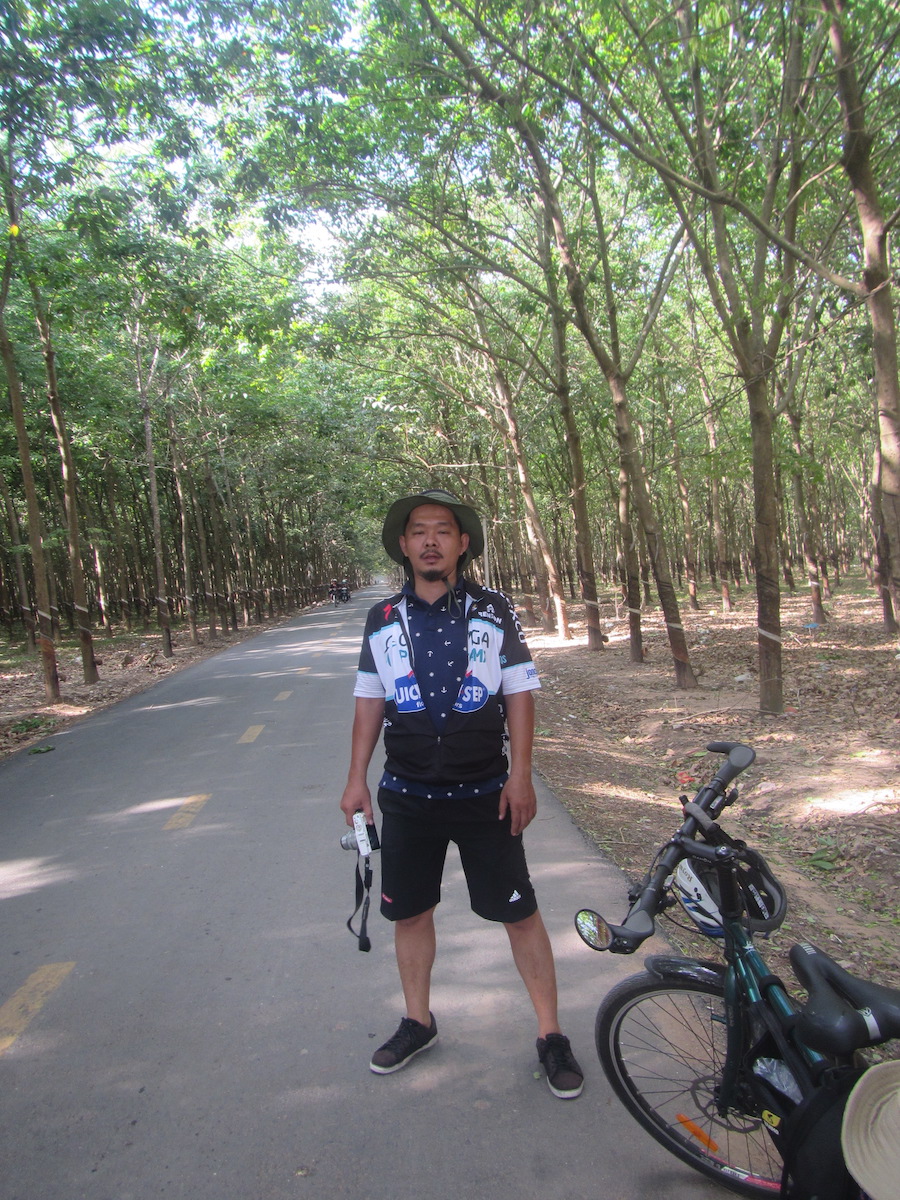
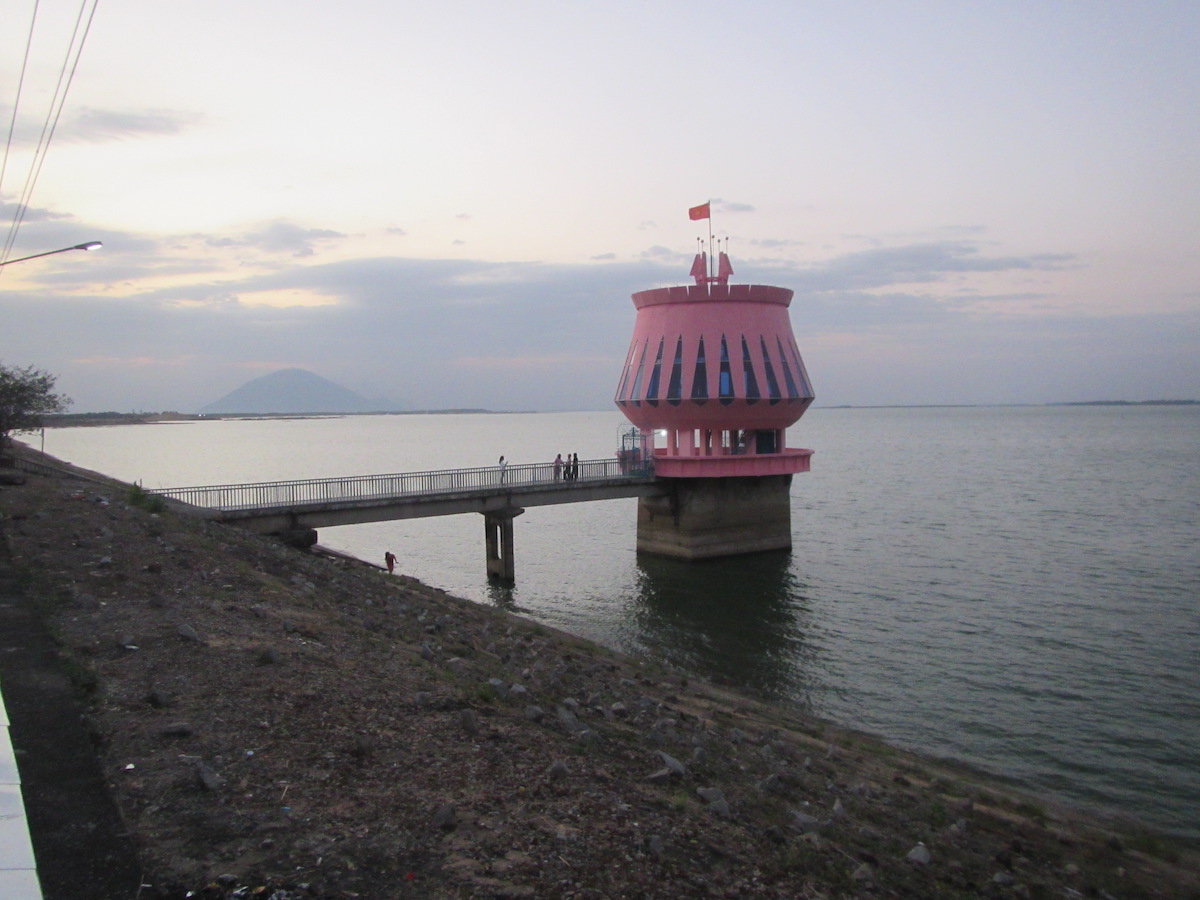
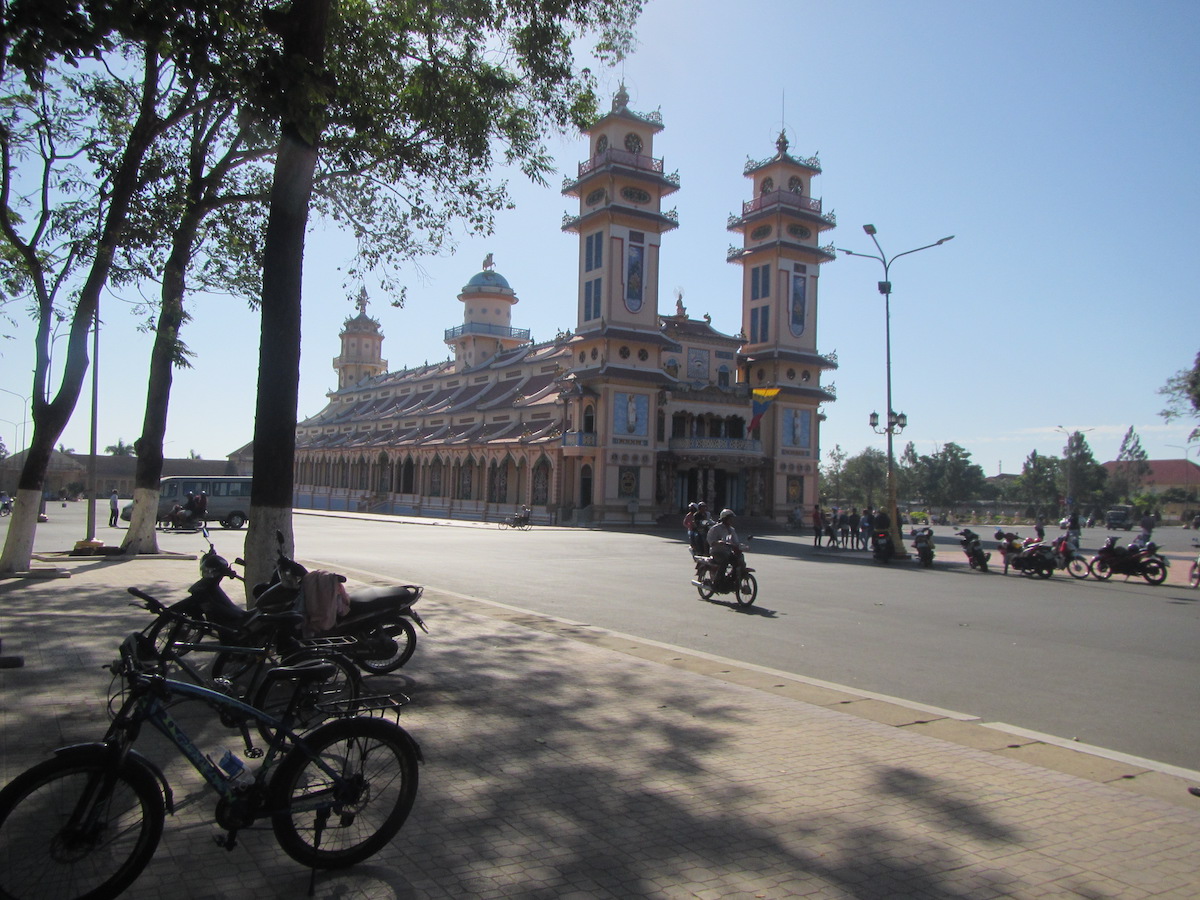
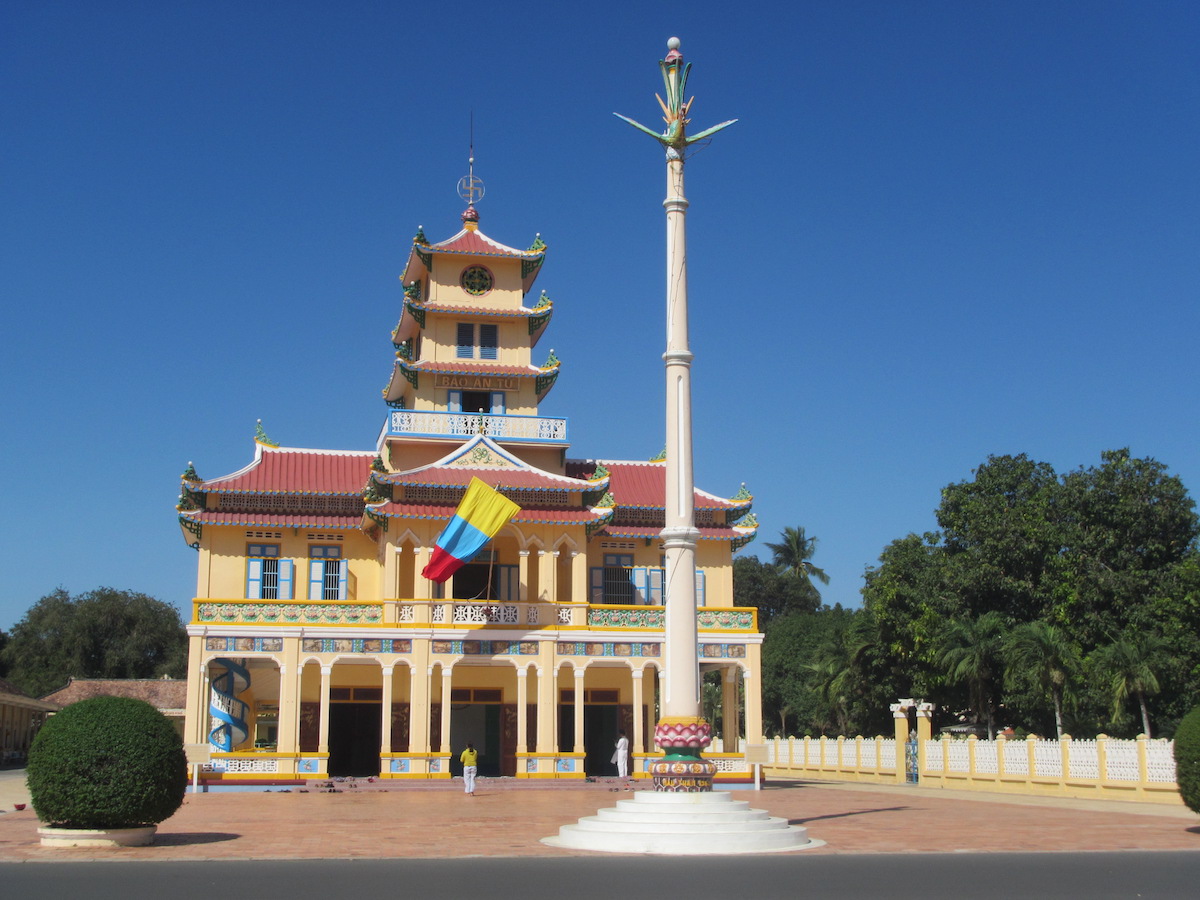
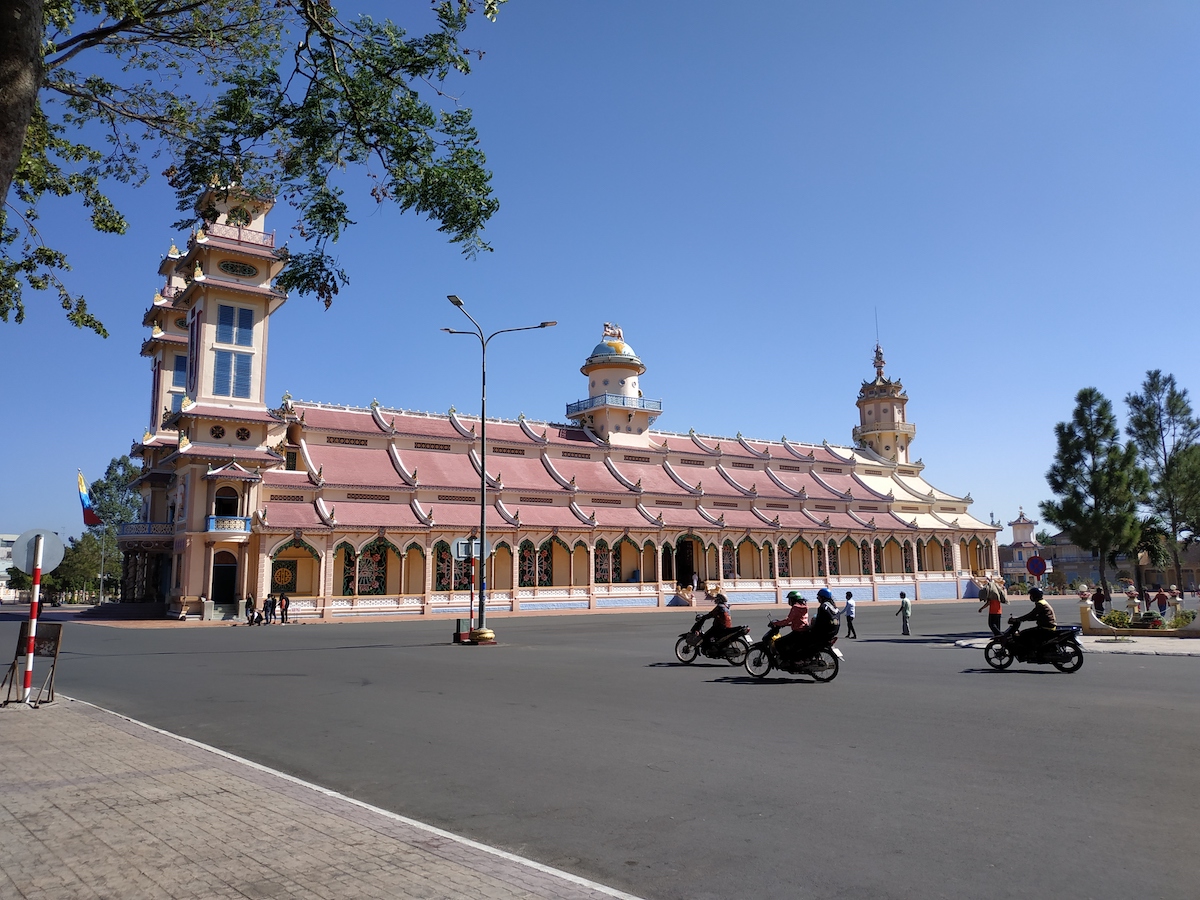
Cardiovascular exercise, continue… 2 ngày độp xe, 120 km x 2, hồ Dầu Tiếng và toà thánh Cao Đài, Tây Ninh. Đôi câu đối cổng chính, toà thánh Tây Ninh… haiza, là người cẩn thận chữ nghĩa, thực lòng vẫn phải nói là có chút e dè, thận trọng với những kiểu “lập ngôn”, “lập thuyết” như thế!
高上至尊大道和平民主目
Cao thượng chí tôn, đại đạo hoà bình dân chủ mục
台前崇拜三期共享自由权
Đài tiền sùng bái, tam kỳ cộng hưởng tự do quyền

Nhớ rất nhiều câu chuyện đó, ngỡ như là ngày hôm qua. Ôi ước ao có một ngày, được gặp em hỏi chuyện em lần cuối cùng. Vẫn con đường con đường cũ, vẫn ngôi trường ngôi trường xưa. Mưa vẫn bay như hôm nào, người ở đâu mình ở đây, bạc mái đầu.Này em hỡi con đường em đi đó con đường em theo đó chắc qua bao lênh đênh.
Bao gập ghềnh có làm héo hắt có dập tắt mất nét tươi nhuận nụ cười. Này em hỡi con đường em đi đó, con đường em theo đó, đúng đấy em ơi. Nếu chúng mình có thành đôi lứa, chắc gì ta đã thoát ra đời khổ đau. Nếu không còn được gặp nữa, giữ cho trọn ân tình xưa. Xin gửi em một lời nguyện, được bình yên, được bình yên về cuối đời.
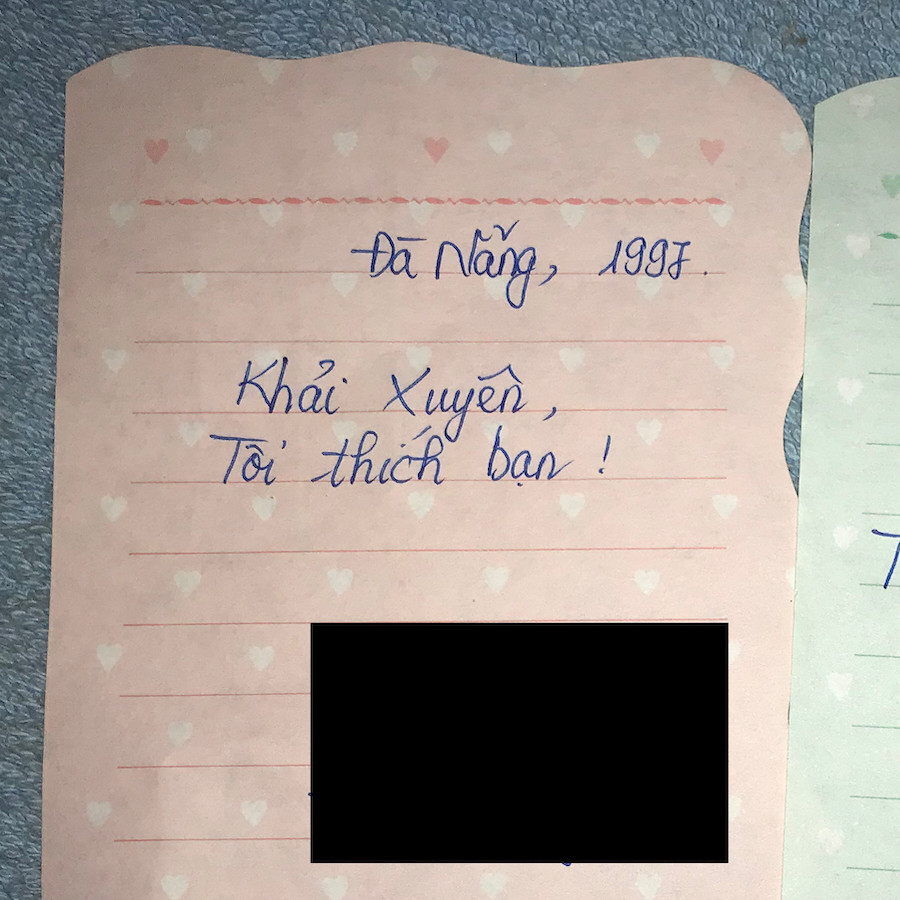
Mới có 22 năm…!!! Khách phong lưu đương chừng niên thiếu, Sánh nhau cùng dan díu chữ duyên. Nỡ nào đôi lứa thiếu niên, Quan san cách trở hàn huyên bao đành…
The most beautiful day to start a (lunar) new year of paddling. I didn’t have much time for paddling for the last several months, but hope that things would be improved in the up-coming promising year!


