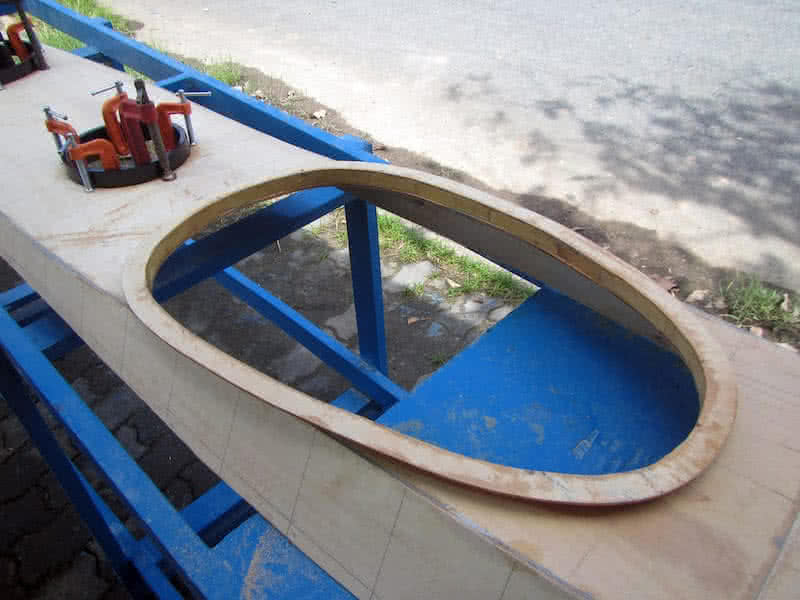
Installing the cockpit coaming and hatches is quite straightforward: the fore and aft hatches, and the day hatch. Then I bevel the deck’s jointing seams (the external side) a bit, as well as the cockpit coaming, the seams need to be curved in order for glassing to go on well. Glassing the cockpit coaming could be a little bit tricky, as the fiber fabric should wrap around and cover both the internal and external sides.
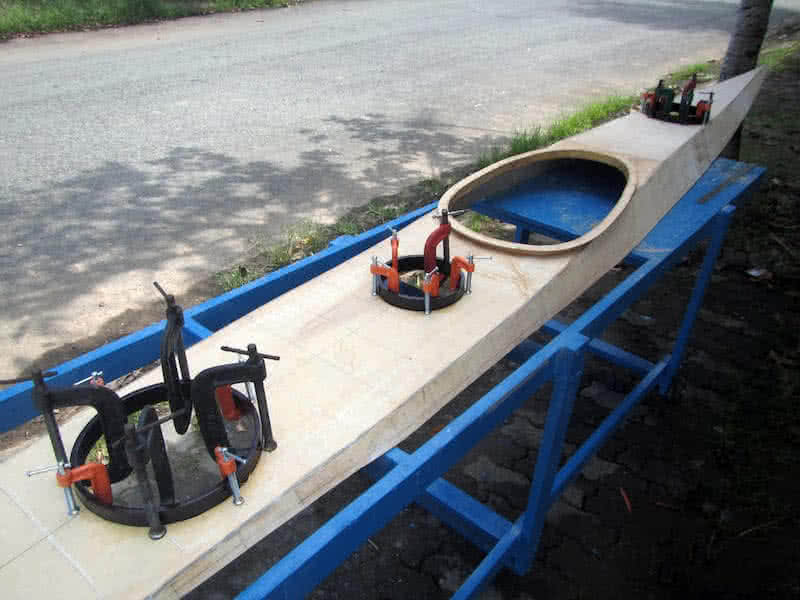
Talking a little bit more about jointing the seams here. For the seams to be strong, I follow these 3 steps: first is priming the seams with some epoxy, then when the epoxy has not cured, apply the putty. Putty has lots of viscosity, so it won’t penetrate well into the plywood, that’s why we need epoxy as primer. And once the putty has only half – cured, I apply the glass tape. That way, the seams would be very strong.
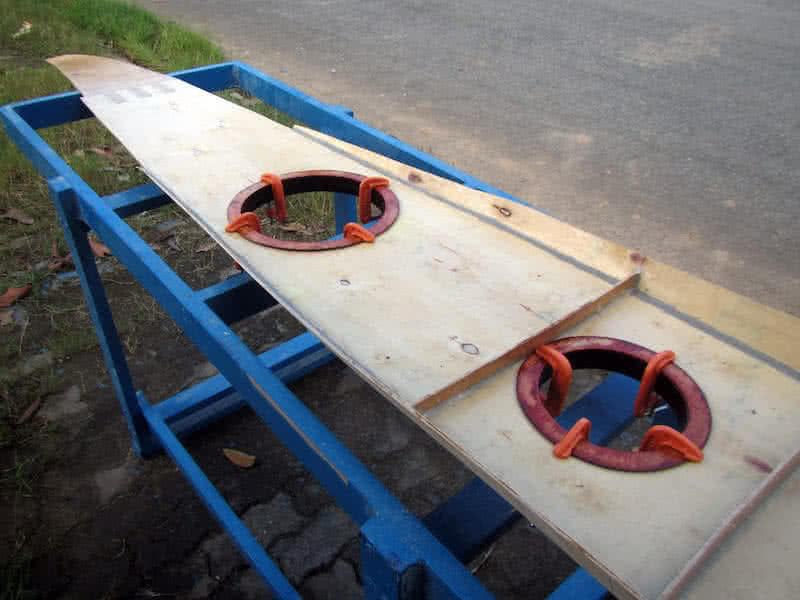
First image: fitting the hatches. The hatches’ bases would, from beneath the deck, go through the cut – out holes, they serve as reinforcement rings around. Since the hatches’ bases and lids are of the same height, going through the deck would leave a small gap (about 4 mm) between them. That would be the place to pour some epoxy in, the type of elastic, softer epoxy which functions like the hatches’ gaskets.
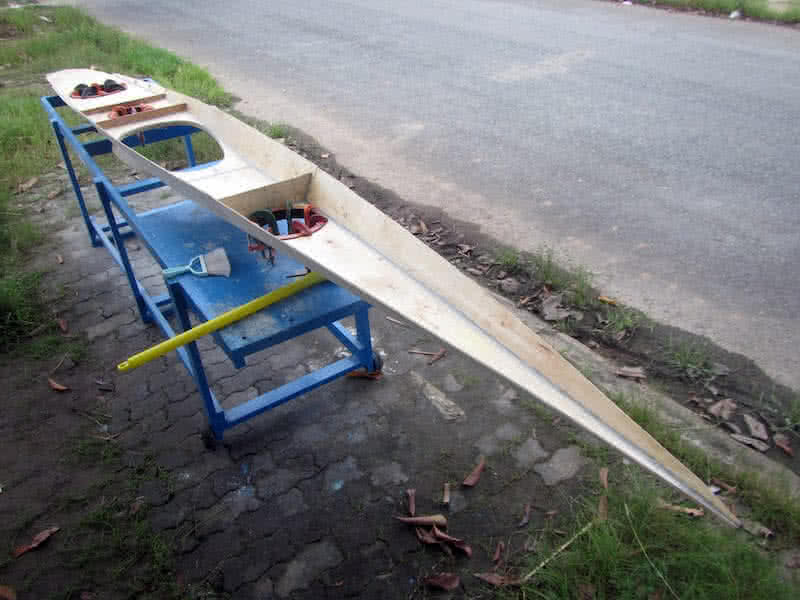
I didn’t glass the internal side of the deck, just some fiberglass tapes at the seams. Instead, the deck would be glassed on the outside, which should offer better protection against water. The internal side only receives a very thin layer of epoxy coating. The external glassing would slightly overlap with the hull (about an inch), to better strengthen the deck & hull joint. It looks like basic jobs are done? Actually there’re still lots of works ahead!