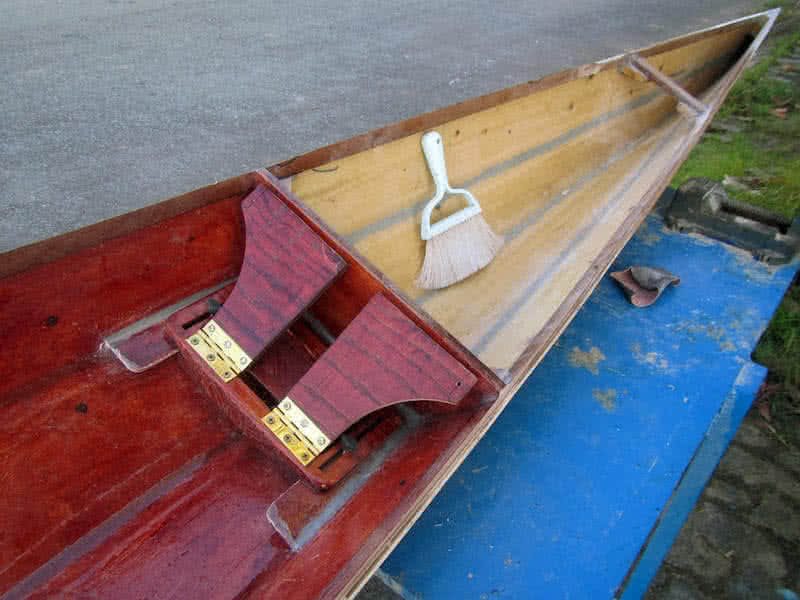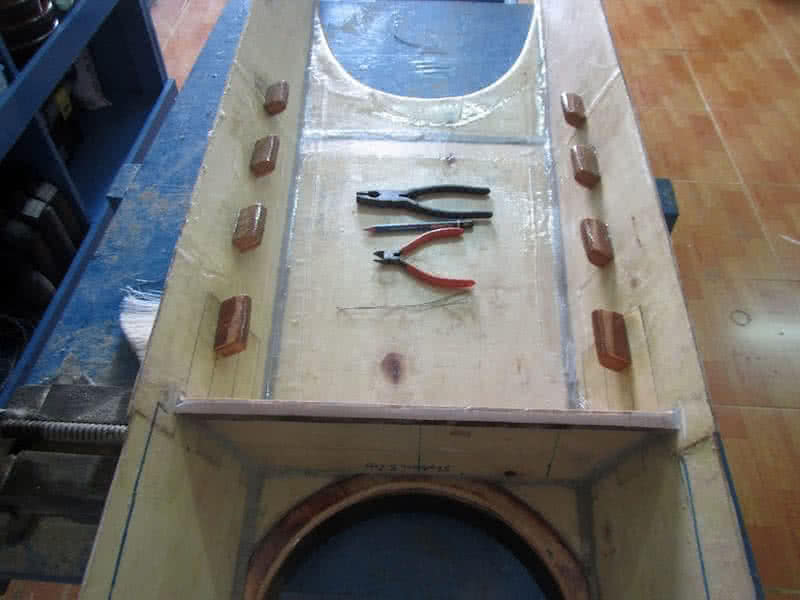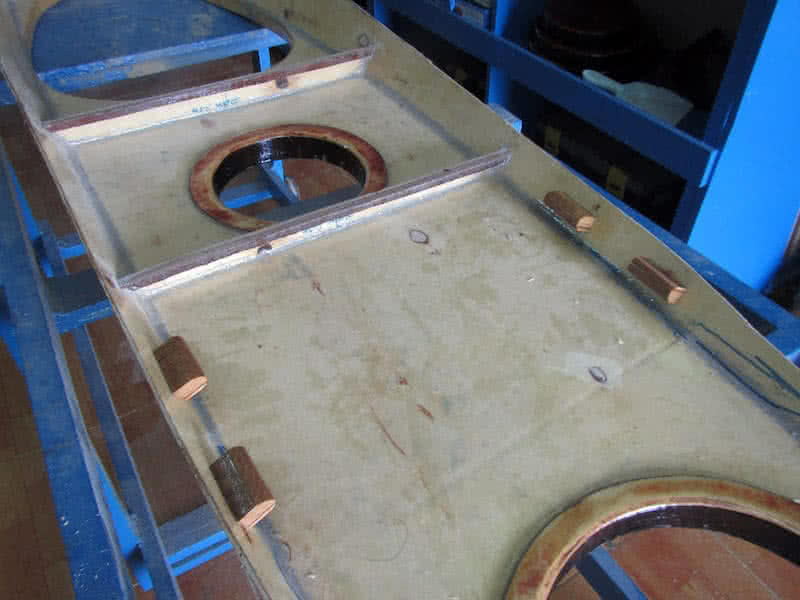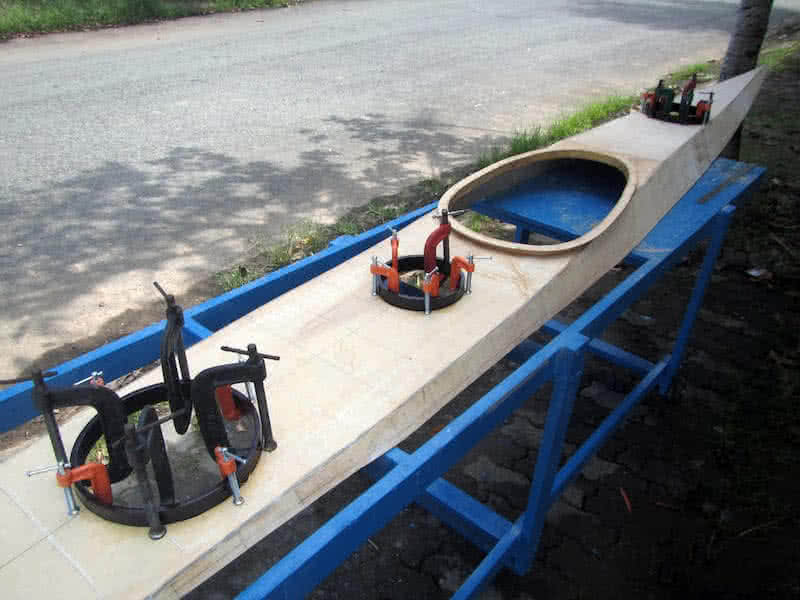
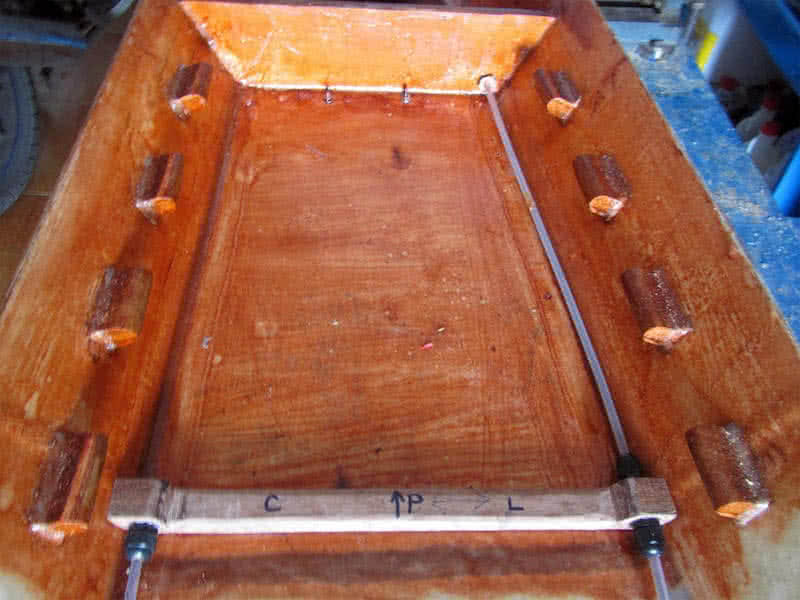
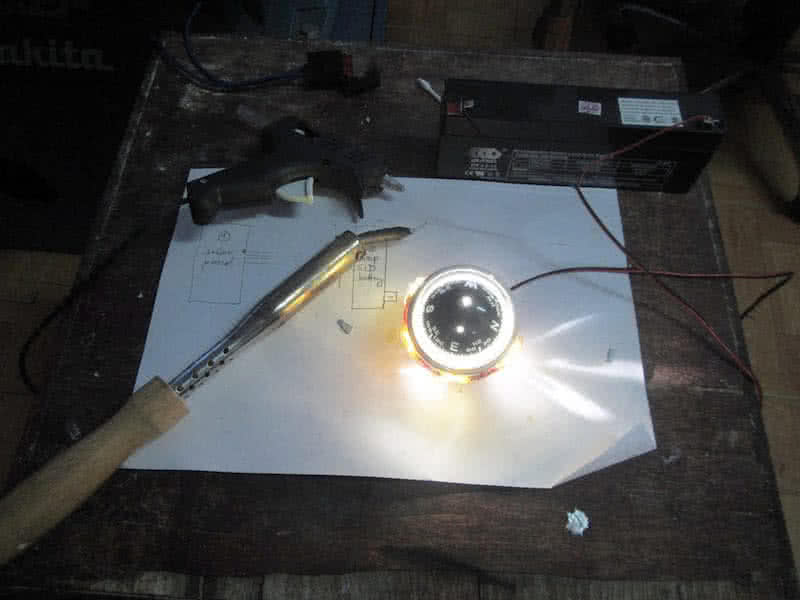
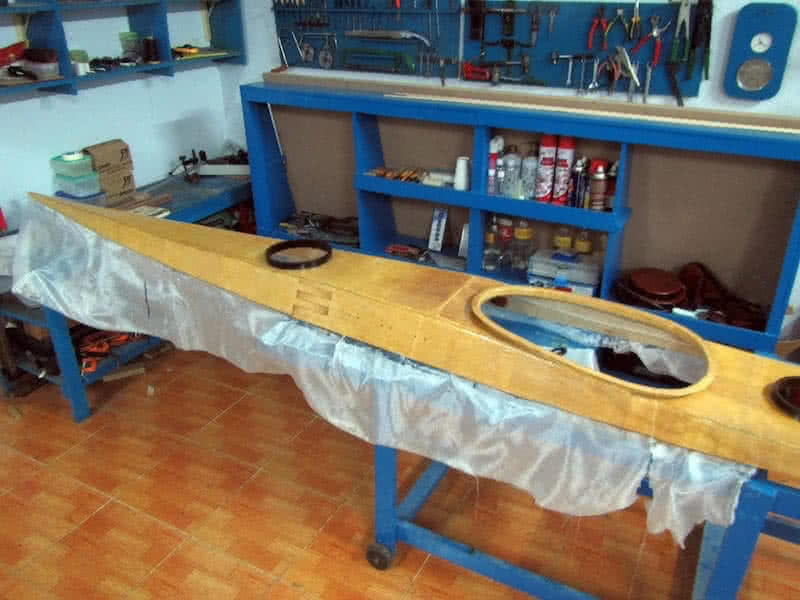
Next is running the electric wires. I want them to be completely waterproof, so every wire running is placed inside plastic tubes for additional protection. First image: I solder 3 reed switches with wires, place them inside the small wooden bar, seal it completely with epoxy, and glue them under deck inside the cockpit. The letters C, P, L mark the positions of the switches for: compass, pump and light.
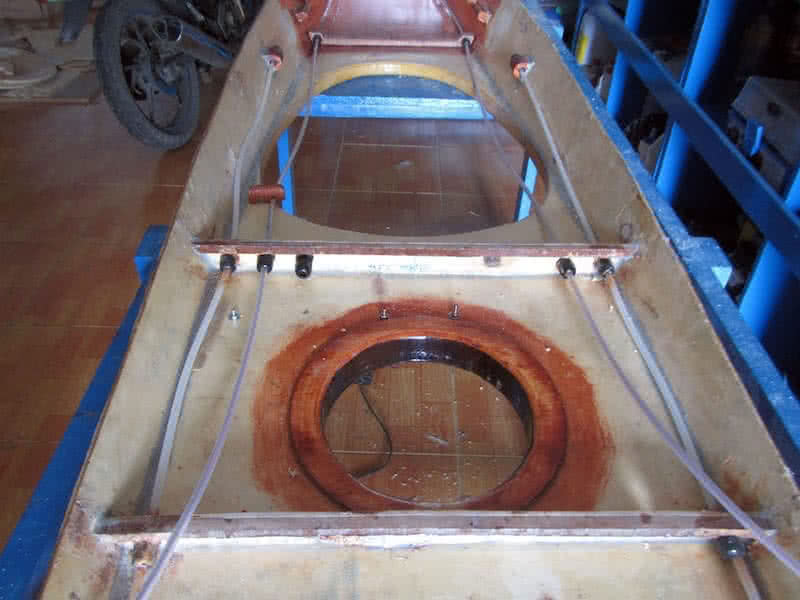
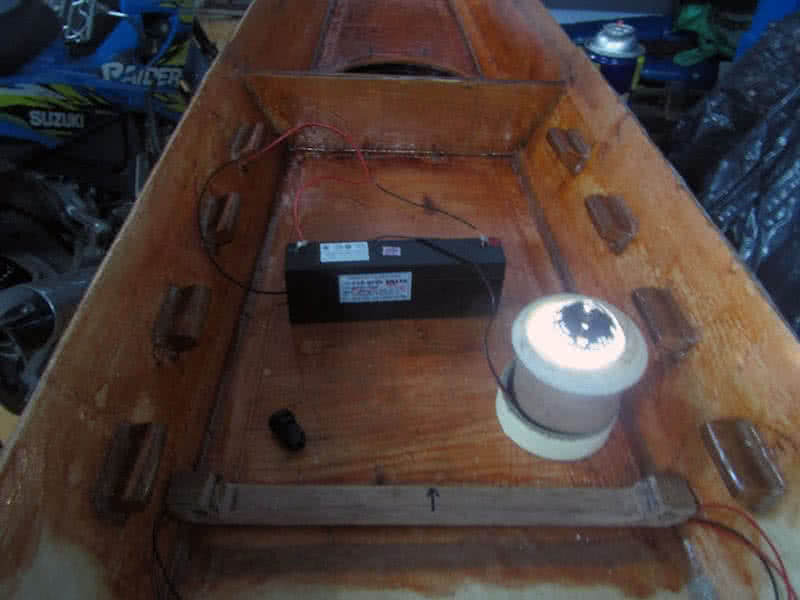
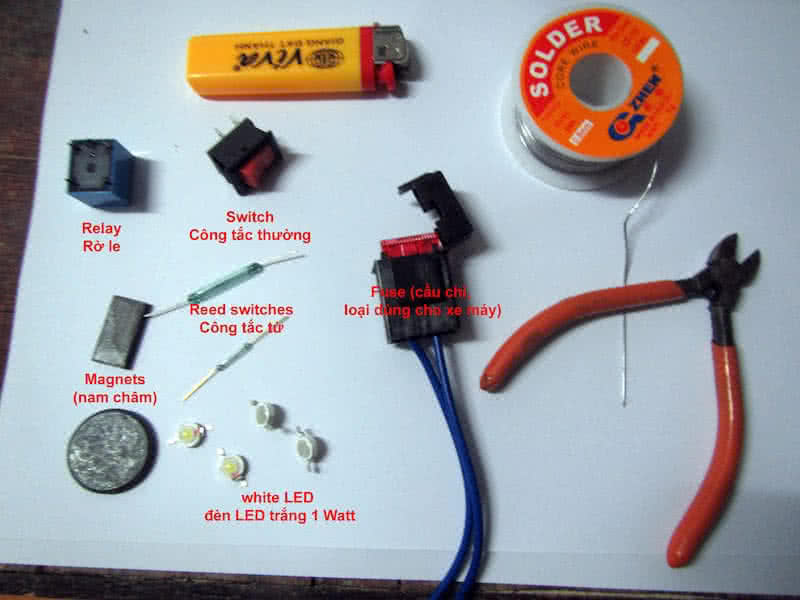
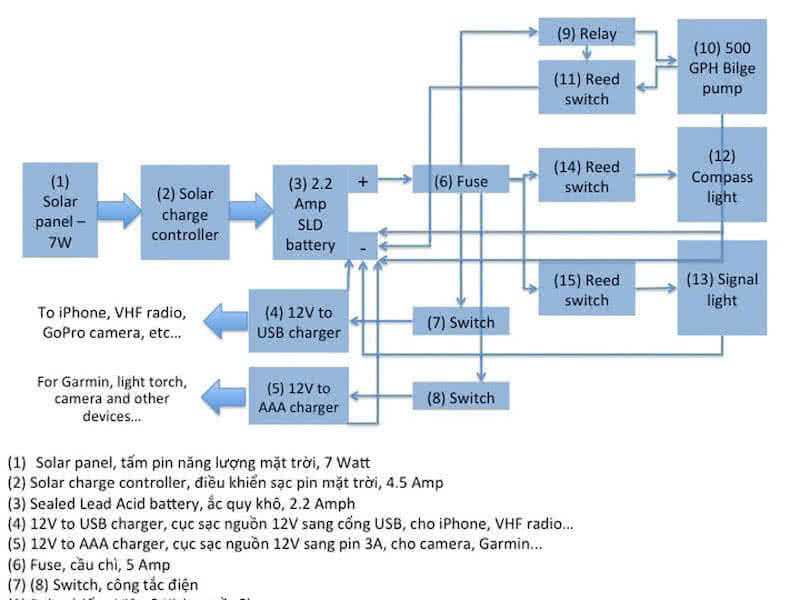
All wiring runs back to the day hatch, where a central box housing the main battery. I just use a LOCK & LOCK plastic box, it’s pretty much very watertight, if you close it properly. All wiring tubes would be connected to the box through cable glands with silicone glue. Another issue solved is the relay, it took me an hour to figure out how the PCB relay wiring works! Luckily, I haven’t forgotten all electric knowledges learnt in college!
Since the reed switch is so tiny, it usually can’t stand the amplitude of the current required by the bilge pump. So the reed switch is used to activate another switch (the relay), which can handle the current (it’s so good a feeling to hear a small ‘click, click’ sound when the relay is activated / deactivated) The electrical, electronic parts of the project is not as hard as I’ve expected, all is done quite neatly!
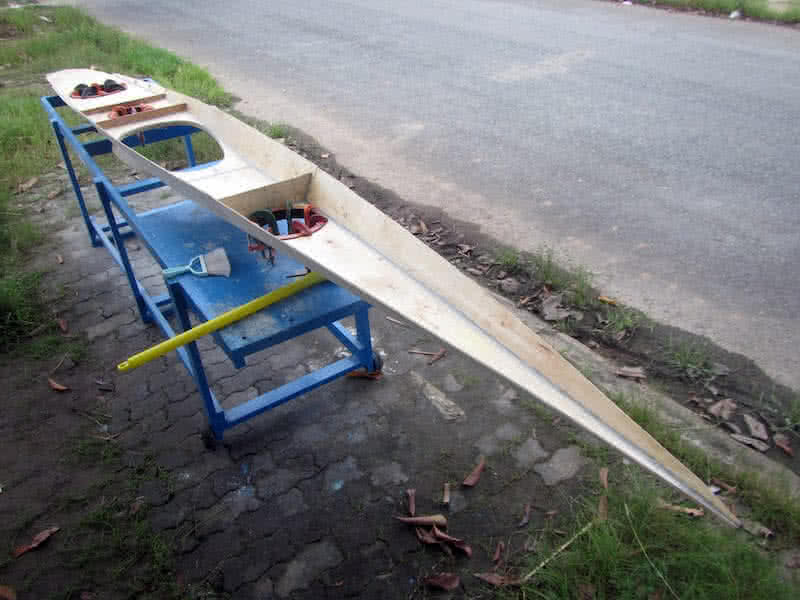
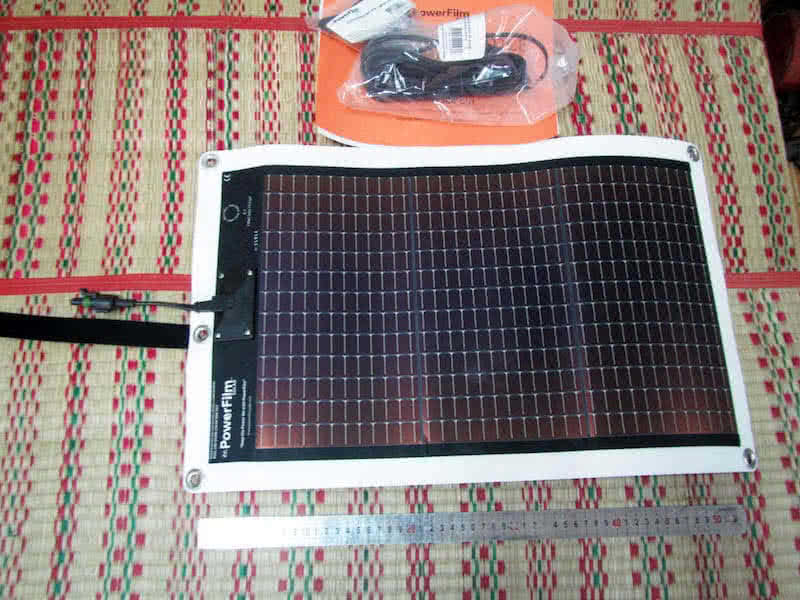
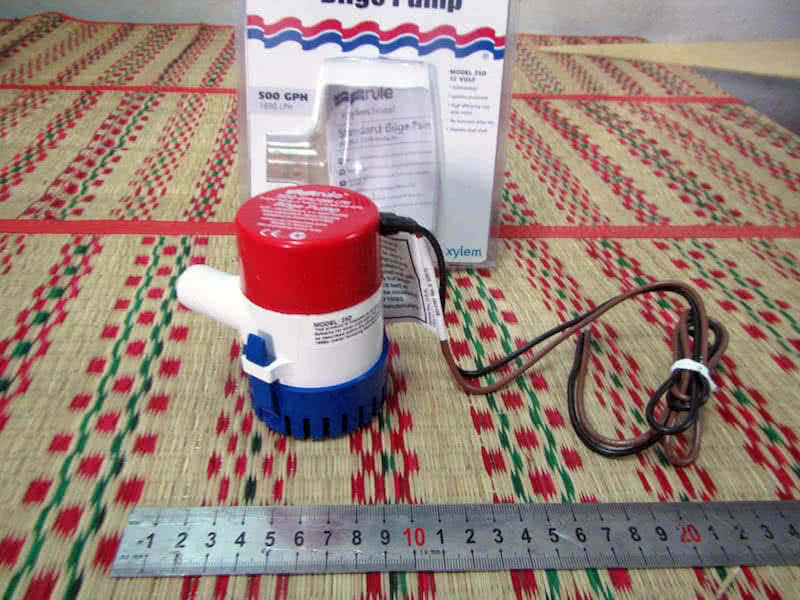
Today, most equipments I ordered from Amazon has arrived: the PowerFilm 7W rollable solar panel, the SunGuard 4.5 Amp solar charge controller, the Rule 500 GPH (gallon per hour) bilge pump, a marine signal light, one Stohlquist “high – back” PFD… and some other things. I was feeling very good, as this phase of the project could be completed soon, and the boat is already somewhat quite near its completion!

 Tiết mục kể chuyện đêm khuya, nhân dịp siêu trăng – super moon: ngày xửa ngày xưa, có một thằng bé mới chừng 5 tuổi, đứng giữa sân nhà, ngước nhìn lên bầu trời mà cảm thán rằng: mẹ ơi, trăng đẹp quá!