 ot entirely related to this Serene – 2 building, but I would want re – organize my woodworking workshop a bit. My working place is quite small in floor area, so everything need to be stored neatly and tidily. Having quit some ideas, but would carry them out only one at a time, since I still have limited free time in the present. First is a shelf to store my plywood and MDF sheets (lots of them), and many other things.
The plywood and MDF sheets need special treatments, they could deform in shape or absorb moisture if stored inappropriately for a long time. The shelf would have two sides, the sloping side is for storing the sheets, and the other side is reserved for other things. The whole thing would be put on 6 small wheels so that it can be pulled and repositioned around the workshop, or moved just for cleaning the floor.
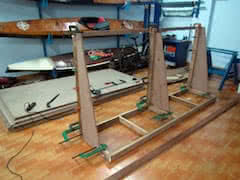
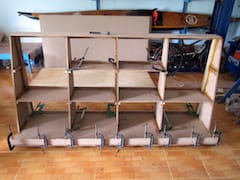
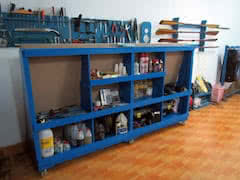
1st image: making the shelf base, 2nd image: the 3 supporting walls (to withstand the MDF and ply sheets’ weight, which could be very heavy). 3rd image: the shelf taking shape, 4th image: the completed and marine – blue painted product, ply and MDF sheets stored on one side (facing the wall). I need lots of shelf spaces to store various miscellaneous assets, which is growing to a unmanageable number 😢.
Sometime, I’ve forgotten that I’ve purchased something just because there’s a huge pile of them around. The workshop looks very tidy now, having more spaces to store various things. It’s very important to keep thing tidy, uncluttered, as you wouldn’t want to waste time finding an item when needed. It’s now time to move on to the main parts of the project, I’ve been lingering around on other issues for long enough.

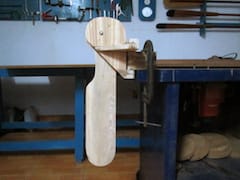
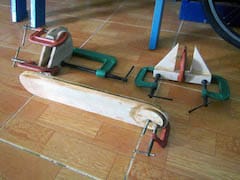
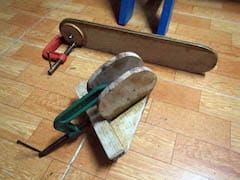
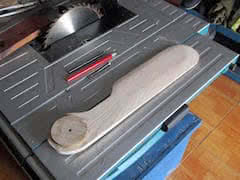
 irst image: assembling the rudder’s components, the rudder in its dropped down position, 2nd image: the rudder in its retracted position. Everything works smoothly as calculated, the blade could be pulled up and down by a pair of line running back to behind the cockpit (but that would be done later, when attaching the rudder to the kayak hull), with two circular ratchets glued on the two side of the rudder blade.
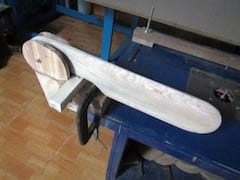
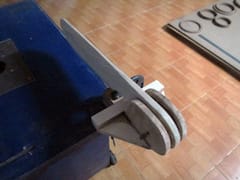
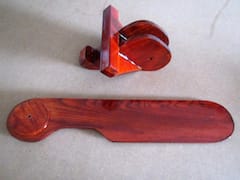
 keg, rudder or none!? It has always been an everlasting debate among the sea kayaker community. Some advocates using none, as getting the job done with your paddles alone would greatly improves your skills. While I partially agree to this argument, I also think that the argument only holds true on flat water only. When in turbulences, which could be extreme, you would need something to assist in tracking and steering the boat.
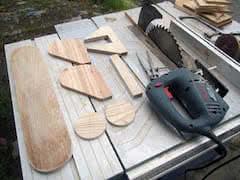
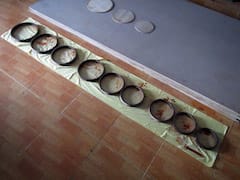
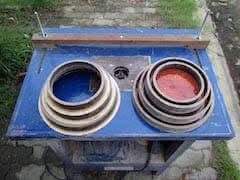
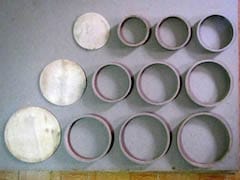
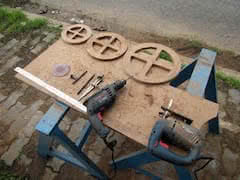
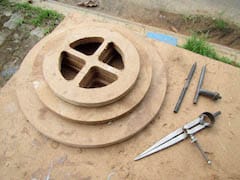
 he structure of the hatches is nothing fancy, three tight rings nested inside each other per hatch, two belongs to the lid, and the other would be attached to the base (deck). First image: the 9 rings forming 3 hatches, filled with some thinned epoxy (about 400 gram of epoxy) to harden the MDF. This is not a very good way to make hatches (weight wise), but it would be just as heavy (or lighter) compared to plastic ones.

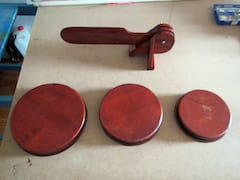
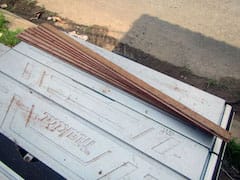
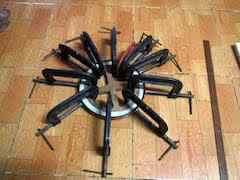
 ad a major setback with making the hatches with wooden strips, the strips didn’t make perfect circles as I’ve expected, although they bend quite well, they’re off by small amount (e.g: 0.5 ~ 1 mm) here and there, and that’s an unacceptable precision for hatches, just a small gap and water could leak in. I had to abandon the method of making hatches using wooden strips, and tried to find some alternative ways instead 😢.
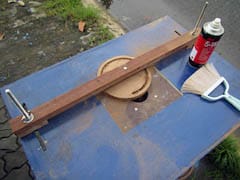
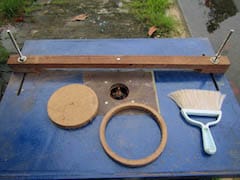
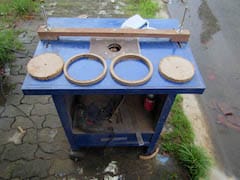
 ‘ve been thinking about kayak hatches over and over again. Starting from the very early days with my plywood hatches (in Hello World – 2, 3) which are obviously not watertight, to the Beckson hatches on my Serene – 1 kayak. The Beckson is very good, watertight and even air tight, but sadly that’s only true in ideal conditions. In reality, in multiple days trip, when mud and sand has get into, it would leak by a small amount.
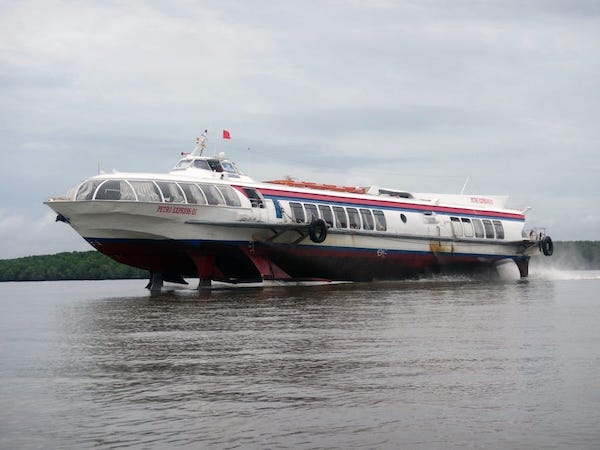
 ái con nhện nước khổng lồ, cái loài quái vật chạy trên 6 chân ấy, lao đến với một tốc độ kinh hoàng! Cách xa nhiều cây số đã nghe tiếng rì rì, cái động cơ CCCP ầm ĩ. Nó đang lướt đến gần, nghênh ngang chẳng đếm xỉa đến ai. Có thể thấy rõ phần đuôi tàu “drift”, hơi đảo qua đảo lại khi chạy ở tốc độ cao, hầu như toàn thân tàu đã bốc hẳn lên khỏi mặt nước…