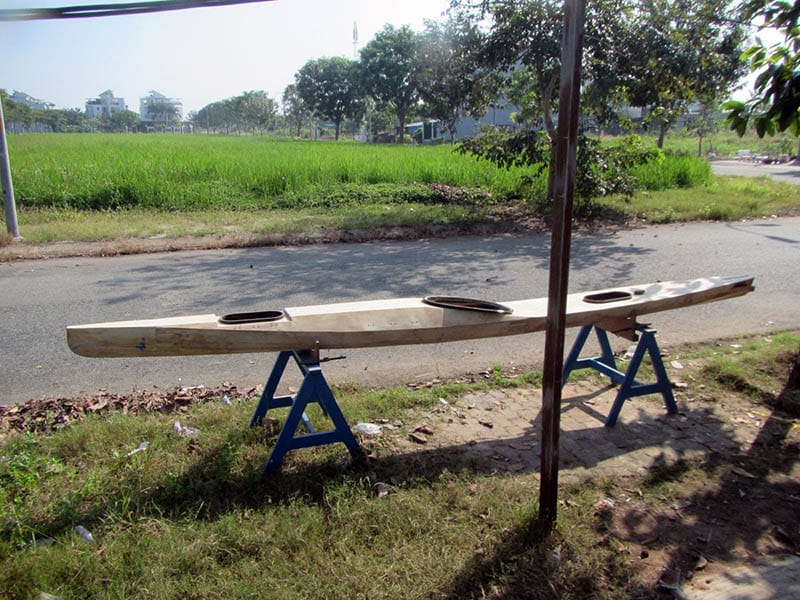
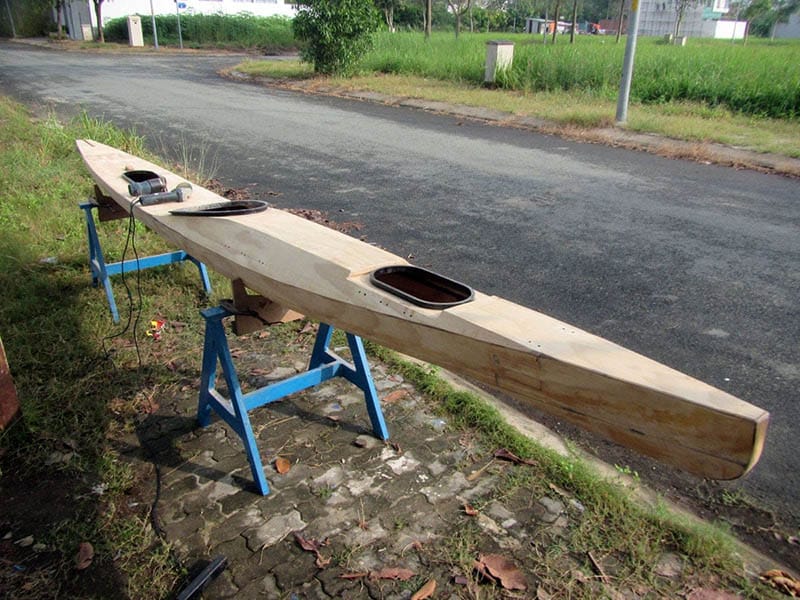
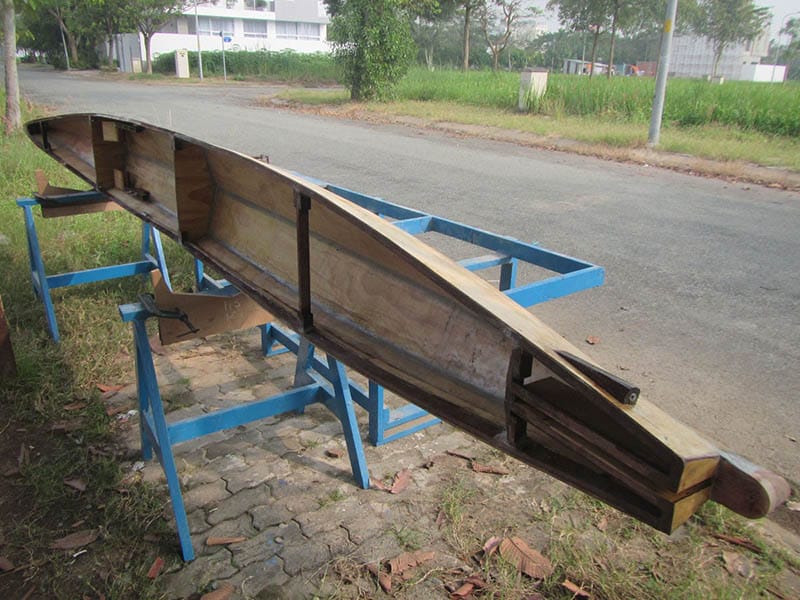
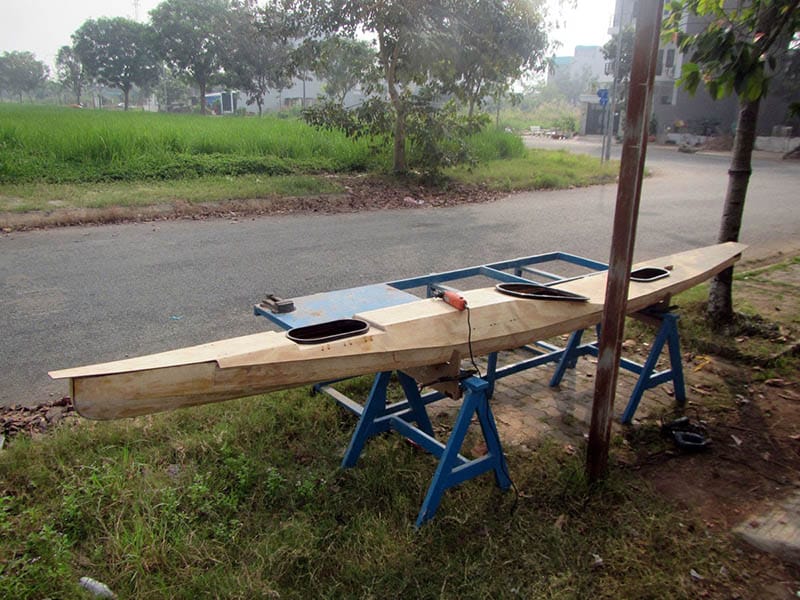
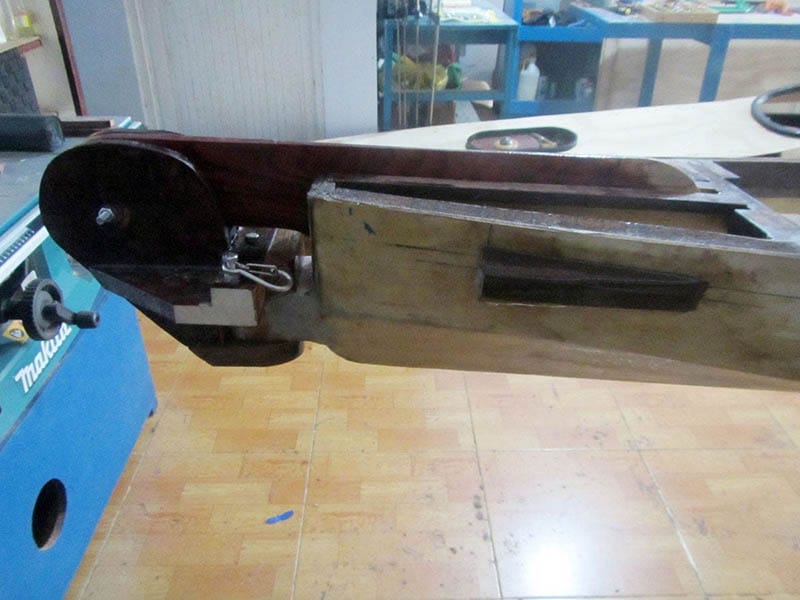
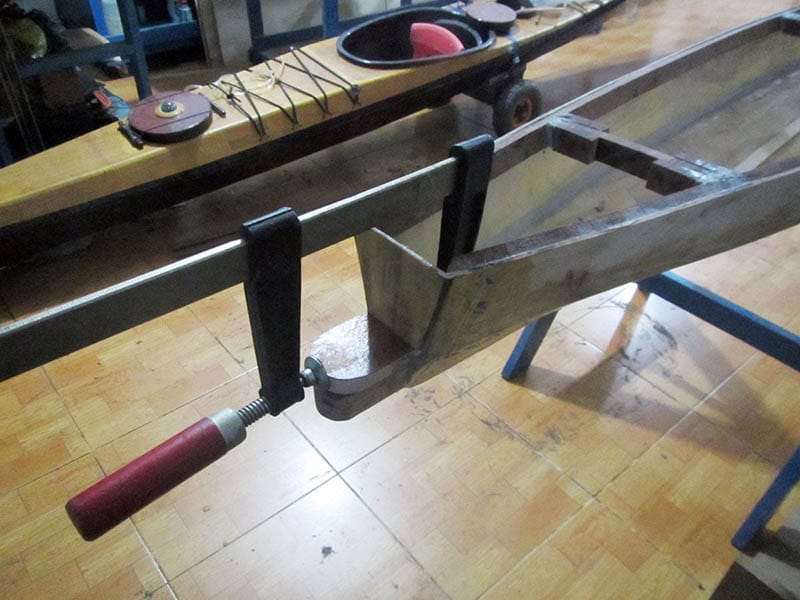
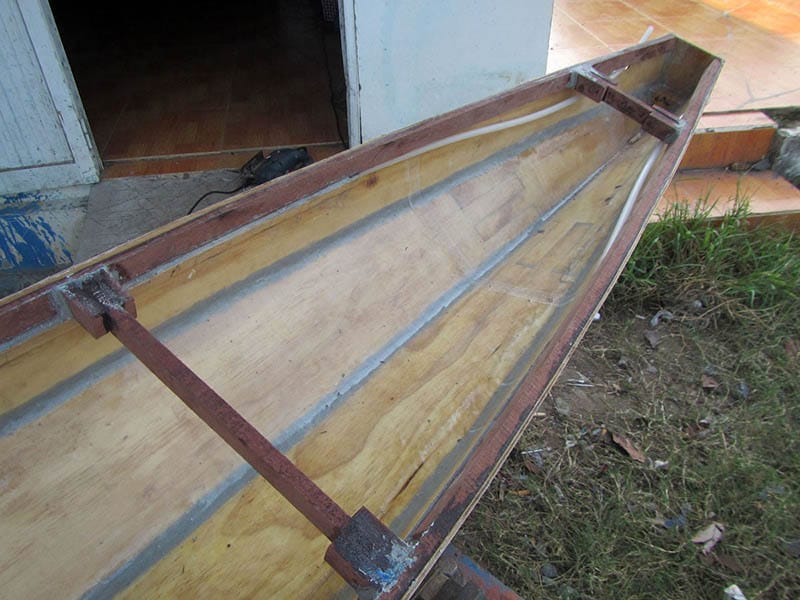
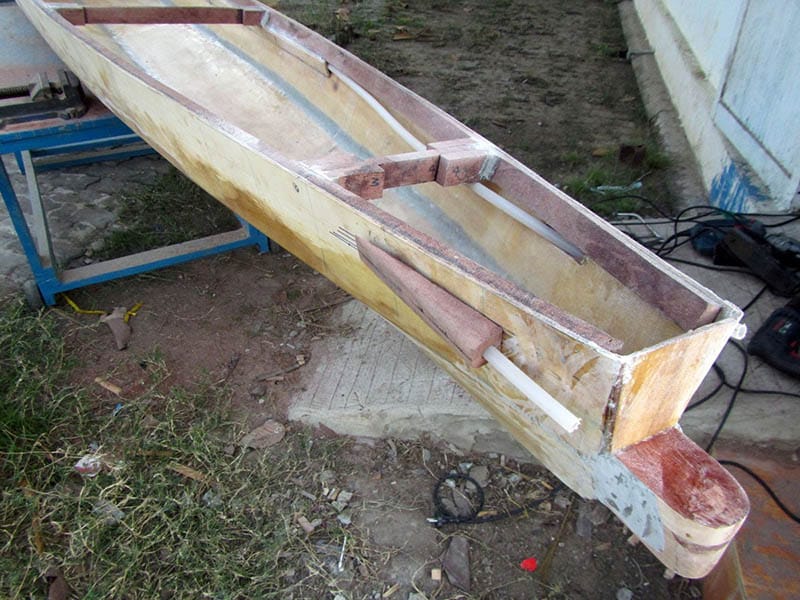
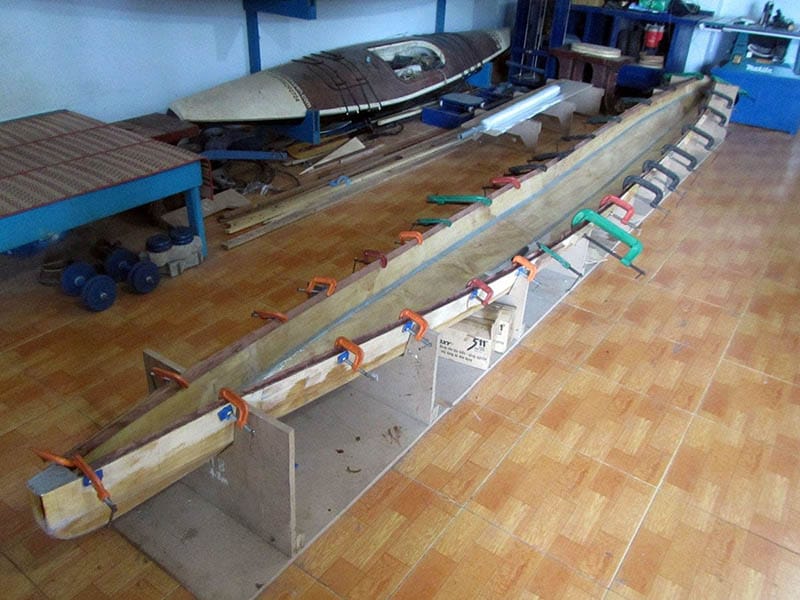
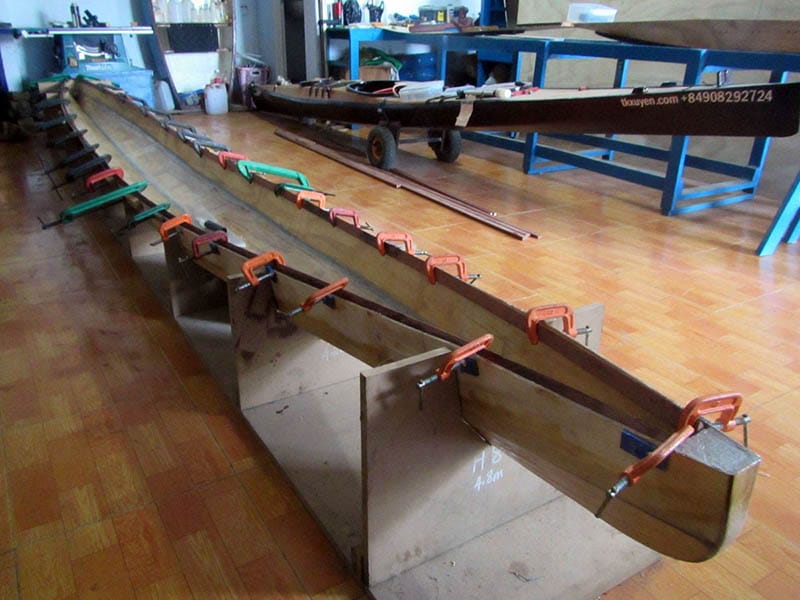
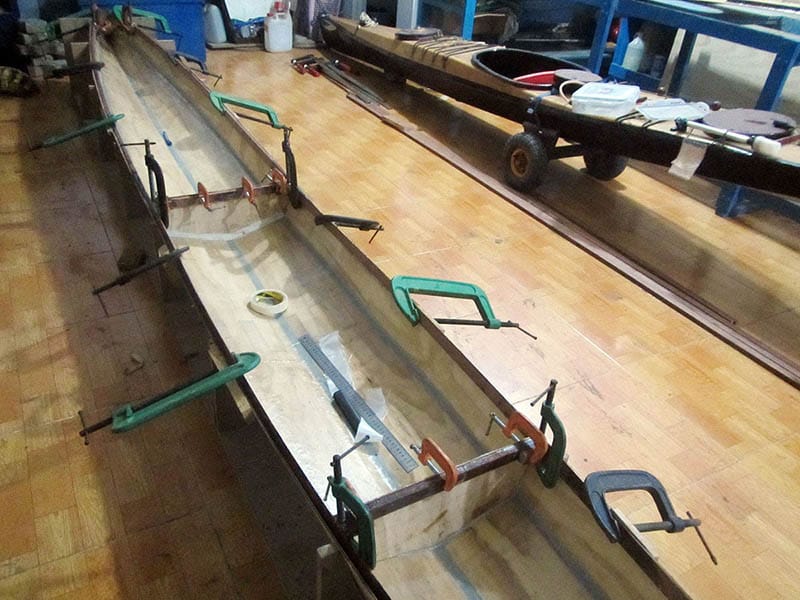
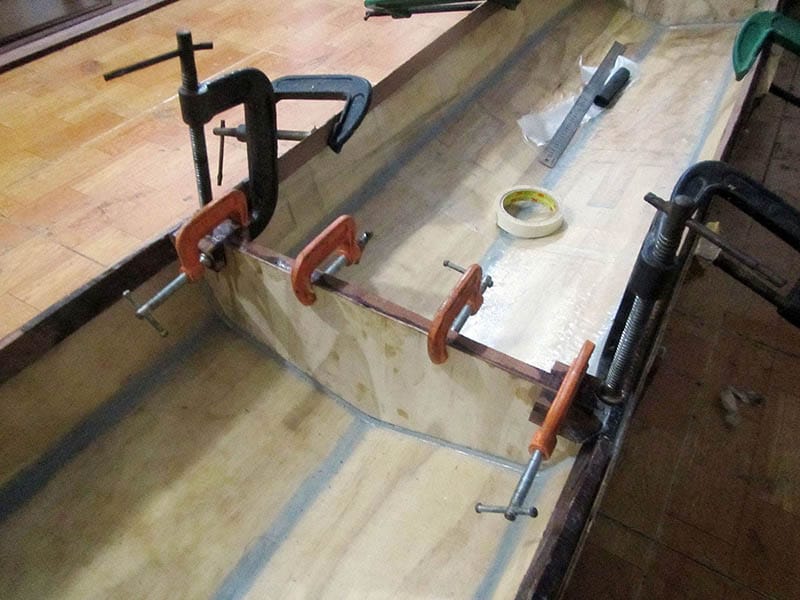
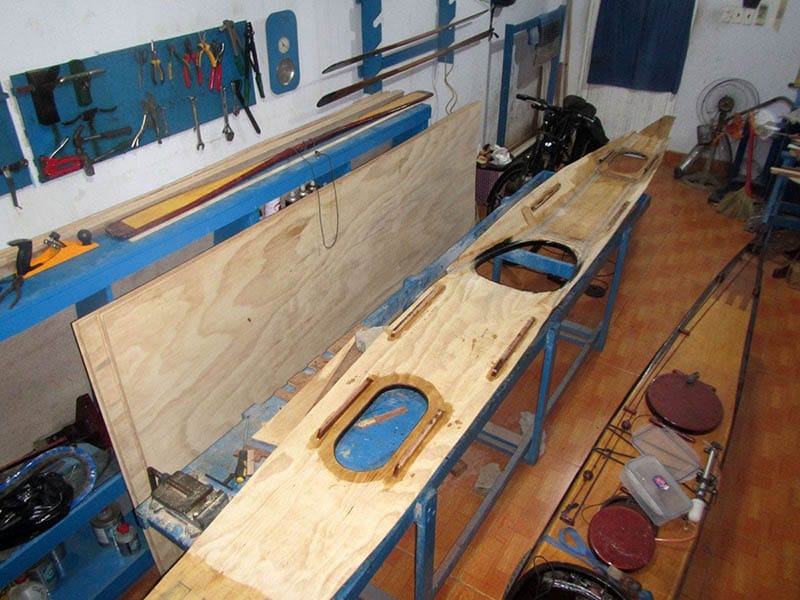
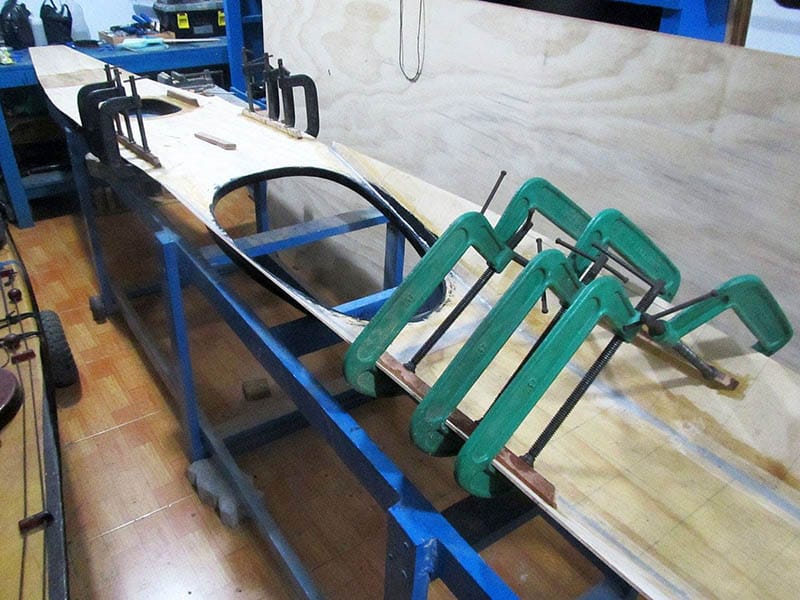
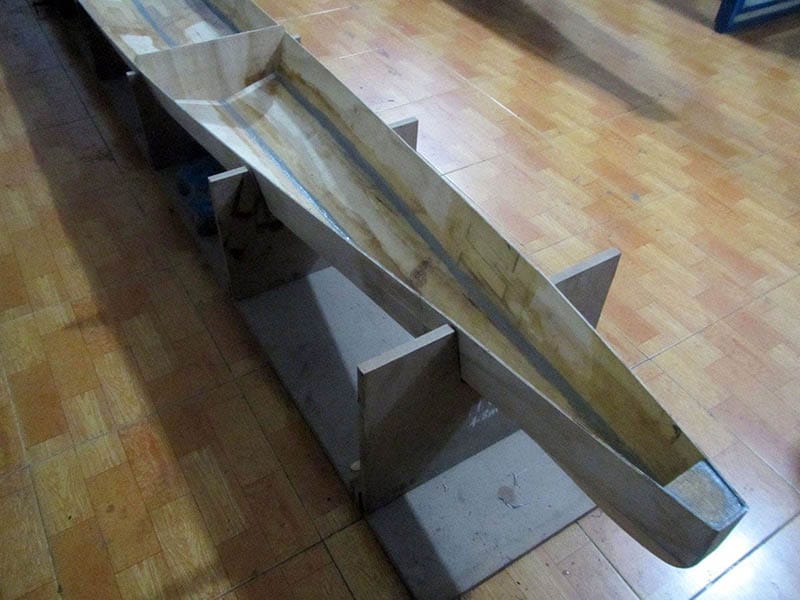
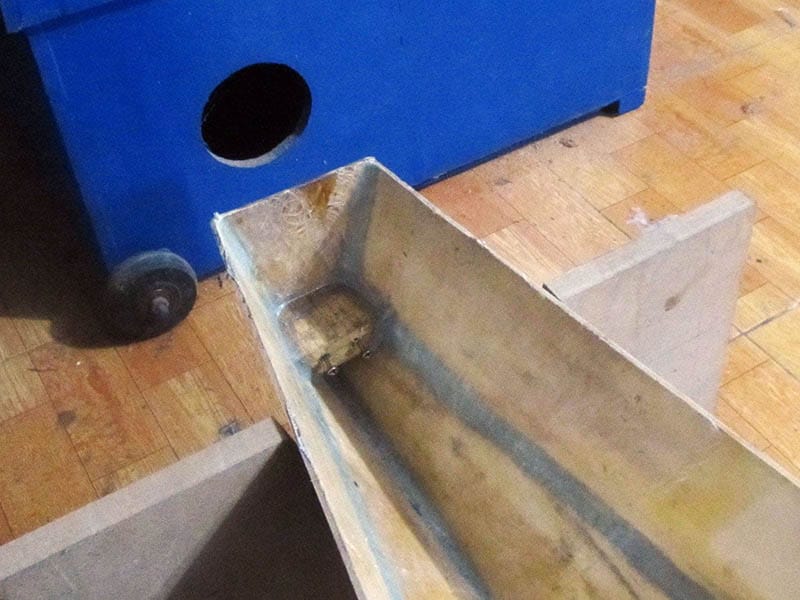
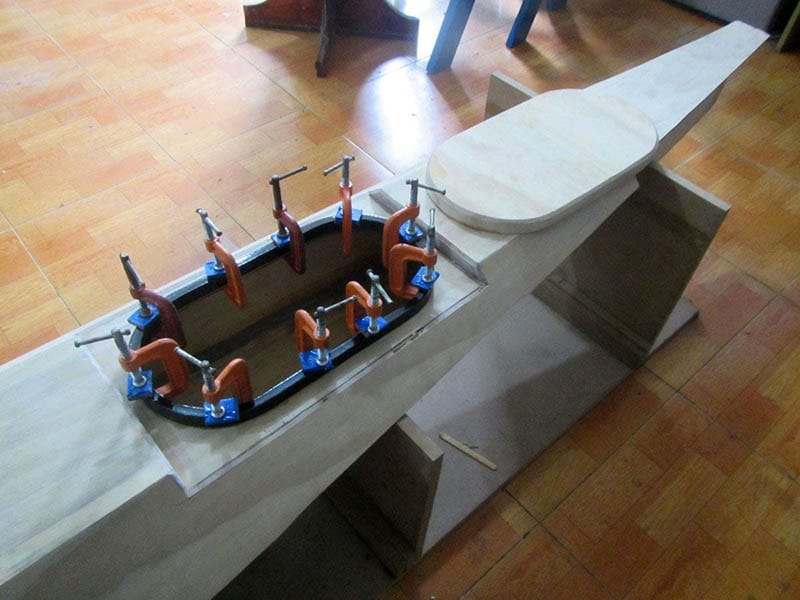
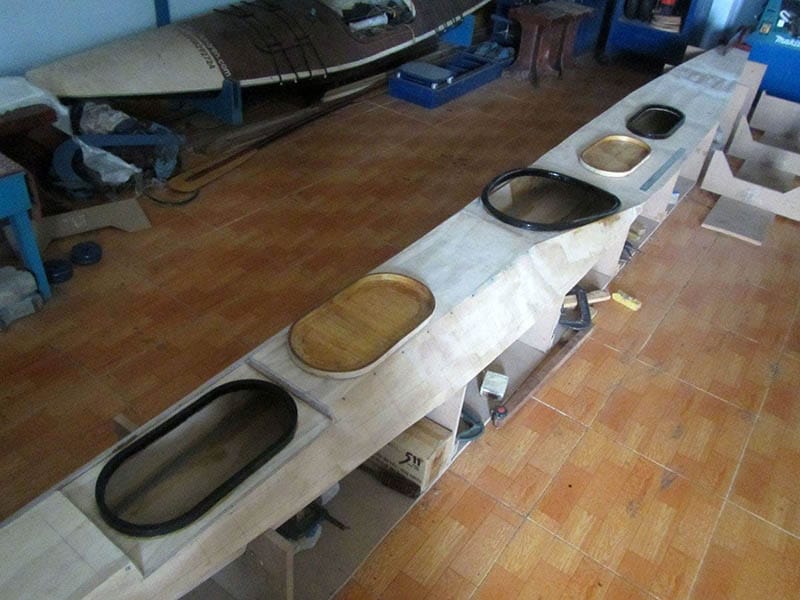
Deck and hull jointed, for almost the entire length, almost no additional glueing is needed, almost a perfect fit, no light seen through. Only around the cockpit, the widest part of the boat, needs some fillet to fill some small gaps. However, as a precaution, I applied some little additional fillet at places along the gunwales to make sure the joint is really secured. Now trimming the deck to match the hull, cut the slot on top of the rudder box, round the seam lines to facilitate glassing later.
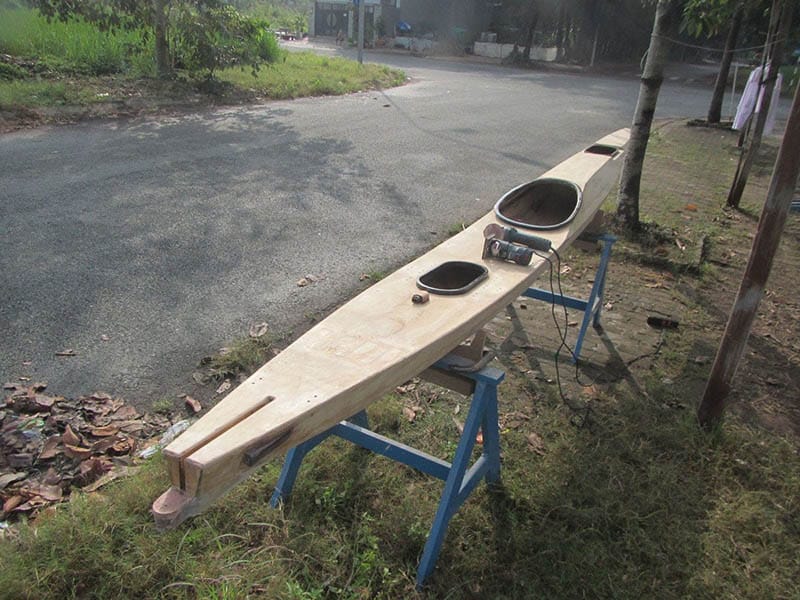
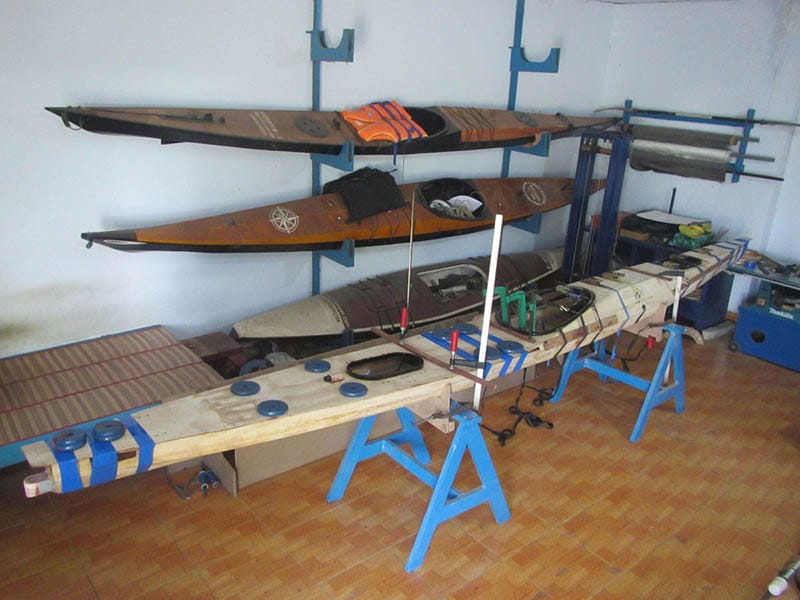
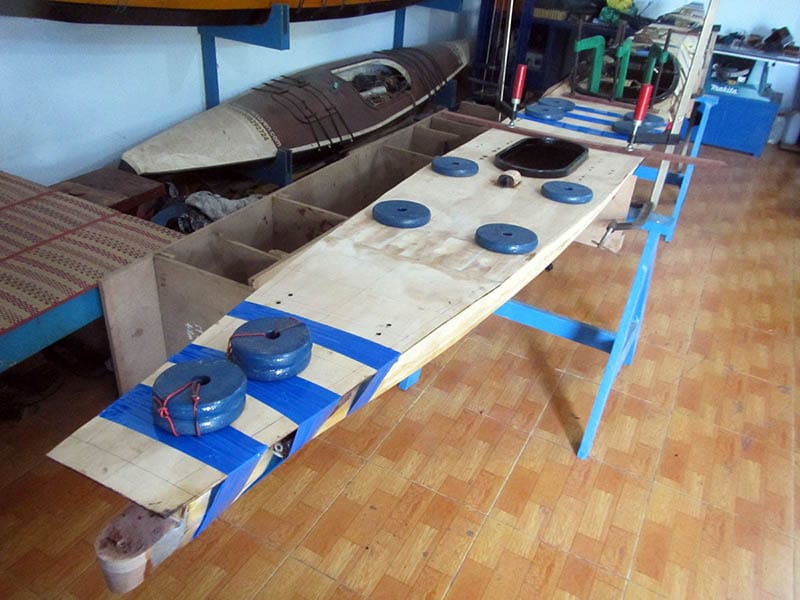
Next, the whole hull and deck receive some sanding to smoothen out their surfaces, erase all the pencil and sketch pen marks. Those sketch pens offer very good indications, though they’re a bit hard to be erased off the plywood. Sanding is just a slow and dirty job, and it’s very itchy. The ugliest part of S & G boat building is sanding on fiberglass, it produces dust, which is essentially just tiny particles of silica sand, and those are extremely itchy, I have to take a bath 2, 3 times after the work.
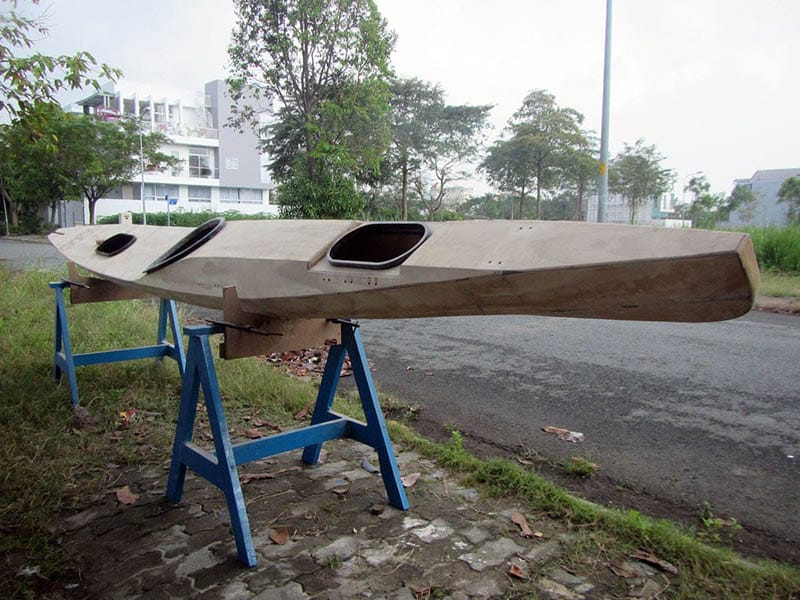
Over the time, I devised a trick to cope with this: rub your exposed body parts with some mineral oil (e.g Johnson’s baby) before doing the sanding job, then taking a bath after would remove those hateful dust easier. This time, I do the sanding job more carefully, one at 100 grit and another at 120 grit before applying the wood staining. This time, I decided to go with a less vibrant color scheme, light brownish for the deck and black for the hull, unlike previous boats with bright yellowish tone.