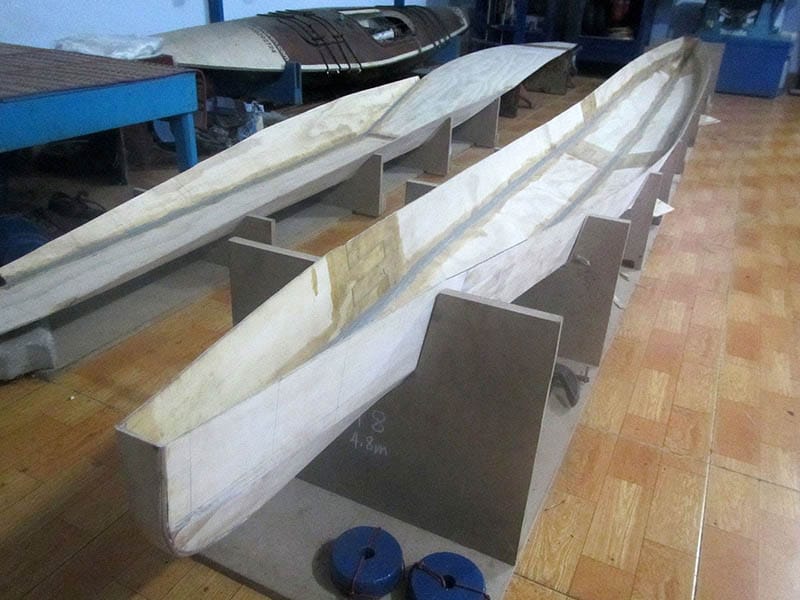
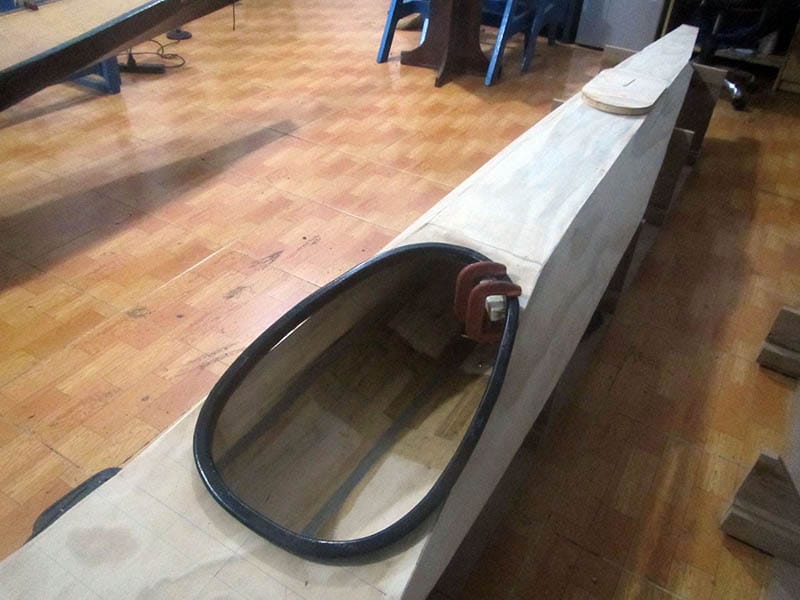
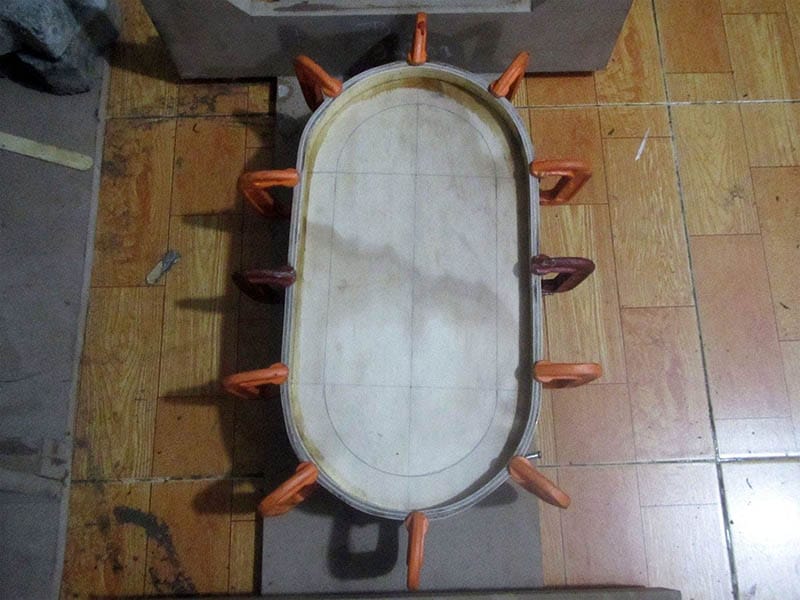
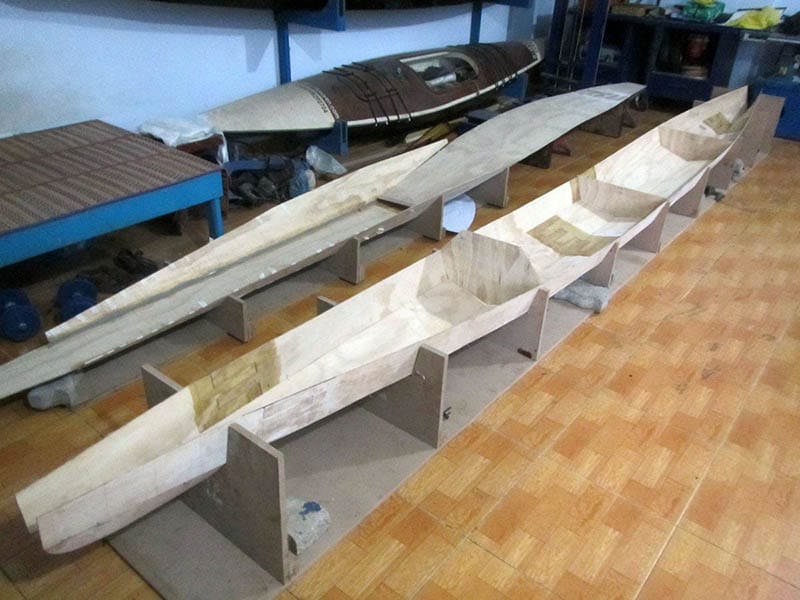
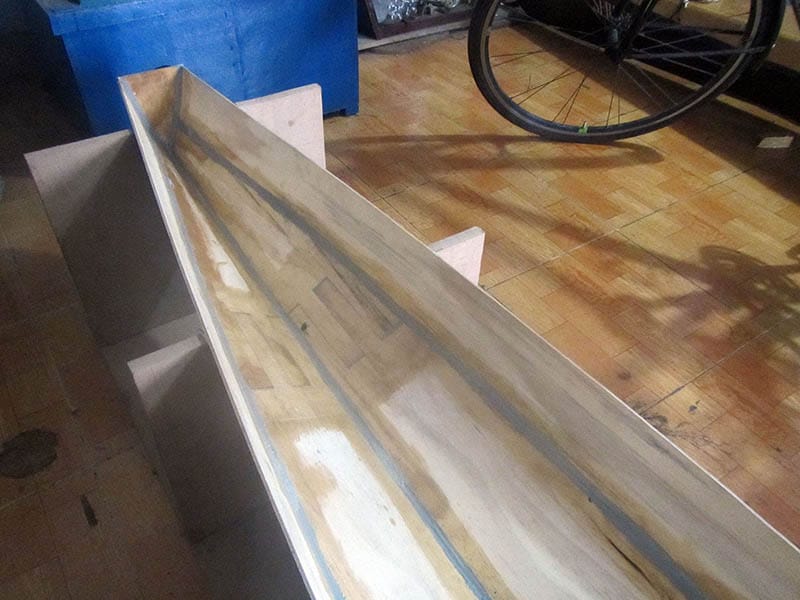
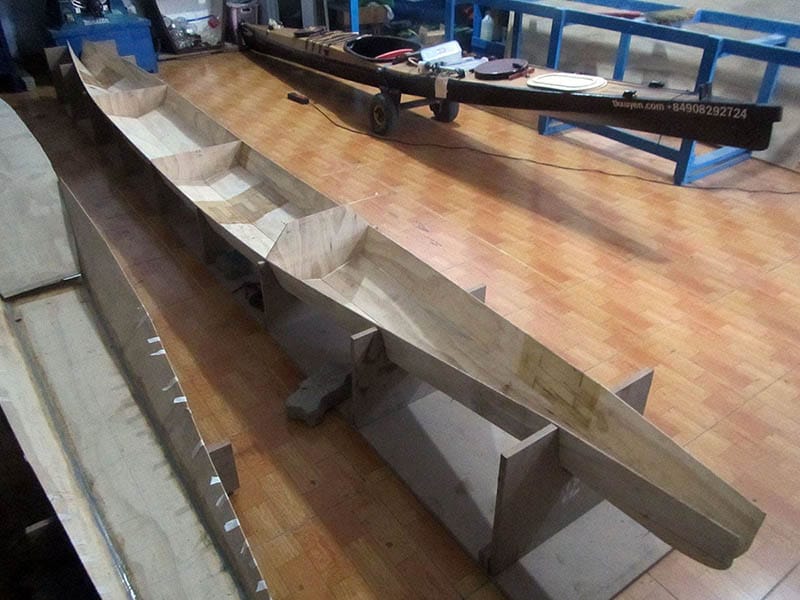
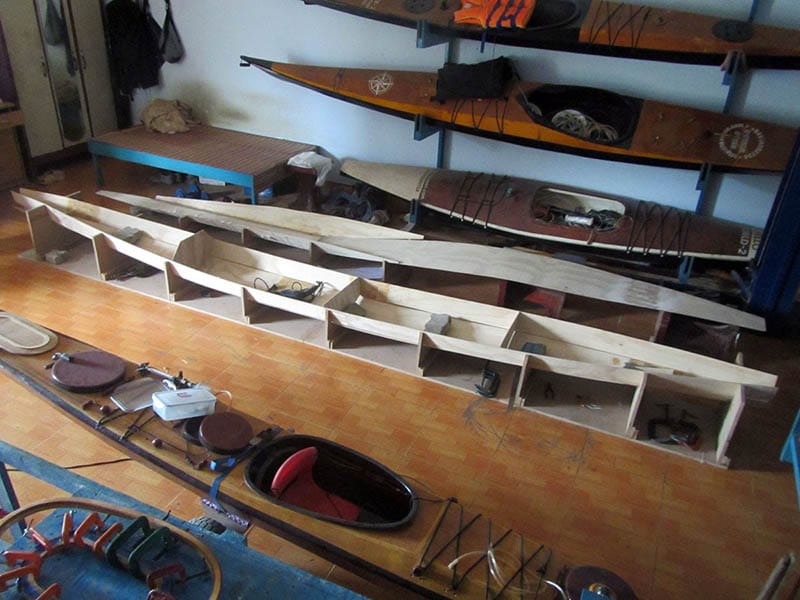
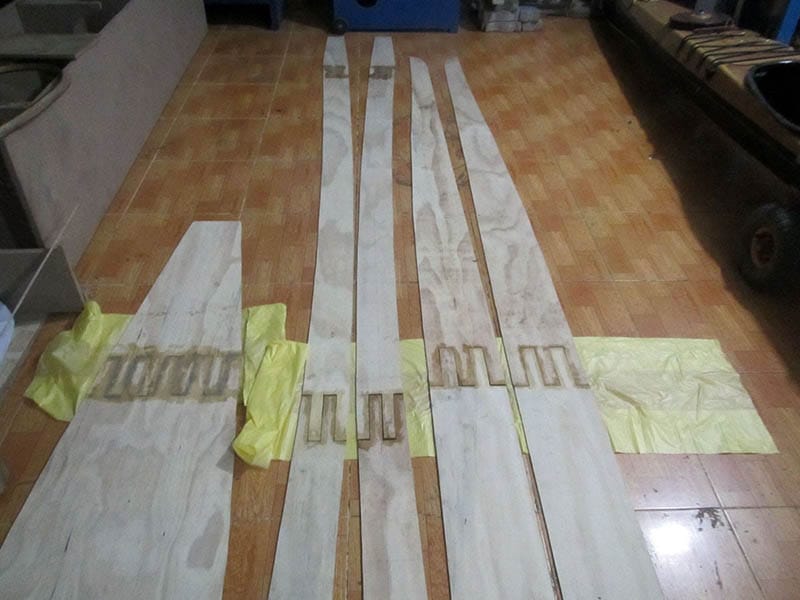
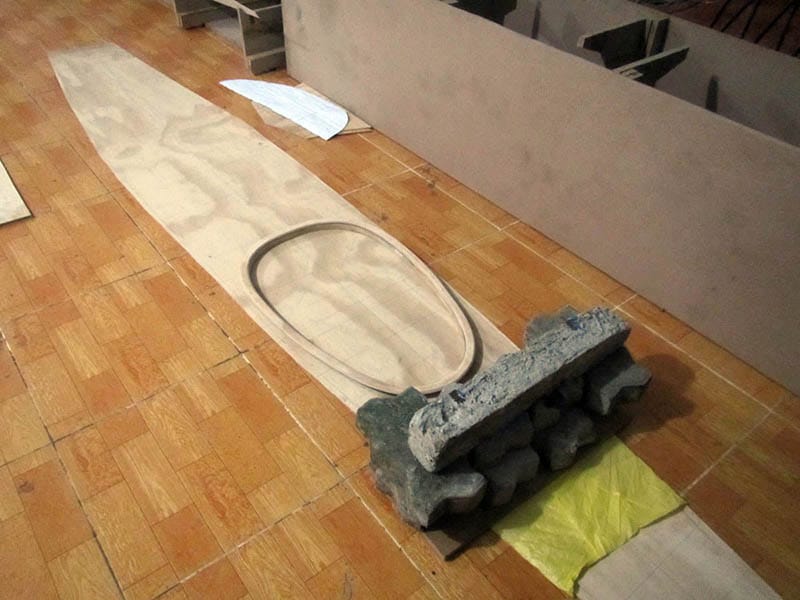
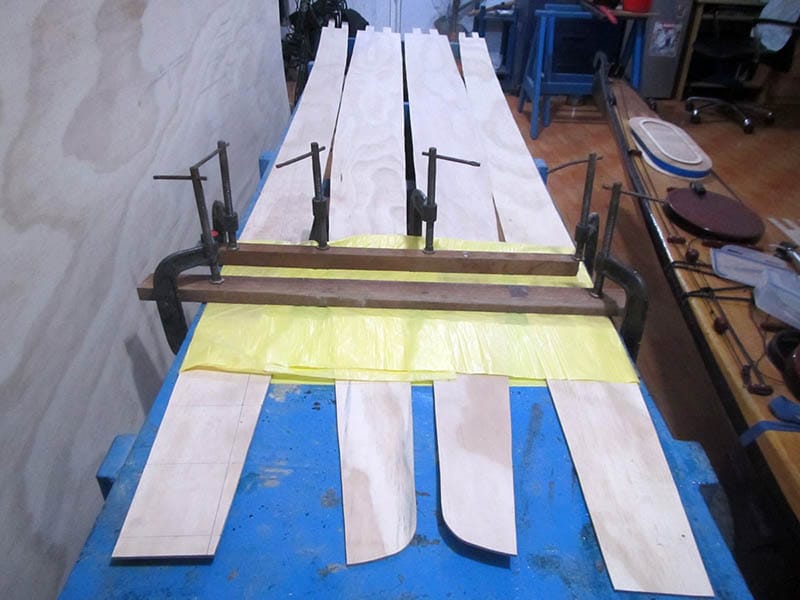
Hull and deck parts are basically stitched and glued, those two halves of a peanut shell. But that’s only a basic milestone, lots of jobs required still to make this shell functional. I continue to build the hatches and cockpit coaming, and various other accessories. 3rd image: the cockpit coaming glued in, stained with epoxy filled with black color pigment, later on, some layers of transparent PU paint would make the finish. While the cockpit is easy, it’s a bit more complicated for the hatches.
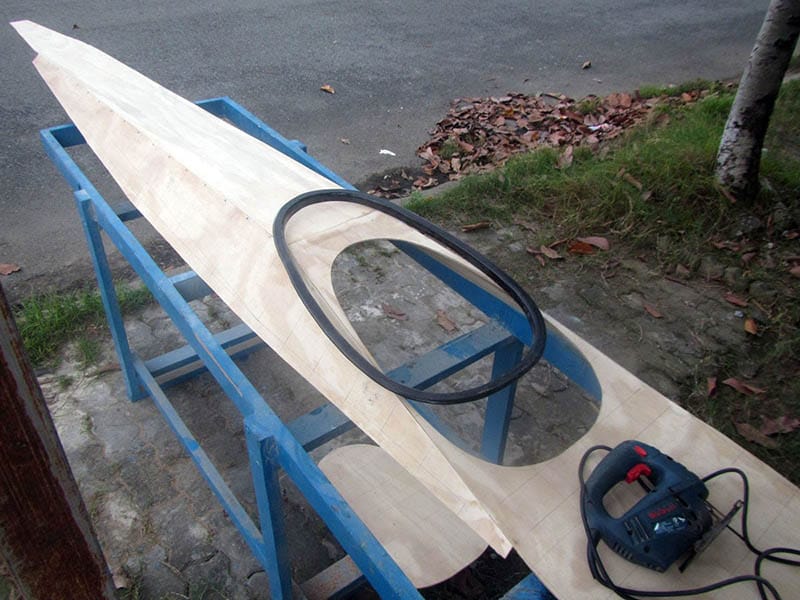
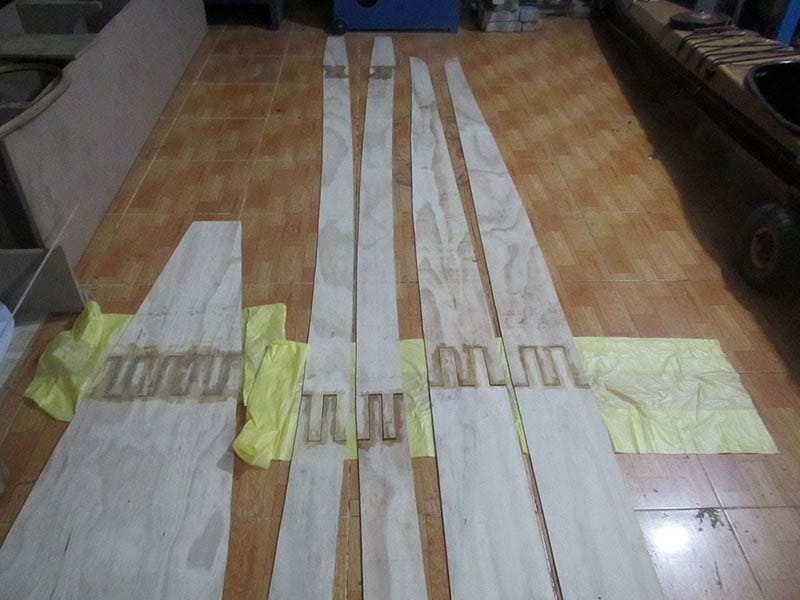
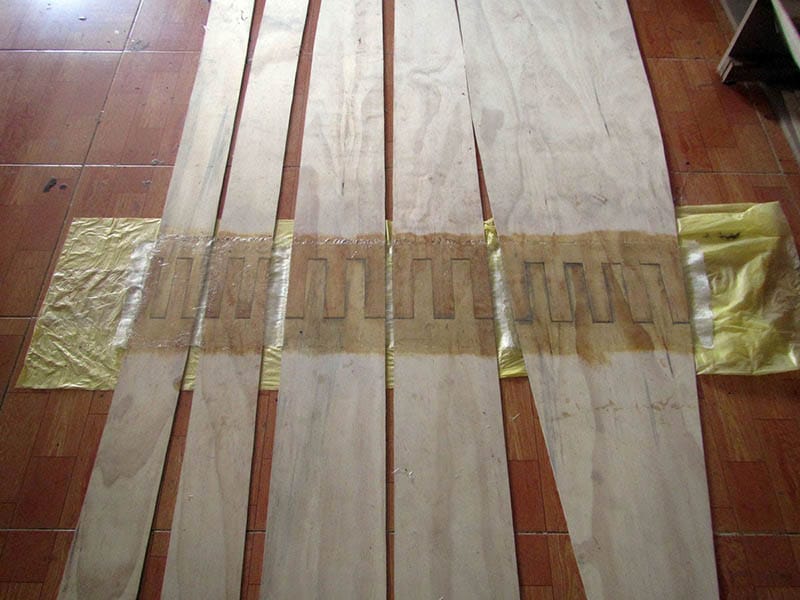
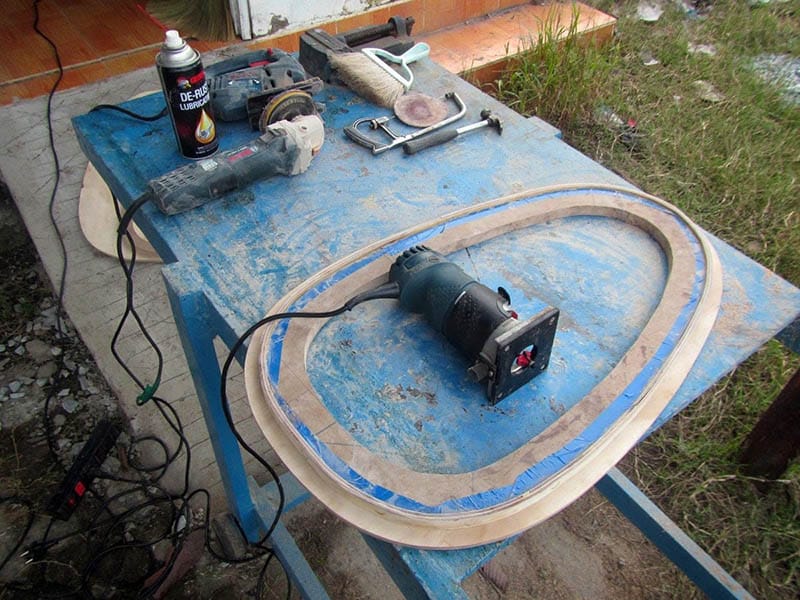
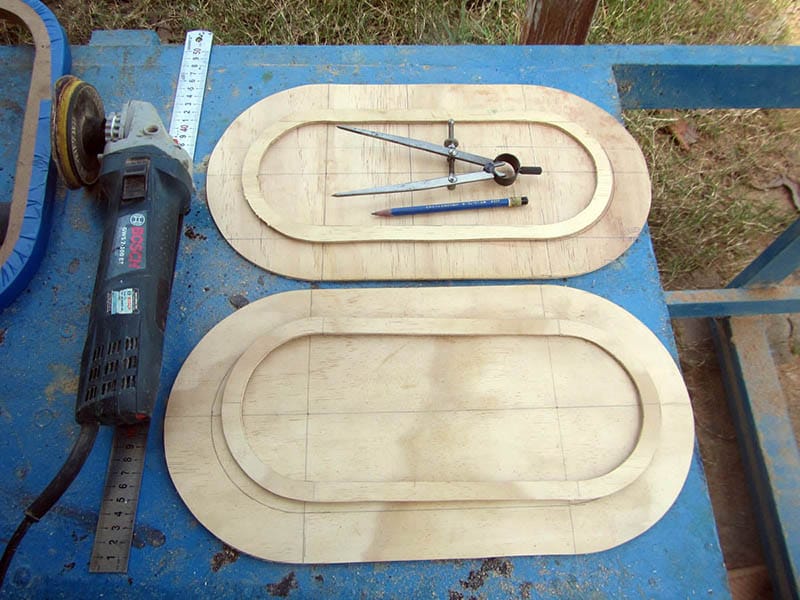
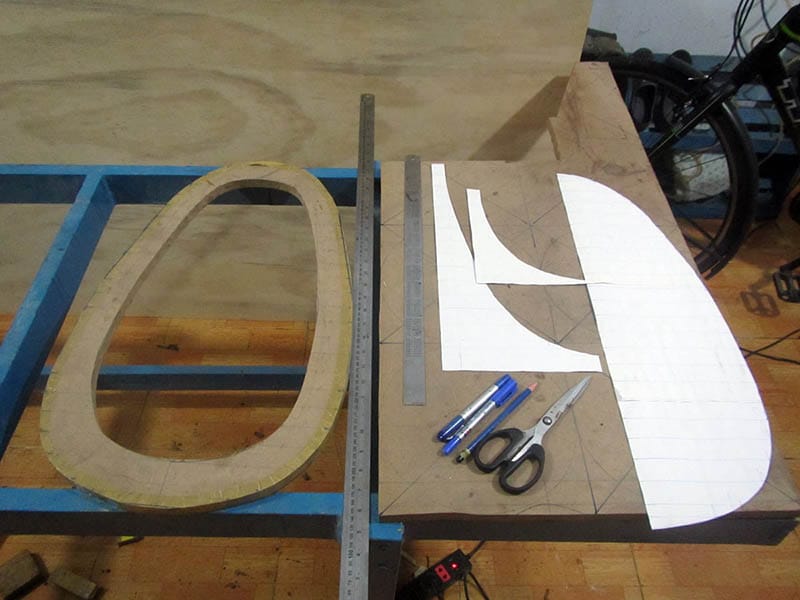
Both two hatches is of the same shape and size, for the sake of easy constructing (the hatches and their silicone gaskets). The forward hatch is built recessively into the deck, not only to keep a flushed, flat deck, but also simply because the hatch size is a few centimeters larger than the deck’s top, it needs to sink down to fit. It’s a bit tricky to build the recess, so I decide to get along with a rectangular approach (it’s much easier to build, though a circular one would certainly looks much better).
The aft hatch raises about 1 inch from the deck, not too high to interfere with reentry climb – in actions. I would try a new idea for hatch locking, something that’s easy to operate and tight enough (offer some pressure down) to secure the hatches in places and help with waterproofness. Hatches and hatch locks have been causing my headache for long, but it seems, the best solution is indeed simple, I wonder why my common – sense has not come up with it in the first place.