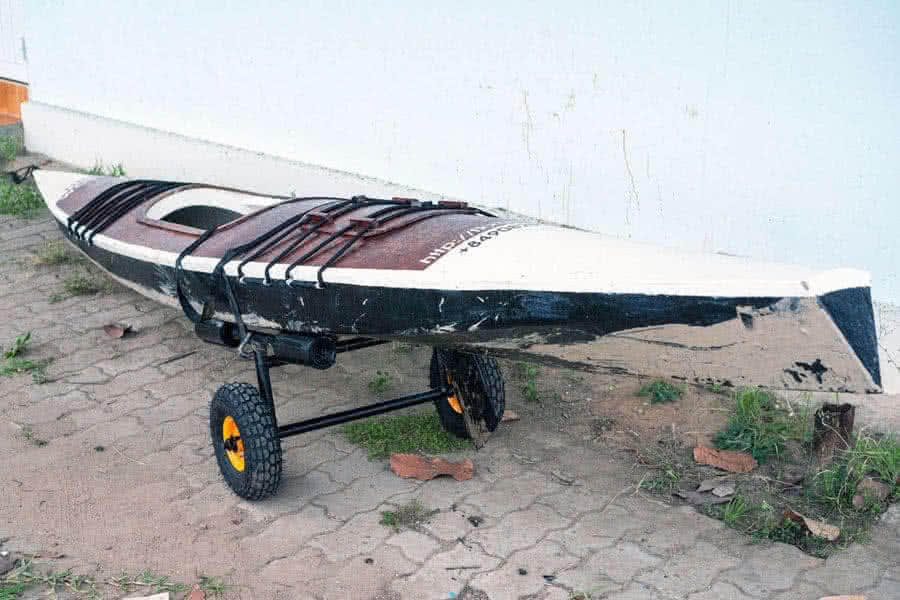
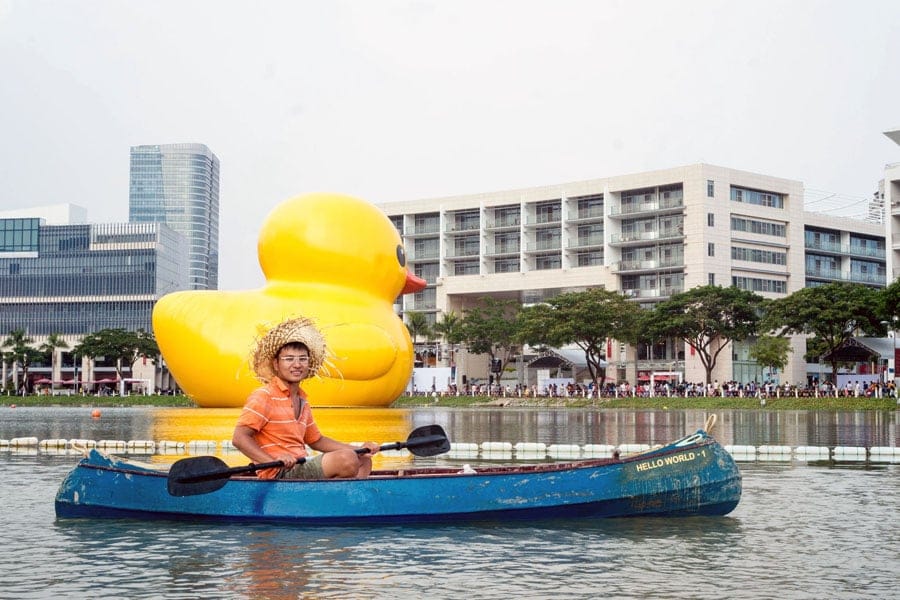
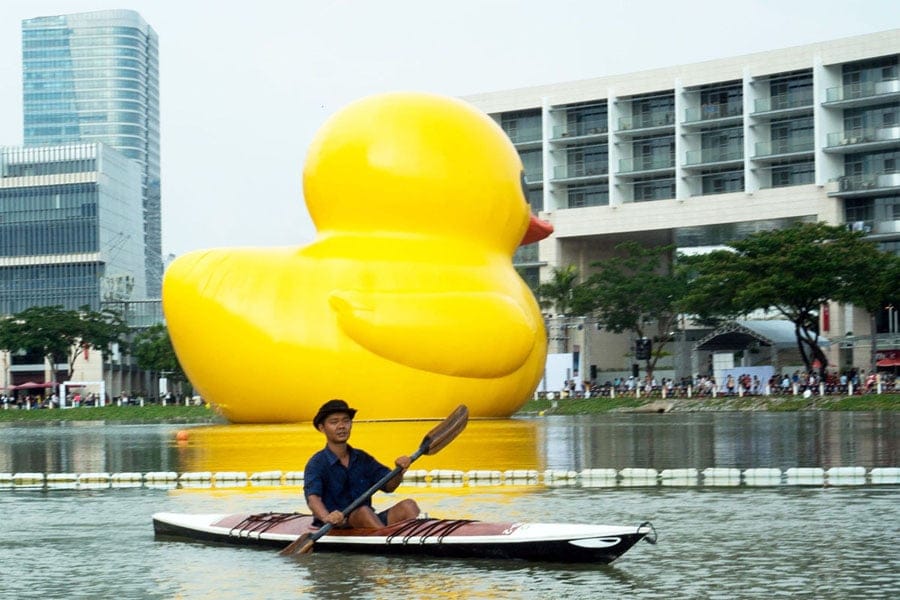
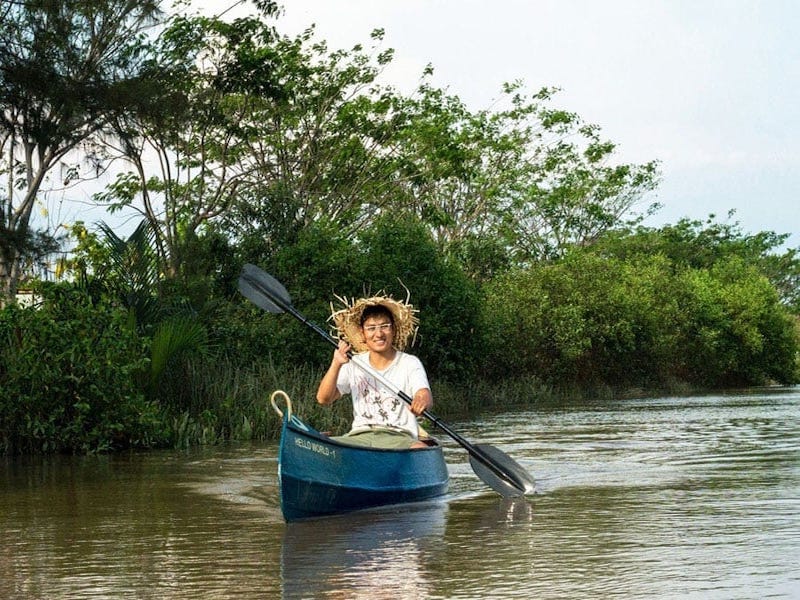
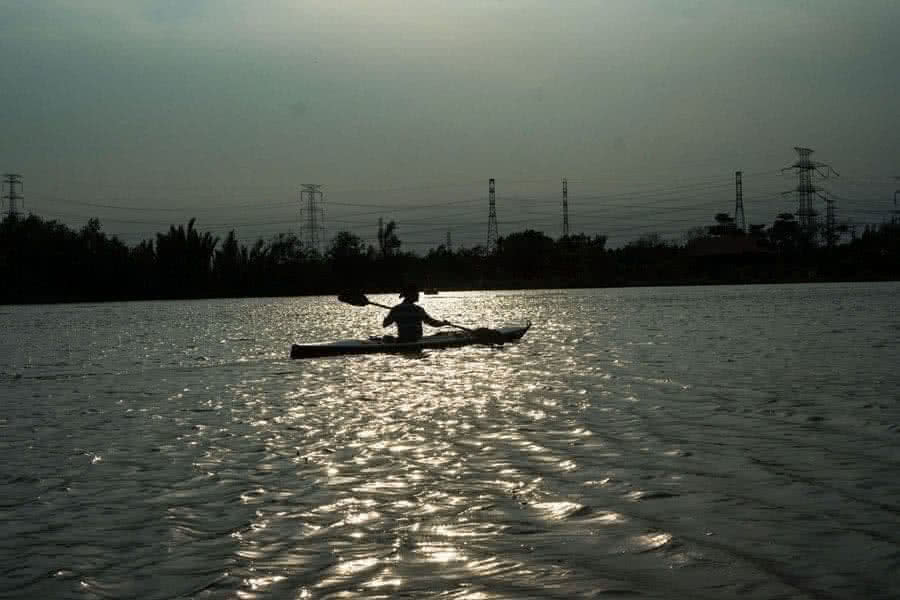
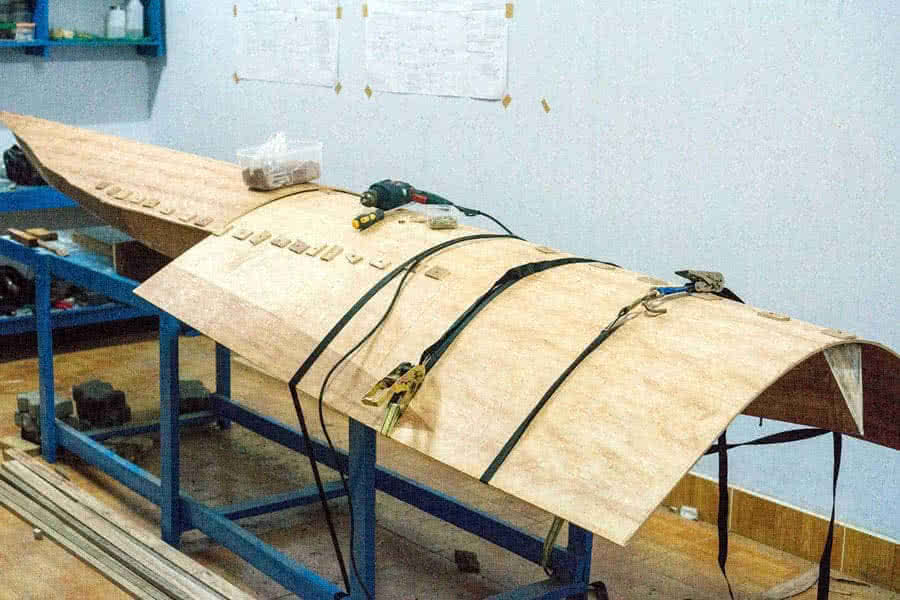
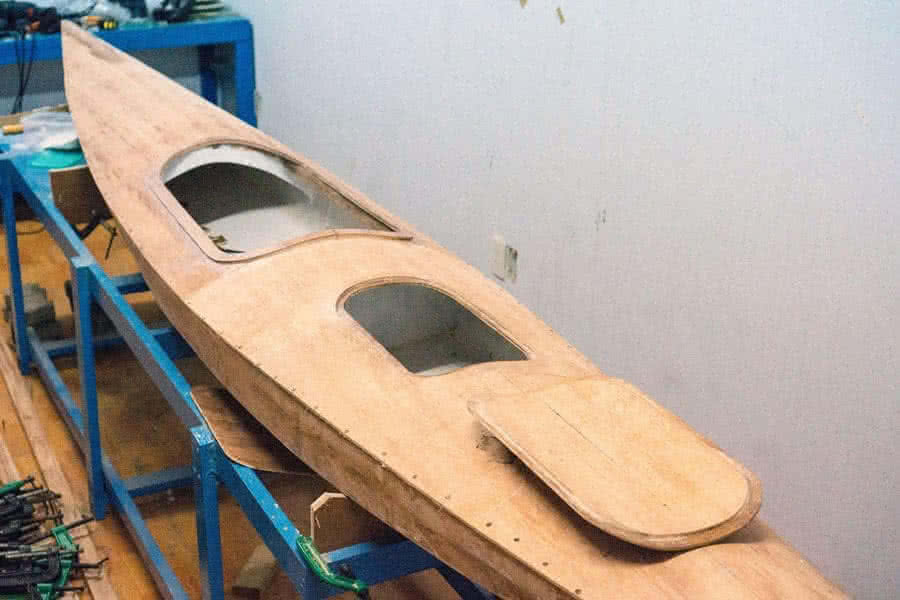
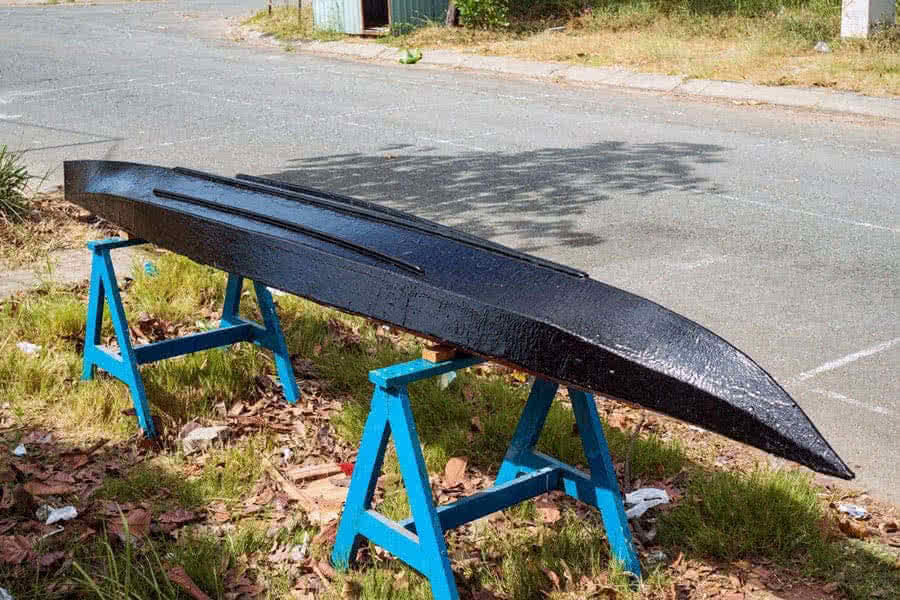
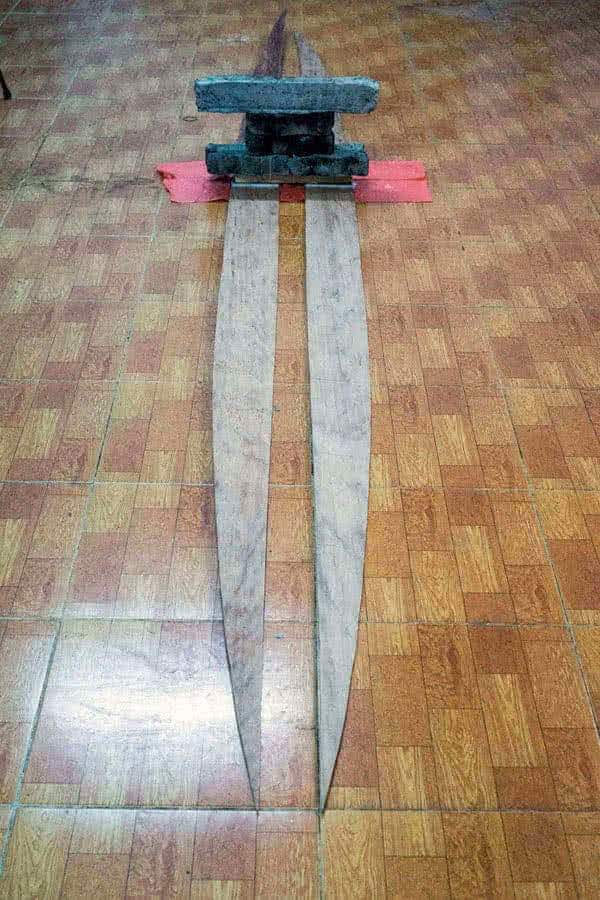
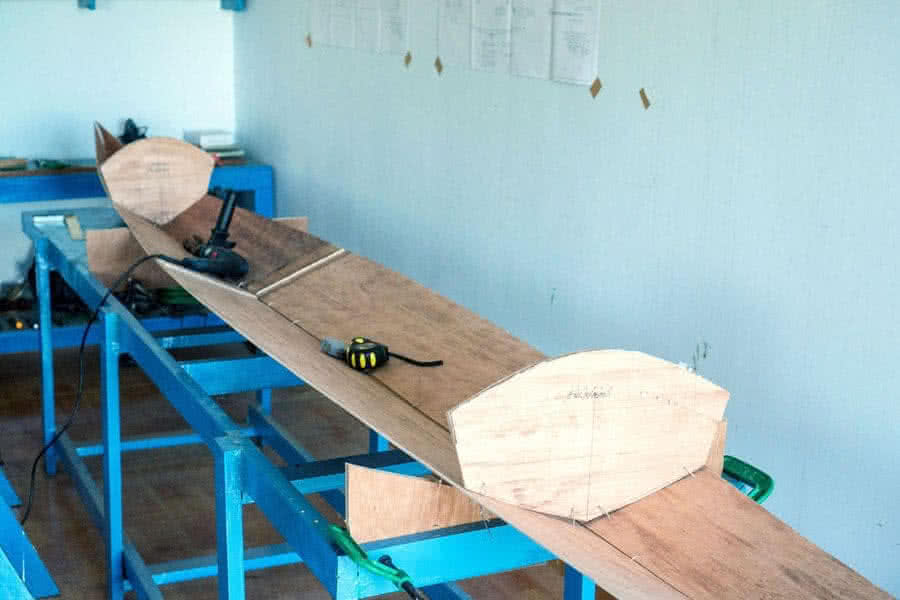
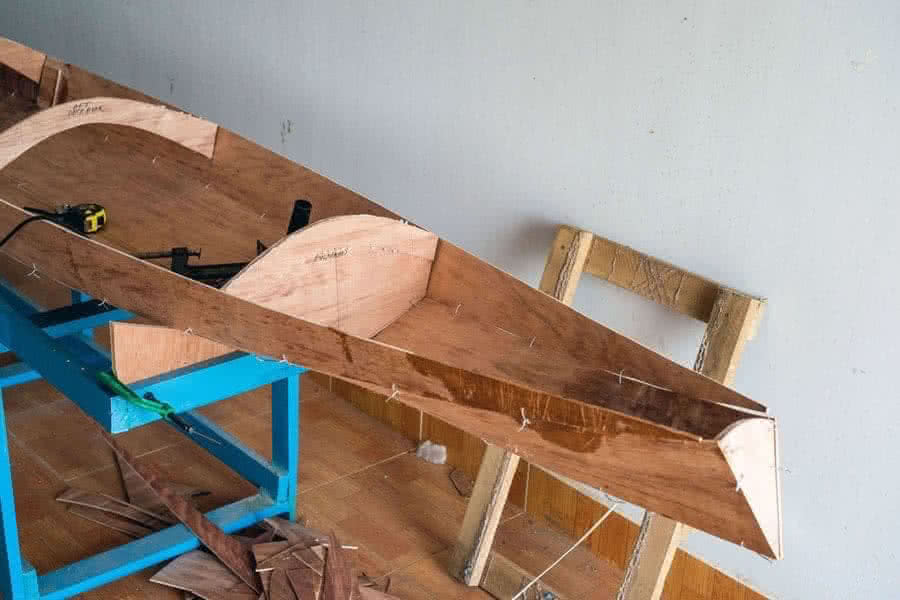
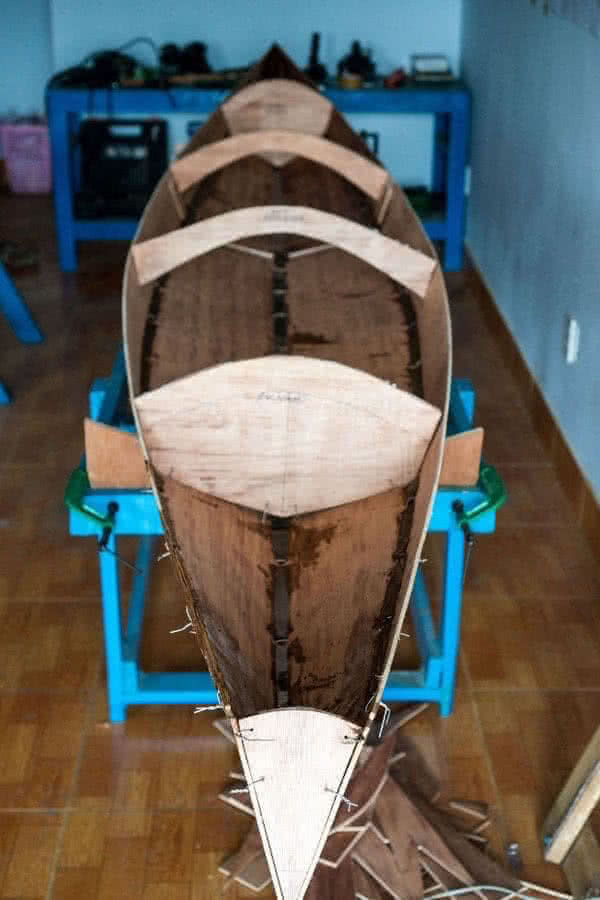
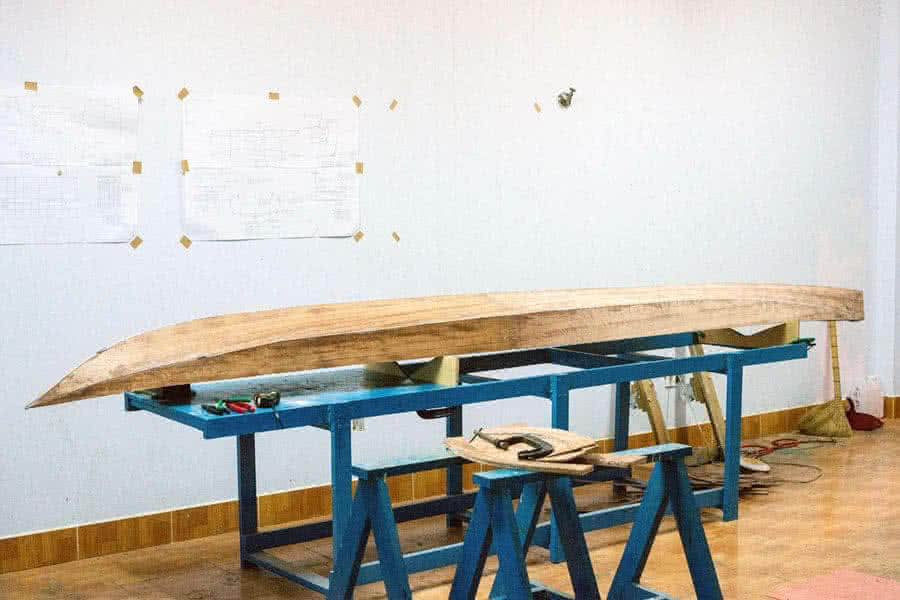
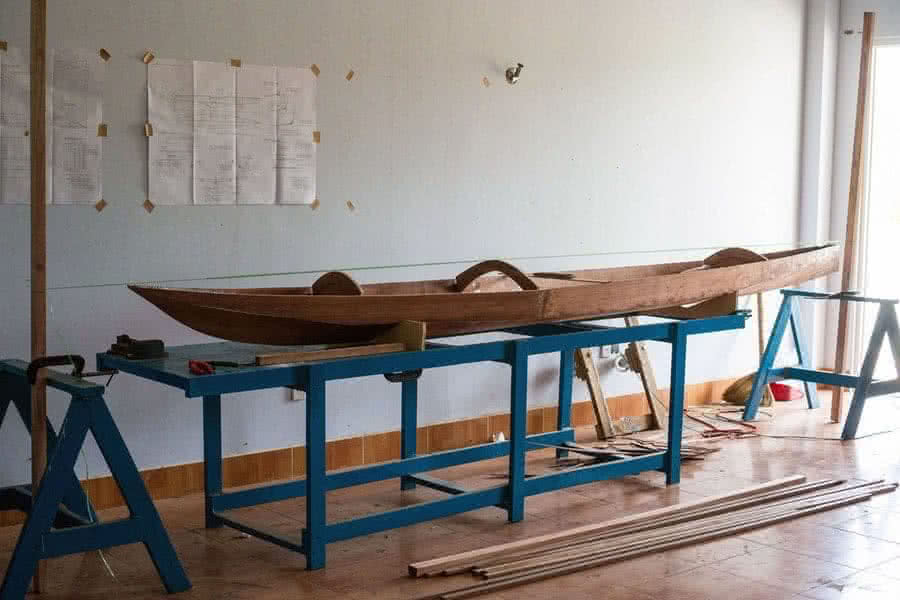
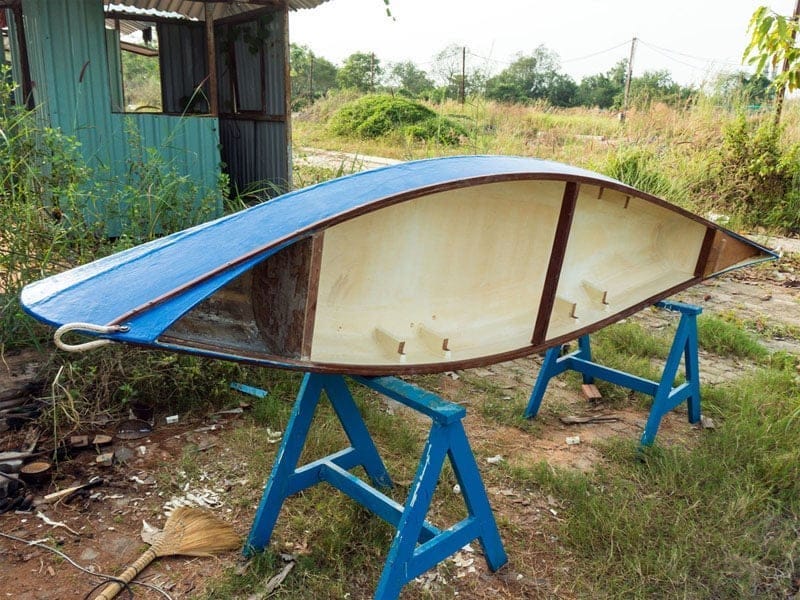
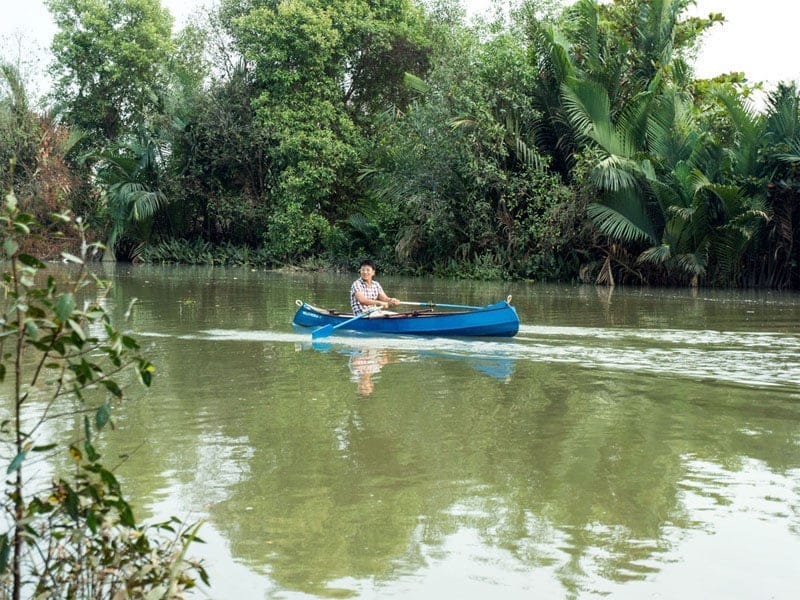
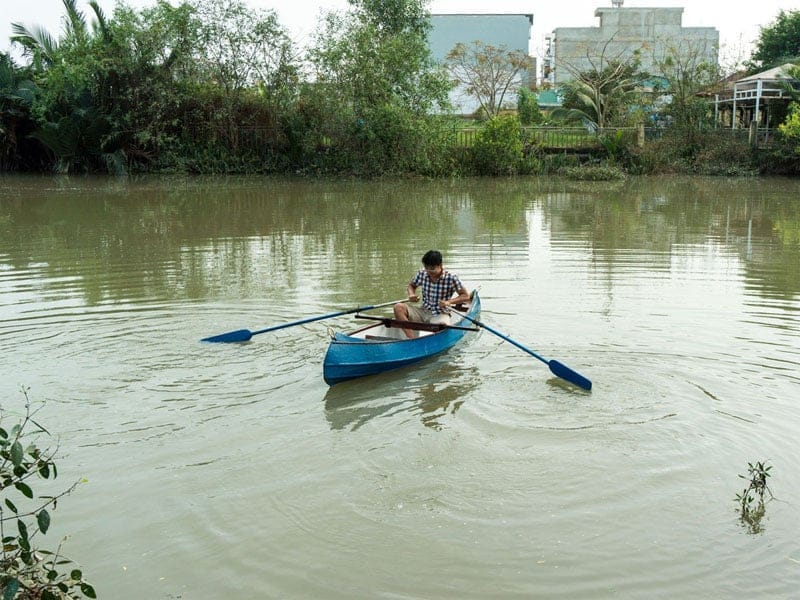
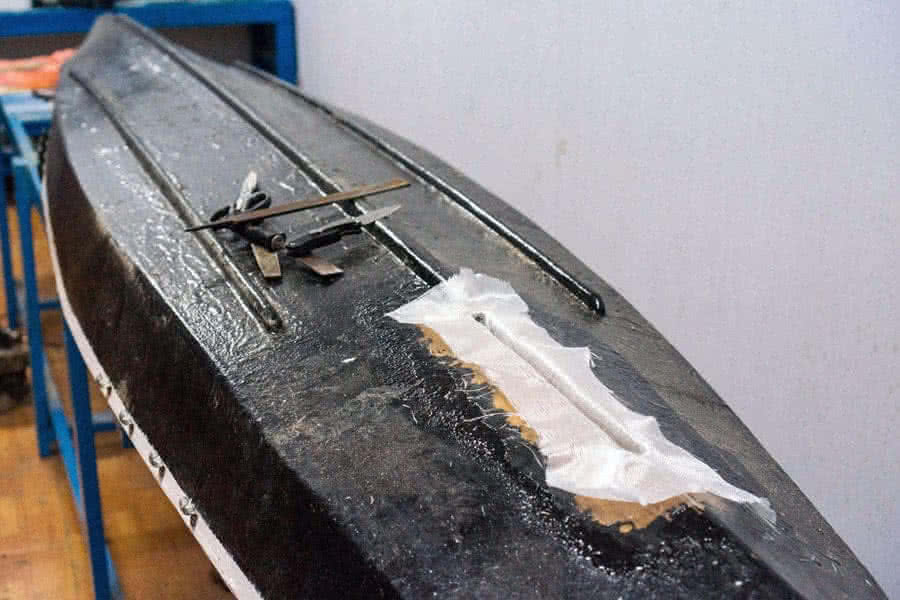
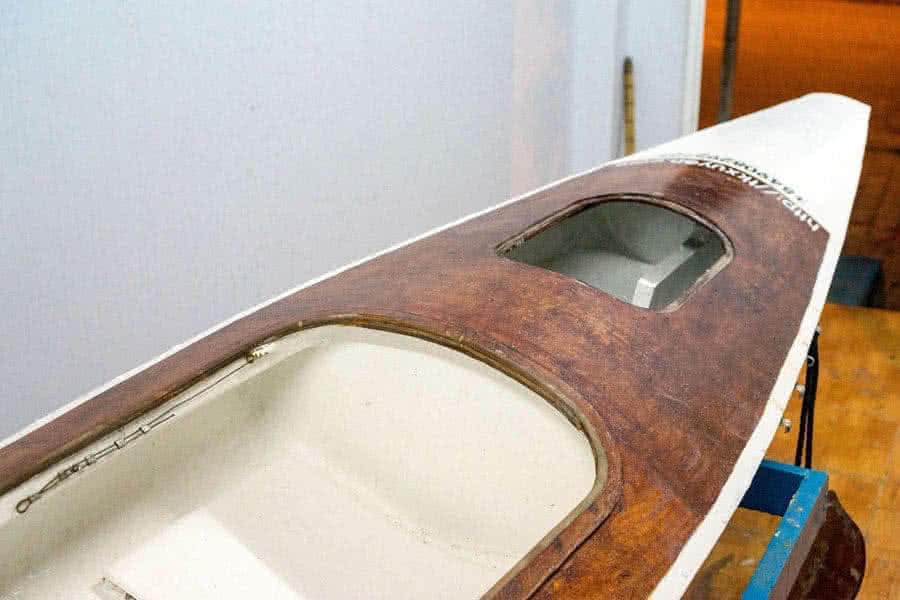
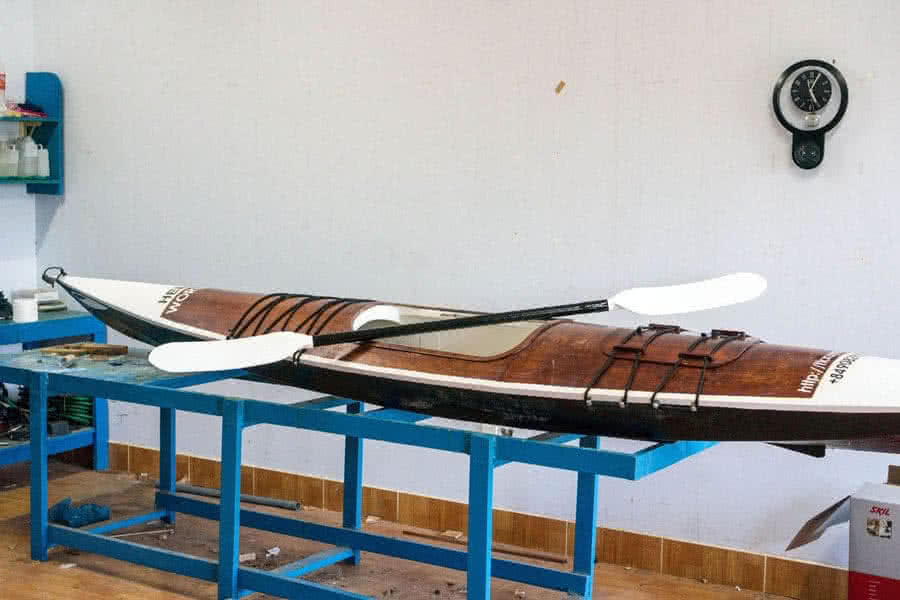
Day after day, I gradually… felt in love with my new kayak. Although quite sturdily and heavily built (around 32 kg), it behaves well on water. The longer and thiner hull offers much better speed (compared to Hello World – 1), but the most important thing is that the hull shape provides and maintains sufficient “kinetic energy” for the boat to make sustainable headway into unfavorable winds and waves!


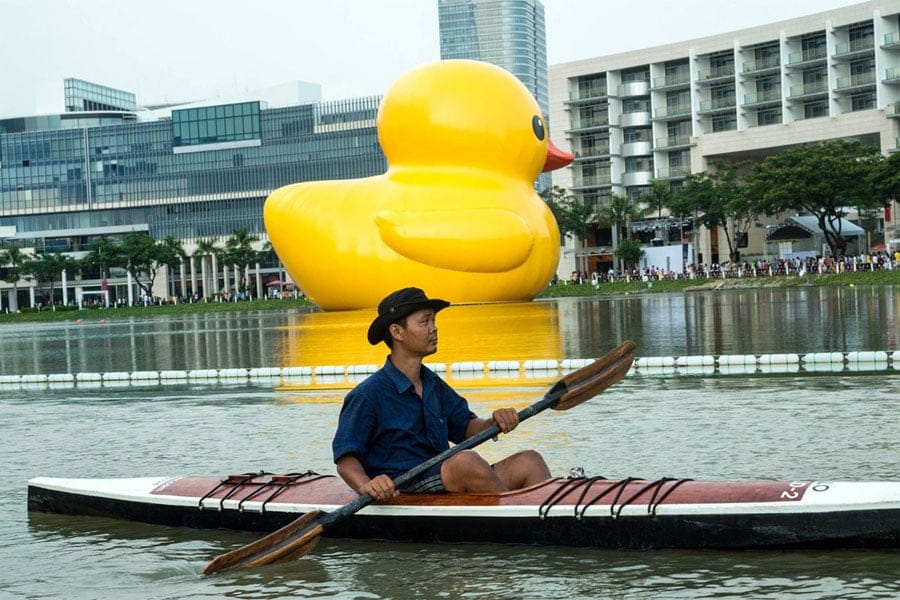
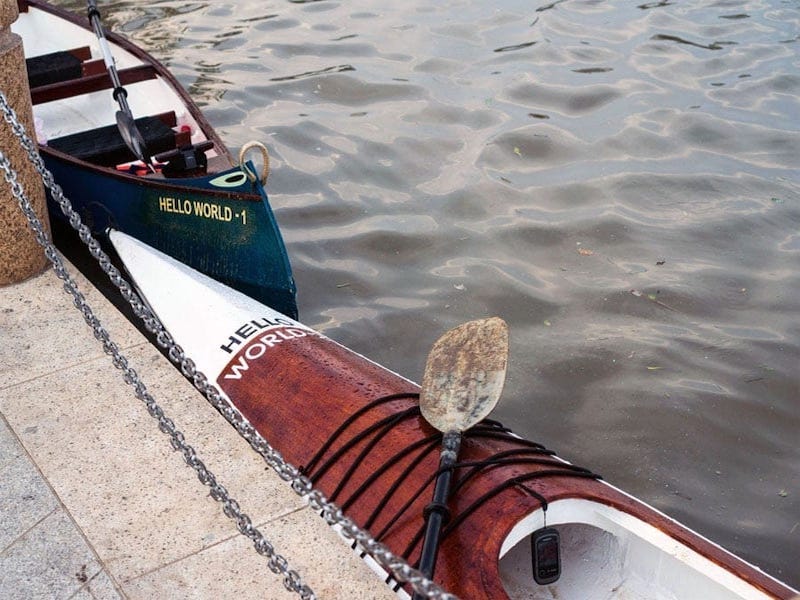
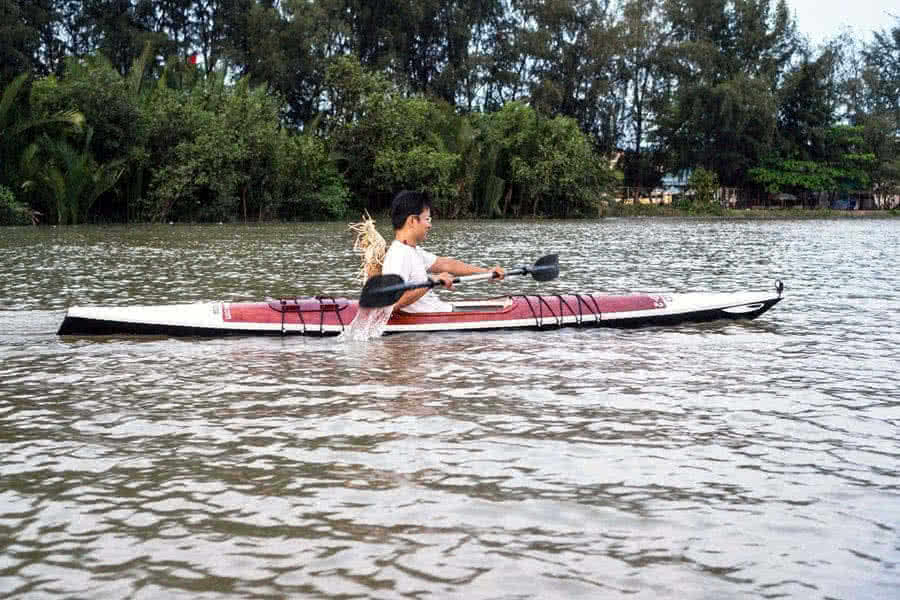
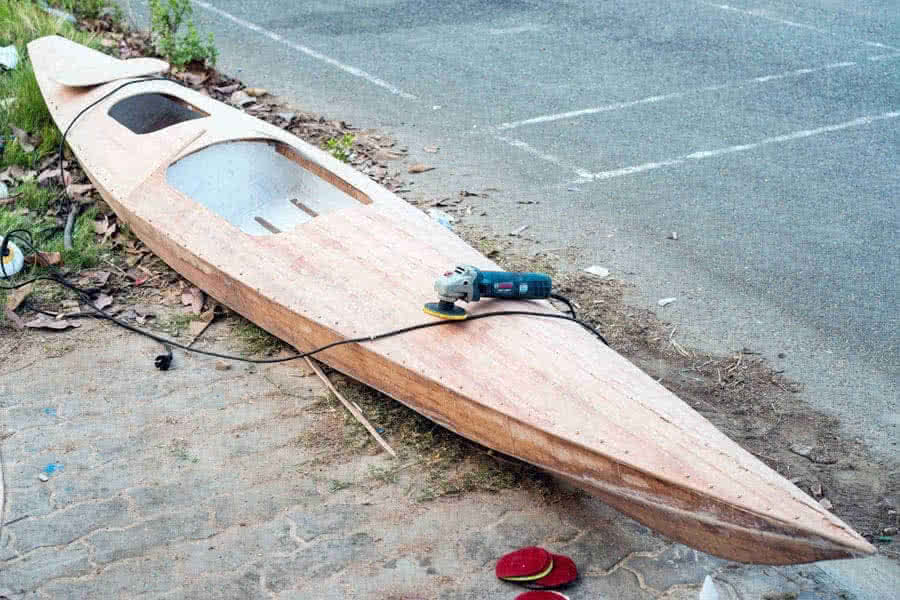
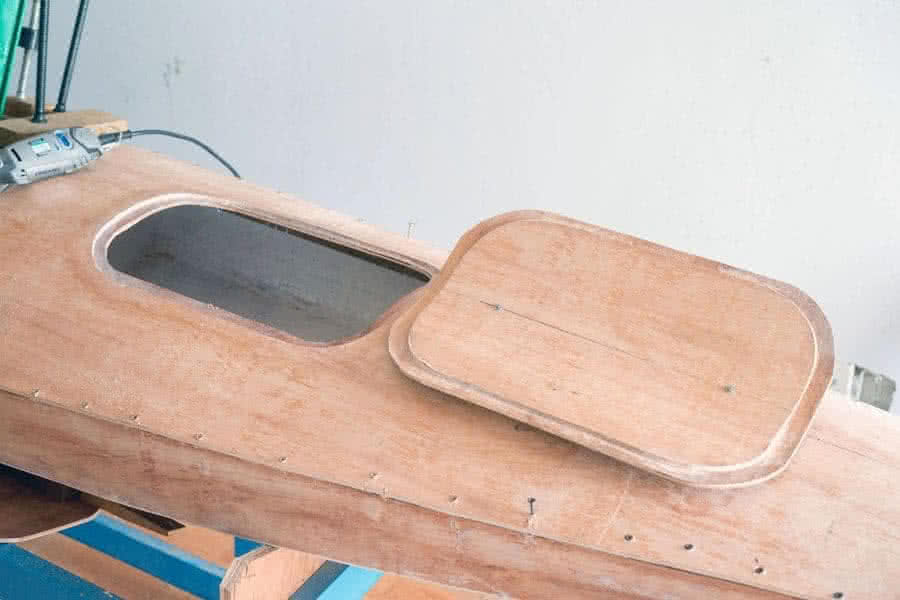
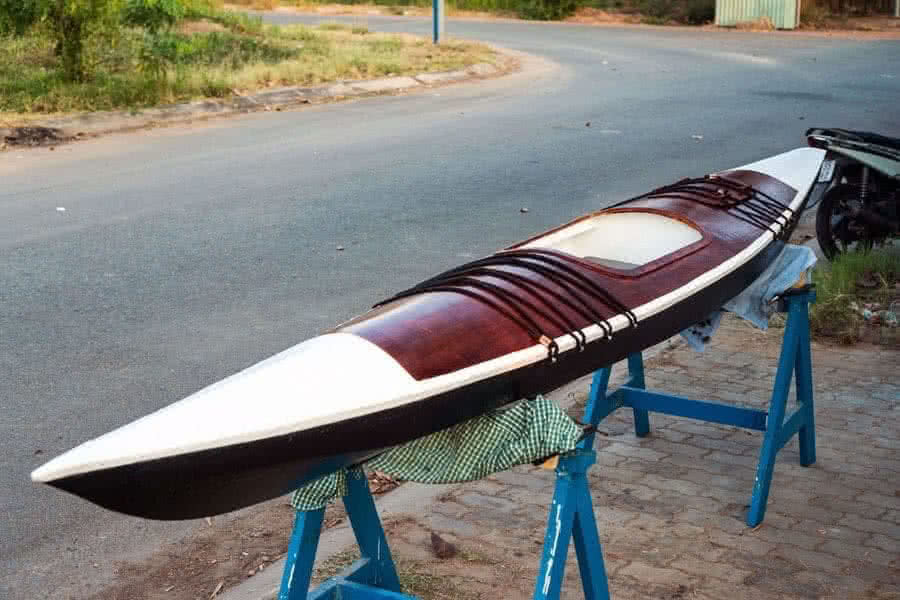
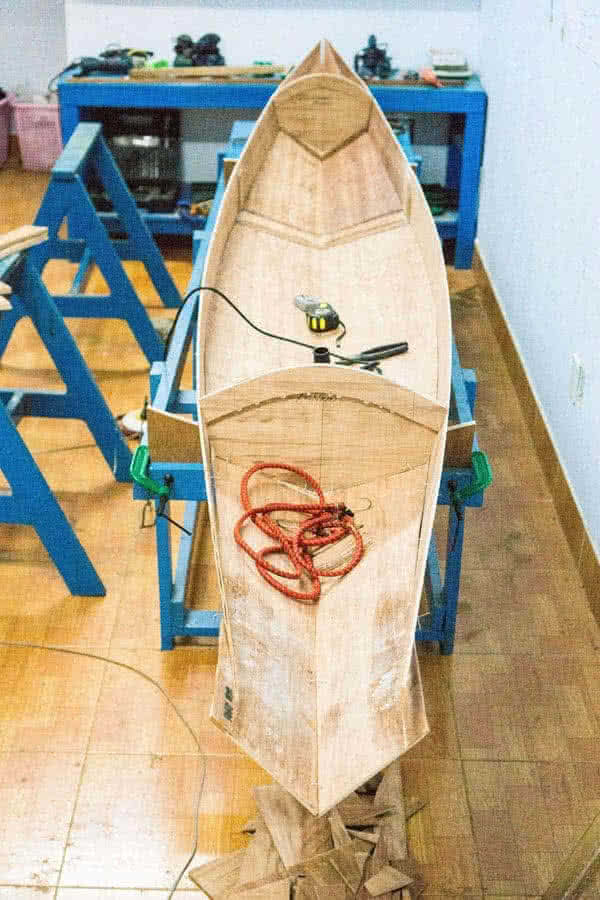
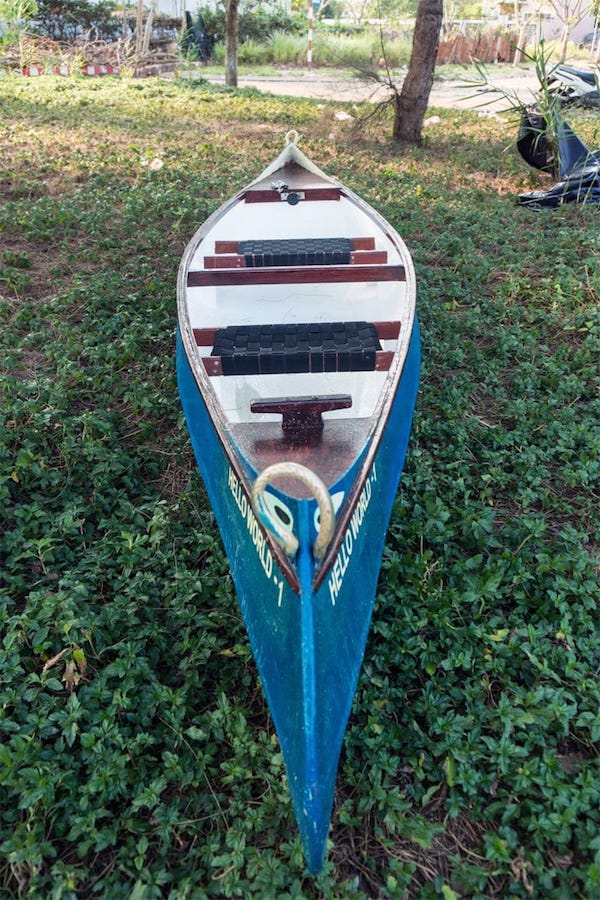
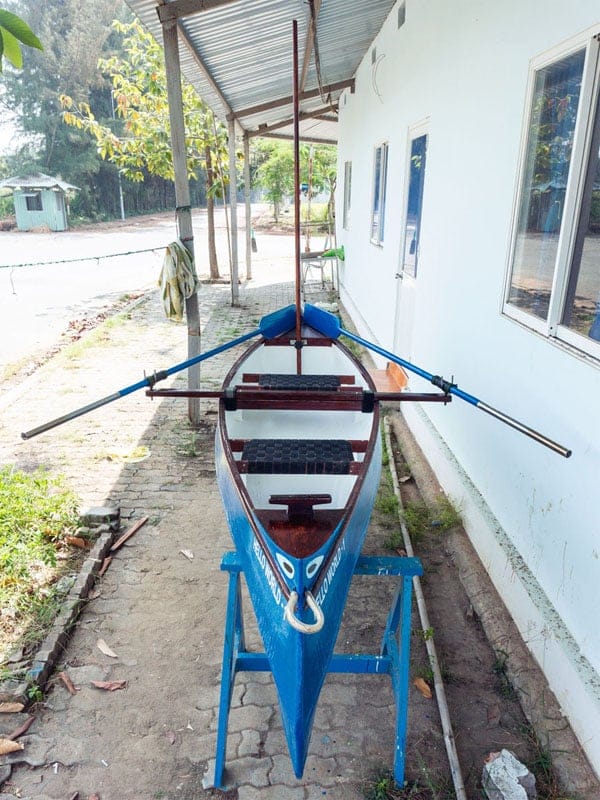
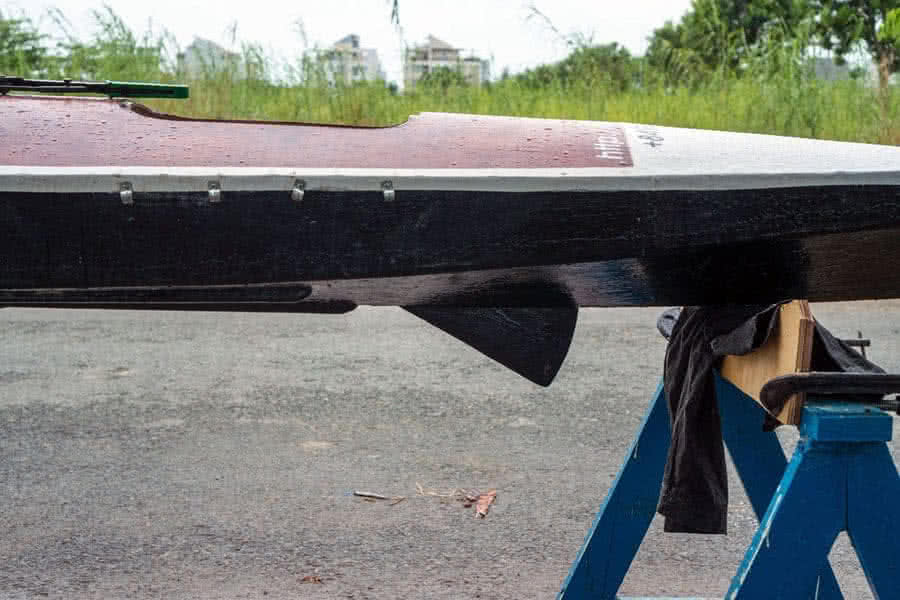
The added retractable skeg works perfectly! Within the storage compartment lies the skeg box, which houses a 30 cm skeg blade that can be controlled (lowered or raised) via a steel wire which runs into the cockpit on the right of my seat. With winds coming from astern, the skeg is lowered to reduce the boat’s drifting and yawing, or when waves are large, the skeg helps reducing rolling motion.
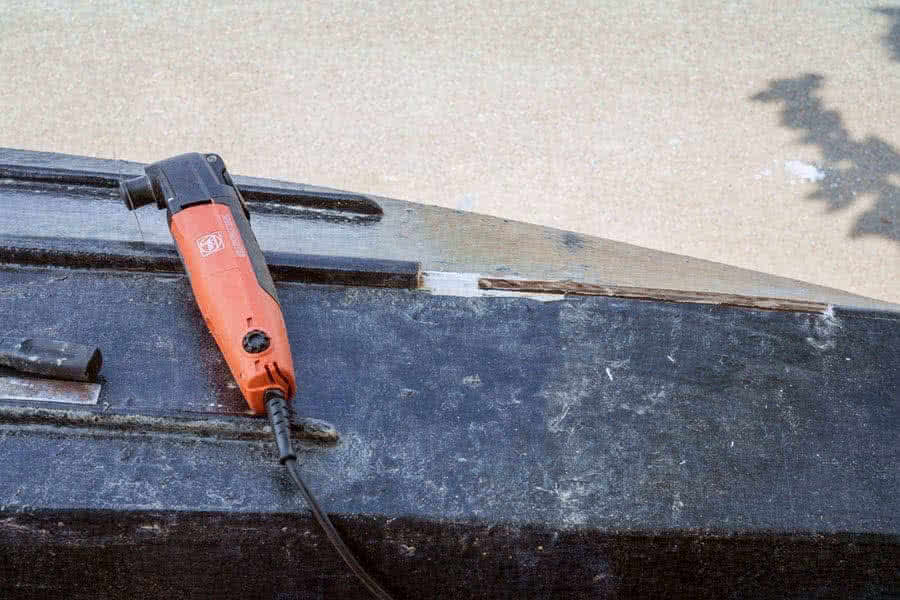
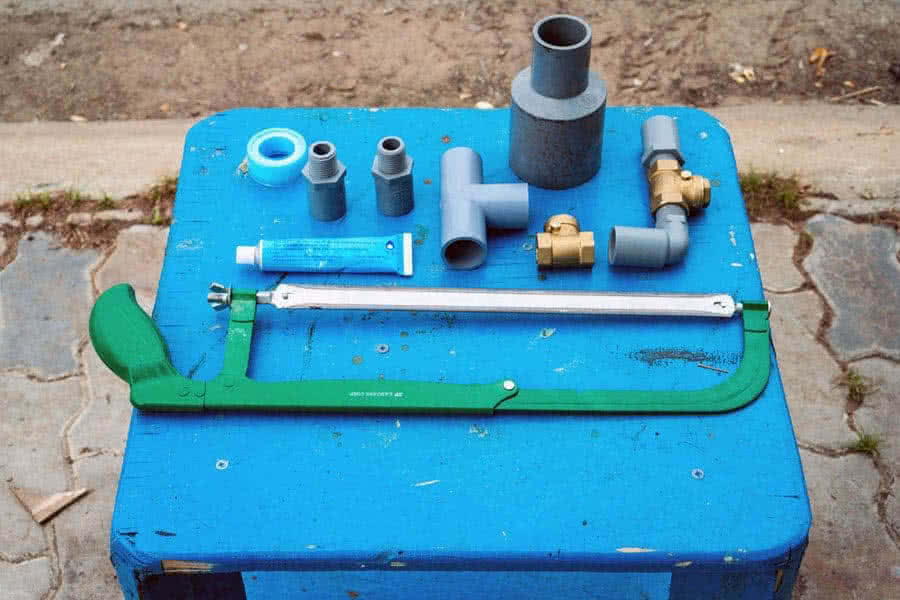
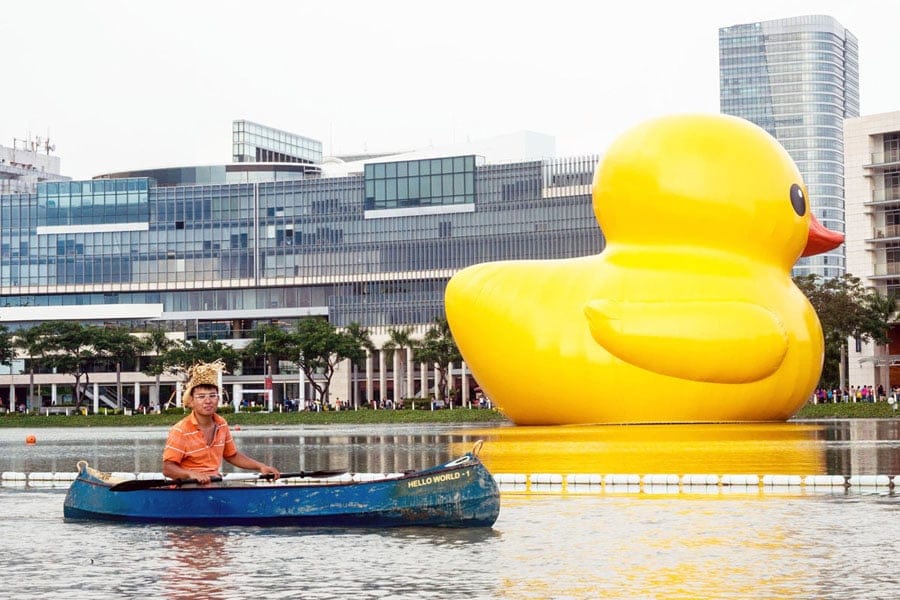
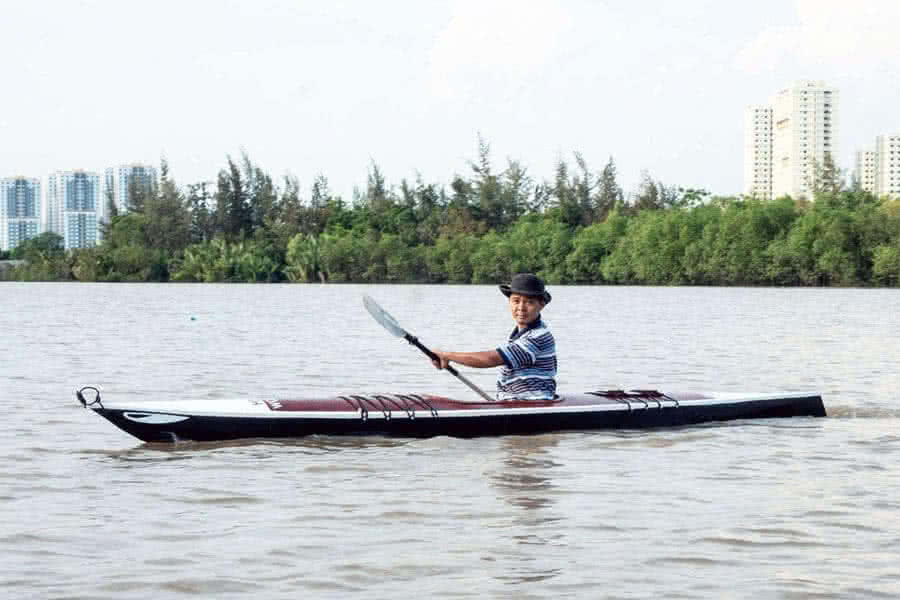
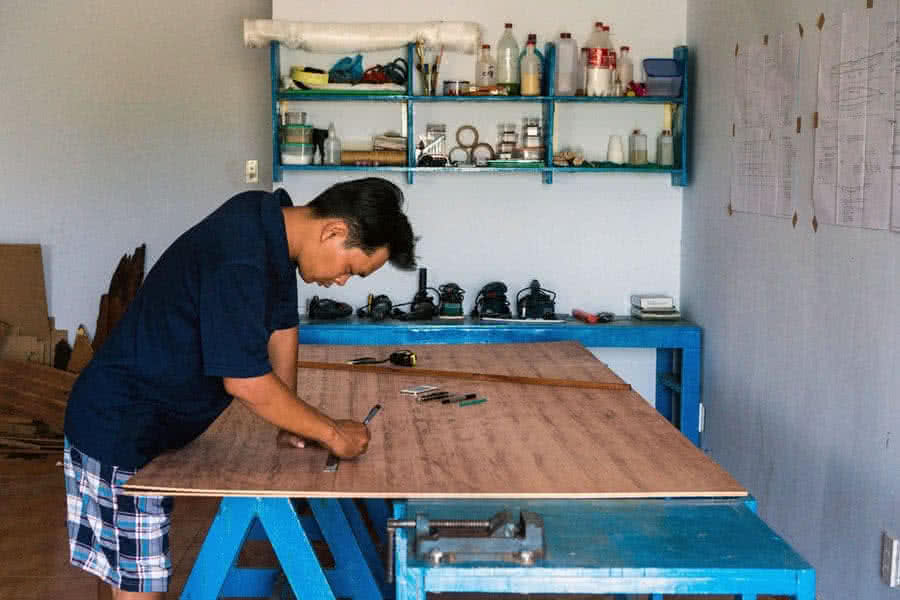
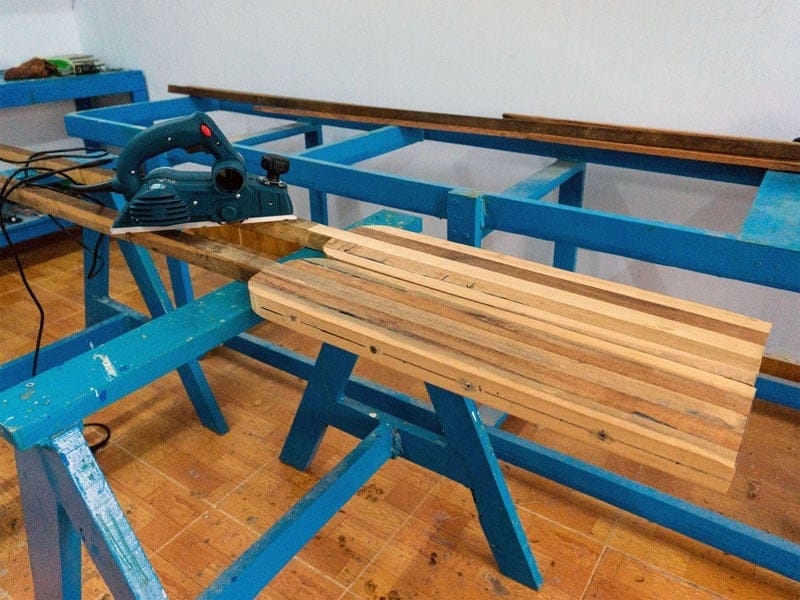
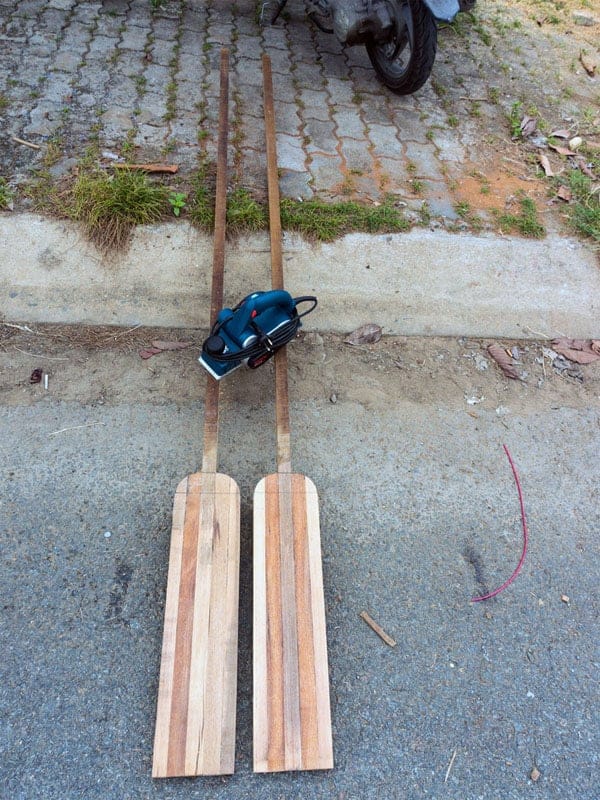
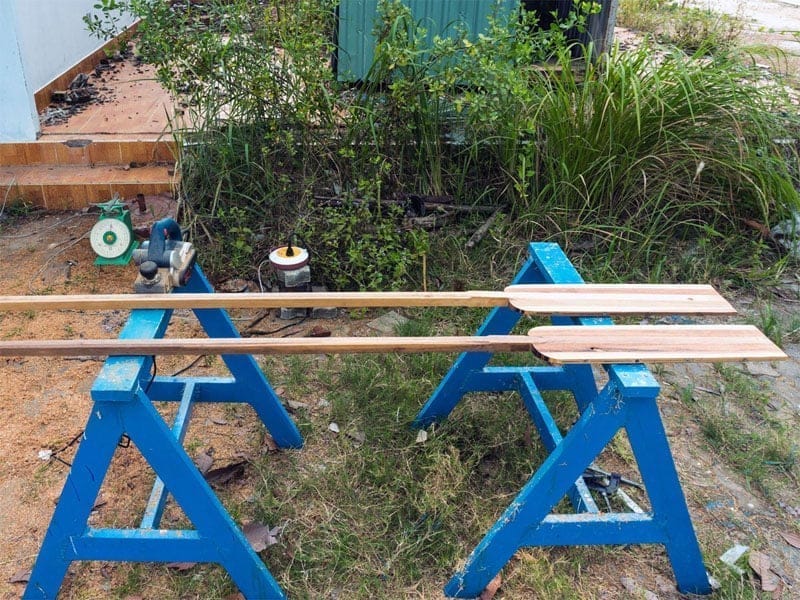
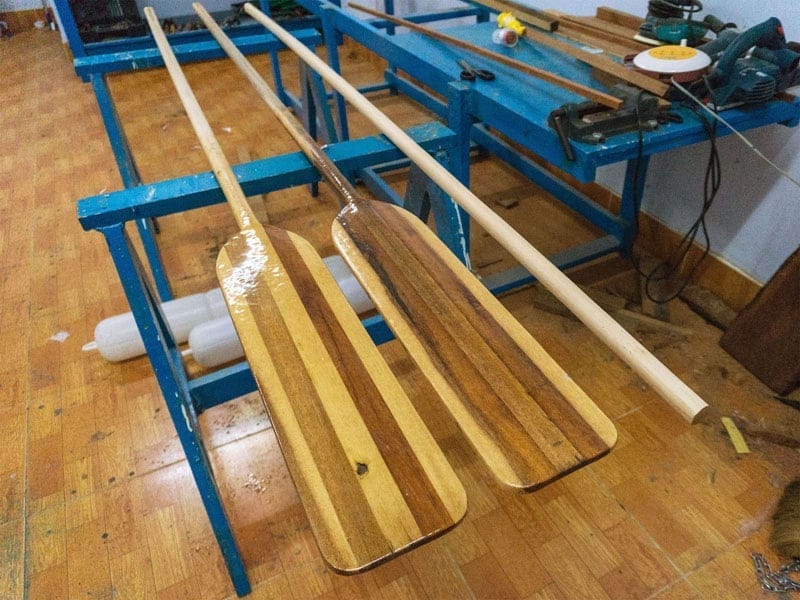
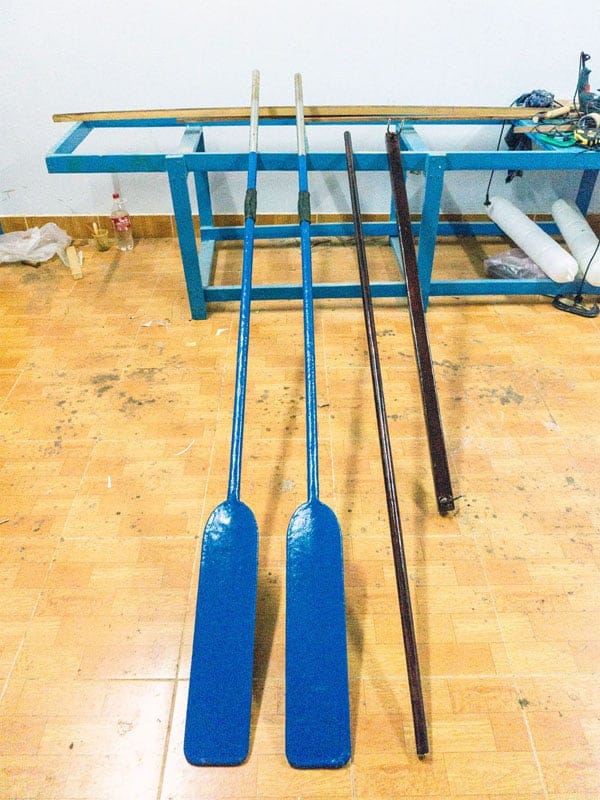
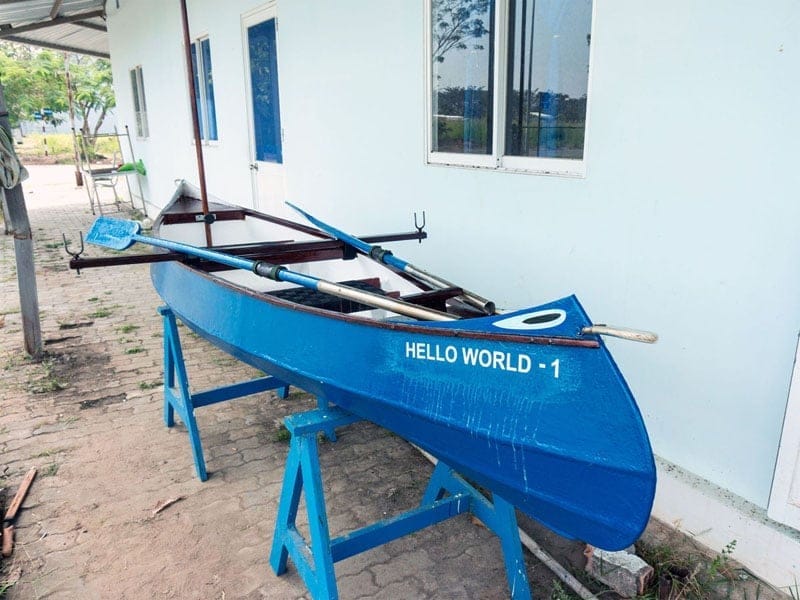
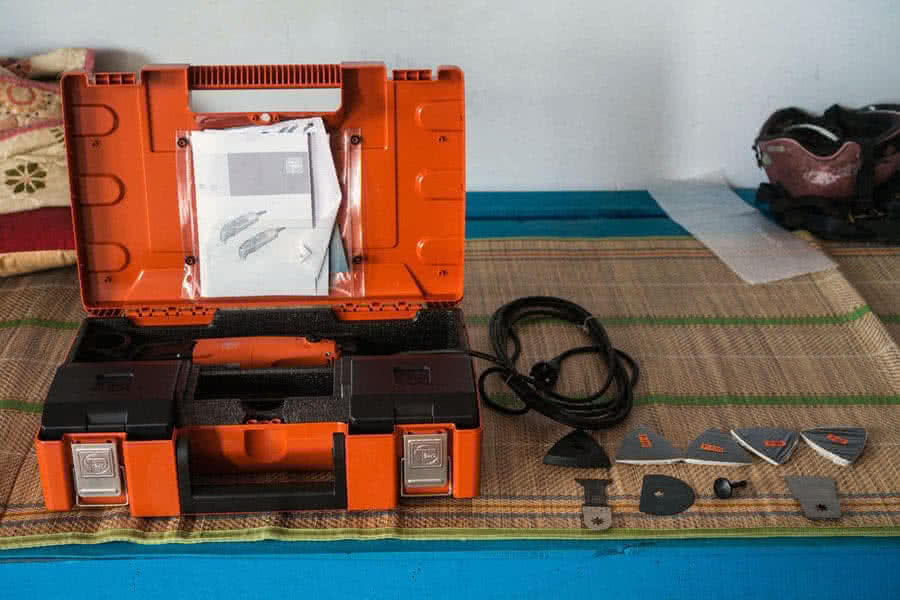
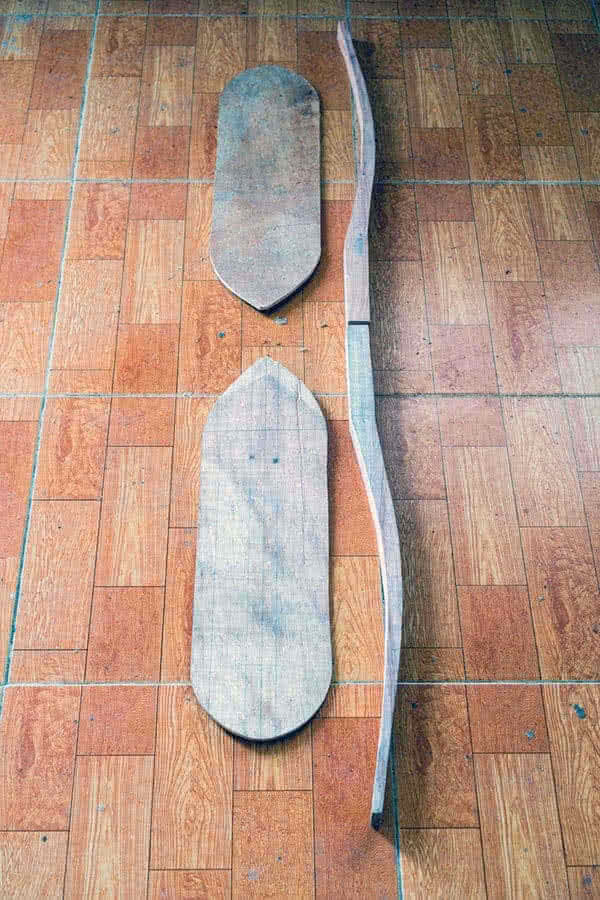
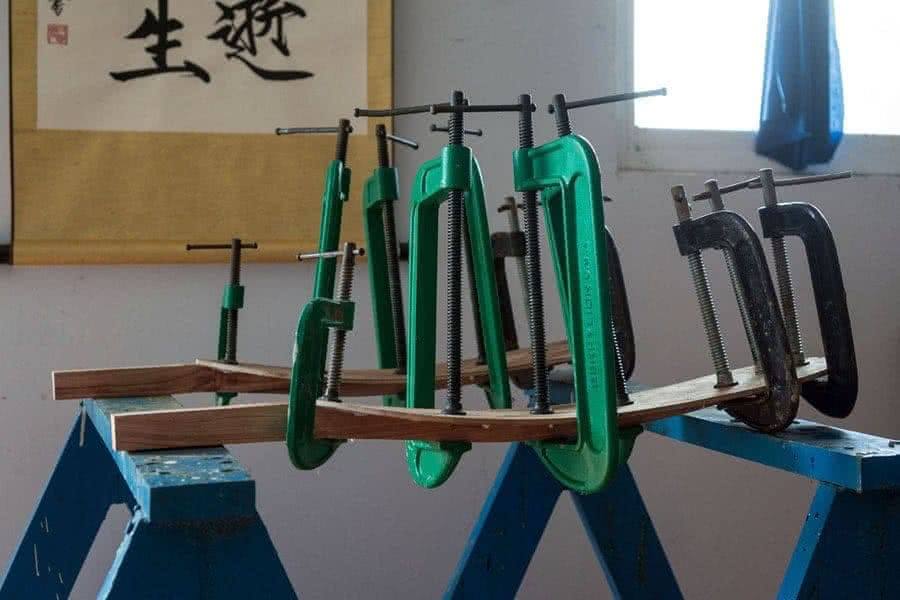
I now have the excellent Fein Multimaster oscillating tool into my woodworking collection. Watch a demo video here to see what the wonderful Multimaster can do. There’re some other accessories needed for this Hello World – 2: a paddle, a hand pump… For the paddle, it’s the first time I experiment with carbon fiber fabric, it seems to be very solid, but I need to learn more to get the most out of this special material!

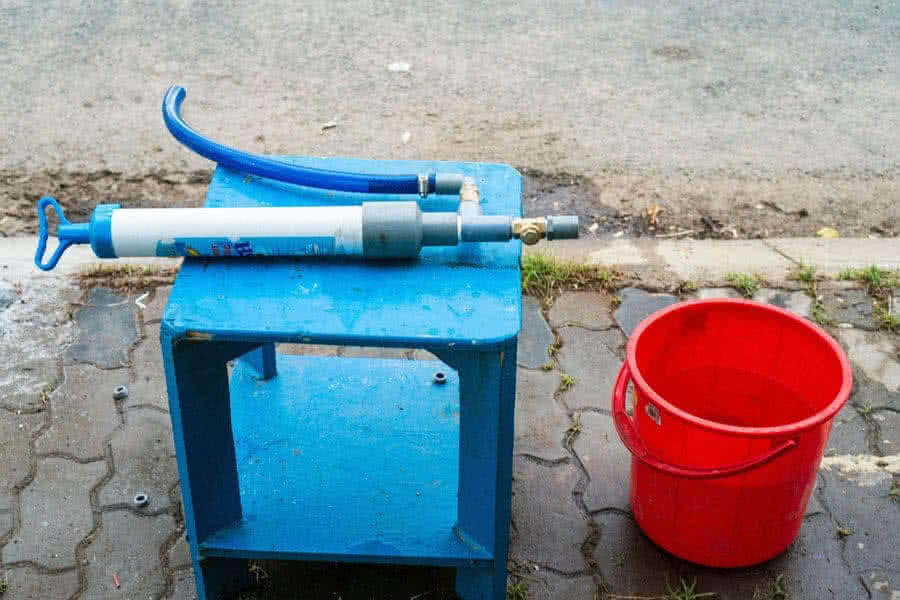
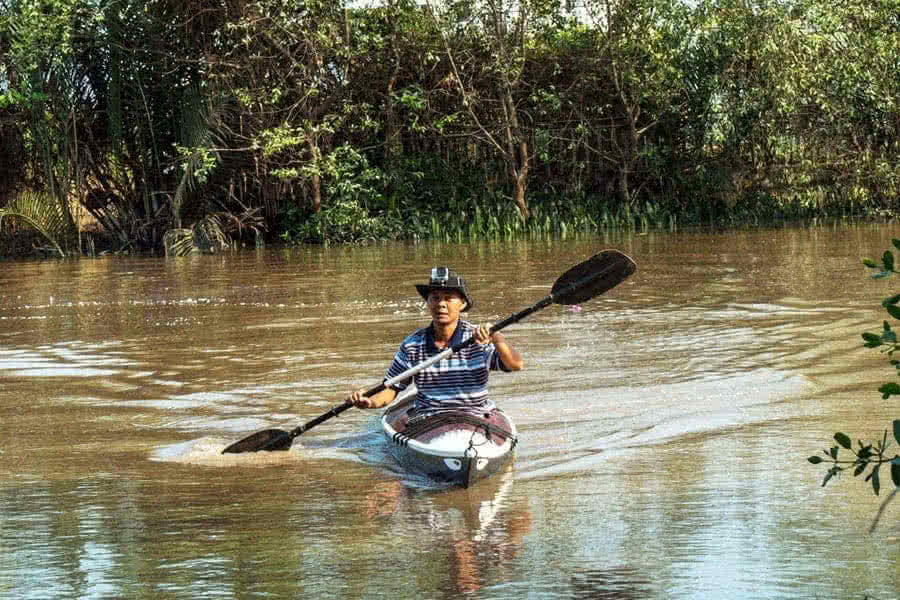
The hand pump is quite simple indeed, it takes just a couple of hours to get it done. Two check valves (one way valves), some PVC parts, and a toilet pump (available at most super market). The hand pump is a crucial accessory for my kayak, as now it’s turned into rainy season, and as I’m paddling into rougher water. There’re some more accessories to be made and tested, before… the voyage begin!