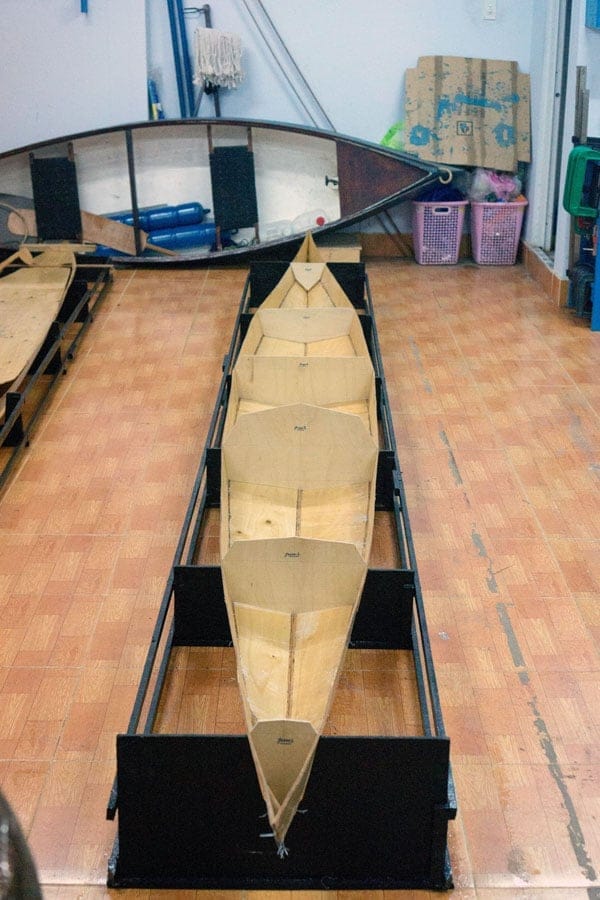
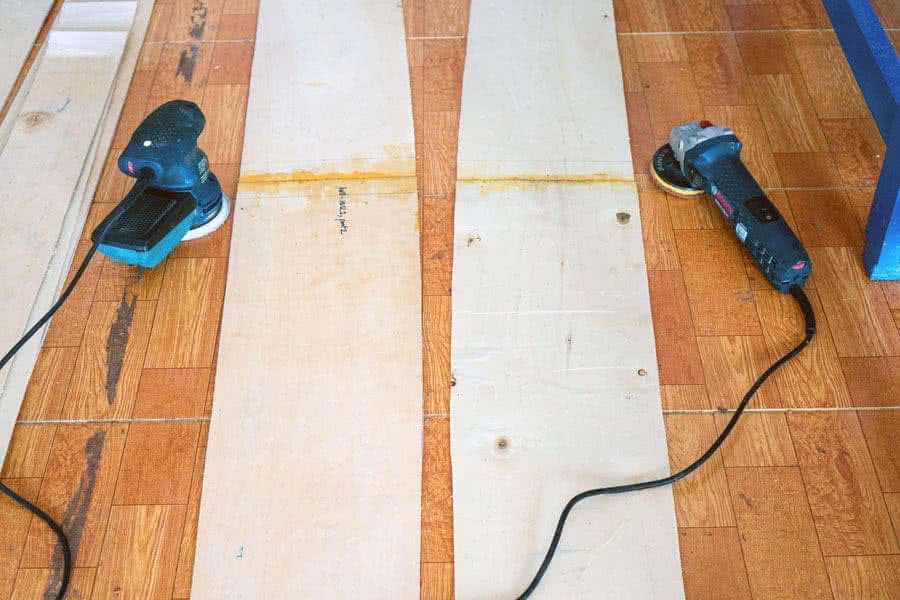
Noticed that the hull’s plywood scarf joints happen to be closed to the seat and (sail) mast base position, I decided to reinforce those places with a narrow (20 cm) stripe of glass. Also noticed that a small paint roller helps distributing the epoxy more even and quicker compared to a brush, though it does absorb (and hence waste) a considerable amount of epoxy. Saigon this season is so hot, all glassing need to be done at night, precisely and quickly.
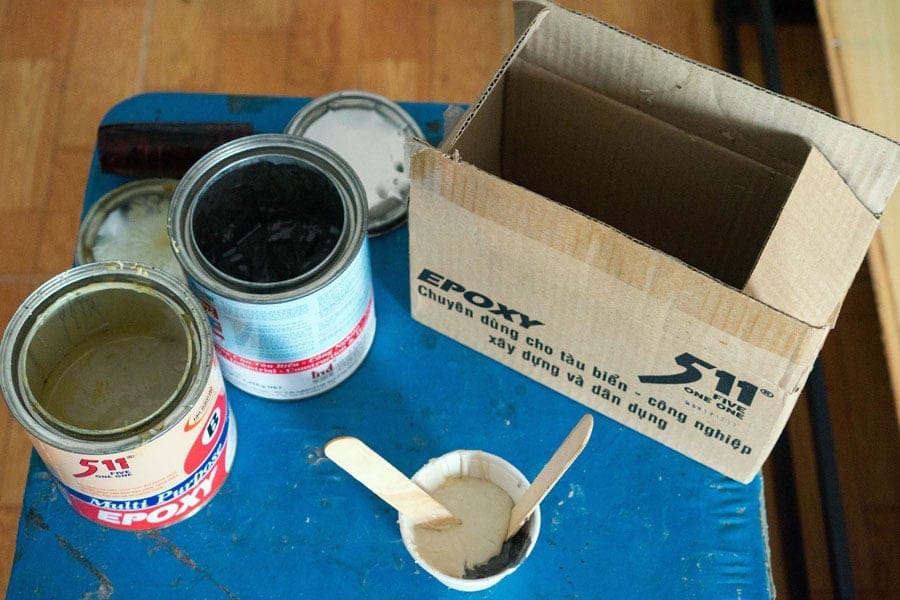
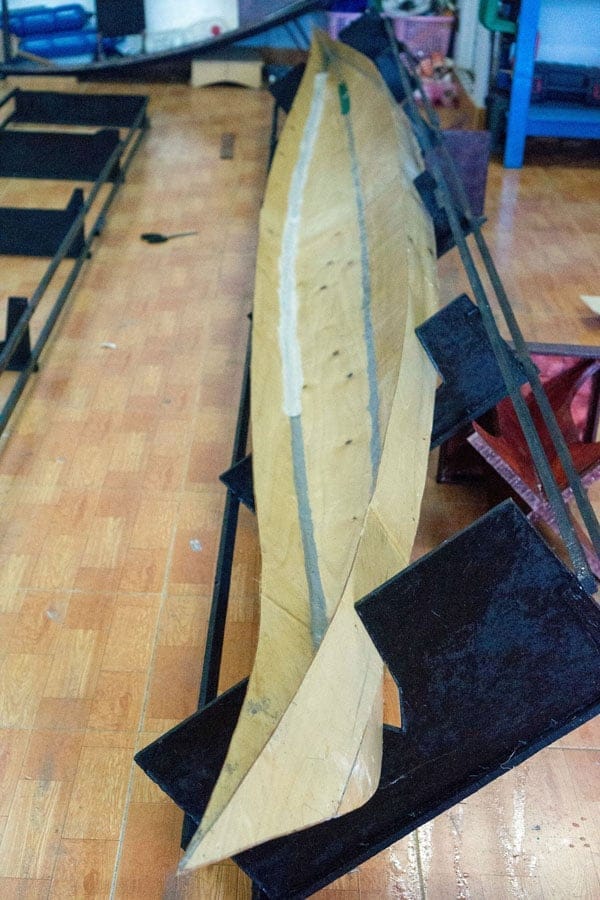
Next is glassing the hull’s seams, and internal glassing for all the hull and deck (I don’t glass the deck’s seams, feeling that one layer of glass is enough). I use epoxy with the B5 hardener for the seams, it’s slow curing and somewhat elastic nature is more suitable for all glueing, joining, better bonding to some tropical hard wood (compared to the TETA). And I use TETA for the overall glassing, its hardness helps creating a rigid external shell, and it is also cheaper to be used in greater quantity.
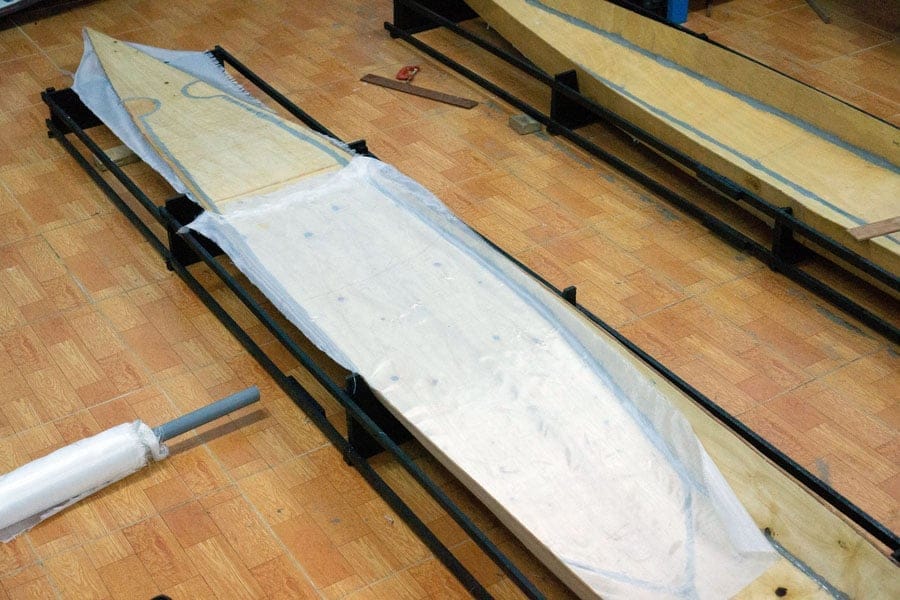
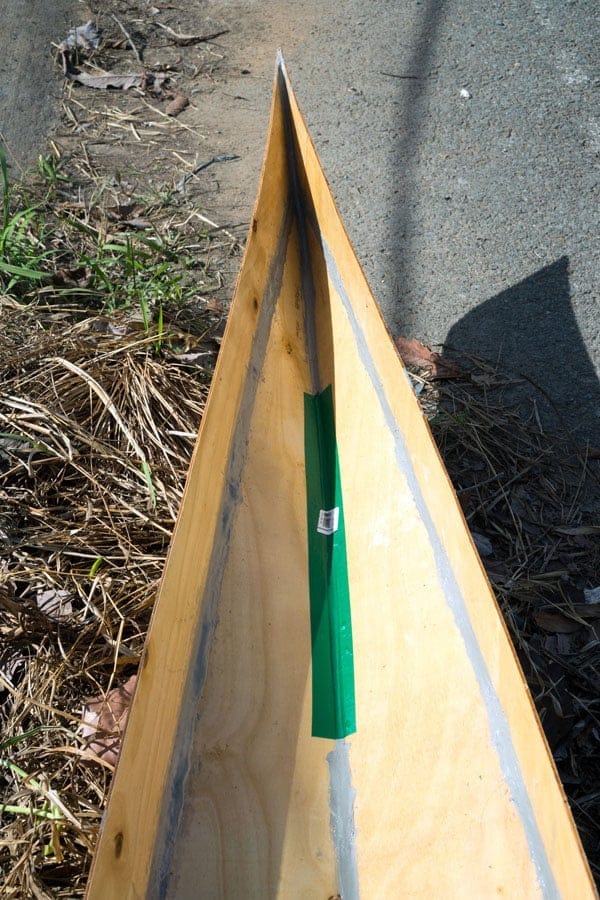
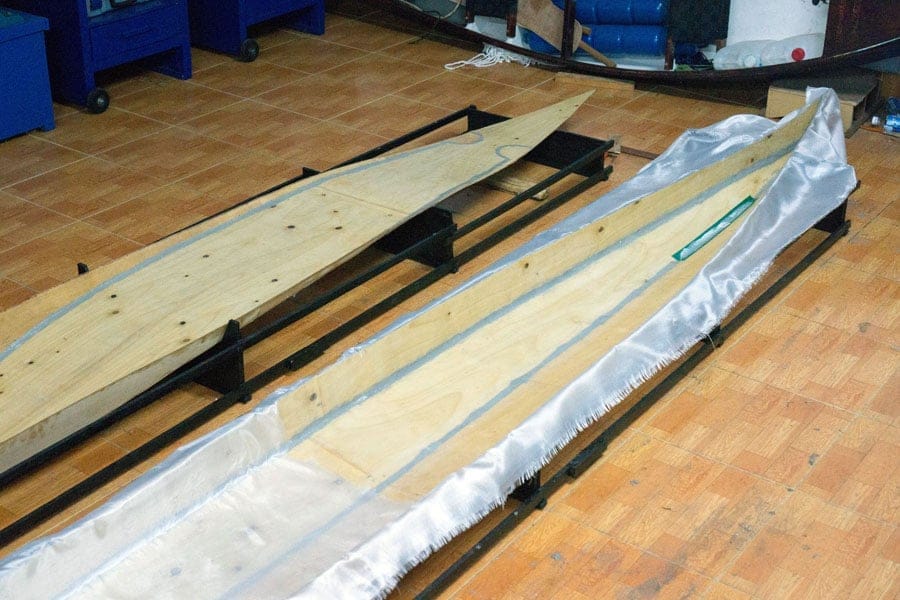
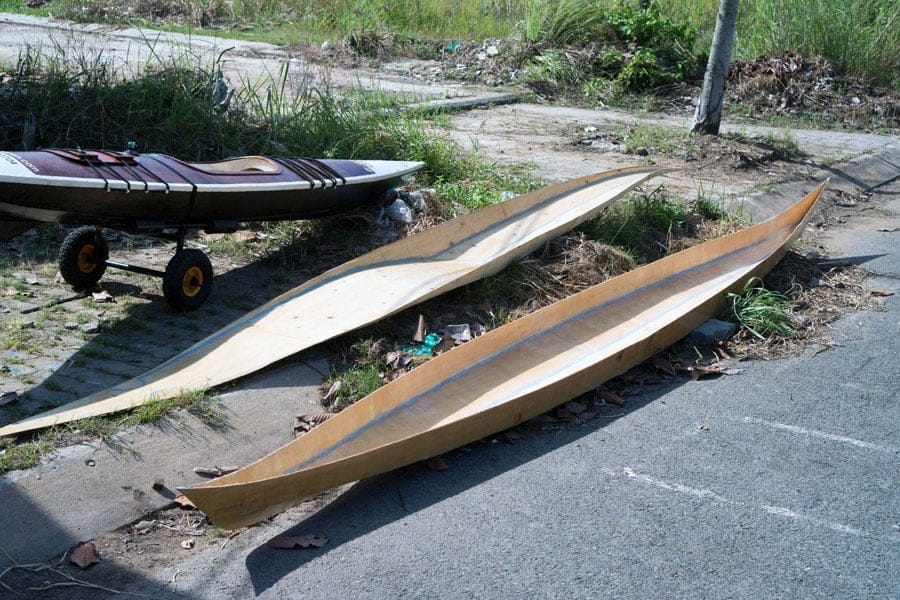
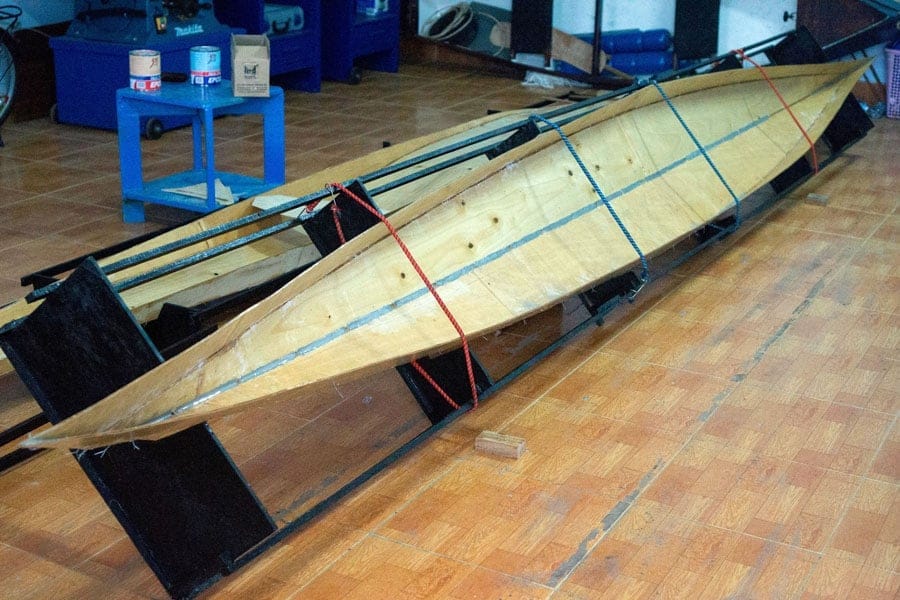
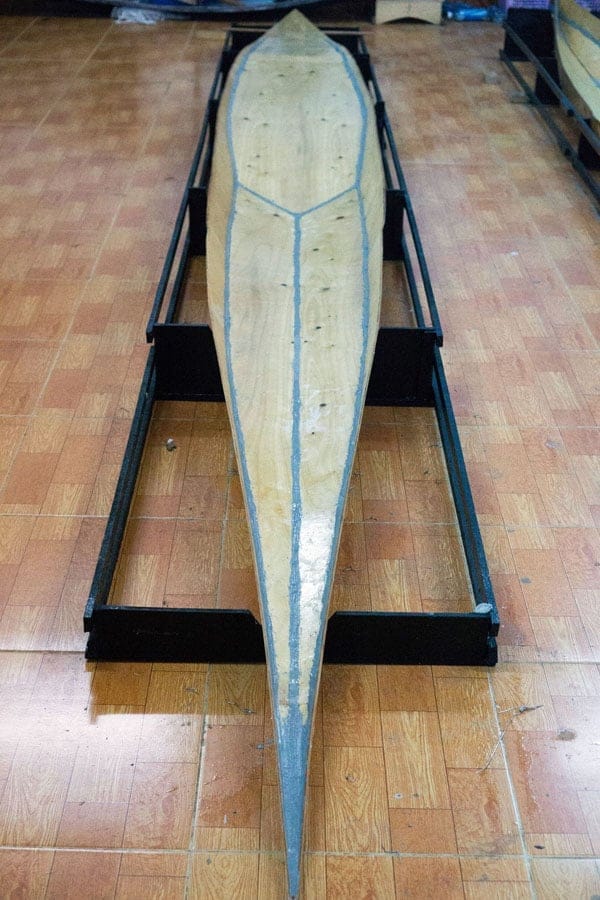
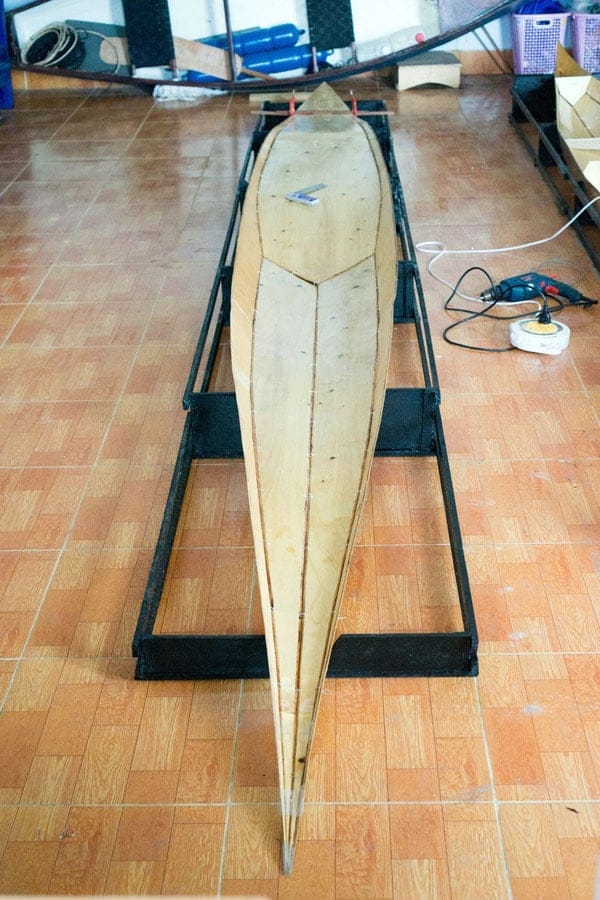
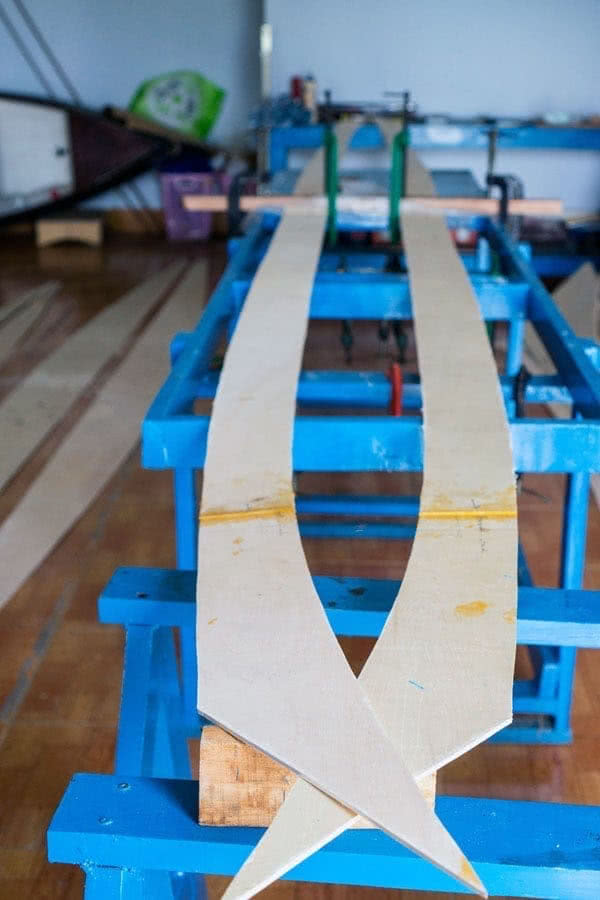
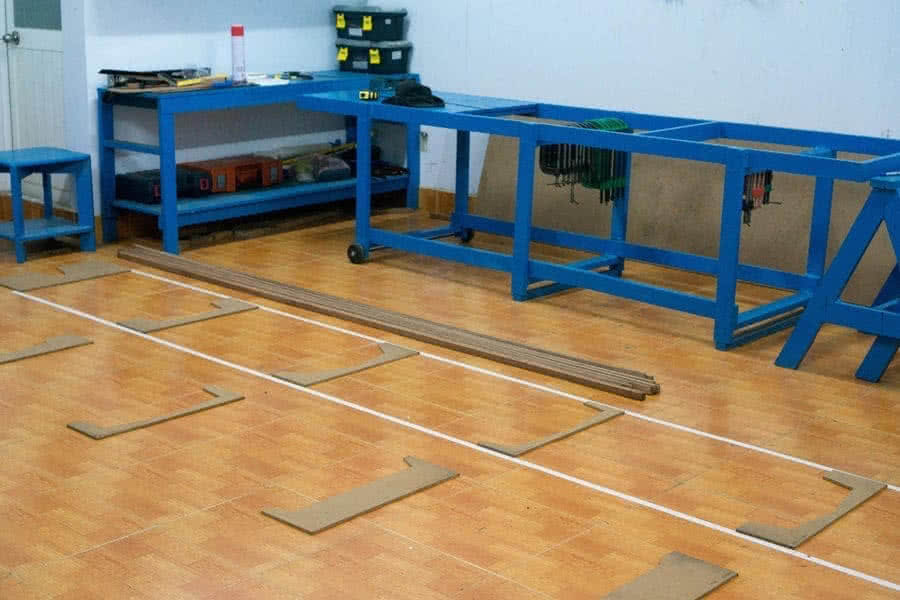
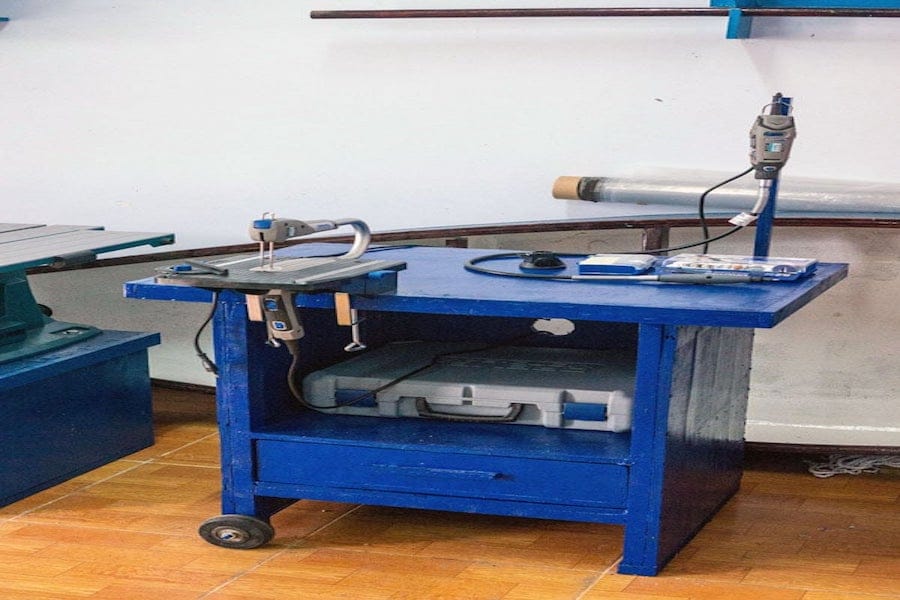
I can’t find fiberglass tape suitable for boat work of any kind here, so decided to use bias – cut fiberglass (cut along the diagonal line) instead. At this point, I tried to bend the side bilges a bit, it’s really really tough, with the internal glassing only (the external is not yet on). Feeling pleased with my epoxy and glassing work, and by my estimation, I’ve put about 1.8 ~ 1.9 kg of epoxy on (for both the deck and hull), I’m now counting the epoxy to help reducing the final boat weight.
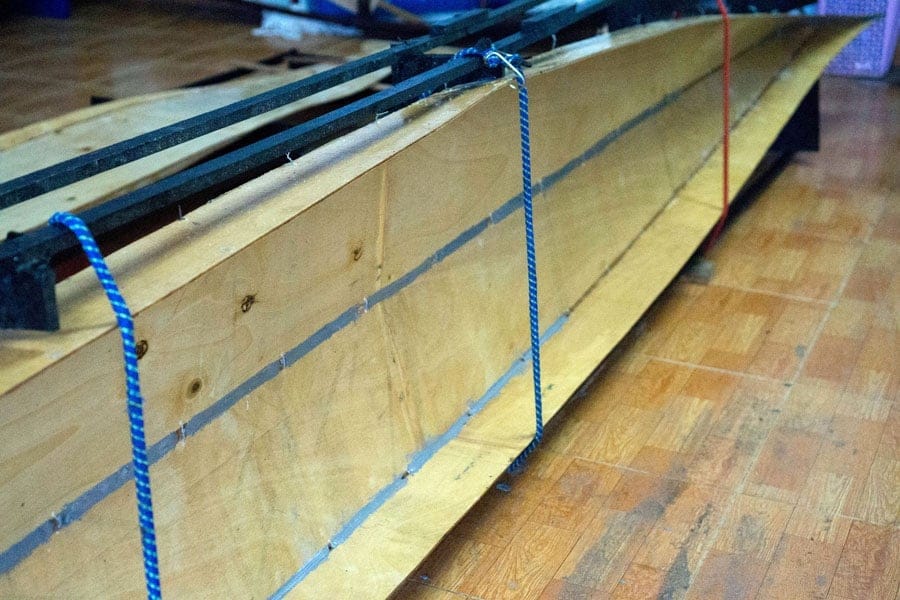
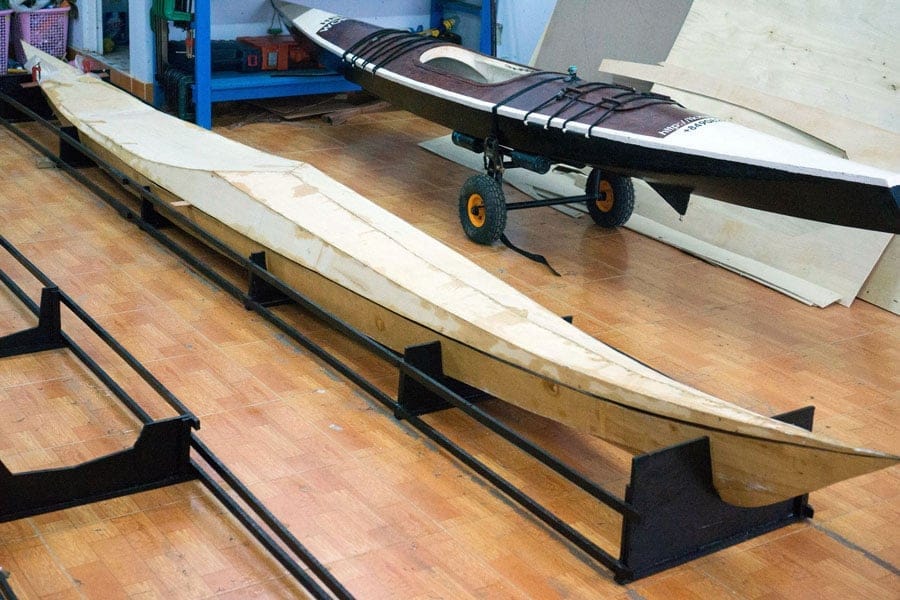
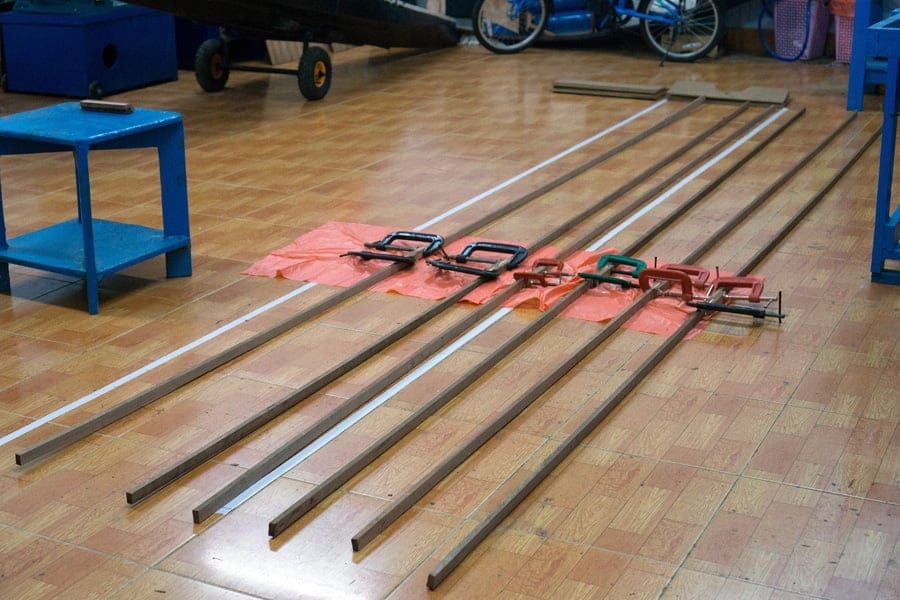
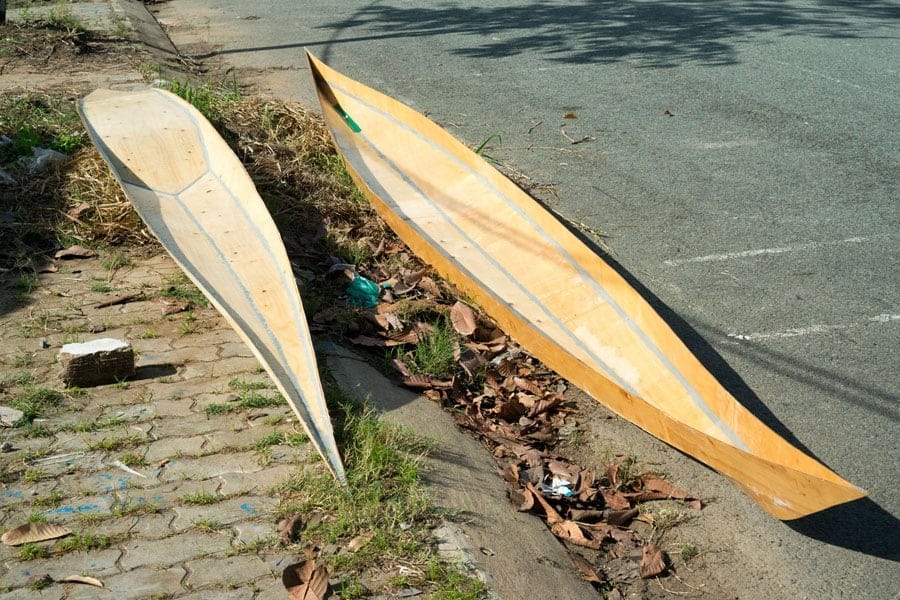
Next is installing the gunwales (the inwales), just learnt that these are British English, for American English, it’s called the ‘sheer clamp’. The plan suggests joining the hull and deck using fiberglass tape, but since I have no such, and since I have less confident in that method, I resort to the known technique of using the inwales instead. This gonna be a bit tricky, since the inwales need to be bevelled differently along their length, the good side is that there would be little difficulty in bending them.