This has been in my TODO list for quite some time, but for various reasons, couldn’t get it done till now. To the present day, I’ve accumulated more than 1,000 nmi under my belt with Hello World – 1 & 2 (nearly 1,900 km, as logged by my Garmin), but that’s only the 20 ~ 25 km paddling around my home. I need something longer to testify my endurance; and for the last 2 months, I’ve been preparing for this 60 km paddling trip to Vũng Tàu: physical exercising, equipments, plan A, plan B, etc… It just comes the time to… get your paddles wet!
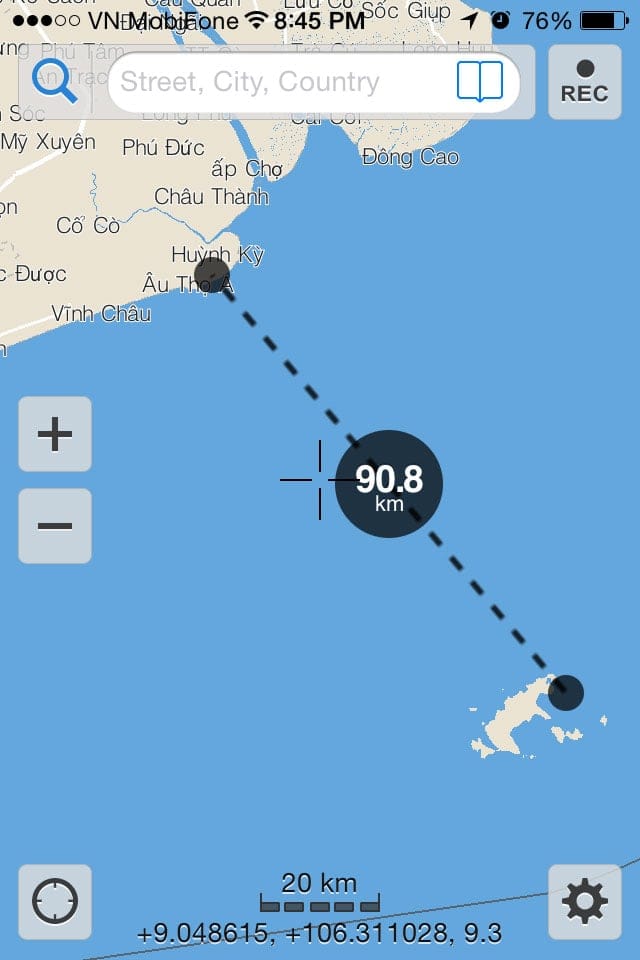
My Hello World – 2 kayak is a true player on rivers, but it’s surely no performer at sea. A 14 footer, it’s quite unsuitable to be deployed on longer journeys, so I need to make careful planning. The trip will be completed in 3 legs, approximately 20 km each, the first 2 will follow Sài Gòn and Lòng Tàu rivers, the last leg would pass Gành Rái bay to reach Vũng Tàu on ‘open sea’. And indeed, I have no ‘plan B’, no camping gears, no food and drink for a 2nd day of paddling, no signaling devices… it just has to be done, 60 km in a single day, in a single try!
Leg 1
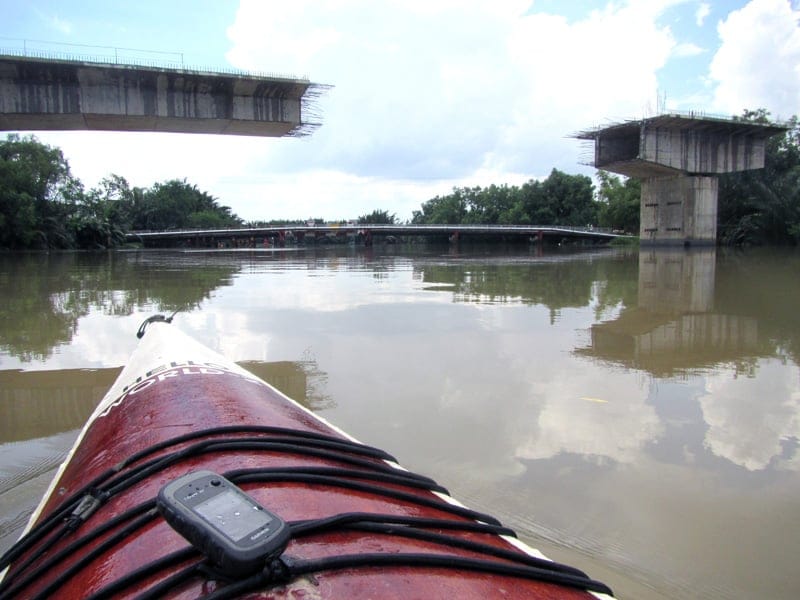
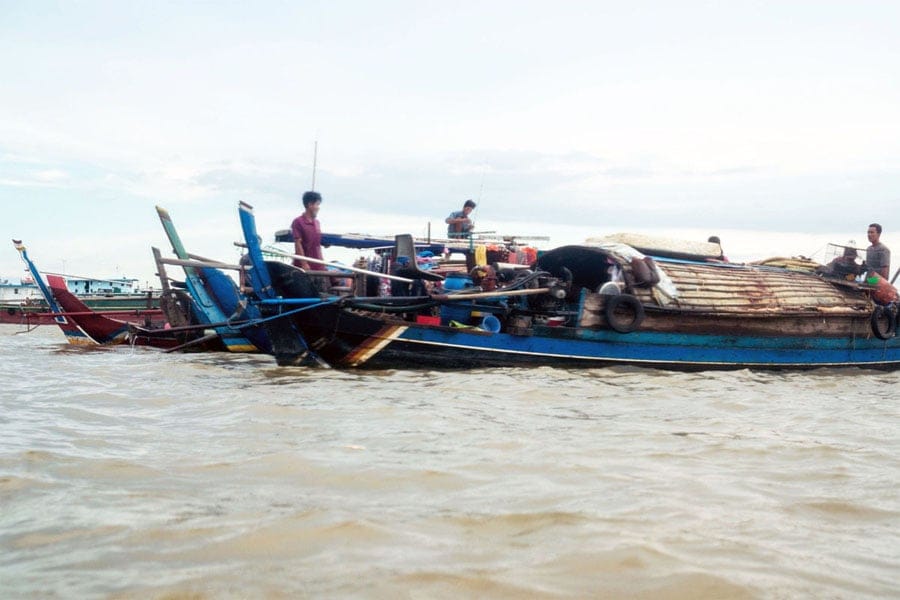
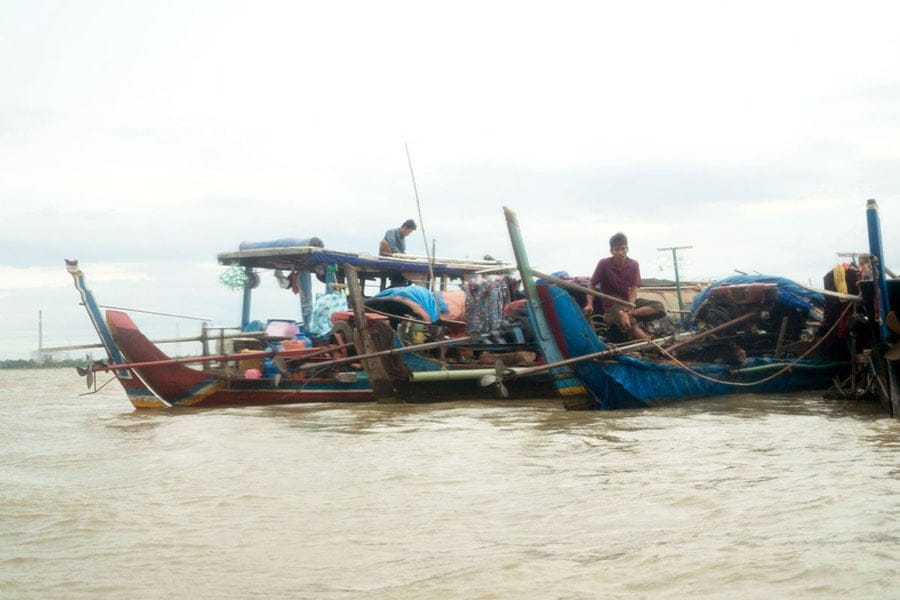
Wake up at 3:30 AM, I carefully check the gears, load the kayak, have a big breakfast, and at 4:30 AM, I depart. Right at the first paddling stroke, it begins to rain, cats and dogs! And it continues to rain lightly for the next several hours, but that’s good really. Silently pass by many fishing boats, some was sleeping, some was watching a FIFA World Cup’s live football match! Heavily loaded, I make my way through the misty, dark water with a pace around 6 ~ 6.5 km/h. At 5:30 AM, the Garmin indicates a minor rise in speed, ~ 7.5 km/h, it’s the tide’s coming into play!
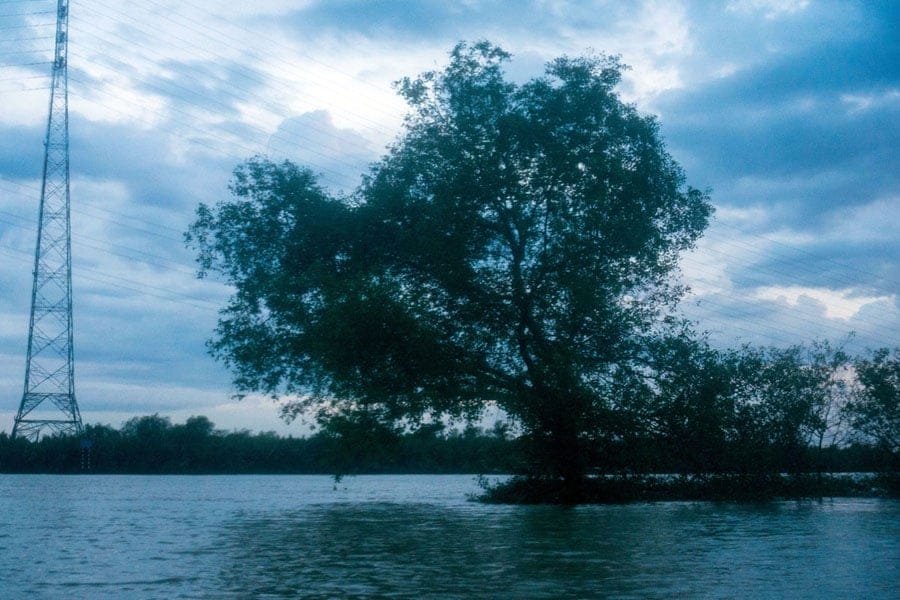
6:00 AM, as the dawn was breaking, I steadily made 8 ~ 9 km/h, 6:45 AM, I was making a comfortable 9.5 ~ 10.5 km/h riding. The tide plays quite a role in my planning, it should help to conquer the first 2 legs as fast as I can, reserving stamina for the last troublesome leap. Velocity then increases to 11 km/h for a short while, momentarily reaches 12 km/h, woohoo… I finished the 1st leg in 3 hours with little resting time, reaching Tam Thôn Hiệp crossroad, the southern most outskirt of Sài Gòn, beyond this point is Cần Giờ mangrove biosphere reserve.
Leg 2
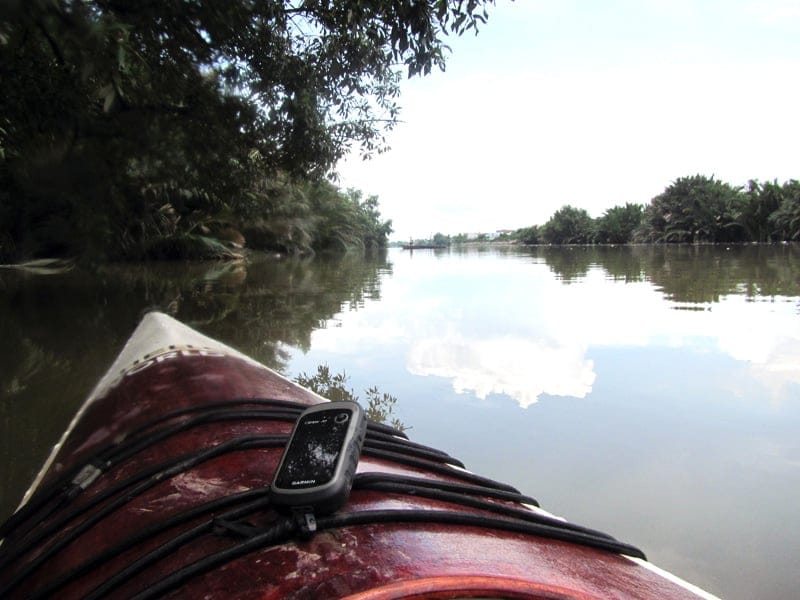
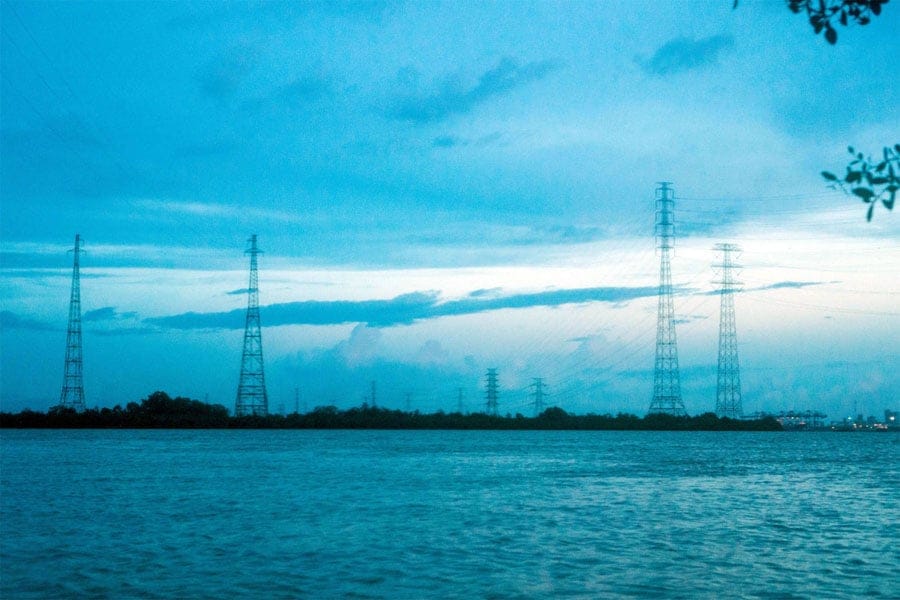
8:00 AM, after a short break, I start the 2nd leg, which traverses the Cần Giờ mangrove forest to reach the sea. The Garmin instructs me confidently through this complex maze of rivers and canals, making ‘bip – bip’ sound in approximation of each turn point (the planned route was made on computer and transferred to the device). I’m a bit in hurry as I know I don’t have a large time frame to utilize the tide, in all, less than 4, 5 hours or so. 8:30 AM, the tide will finish lowering in Vũng Tàu area, though for inland water, there’s still a delay effect.
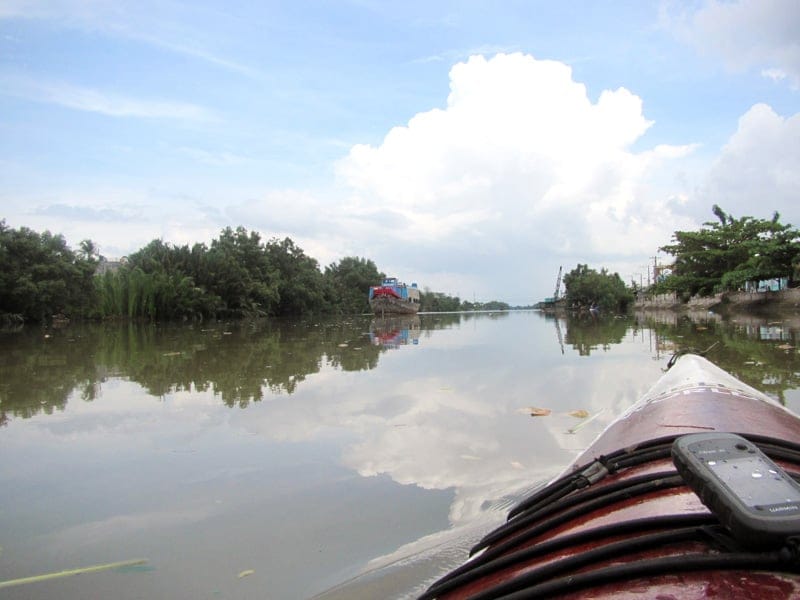
Speed drops gradually along this 2nd leg, and at 10:00 AM, I was returning to 6 ~ 6.5 km/h, as the tide was coming to a complete stop. The last few kilometers of this leg was a bit difficult, cause although my arms and shoulders showed little sign of tiredness, my butt was in great pains after hours of idleness. Then it was a moment of thrill, to stand here and watch over the large calm estuary where the river joins the sea! Another leg done, an hour of resting, lying leisurely in the boat, watching the sea, having lunch, and making some selfies!
Leg 3
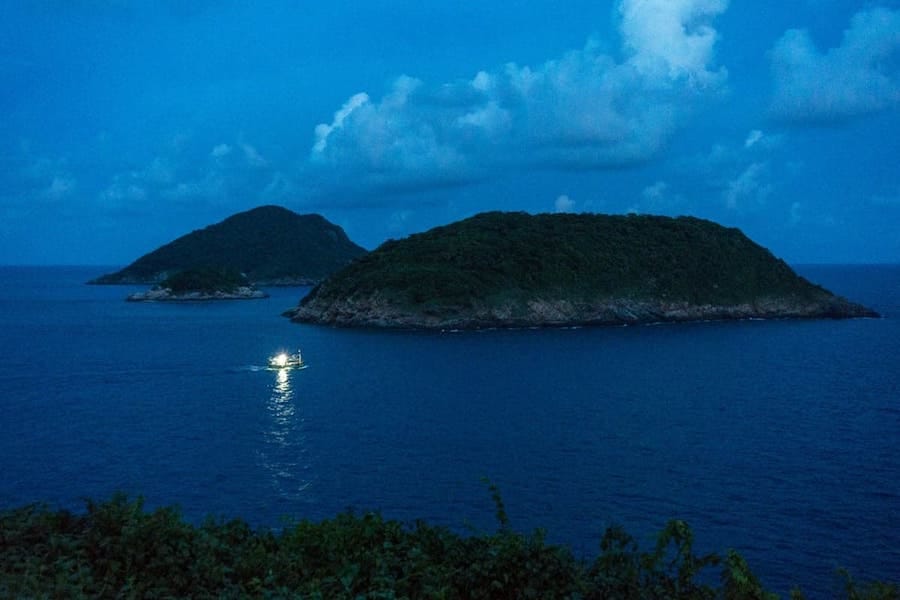
Right at noon, I start the final leap. I was having a good day, it’s heavily cloudy, the sea is quite calm, small waves, south – west light wind at 2, 3 on Beaufort scale coming to my convenience from starboard ‘broad reach’ or ‘beam reach’, Vũng Tàu‘s mountains are clearly visible across the big bay. I decided to start as soon as I can, fearing the regular afternoon tropical gales and rains could bring much trouble later on. Switch the Garmin to compass mode, keep the bearing at 125 degrees for several hours, this gonna be just a piece of cake!
The following hours turned out to be not easy indeed! I begin to feel pains for my hands, the waves have hampered my efforts and reduced speed into the 4.5 ~ 5.5 km/h range. I have not a single moment of worry, but rather a kind of tranquility in my mind while navigating this immense sphere. I stop for a while having an nice talk with a local fisherman, then keeping on the straight line to target. On starboard side then seen the Cần Giờ Aval lighthouse (Vietnamese: hải đăng Bóng Trắng). Then at 4:30 PM, landed in Vũng Tàu at the precise pre – planned spot.
Return
Terra firma eventually, my 12 hours of paddling completed with flying colors! Nothing more to expect for the day, I go for dinner, then back to the hotel and have another 12 hours of sleep! Next morning, I was messing around the harbors, watching the fishing boats, then at noon, load my kayak onto a rented truck and return to Sài Gòn. My arms are still having some little pain as I’m typing this, but the feeling is really pleasant. It could be a small thing to others, but a little real achievement for me! Another milestone in my boating progress!
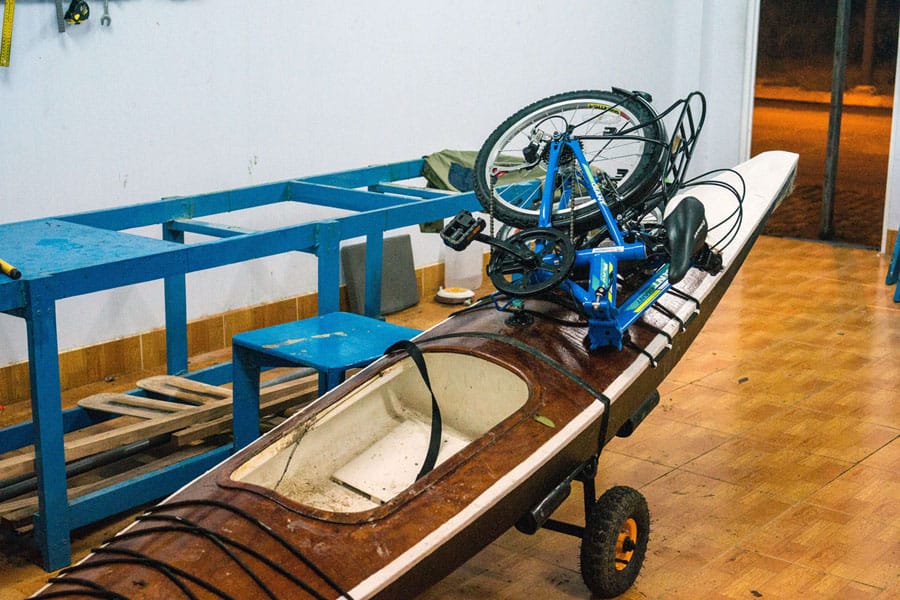
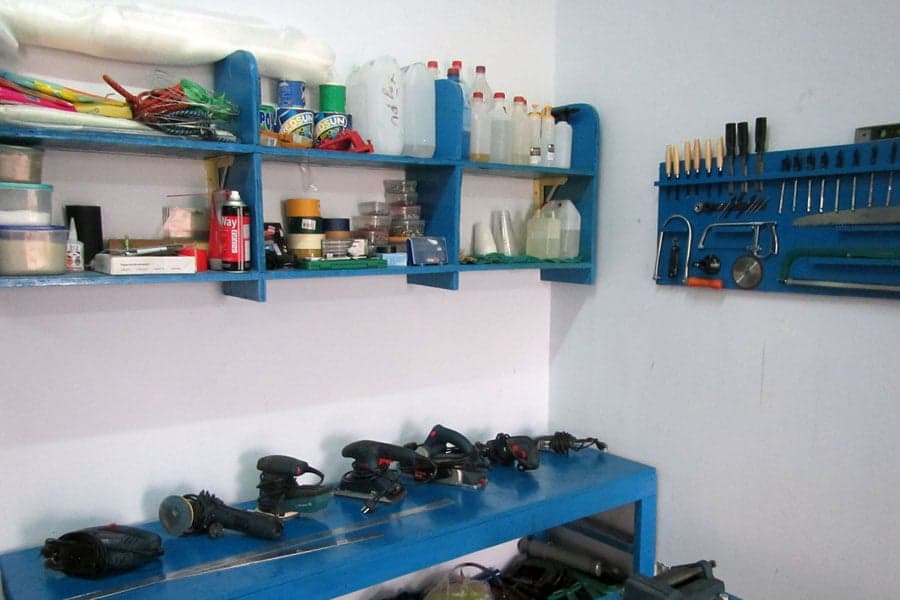
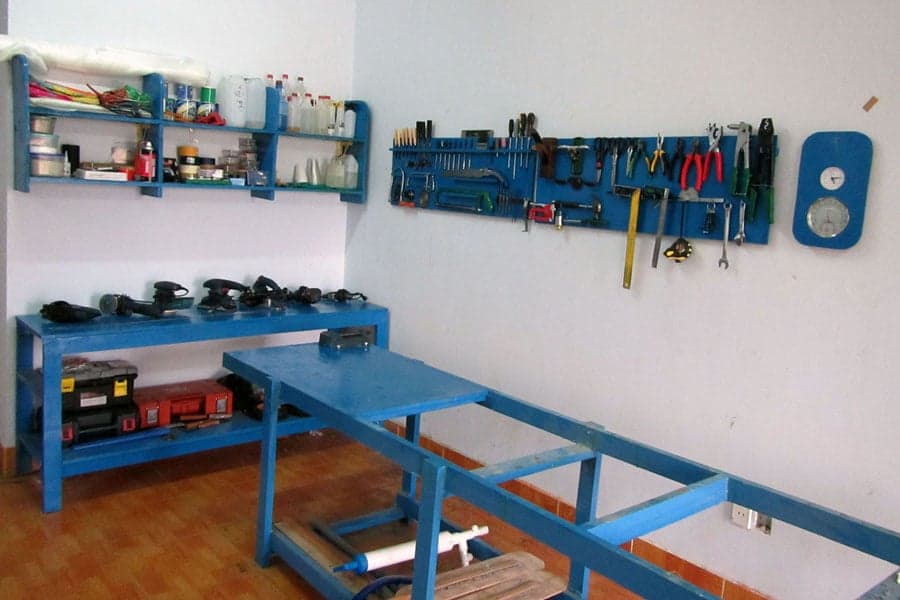
The trip helps rectifying some defects and shortcomings on boat building and boating equipments. It’s only in these longer trips that I would find out what gears, food, drink, clothing, etc… should I have, what improves and accessories I could do for my boats. Yet Hello World – 2, at 14 feet, still belongs to the recreational class, it’s not a real expeditional sea kayak by design… The trip also helps consolidating my understanding and experiences on what I should prepare to make successful future sea crossings and longer passages into mare liberum.
Epilogue
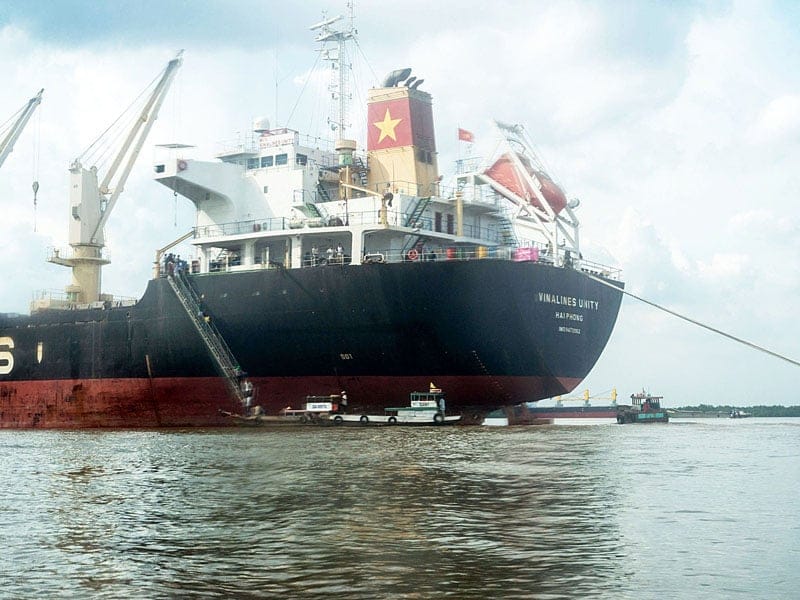
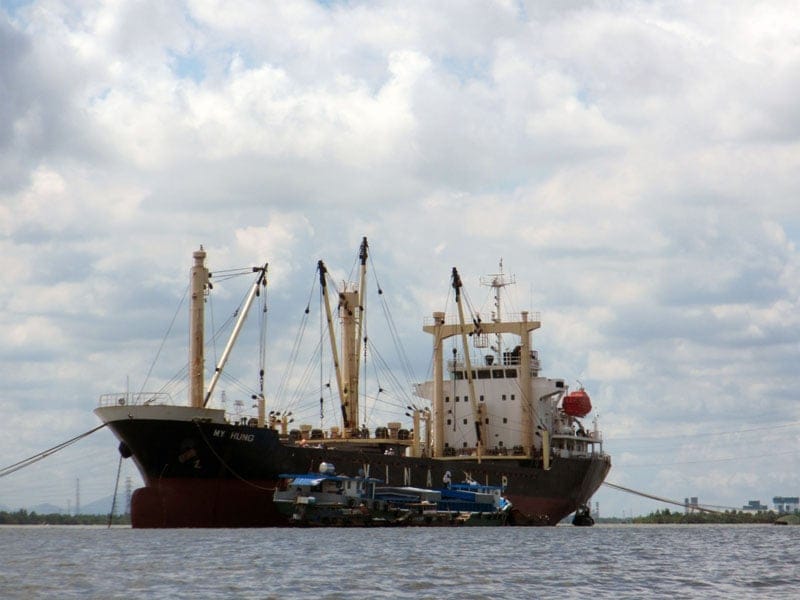
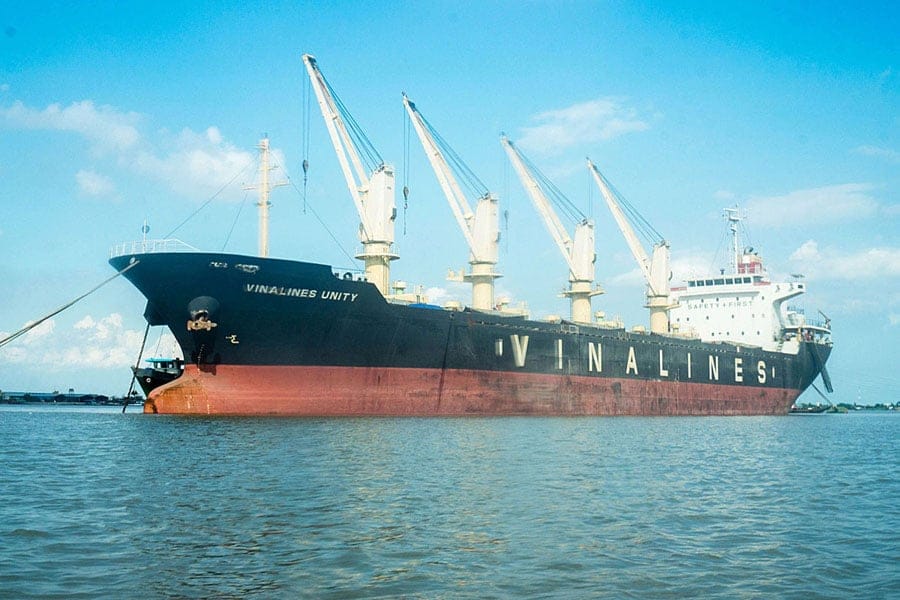
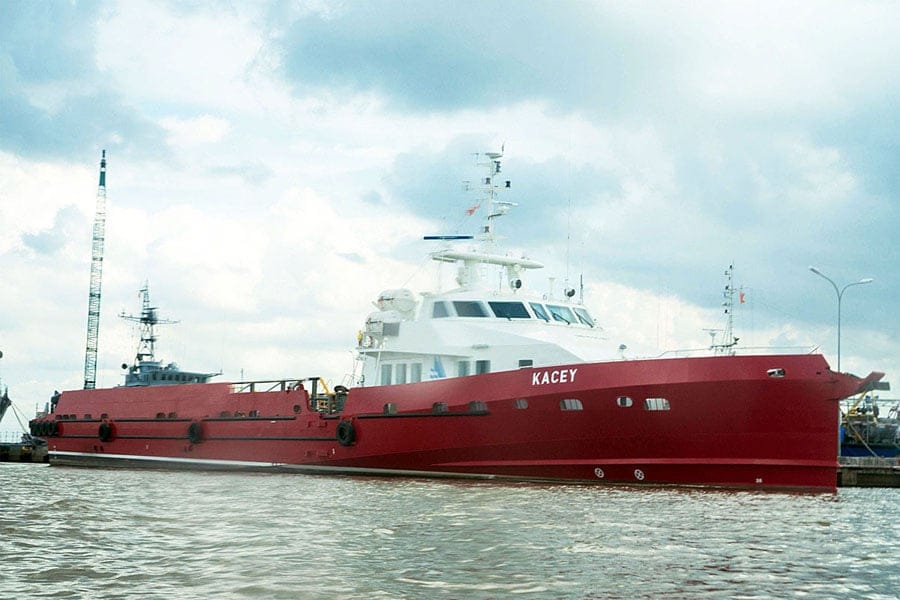
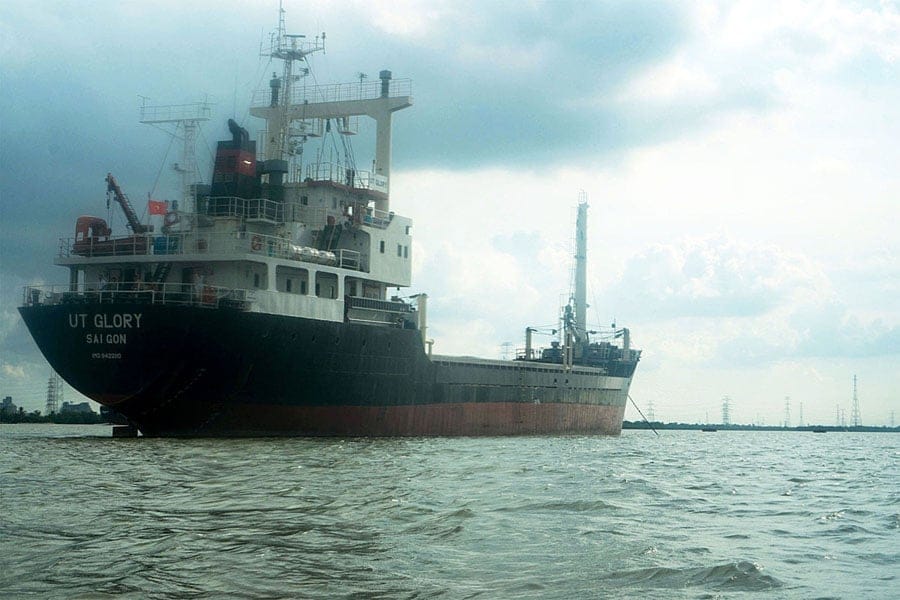
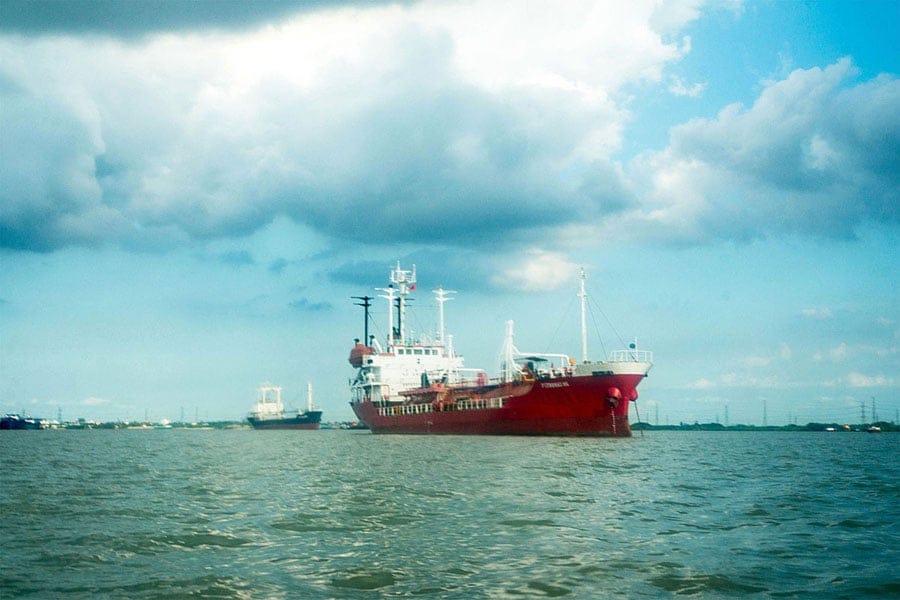
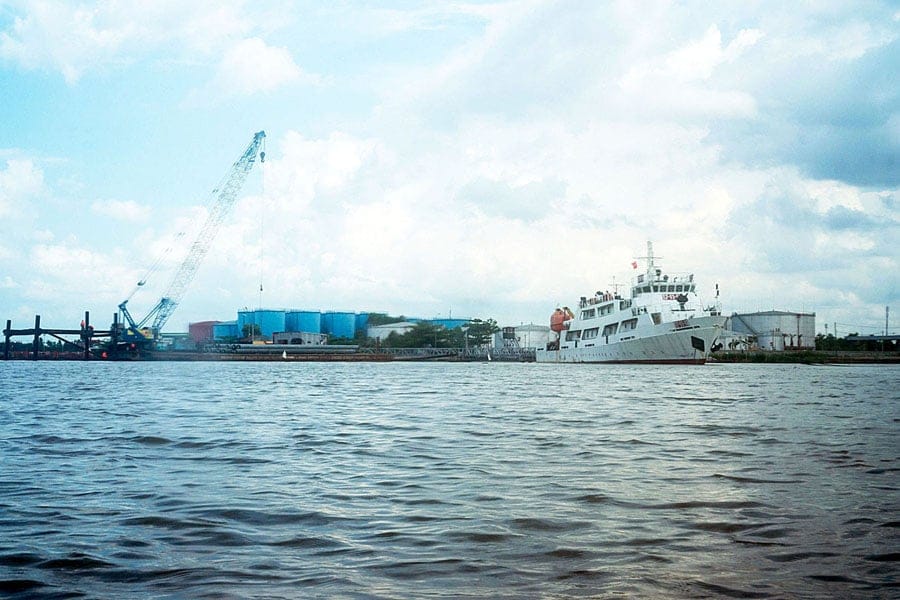
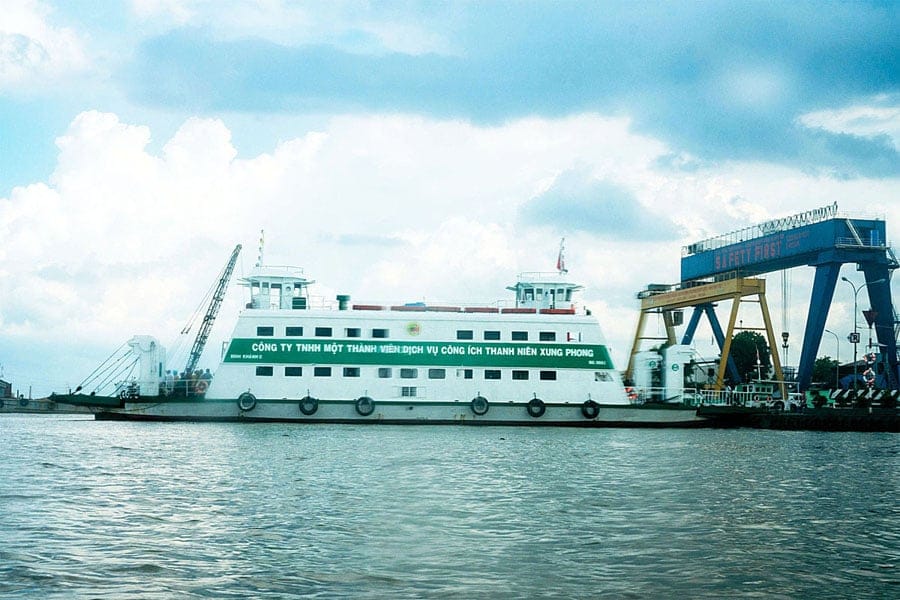
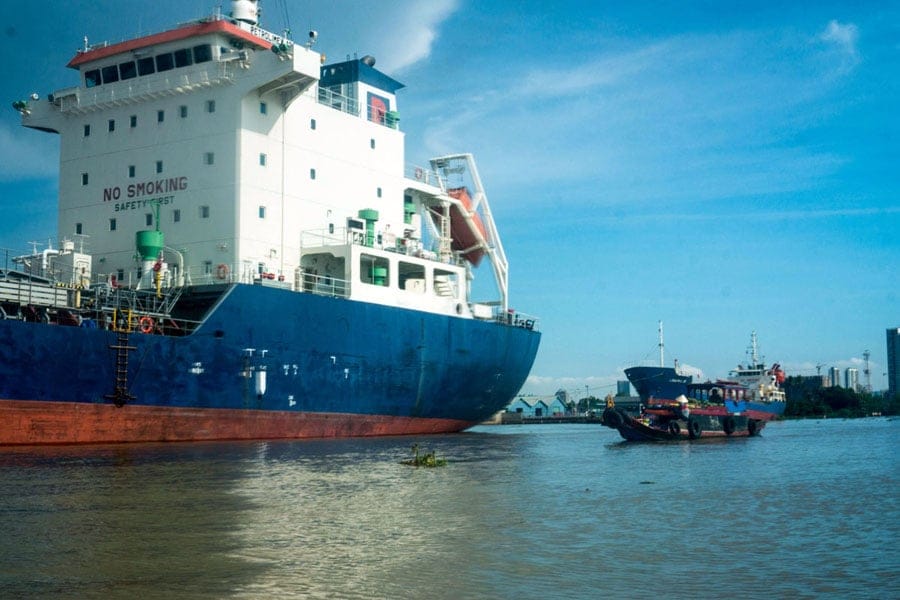
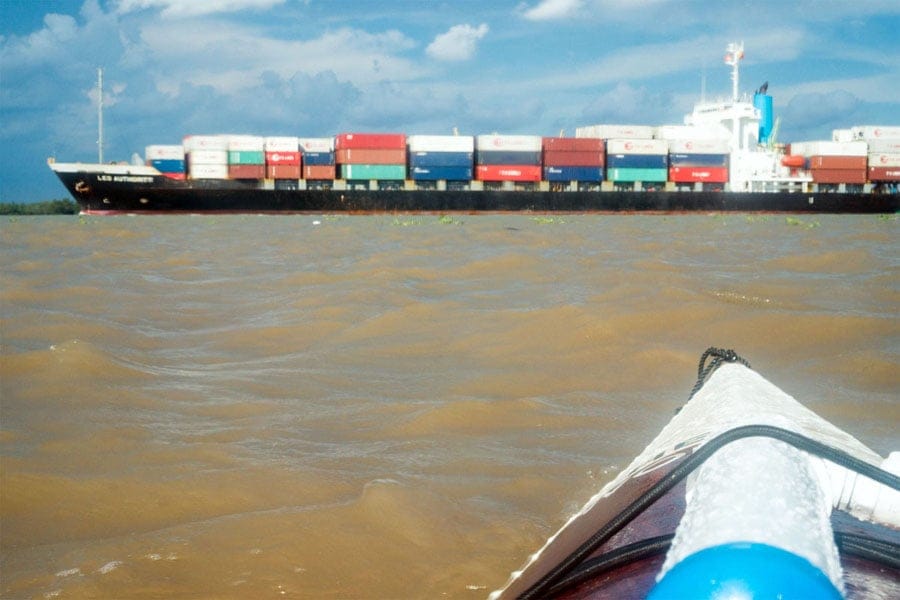
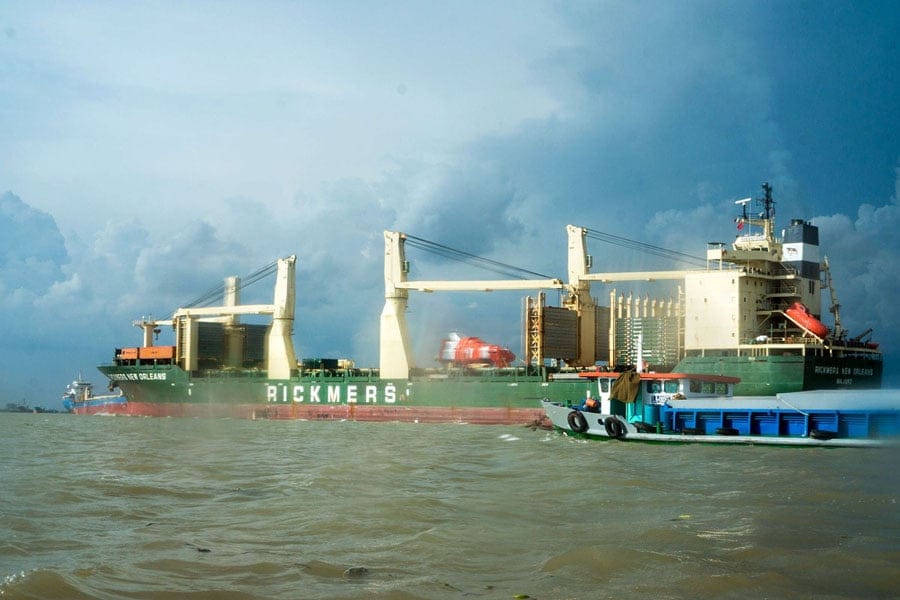
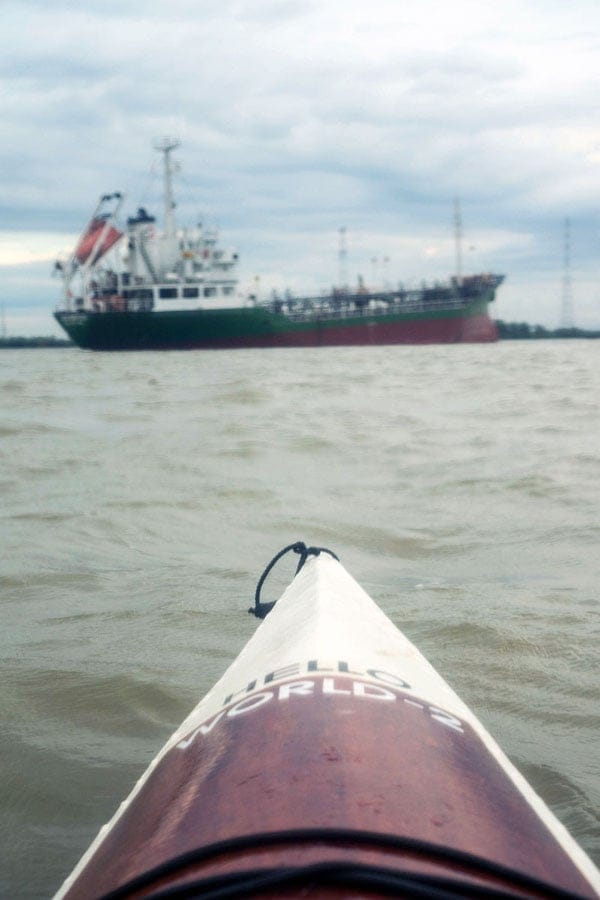
The Sài Gòn – Vũng Tàu route is crowded in maritime traffic, big boats from a few thousand to a few dozen thousand tons come and go every few minutes. It’s a real risk that your tiny boat could be overseen and overrun by those giants, as I was ‘near – missed’ by a huge freighter at great speed by just 50 ~ 70 m in one case. I should have an VHF radio to communicate with them to avoid collision. The waves created by those boats, though could be as high as 1 ~ 1.5 m, are not dangerous actually, as they are well patterned and well behaved.