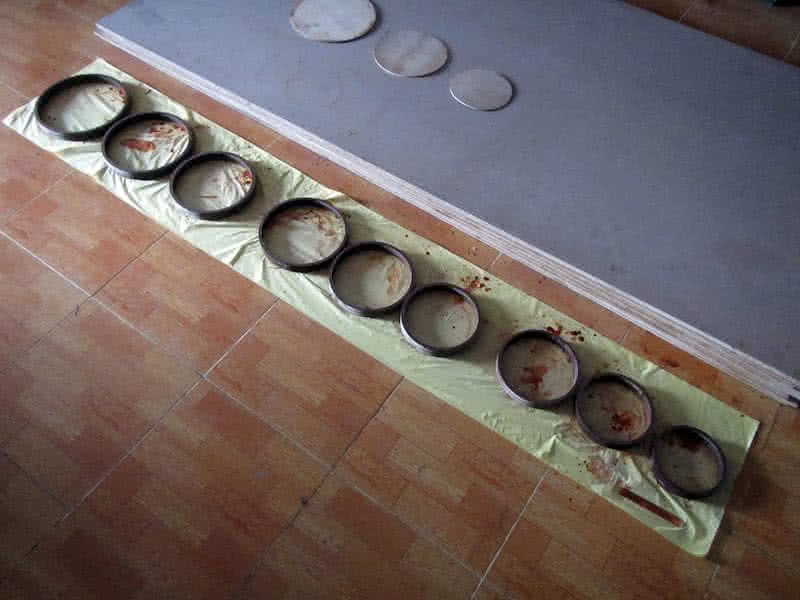
The structure of the hatches is nothing fancy, three tight rings nested inside each other per hatch, two belongs to the lid, and the other would be attached to the base (deck). First image: the 9 rings forming 3 hatches, filled with some thinned epoxy (about 400 gram of epoxy) to harden the MDF. This is not a very good way to make hatches (weight wise), but it would be just as heavy (or lighter) compared to plastic ones.
I was thinking a lot about the hatch locking mechanism. But finally decided to just use cords and cleats to tie down the hatches. The metal locks are too complex and fragile, unendurable to salt water. Tying down the hatches is much simpler and secured, and is easy to repair when something breaks. Between the 2 rings of the lid is a thin layer (about 3 mm) of epoxy (the softer, elastic kind) filled in to function as a gasket.
At first, I intended to glass in and out of each of the hatches’ rings, but the 9 mm – thick MDF walls have absorbed enough epoxy, and have become really strong (maybe more than enough, they’re now a bit too heavy), so there’s no need for glassing. The good thing is that once everything is assembled together, they fit very tightly, the lids and the bases, and the dark brown color is stained nicely too!
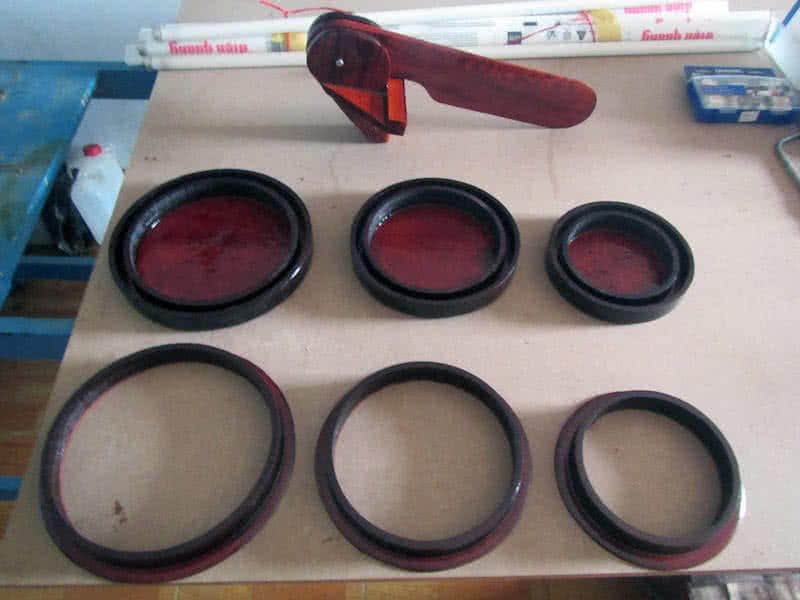
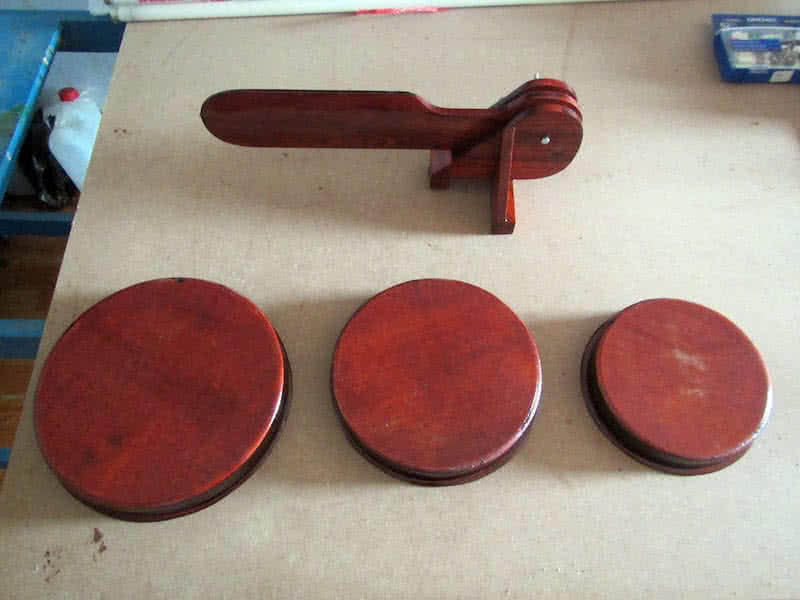
3rd image: the complete products, lids opened, 4th image: the lids closed. Once I’ll finish building up the kayak’s deck, the hatches would simply be glued on. Only the front hatch needs some special treatments, as the front deck is curved in shape. Also, the compass would be mounted right on this front hatch lid, to save deck space, and to simplify the building process. But that would be another later phase of this project.