My first boat project now officially starts! I’ve been thinking about building my own boat for a very long time, but still couldn’t arrange for it. Now, just have to stop daydreaming about “the ultimately – beautiful watercraft of my life” and roll up my sleeves. Given my poor woodworking skill set, after lots of consideration, I’d decided to start with a simple design and construction method, a 12 feet (3.66 m) Selway Fisher’s Asymmetric Baby Raven, intended to be my general purpose / fishing canoe with the given name: Hello World – 1. In the upcoming blog entries, I will try to keep a log on the building progress, which is expected to finish within a month or so, cause I would mostly work at weekends, and some limited hours in the weekdays.
1. PREPARATION
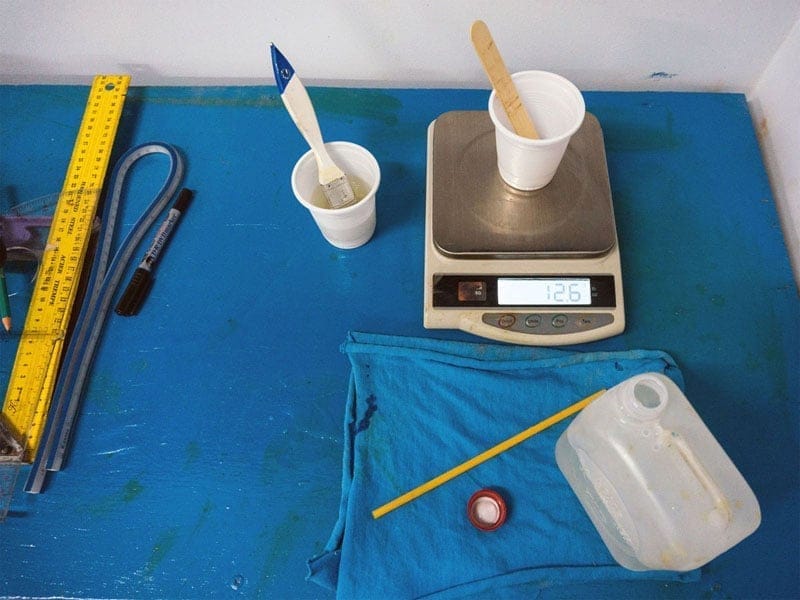
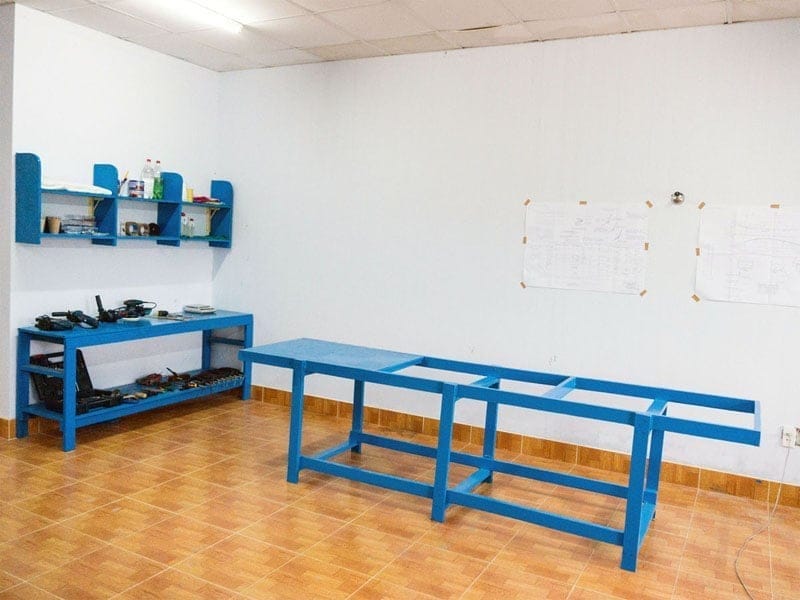
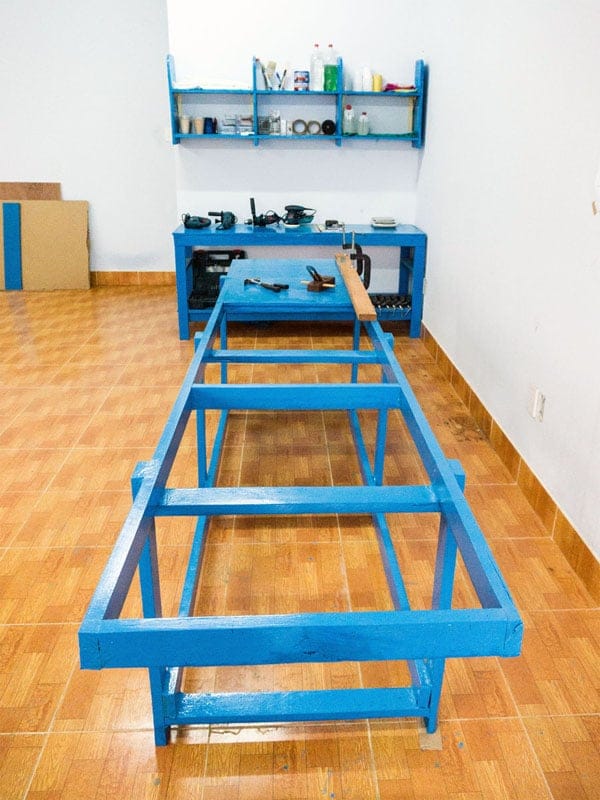
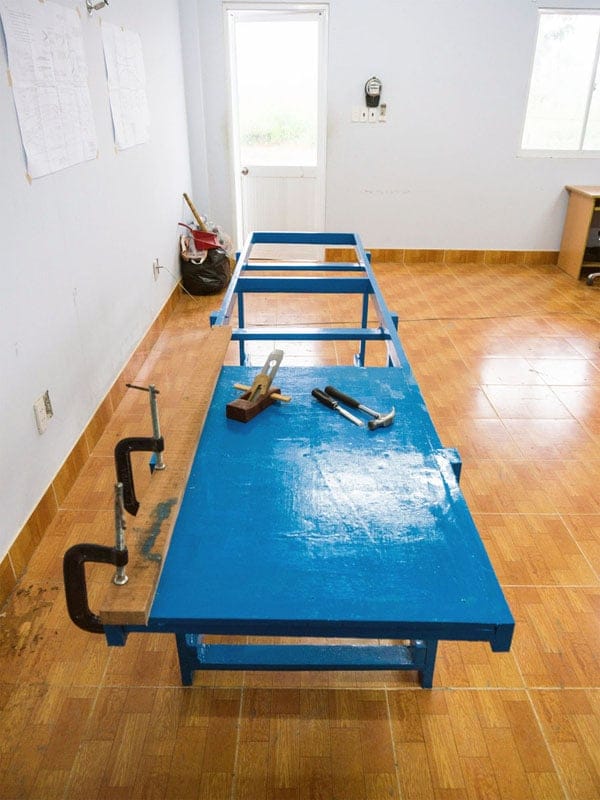
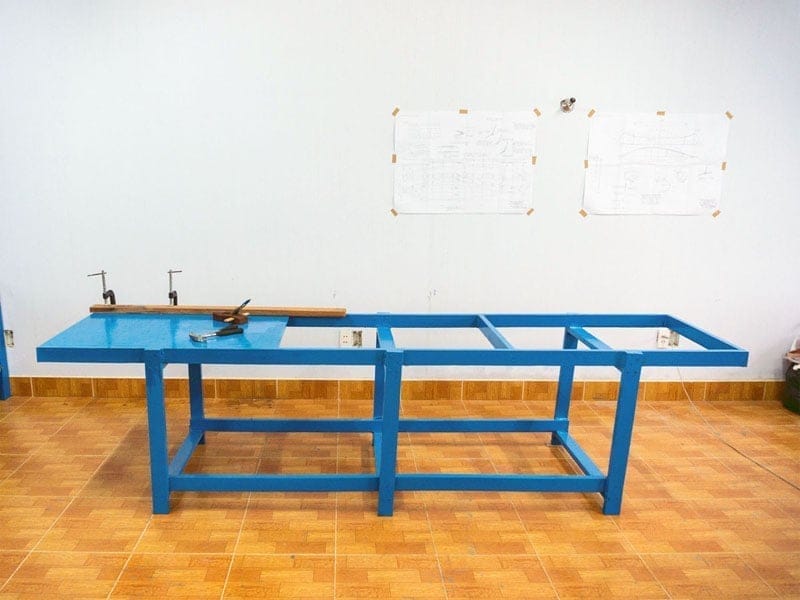
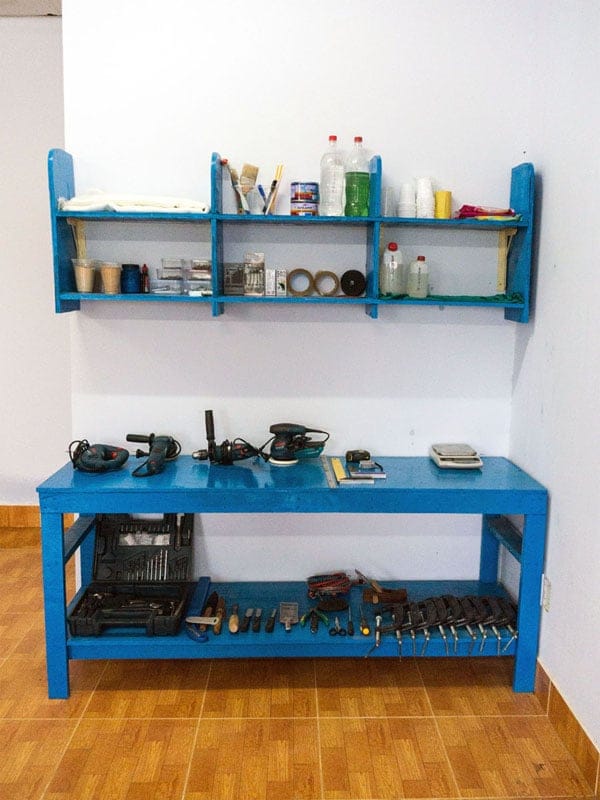
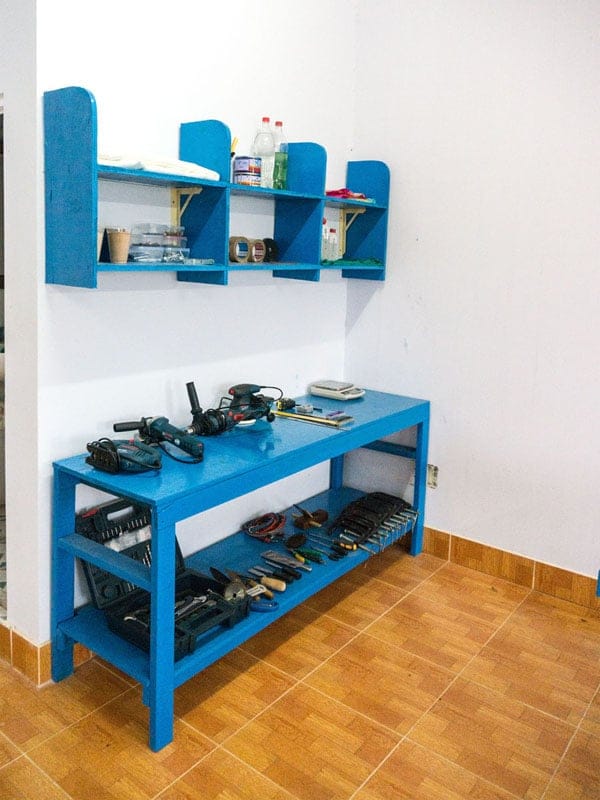
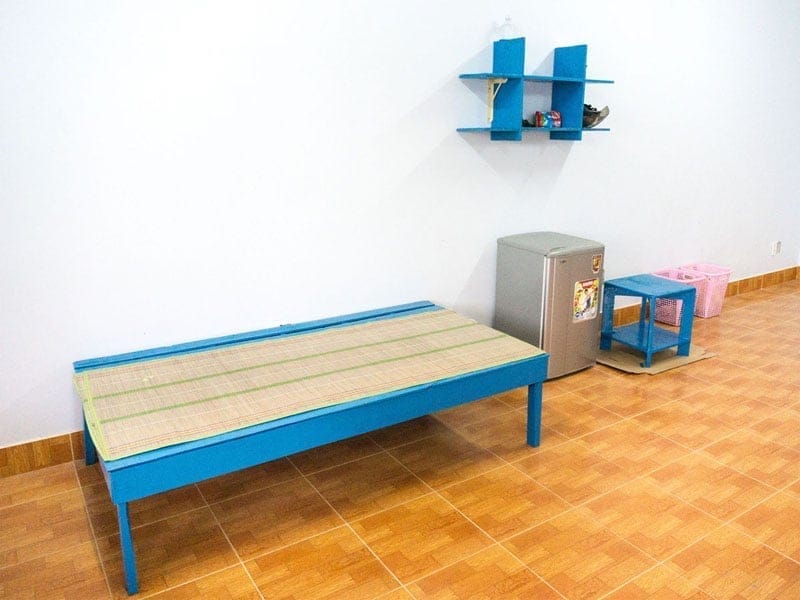
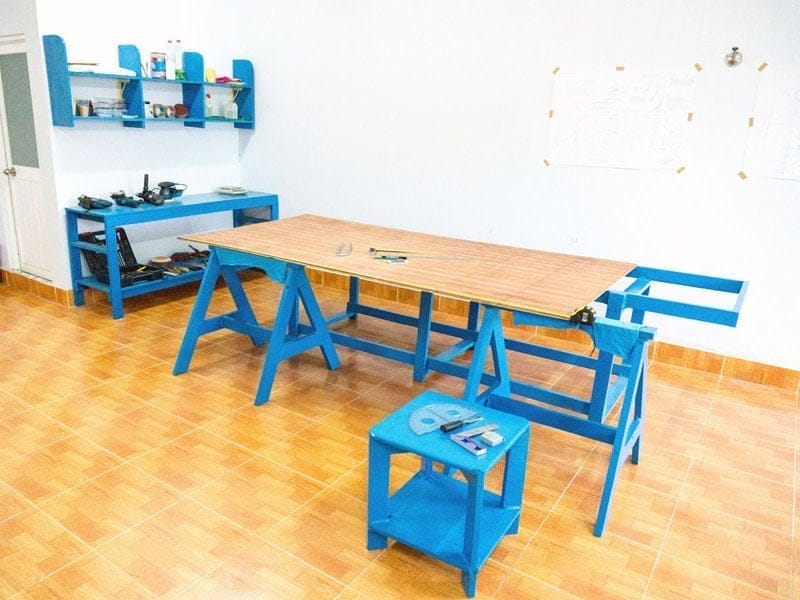
It took almost 3 weeks to make all necessary preparations: building myself a table and a shelf to store tools and materials, a simple workbench to work with the boat on. Also, I built a bed, a smaller shelf and a chair, all of the simplest kinds, as household objects. That is to get myself familiarised with woodworking, gain some experiences with wood, epoxy, fiberglass fabric… There were lots of new stuffs for me, whose hands have rarely touched those kinds of job before. Anyhow, my small workshop setup is now basically completed: hand saw and power jig saw, a drill kit, random orbital sander, a disc cutter, hand plane, chisels, clamps, pincer, hammer… paint, brushes and rollers… I even have a small electronic scale to help epoxy resin mixing more accurate.

2. CUT
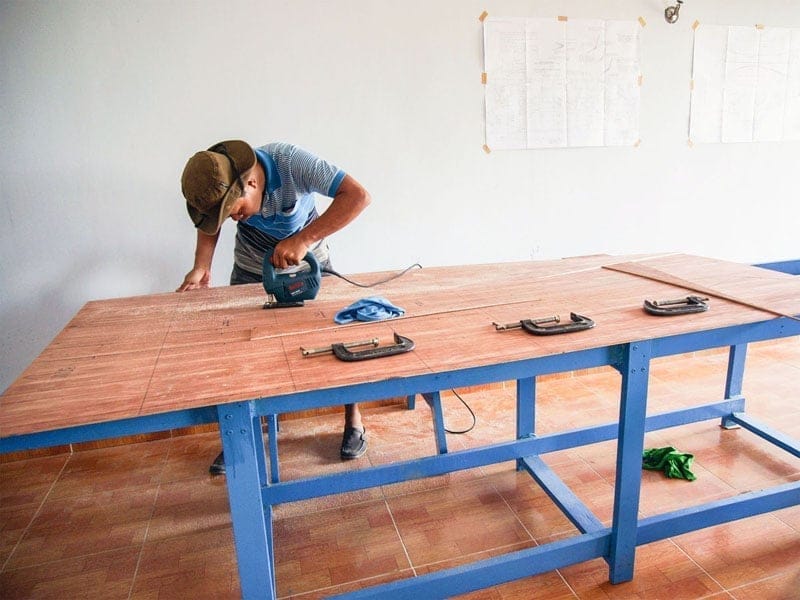
It’s easy to find exterior – grade plywood to WBR (Water and Boil Proof) standard, but it’s hard to find really – good exterior – grade, not to mention marine – grade ones. First, many of the so called “water resistant plywood” out there in Vietnam market use melamine, not the superior phenolic glue. Second, most of them are laminated from cheap poplar veneers, the best I can find so far are those with interleaved layers of poplar & tropical hardwood veneers, usually marketed as: meranti or okoume, but I guess they’re just other tropical hardwood equivalences. Today, the ordered plywood sheets have arrived (I use 5mm thick ones), it’s time to draw and cut the planks. As usually said: measure twice, cut once
, I proceed slowly & carefully to this initial stage of the canoe.

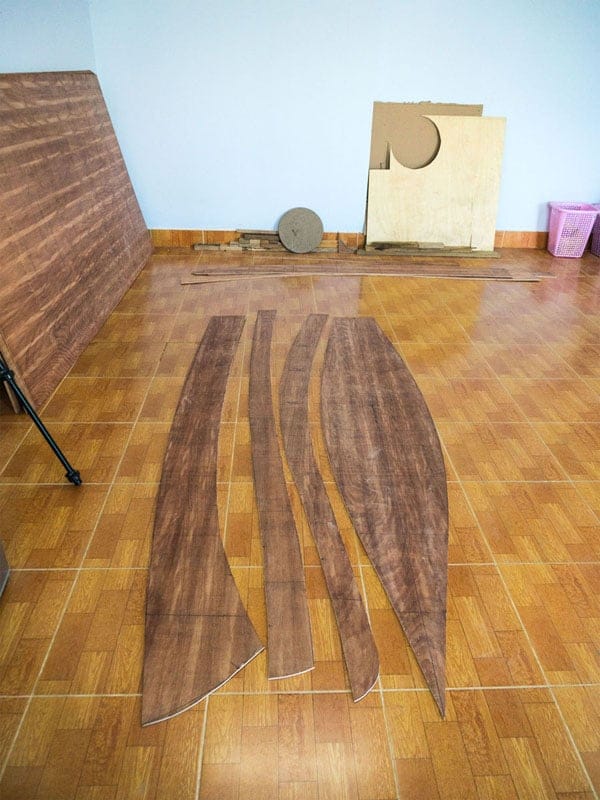
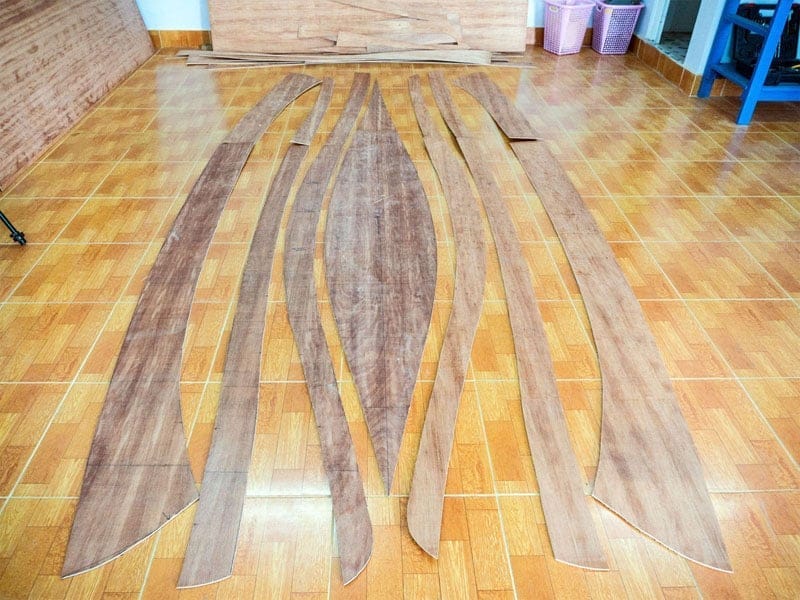
3. JOIN
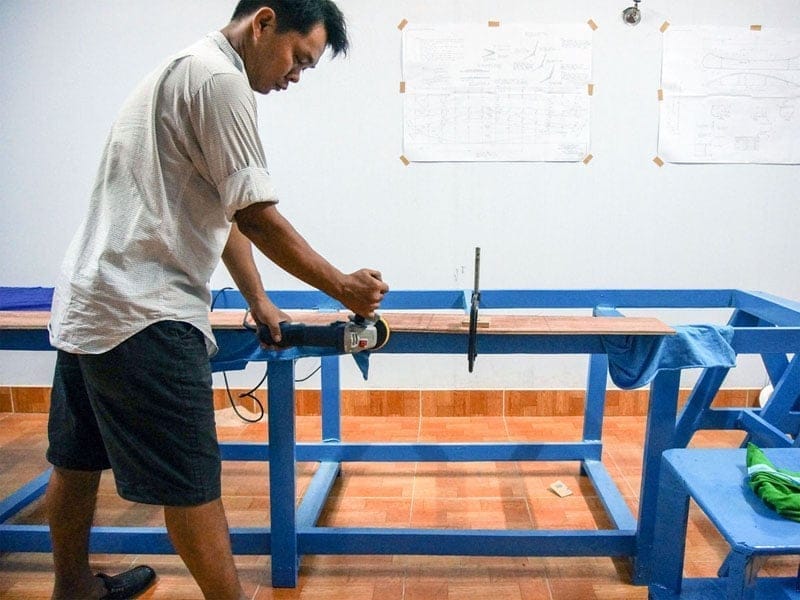
I was too busy during this week to actually got any boating bit done, need to get all the cutting and joining jobs finished this weekend… Finally, the complete set of planks is cut out. Before joining, all bilges need to be trimmed down to the precise shapes. I clamped each pair of port and starboard bilges together, then used an angle grinder to trim the edges and smoothen the curves. Since the plywood sheet has length of 2,440 mm, they need to be joined to the 3,660 mm length of the canoe. Bilges are screwed down to a piece of wood to fix the position, a layer of bin bag is placed in between to prevent the wood from sticking together. Then I applied epoxy, pieces of fiberglass, and epoxy again until the glass is completely wet out to form simple butt joints which get the jobs done.