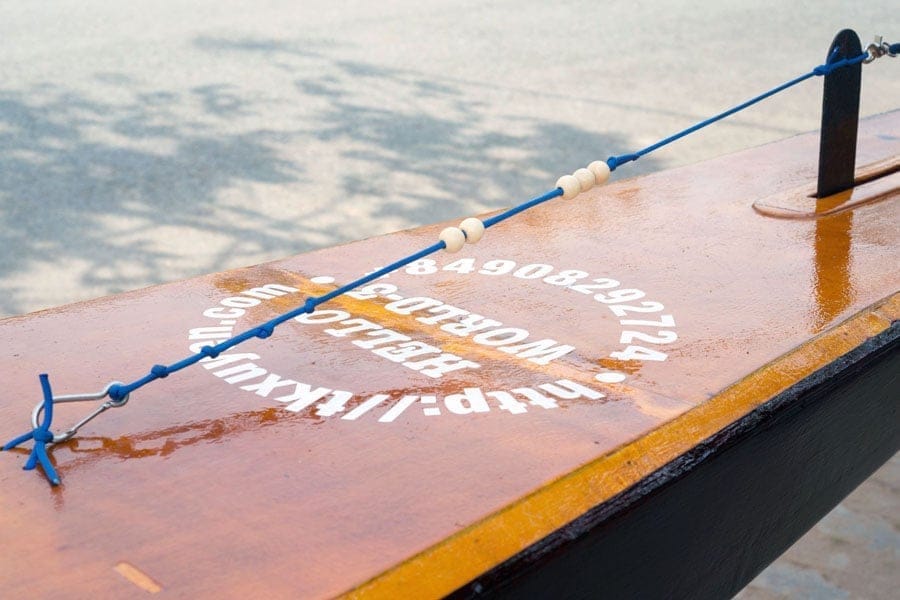
When all the vinyl decals are in place, I started varnishing the deck. A note about vinyl stickers, which I can have them cut at a local shop for a cheap price. The last time, I designed all with Photoshop, then export to EPS format. Unfortunately, Corel Draw does not understand that EPS very well. Corel is usually the software used to operate the vinyl cutter machine: the vector editing program just “print” the designs to the vinyl cutter, which handles all “drawing” (cutting).
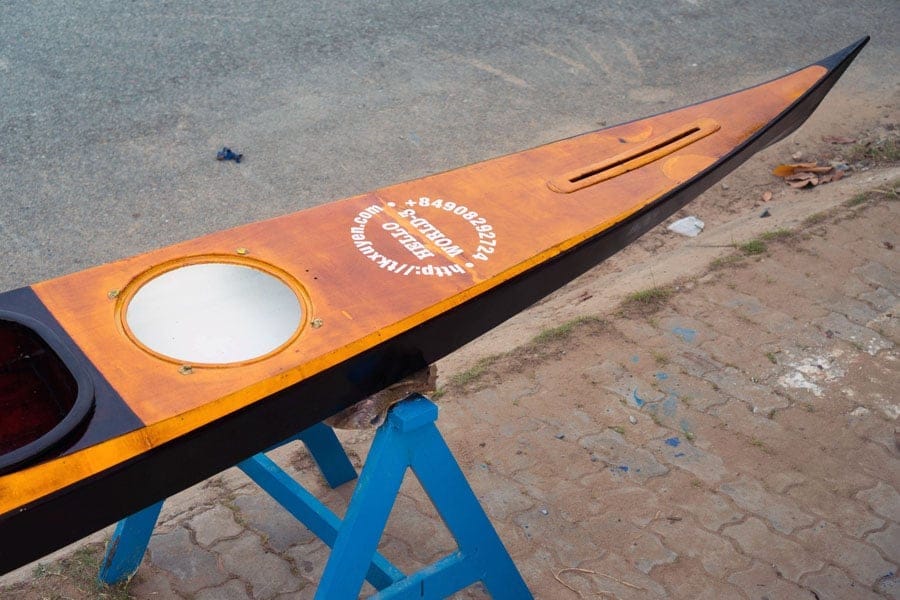
This time, I thought of a new way, I used Photoshop to design all the graphics, and export them to large black & white images (PNG). Then in Corel, I used the “Trace Bitmap” feature to try converting those bitmap data into vectors, which usually works very well for B & W (2 colors) images, then have them cut by the vinyl cutter. At least for some simple graphics such as logos, short texts… this way works well enough, and I don’t have to spend time learning more about using Corel Draw.

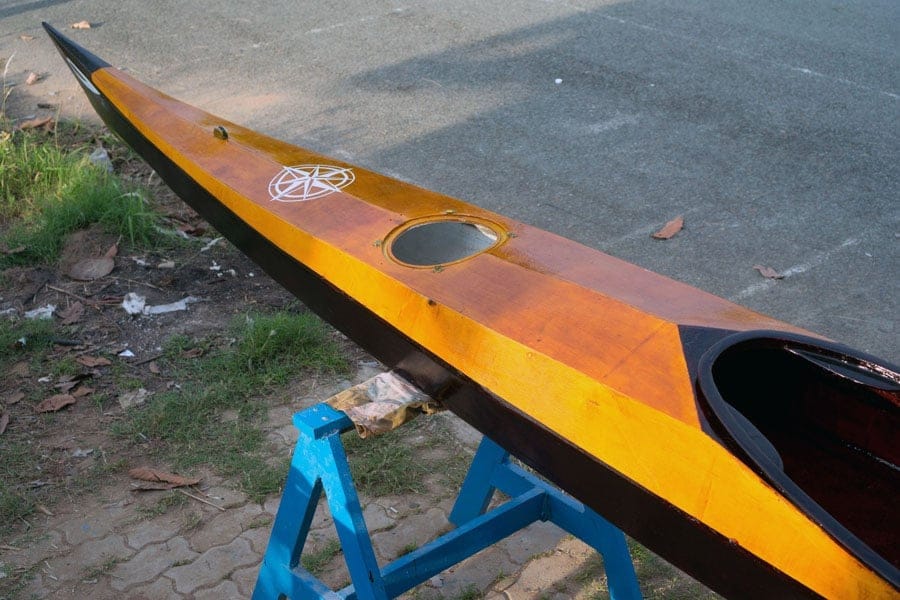

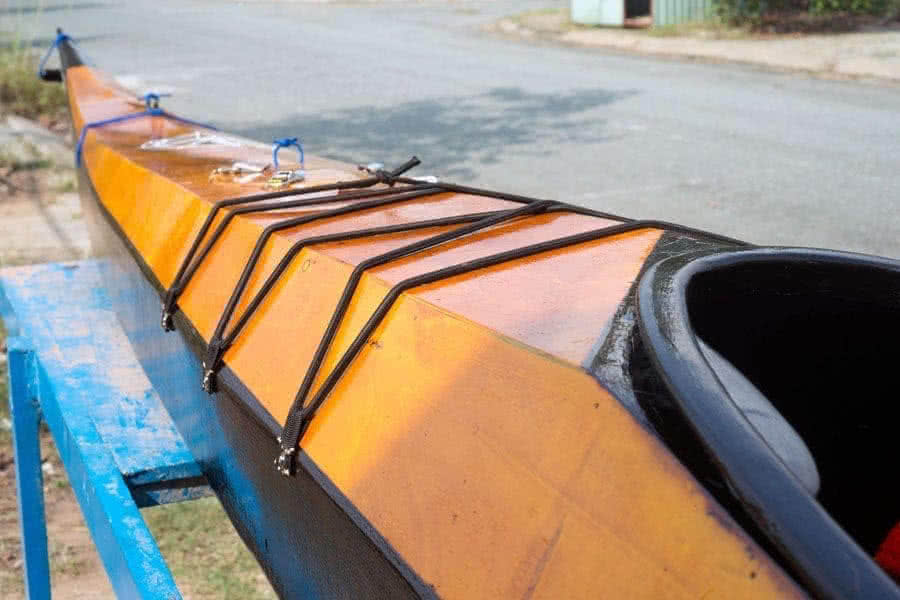
The deck varnishing went on smoothly, with the lessons learnt from varnishing the hull. The 4th, 5th images below: installing the skeg, the bungee cord pulling the skeg toward the stern, and the paracord holding the skeg in place toward the cockpit. Note that I attached the bungee and the paracord directly to each other, so that the thin skeg blade won’t withstand the tension of those pulling lines, it just follows the control. Note also the 5 knots used as 5 levels of skeg lowering & raising.
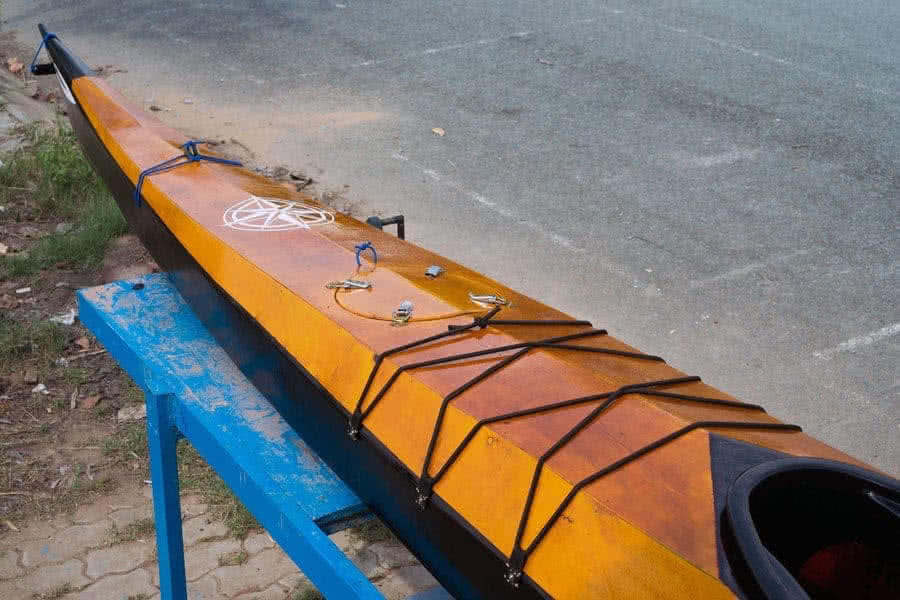
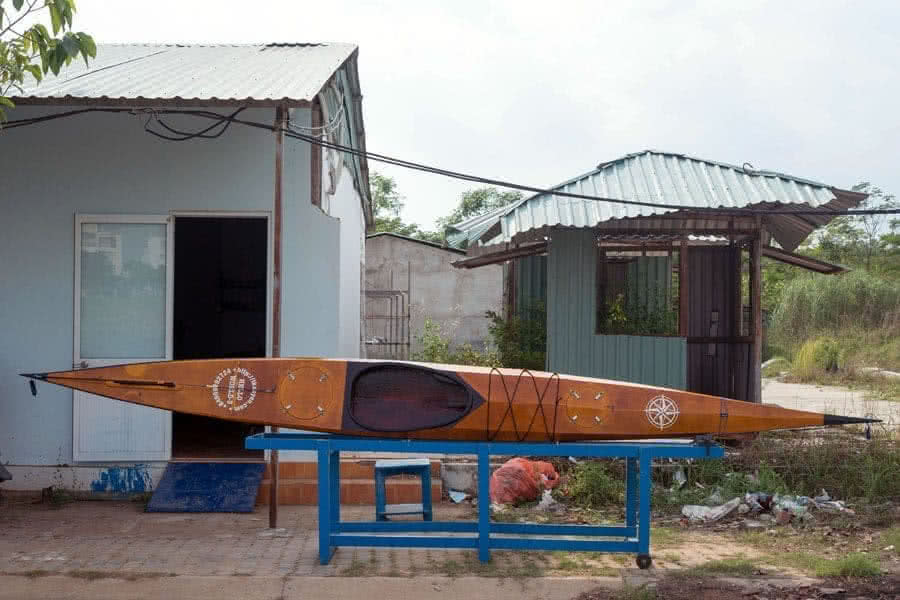
Install the fore deck lashing bungee lines, attach the two grab handles and it’s done! Some may have noticed that the cockpit doesn’t have the cheek plates and the seat, but I’ll keep it simple for now. I’m used to sitting just on bare wood, with no back rest, even on prolonged trip, that’s fine for me. Well, the boat is now ready for some “technical trials”, to see how it behaves on water. There’s still a long way equipping it for real voyages, but that would be later. Now, to the water!