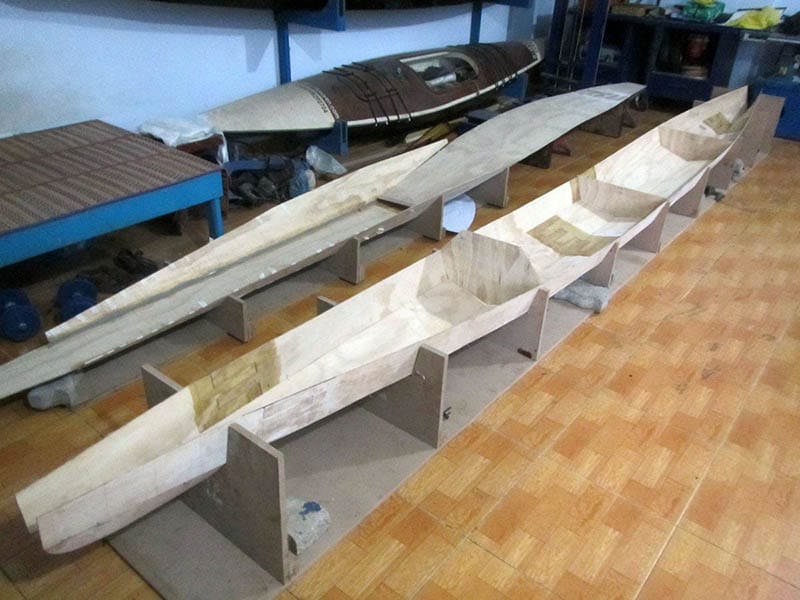
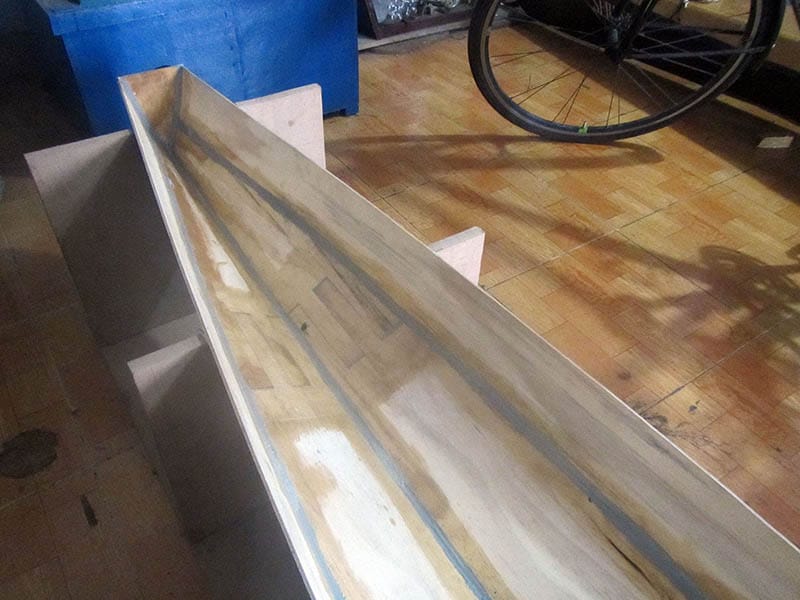
That’s the stitch part (of “stitch and glue”), or more precisely, most of it (since there’re still the bow and stern pieces to be put in, but that would be discussed later on), next come the gluing. First the seam lines are “primed” with epoxy (applied with a small brush), then filled with fillet (the tried – and – true 2 – parts epoxy putty 511 that I’ve been using extensively). The “gluing” part is a very time – consuming job, you have to meticulously fill the putty, which slowly flow down under its own weight.
So I have to apply the putty in 2 turns, first fill in just a small bit of them, wait for it to cure, then fill over the first layer another time. This is to ensure that the putty could form curved seam lines that would be easier to glassed later on. You can also mix small batches of putty, wait for about 30 minutes for it to cure partially, then apply it on the seams, the higher viscosity of the slightly – cured putty enables it to better keep its shape. In all, it’s a very time – consuming (and dirty) job!
Next come in the bow and stern pieces. These small triangular plywood pieces need to be bended into curved shapes (see the 4th images below). I simply put them into boiled water for them to soften a bit, then slowly and carefully bend them with a pincer. The bow and stern parts are then temporarily fixed in place with hot glue and duct tape, then permanently glued with epoxy and fillet (putty). Now, the whole hull is rigidly glued in its internal side, similar job is applied to the deck part.