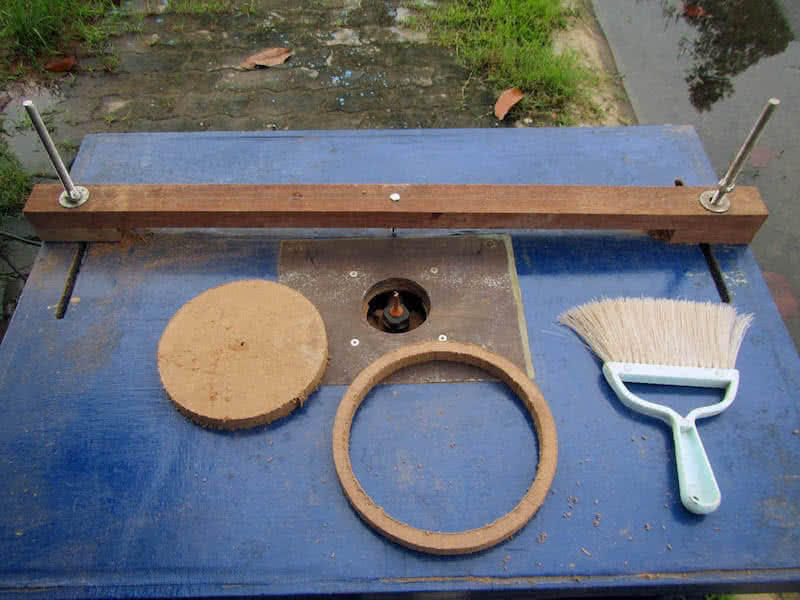
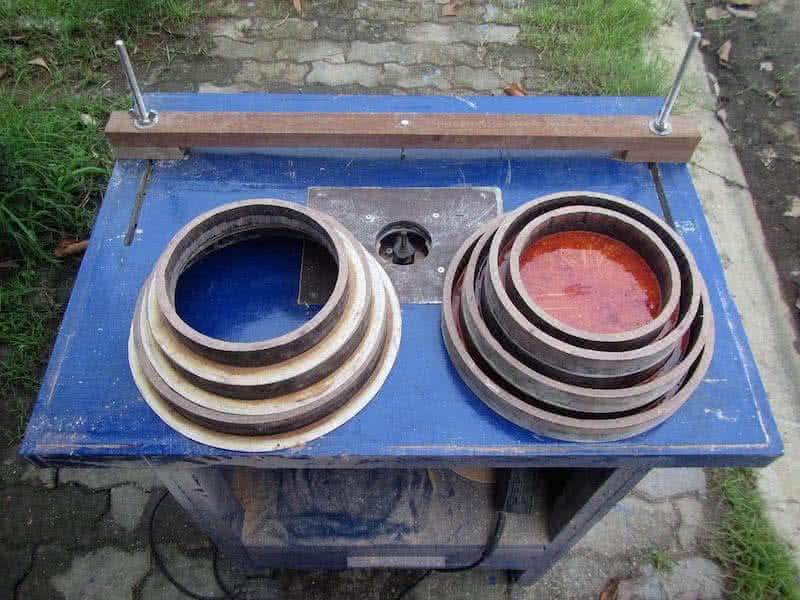
he structure of the hatches is nothing fancy, three tight rings nested inside each other per hatch, two belongs to the lid, and the other would be attached to the base (deck). First image: the 9 rings forming 3 hatches, filled with some thinned epoxy (about 400 gram of epoxy) to harden the MDF. This is not a very good way to make hatches (weight wise), but it would be just as heavy (or lighter) compared to plastic ones.
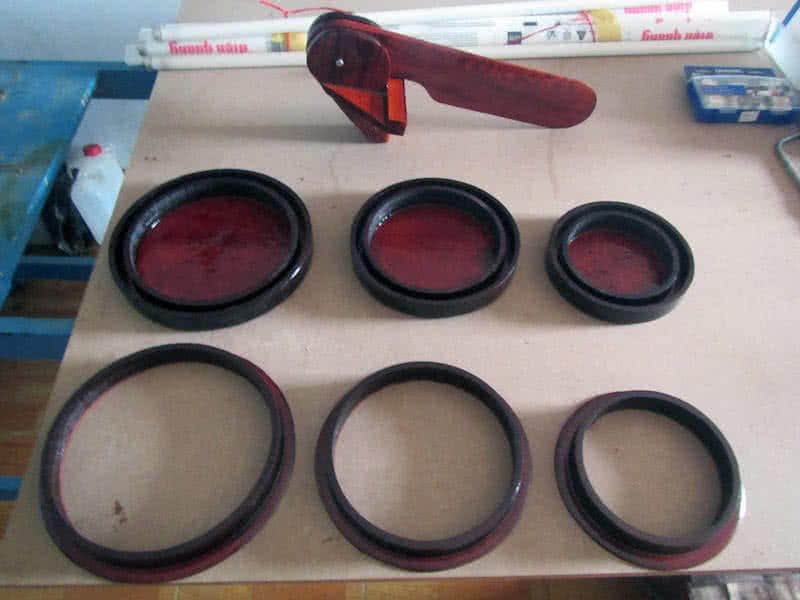
I was thinking a lot about the hatch locking mechanism. But finally decided to just use cords and cleats to tie down the hatches. The metal locks are too complex and fragile, unendurable to salt water. Tying down the hatches is much simpler and secured, and is easy to repair when something breaks. Between the 2 rings of the lid is a thin layer (about 3 mm) of epoxy (the softer, elastic kind) filled in to function as a gasket.
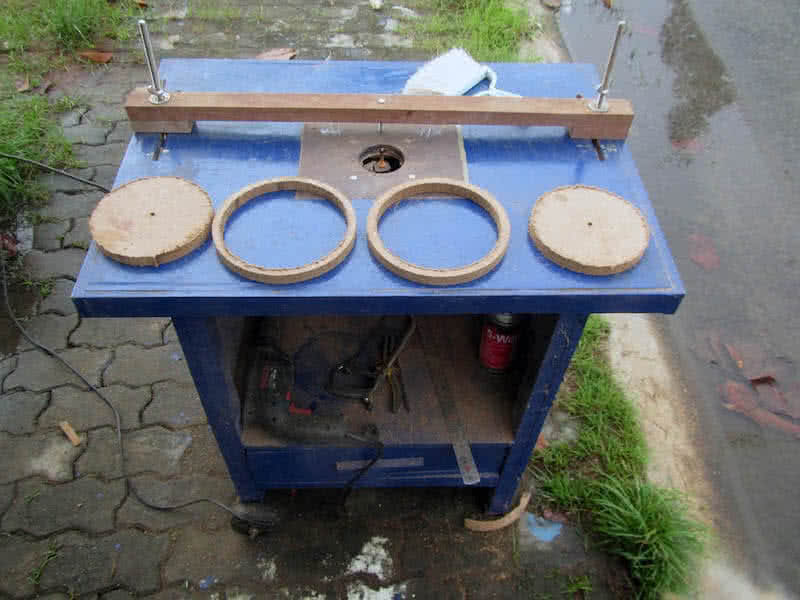
At first, I intended to glass in and out of each of the hatches’ rings, but the 9 mm – thick MDF walls have absorbed enough epoxy, and have become really strong (maybe more than enough, they’re now a bit too heavy 😢), so there’s no need for glassing. The good thing is that once everything is assembled together, they fit very tightly, the lids and the bases, and the dark brown color is stained nicely too!
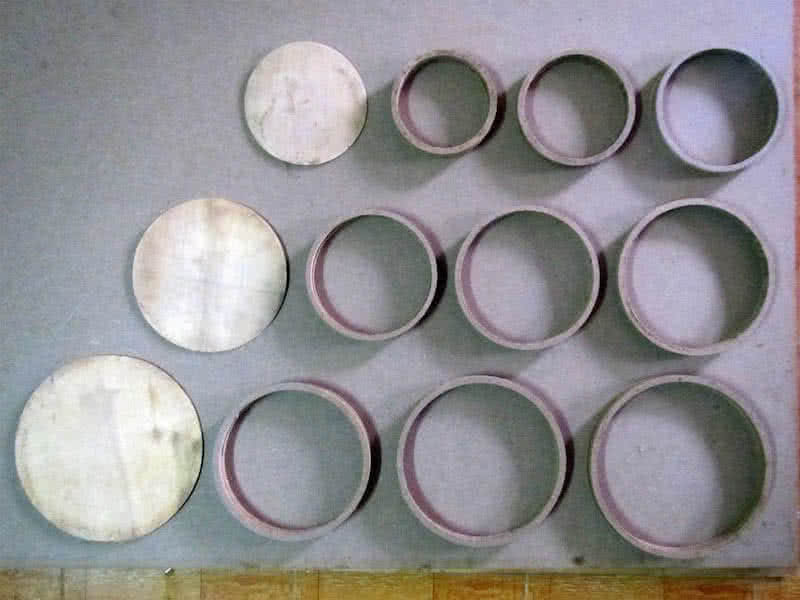
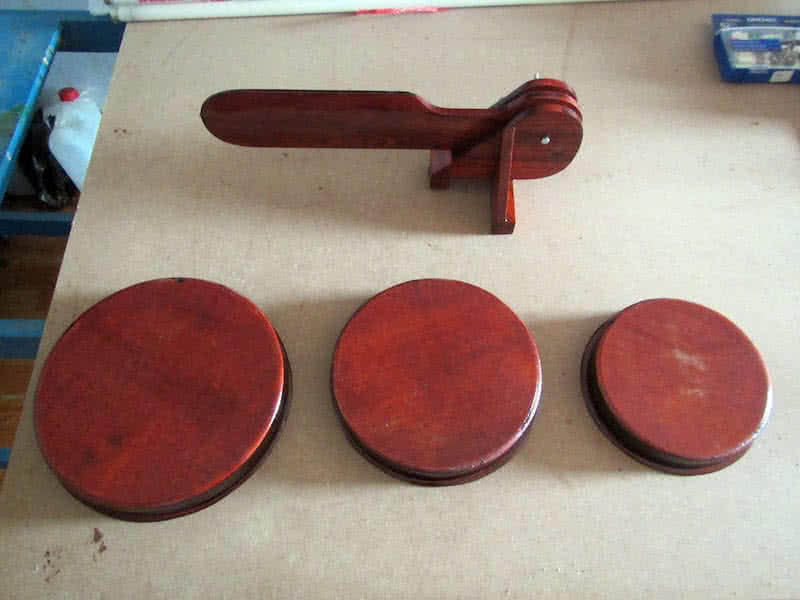
3rd image: the complete products, lids opened, 4th image: the lids closed. Once I’ll finish building up the kayak’s deck, the hatches would simply be glued on. Only the front hatch needs some special treatments, as the front deck is curved in shape. Also, the compass would be mounted right on this front hatch lid, to save deck space, and to simplify the building process. But that would be another later phase of this project.
 âu lâu cũng post nhạc “đương đại” 1 chút, một bài cũng bình thường chỉ để thi thoảng hát nhóp nhép chơi:
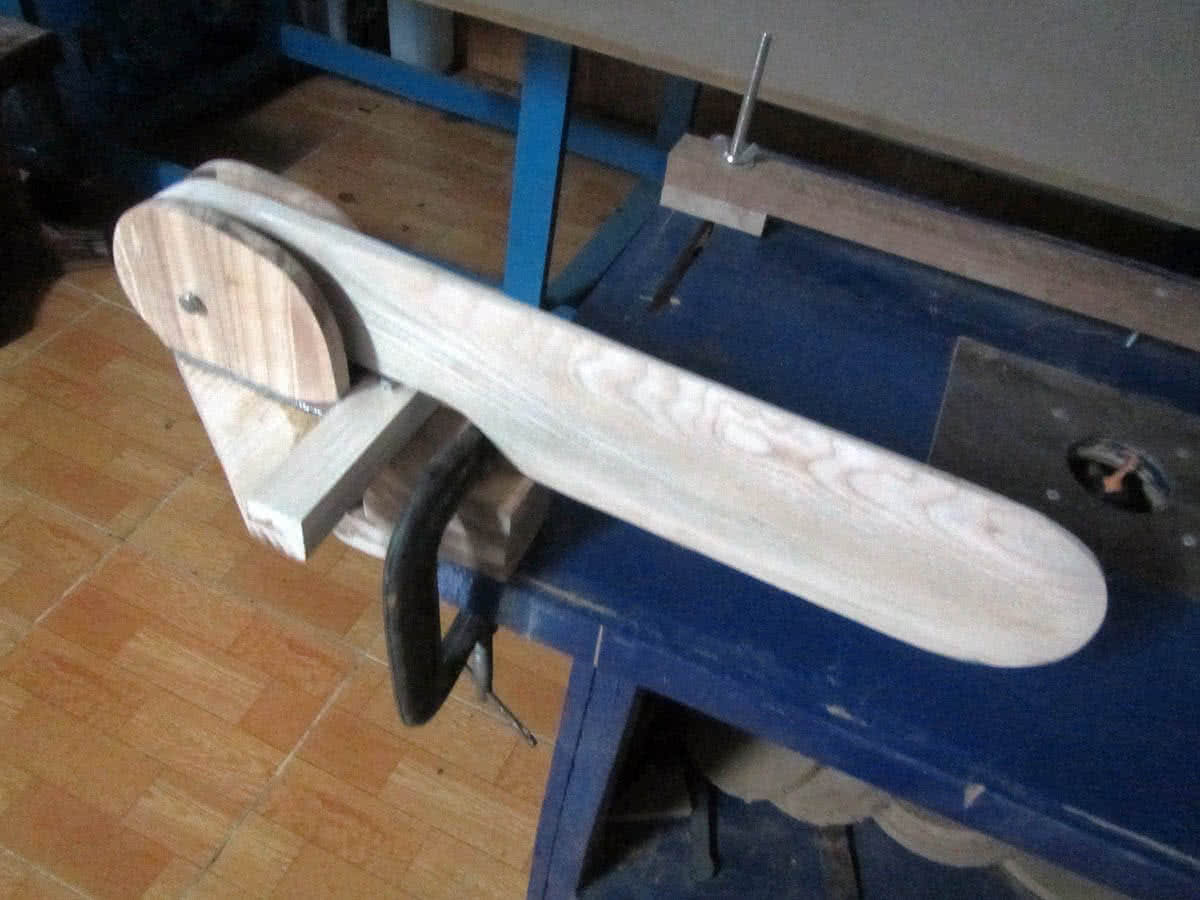
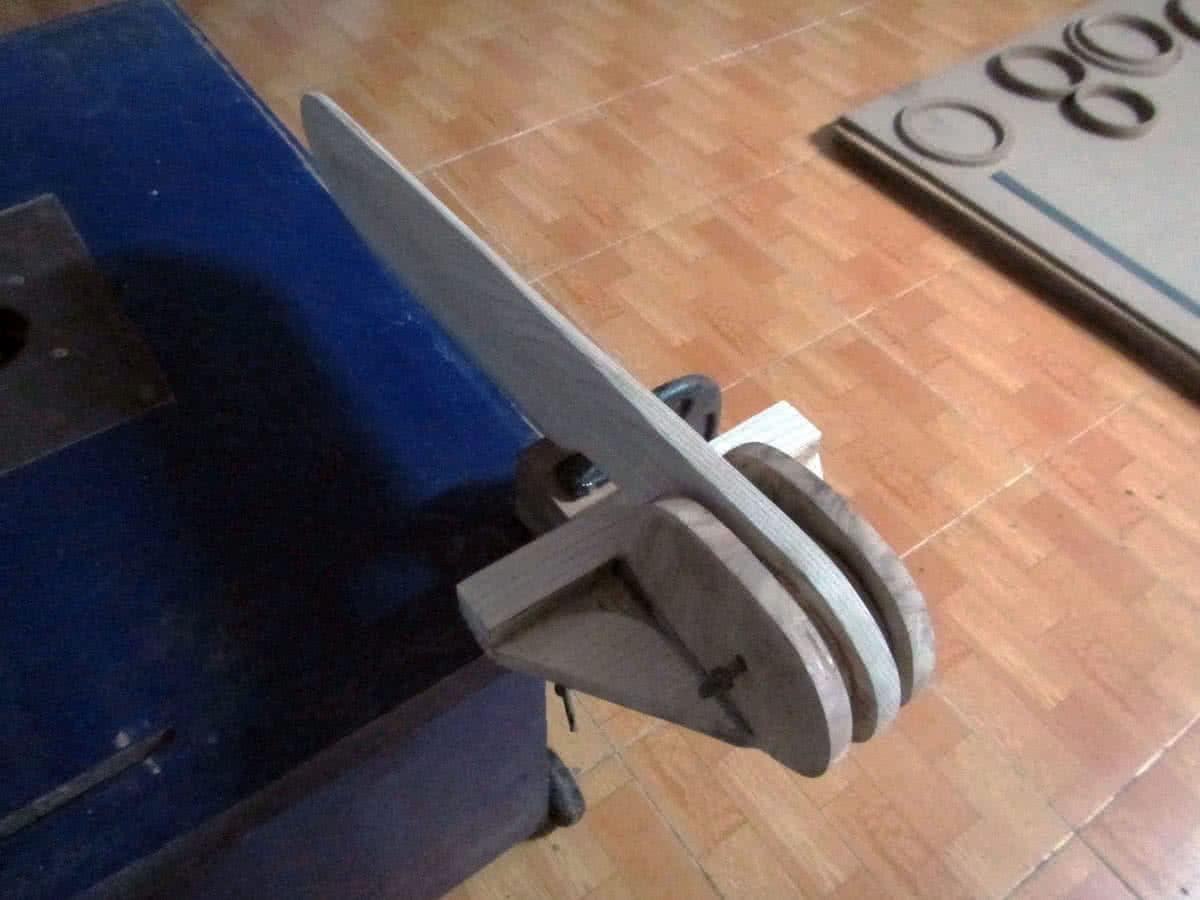
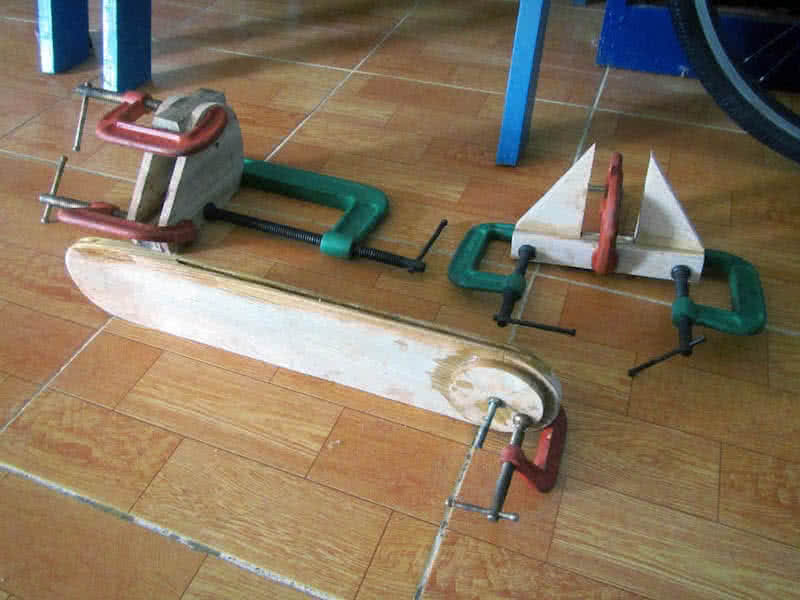
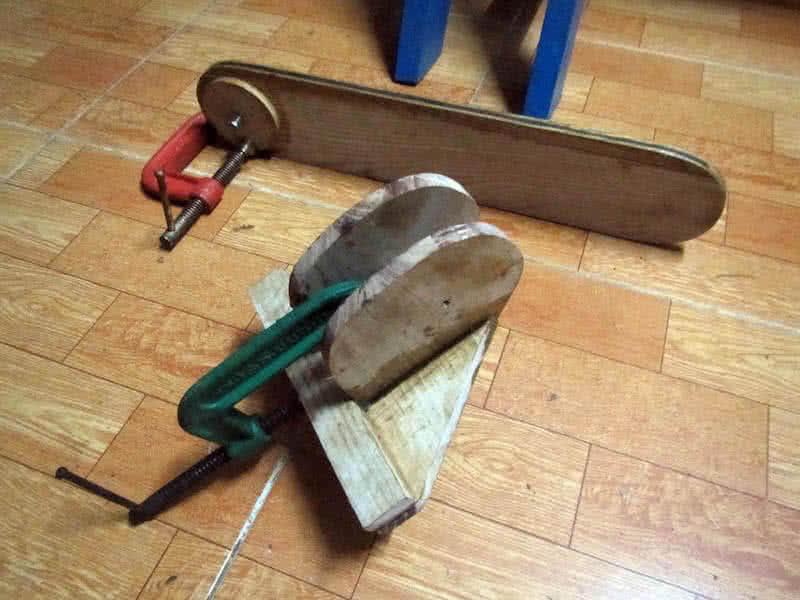
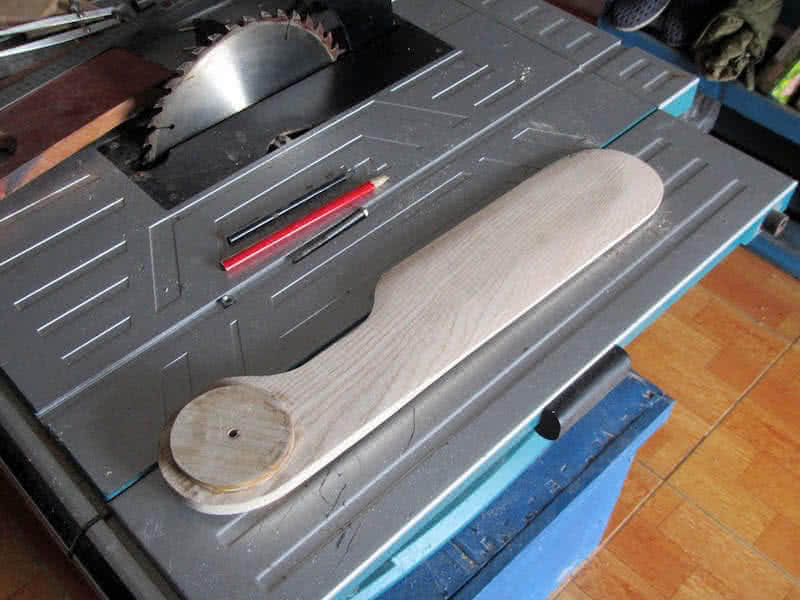
  irst image: assembling the rudder’s components, the rudder in its dropped down position, 2nd image: the rudder in its retracted position. Everything works smoothly as calculated, the blade could be pulled up and down by a pair of line running back to behind the cockpit (but that would be done later, when attaching the rudder to the kayak hull), with two circular ratchets glued on the two side of the rudder blade.
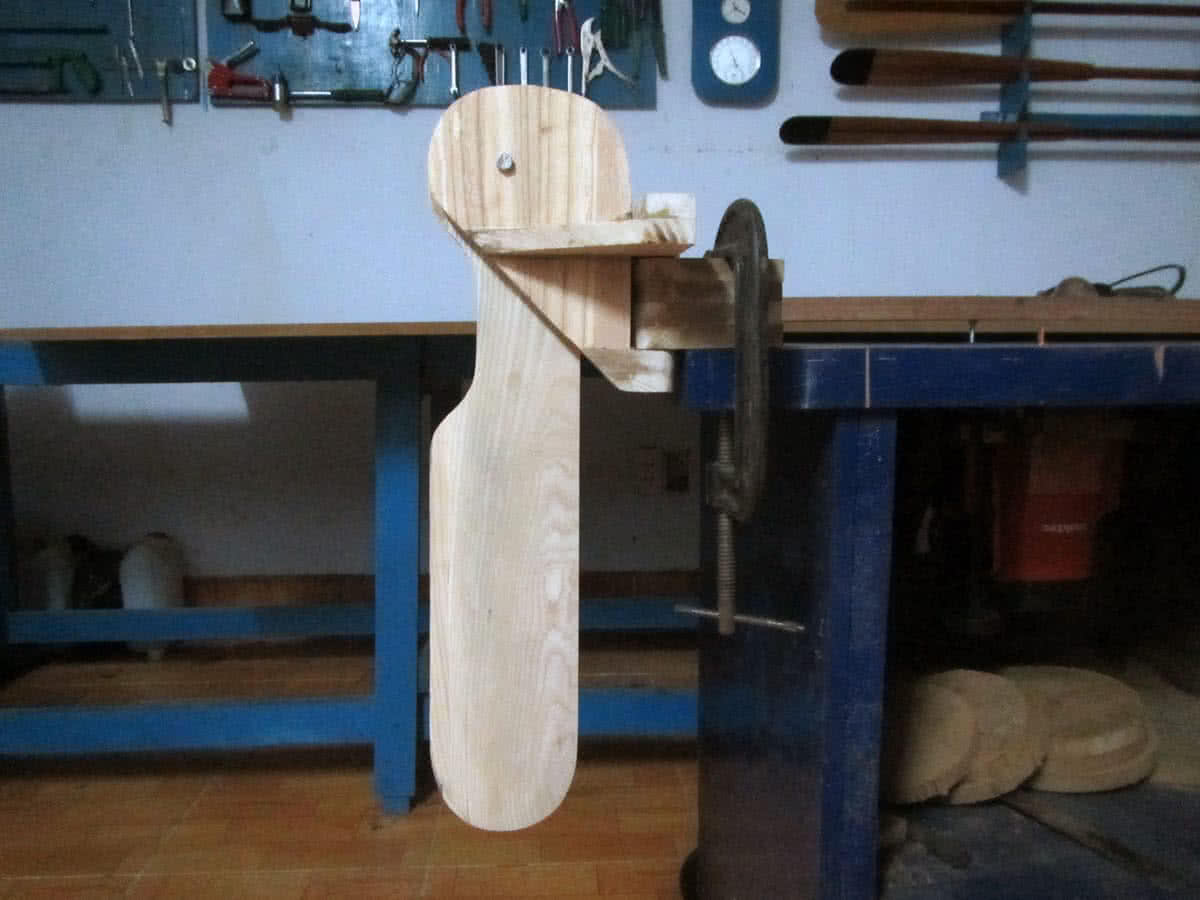
 keg, rudder or none!? It has always been an everlasting debate among the sea kayaker community. Some advocates using none, as getting the job done with your paddles alone would greatly improves your skills. While I partially agree to this argument, I also think that the argument only holds true on flat water only. When in turbulences, which could be extreme, you would need something to assist in tracking and steering the boat.
 ột phần quan trọng của 4 năm ĐH nằm trong cuốn này. Sách ngoại văn bìa cứng, bản in đẹp giấy tốt, đồng giá 50K/cuốn. Những năm 199x, FAHASA nhập sách ngoại về, bán chẳng ai mua, canh me đi qua lúc nó sale off, xúc luôn một lúc cả chục cuốn, từ Algorithms, Data structure, Database, Computer graphics… cho đến Algebra, Statistics, Mathematical Analysis, etc… Cũng là lý do tại sao thuật ngữ Toán, Tin… ko hề biết tiếng Việt. Cũng chưa thấy cuốn sách Tin học nào hay và bổ ích như cuốn này. Nói cho đúng là cái cách hành văn khoa học tiếng Anh của nó ám ảnh mình, ít khi thấy được một cách hành văn hay, súc tích, dể hiểu đến như thế, cộng thêm minh hoạ cực kỳ xinh đẹp.
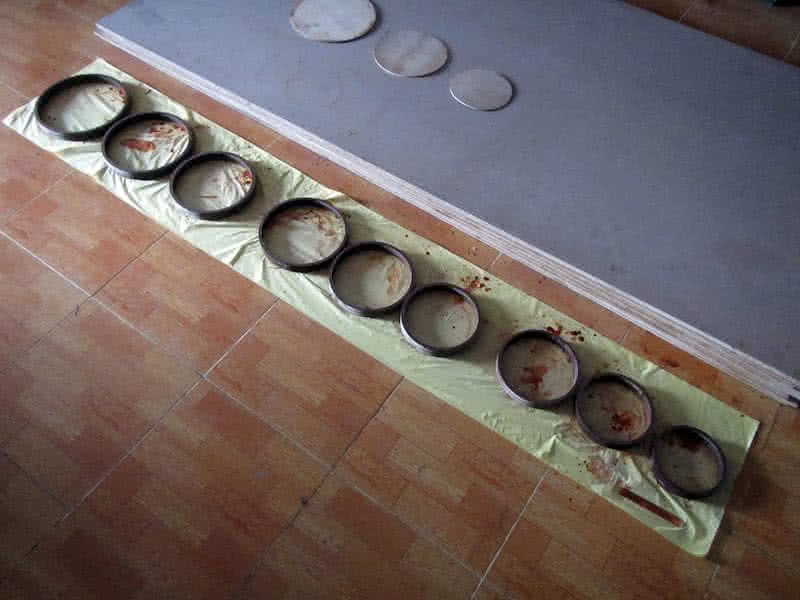
 ad a major setback with making the hatches with wooden strips, the strips didn’t make perfect circles as I’ve expected, although they bend quite well, they’re off by small amount (e.g: 0.5 ~ 1 mm) here and there, and that’s an unacceptable precision for hatches, just a small gap and water could leak in. I had to abandon the method of making hatches using wooden strips, and tried to find some alternative ways instead 😢.