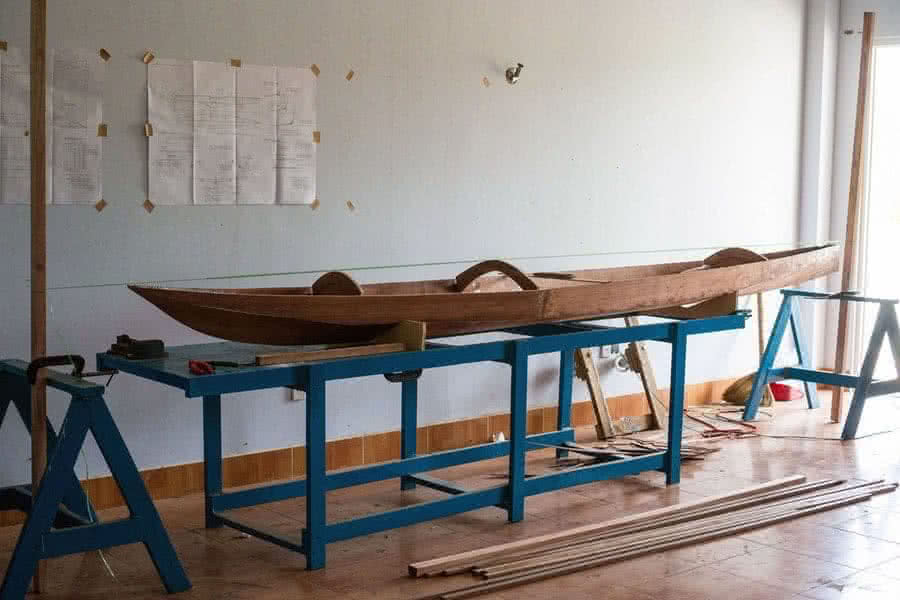
Six months have passed since I’d started Hello World – 1, my first build, a general purpose canoe. Now it’s time to let this planned Hello World – 2 to say Hello to the world. She gonna be a kayak (of Selway Fisher’s Dart 14′ design), which I hope to have better performance and somewhat better ‘open – water’ capabilities.
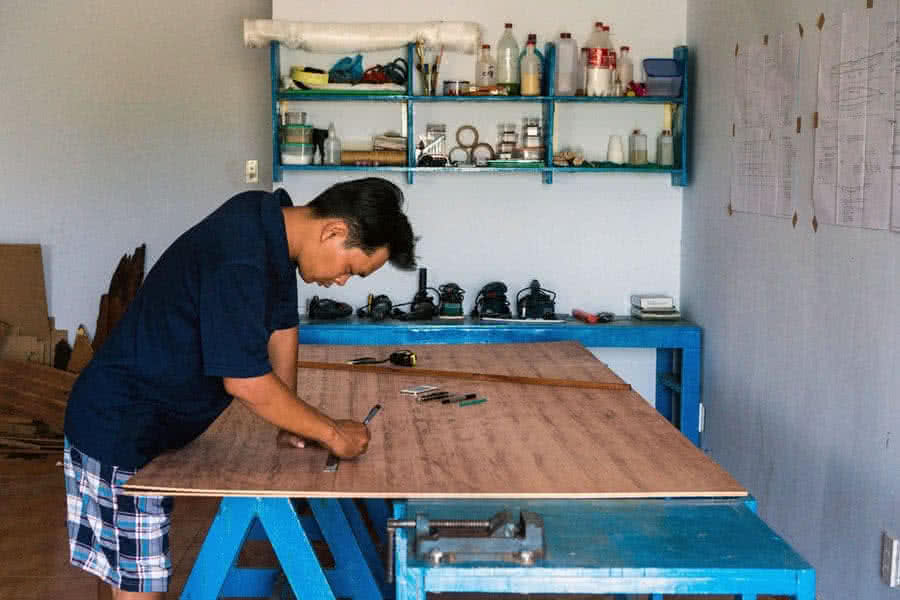
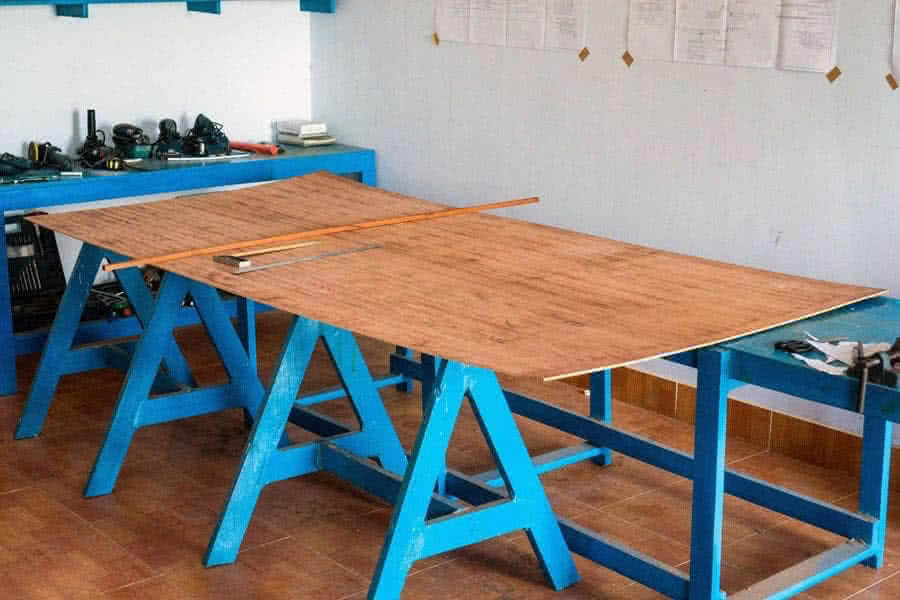
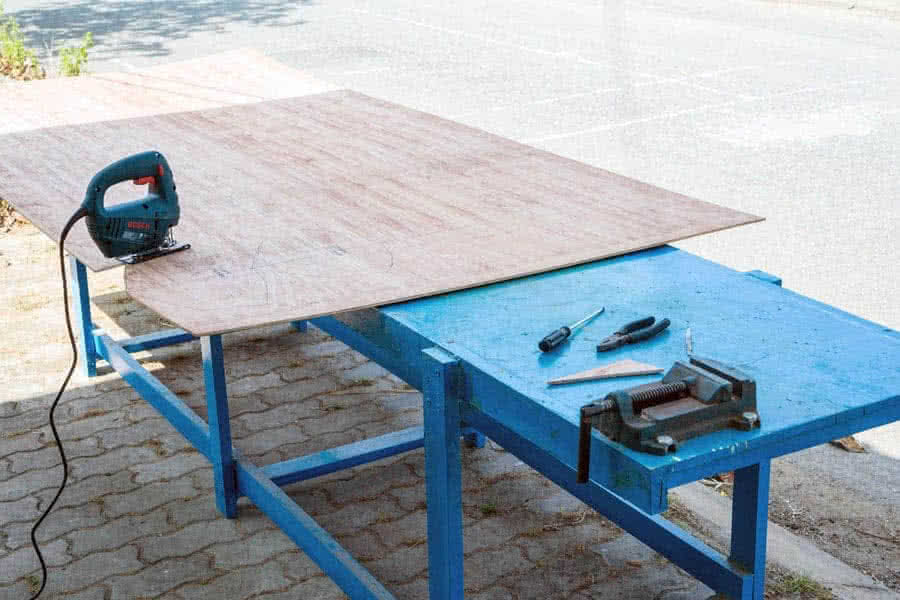
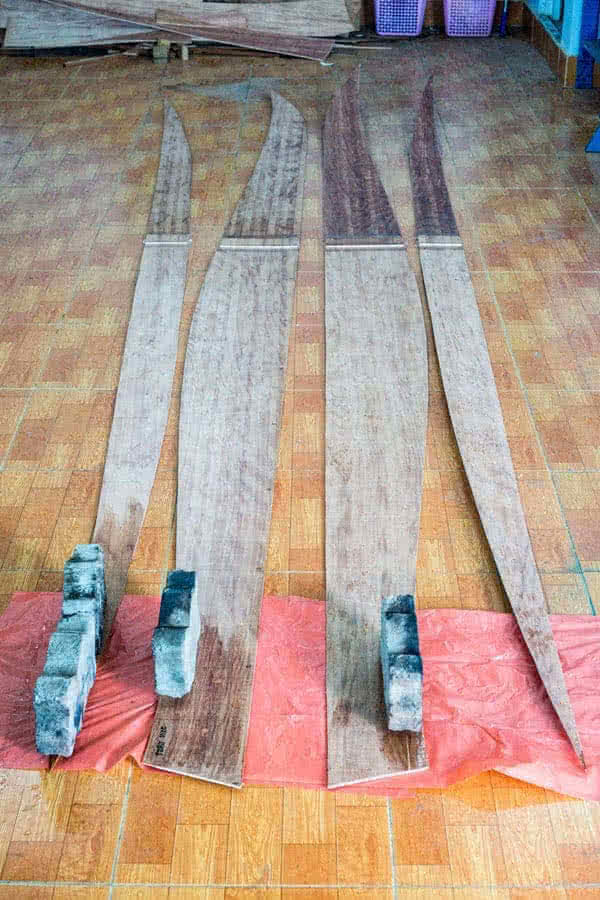
1. DRAW & CUT
Having gained much experiences from the building of Hello World – 1, I’m expecting Hello World – 2 to be finished in 2, 3 weeks or so. Apart from the canopy, the underpart of this kayak requires only 4 bilges (compare to 7 of the previous build), which would ease and speed up the progress. I did all drawing, cutting & joining in a single day.
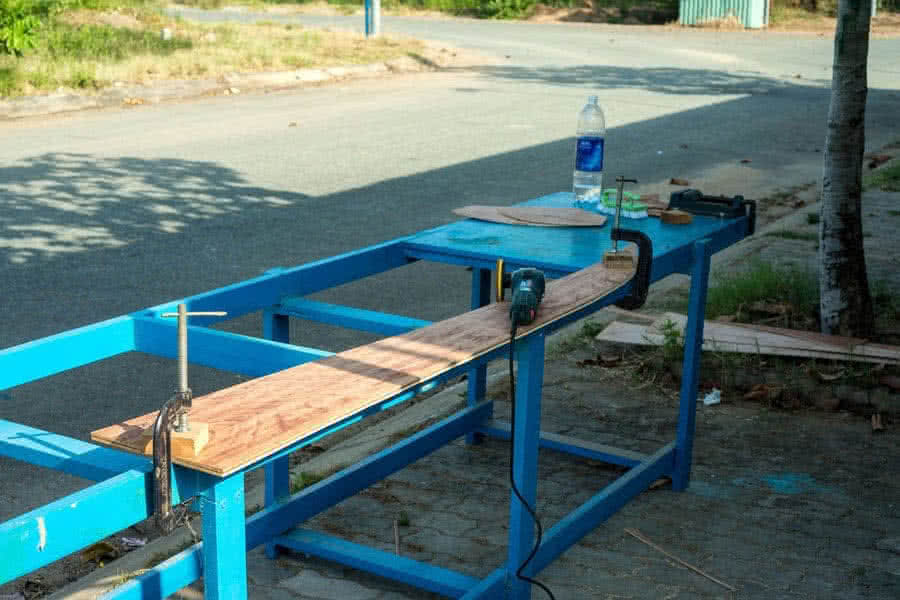
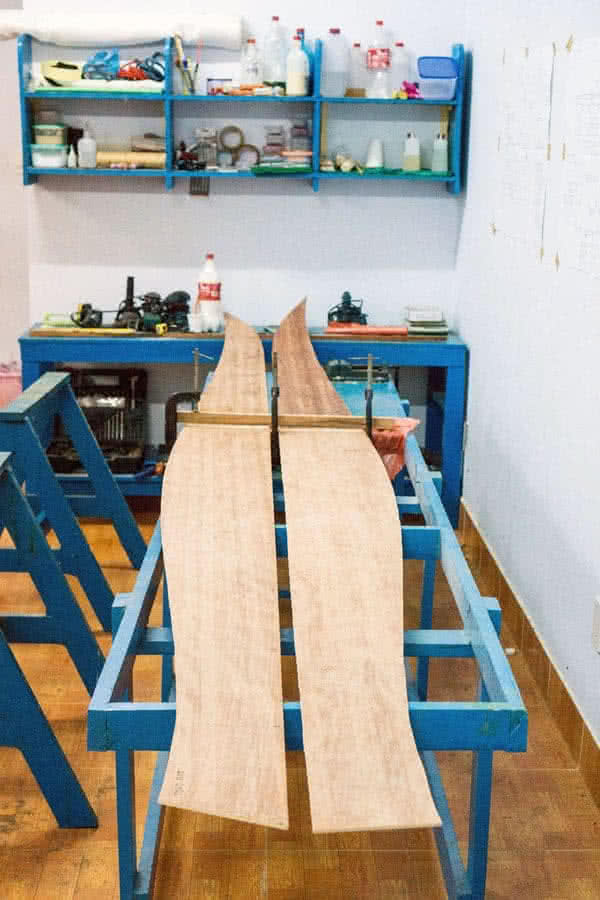
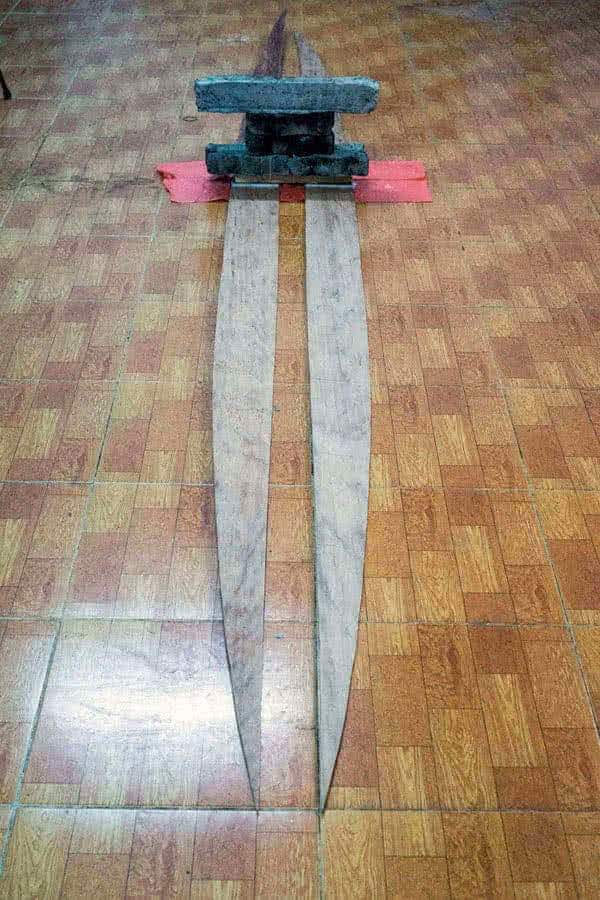
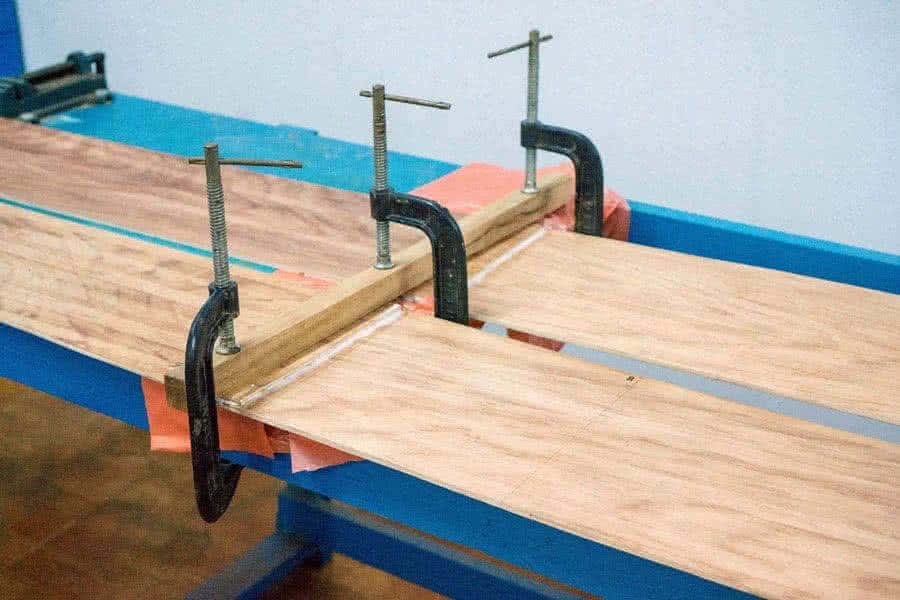
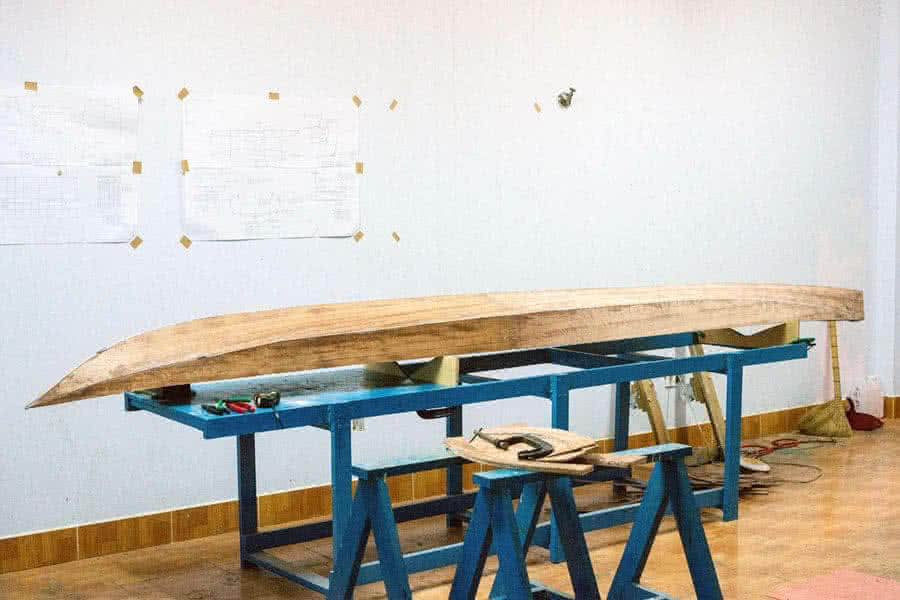
2. TRIM & JOIN
After cutting, pairs of bilges are clamped together (port & starboard) and trimmed to the same shape. Then simple butt joints with additional ribbons of plywood would do the job of joining to the full length of 14 feet (~ 4.2 m). All these joints would be hidden inside the hull under the canopy anyhow, so I don’t really care if they look good or not.
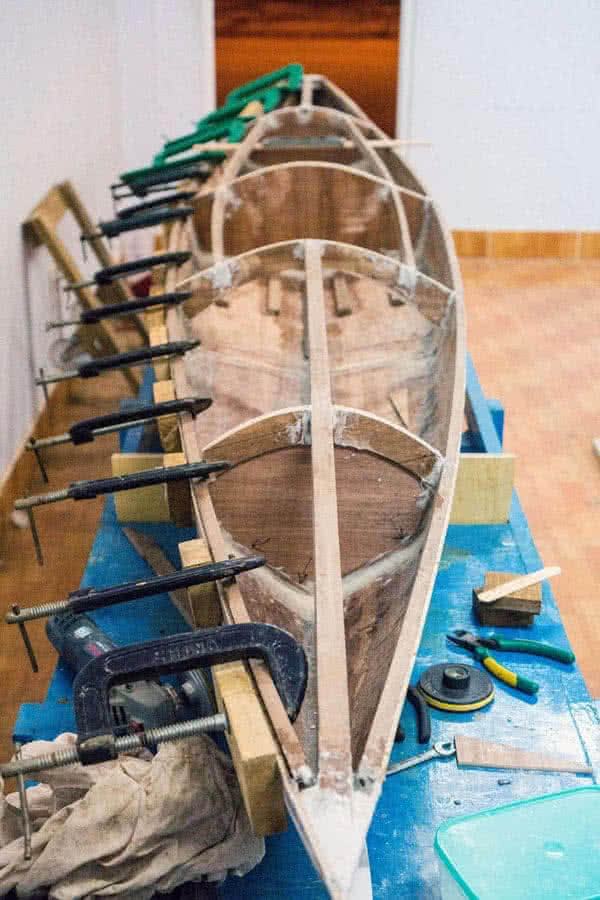
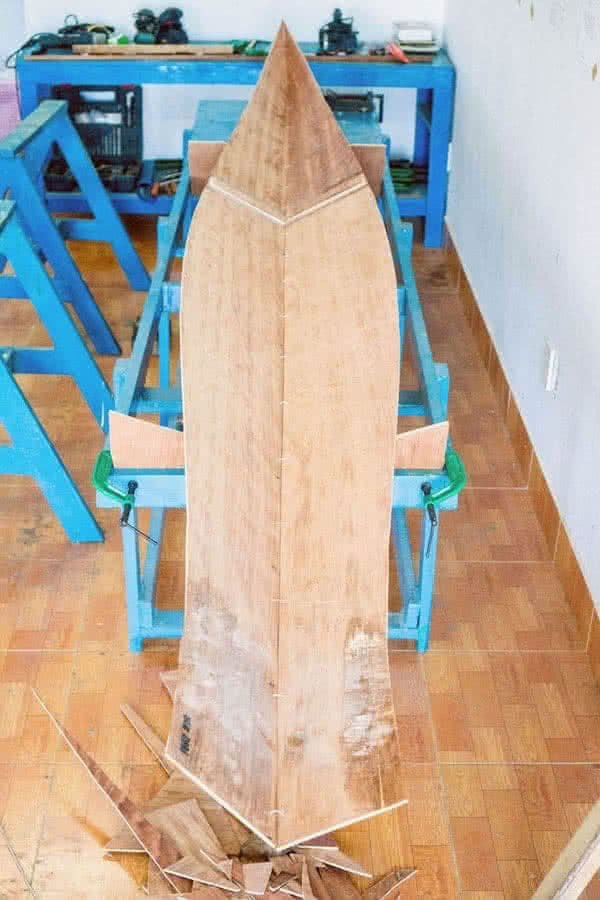
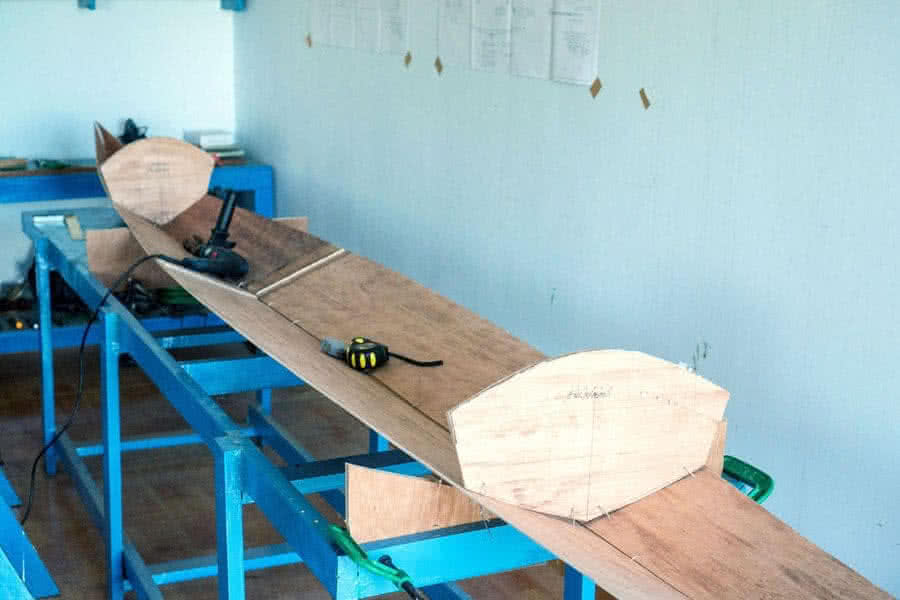
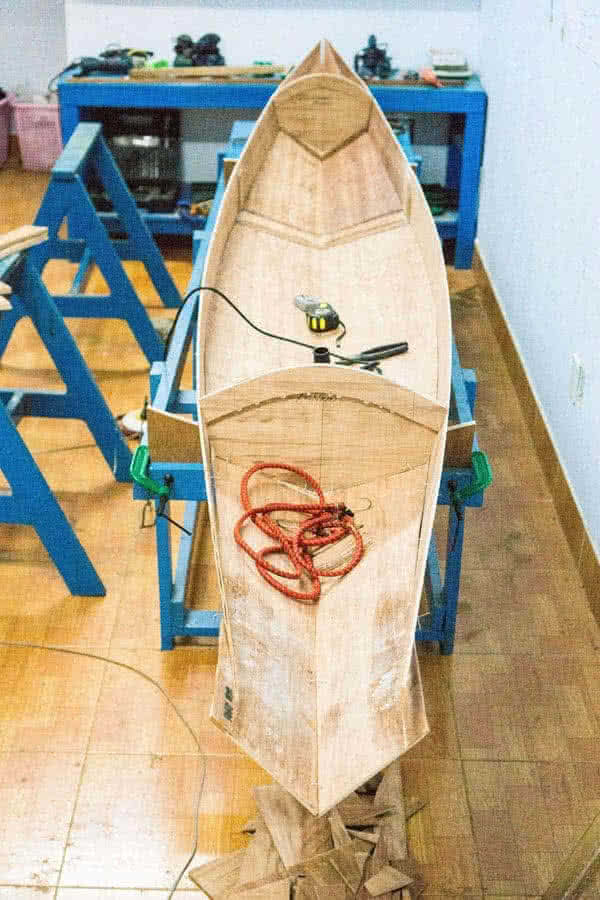
3. STITCH
Stitching does not take much time indeed, there’re only 4 bilges to put together. The hull is simpler, the plywood is easier to bend too. I guess more hard work would come with the canopy part, but for now, I’m really pleased to see the hull quickly take initial shape. Check geometries, fasten the wires, then come to the next step!

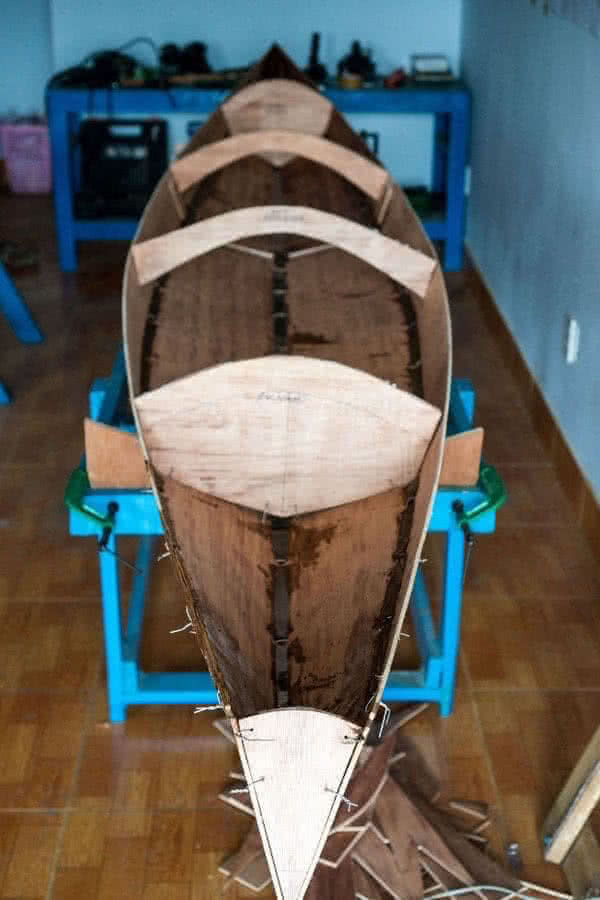
4. GLUE
More and more hands – on with epoxy and fillet. I think the suitable mixing ratio is somewhere between 1:3 and 1:5. That is (applied for), in Saigon, there’s no West System’s epoxy or such things, what I can find is kind of ‘raw chemicals’. Also, humidity greatly affects epoxy curing, avoid working when it rains. Absolutely keep acetone from the messing in!
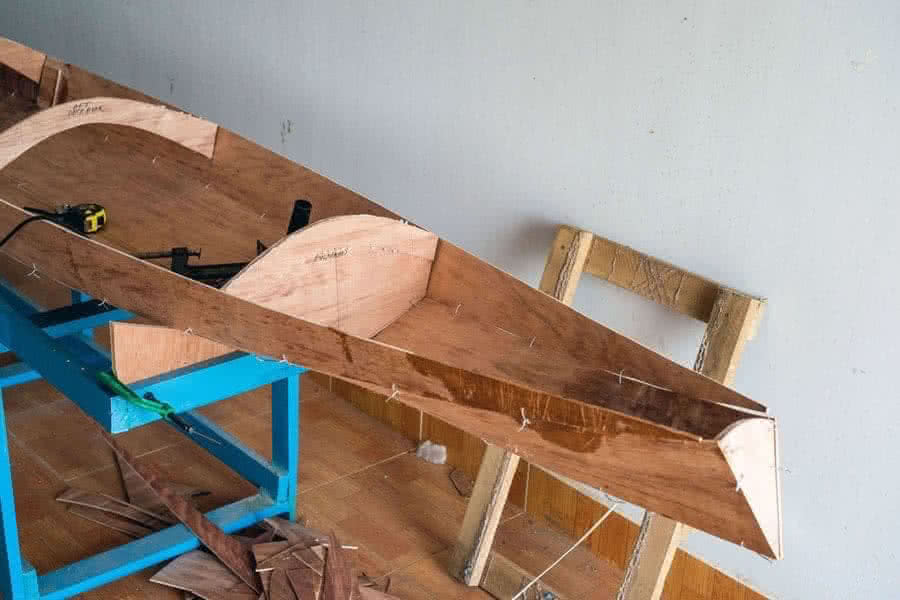

5. Bulkheads, deck’s beams, stringers & gunwales
At this point, I decided to change the original design. The fore and aft sections are water – tight compartments serving as flotations, next to the aft section is the added storage compartment with hatch, to store gears for, e.g: a weekend trip, and cockpit in the middle. There’re so many small details to be cared of at this step…