Tựa: trong thời đại nhạc thương mãi đang hoành hành trên nửa phần đất nước nầy, thính giả hầu như đã lãng quên những nét vàng son vang bóng thời qua, những nét nhạc hiện thiếu người nuôi dưỡng, phải lép vế dưới thế lực của những nhà thương mãi và những người có uy thế phổ biến loại nhạc thời trang hiện nay.
Những ca khúc thời gian qua sáng tác hoàn toàn bằng cảm hứng, không gượng gạo hay uốn nắn theo một đường hướng khác với ý tác giả, viết bằng những tình cảm trung thực nên dễ làm xúc cảm người nghe, gợi hoặc để lại cho thính giả những cái gì cao đẹp mà thời gian khó xoá bỏ được. Họ viết là để ghi lại những cái gì muốn nói và hy vọng truyền cảm qua người khác dìu – dắt nhau cũng đi trên con đường xây dựng Thiện – Mỹ.
Tác phẩm thời ấy như một đứa con xuất thân một gia đình thanh – cảnh có truyền thống tốt, lại được nuôi dưỡng tử – tế, làm sao không trở nên một đứa con hữu ích cho xã hội. Người nuôi dưỡng nó là ai ? nhiều khi không phải là người sinh ra nó, mà lại là những người hâm mộ giá trị của nó, tự thấy có trách – nhiệm phải giới thiệu cái hay, cái đẹp cho người khác. Chính nhờ tinh – thần vị – tha và giá trị của tác phẩm, nhiều ca, nhạc sĩ và cơ – quan phổ biến được nổi danh và nhận được nhiều thiện cảm của thính giả.
Ngược lại thời nay, những tác phẩm giá trị lại không được trình bày nhiều vì thiếu người nuôi dưỡng vô vị lợi, những ca khúc kém phần nghệ thuật lại được nghe hoài qua các làn sóng điện. Những bài hát này cũng như những đứa con hư xuất thân những gia đình truyền thống kém nếu không muốn nói là hạ cấp, có những nét phù phiếm bên ngoài mà nội dung rỗng tuếch. Nhưng chúng lại gặp may, được sinh sản trong một cái thế giới đảo – điên, tâm hồn con người đang thác – loạn chạy theo cái hào hoa bên ngoài, được săn – sóc bằng những bàn tay trục lợi của những kẻ có thế lực. Có lẽ vì hiện trạng chiến – tranh, vì thế lực kim tiền của ngoại nhân, những người kém trí thức, thiếu tự trọng đã gặp nhiều cơ – hội tốt trở nên giàu có trong nháy mắt, và những kẻ đứng đắn lại phải cam chịu phận nghèo vì tự – ái. Có lẽ vì hạng người thứ nhất khá nhiều, nên loại nhạc thời trang hiện nay đã phục vụ đắc lực cho họ, và loại nhạc đứng đắn có nghệ – thuật không đứng vững được vì hạng người thứ hai quá ít. Đây là điều mà chúng tôi và những người tha – thiết muốn xây dựng cho nền nhạc Việt rất buồn phiền, nhưng không biết làm sao lật đổ những tệ đoan ấy vì khả năng phổ biến nhạc hiện nay đang ở trong tay những kẻ thủ lợi có thế – lực.
Thấy thực tại mà càng thương mến dĩ vãng. Cho nên ngay phút đầu tiên tiếp xúc với nhóm “Đất Lành” chủ trương tuyển tập nhạc “Vang bóng một thời”, tôi đã có cảm tình ngay. Đây là một việc làm đáng ca ngợi và khuyến khích, một việc làm vô vị lợi. Chúng tôi thiết – tha mong Quý Vị đón tiếp tập tuyển nhạc nầy với một thiện cảm nồng nhiệt, và miễn thứ cho nhóm chủ trương những thiếu sót vì hoàn cảnh khó khăn trong việc thực hiện.
Hè 1971, Văn Giảng
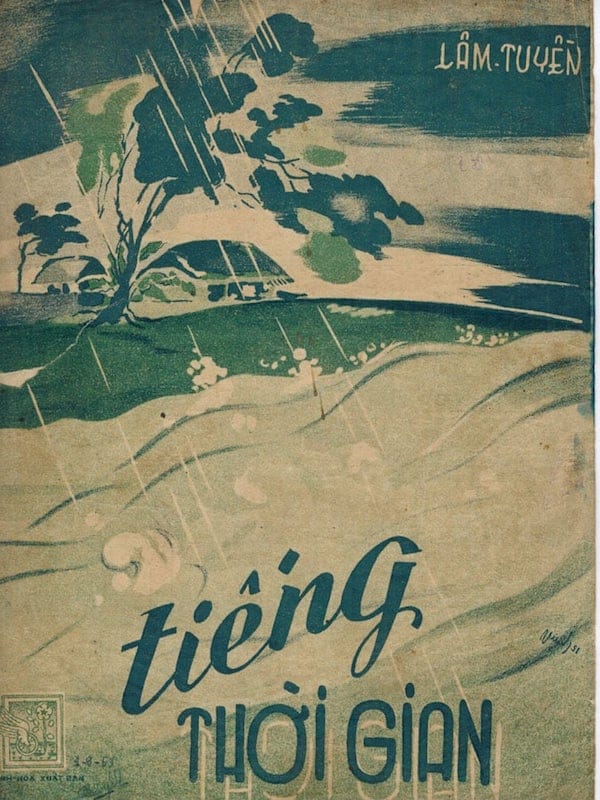
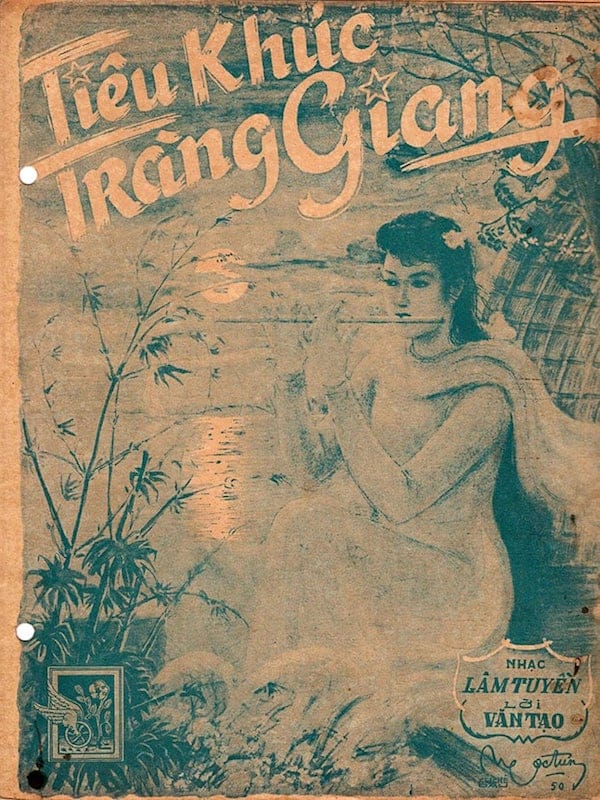
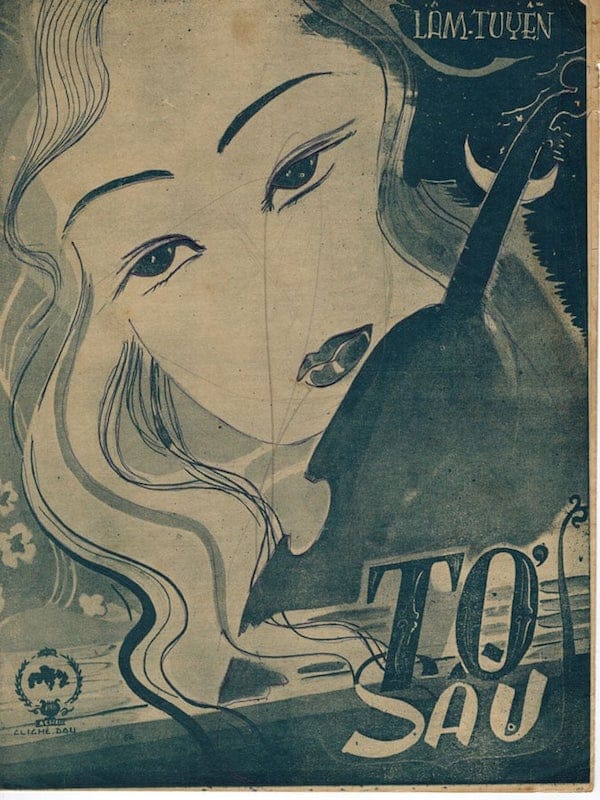
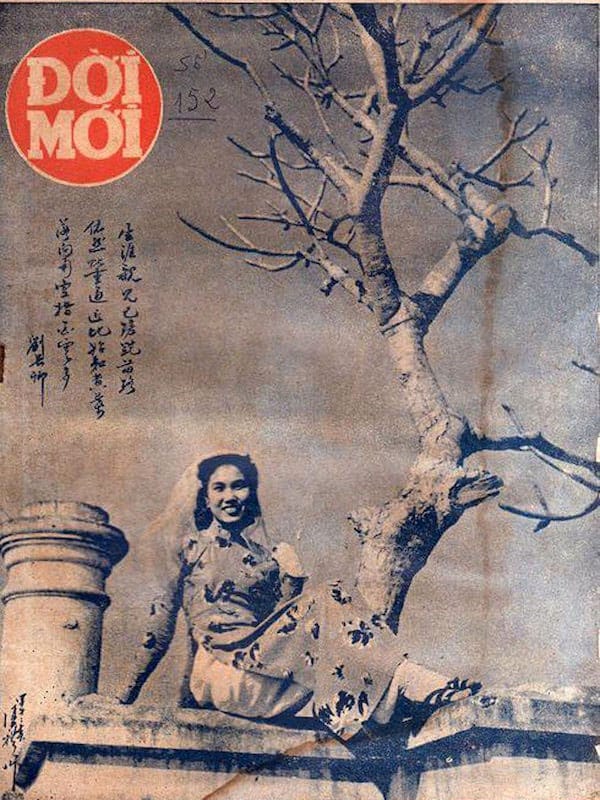
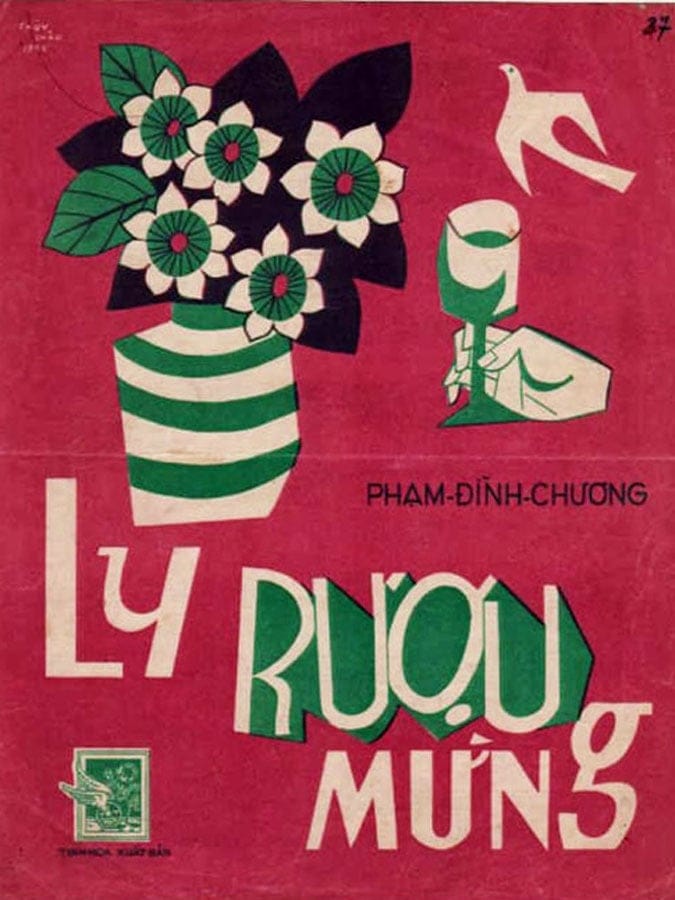
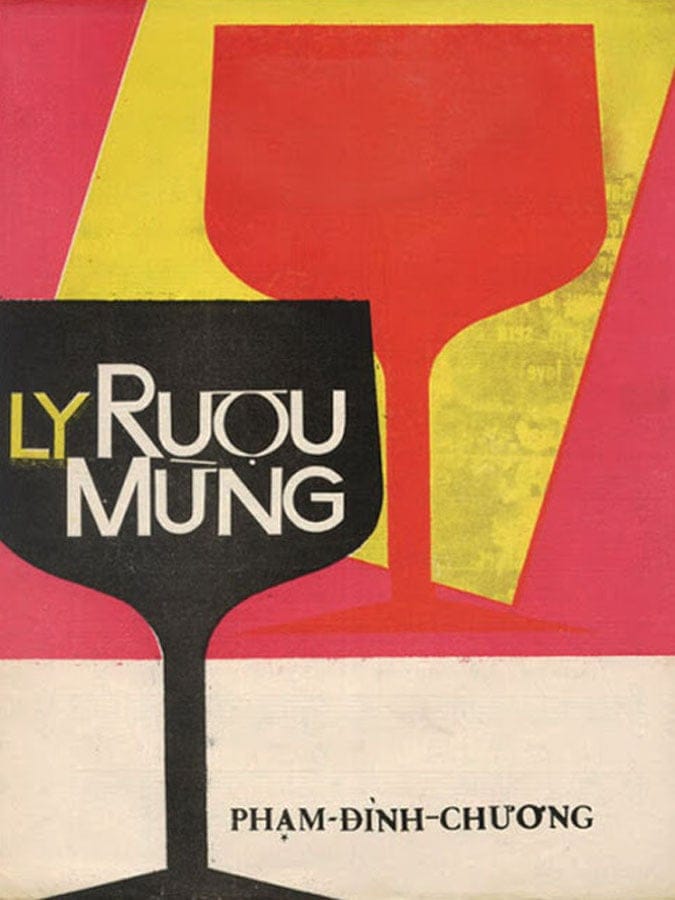
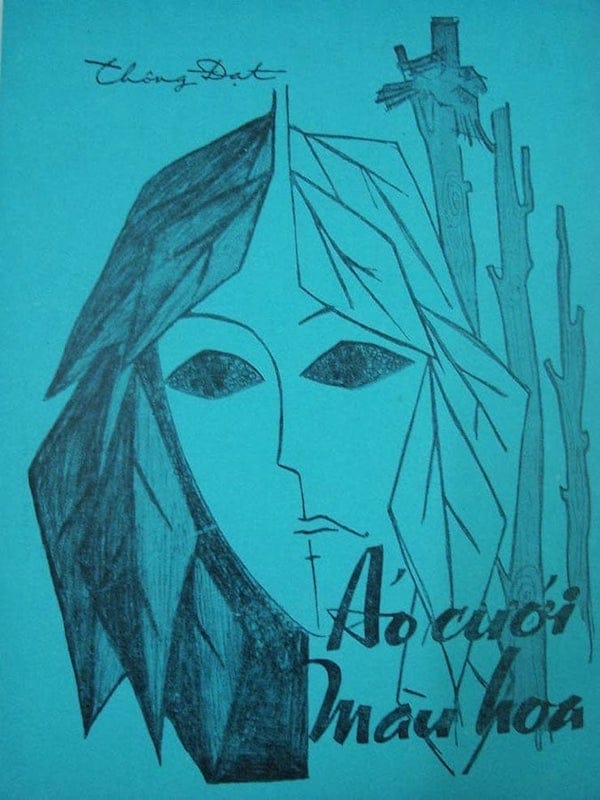
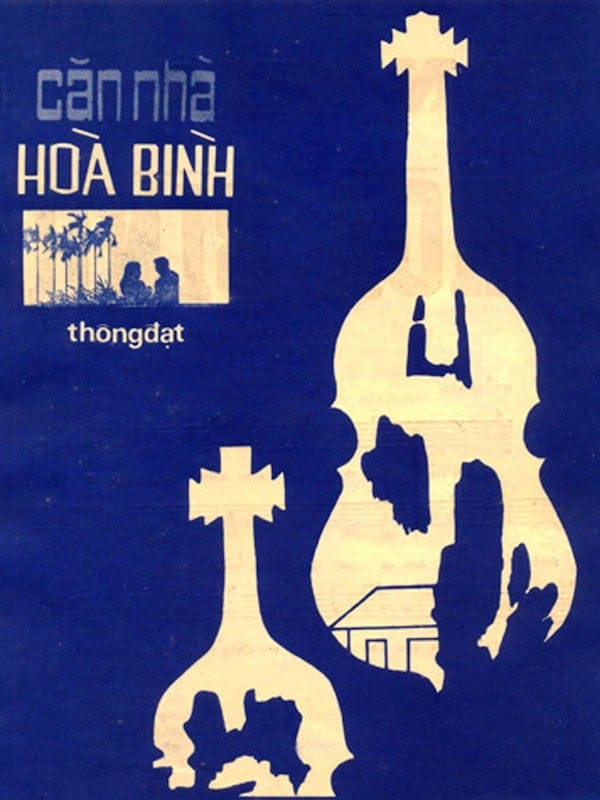
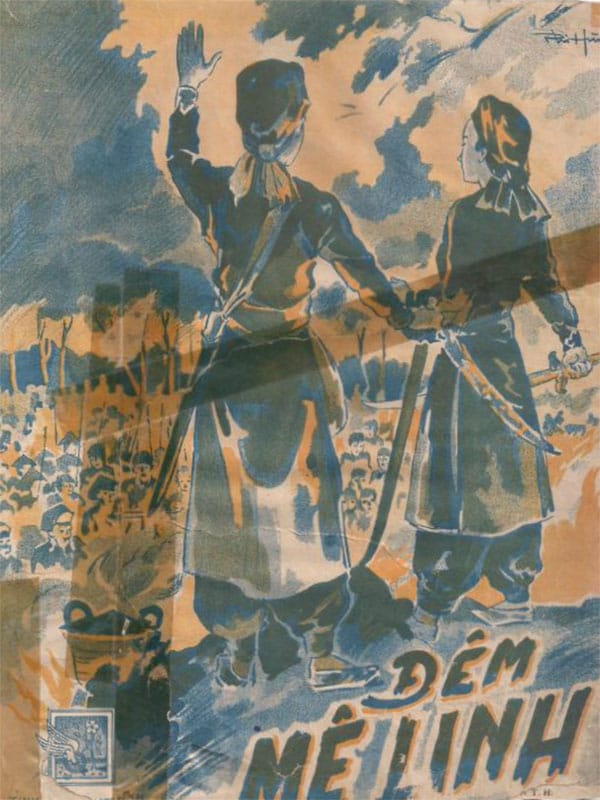
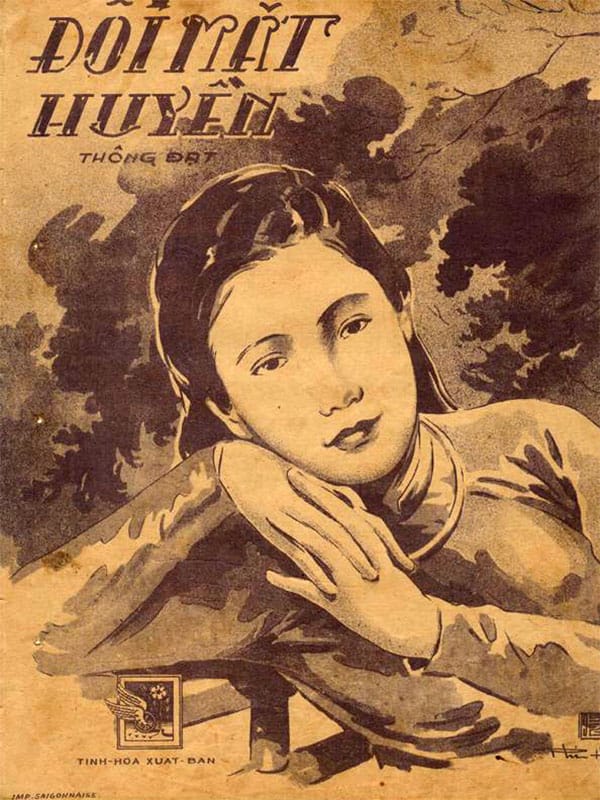
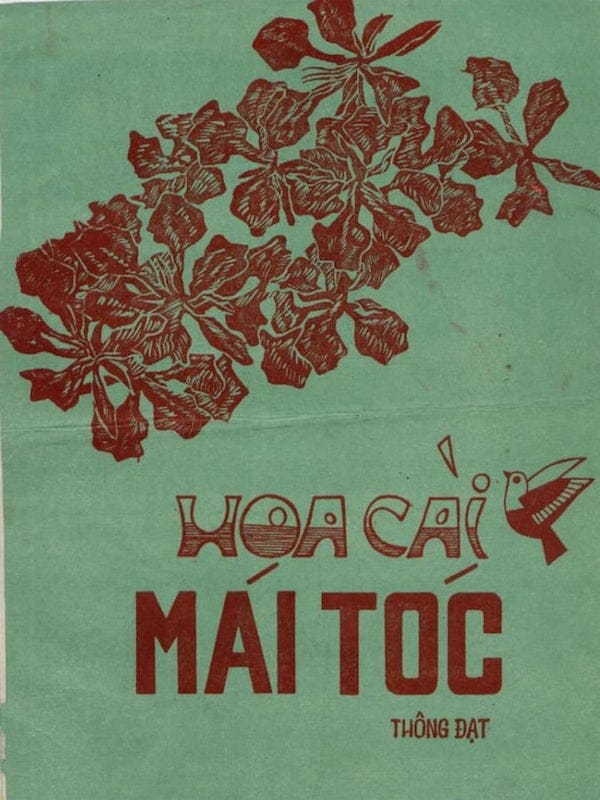
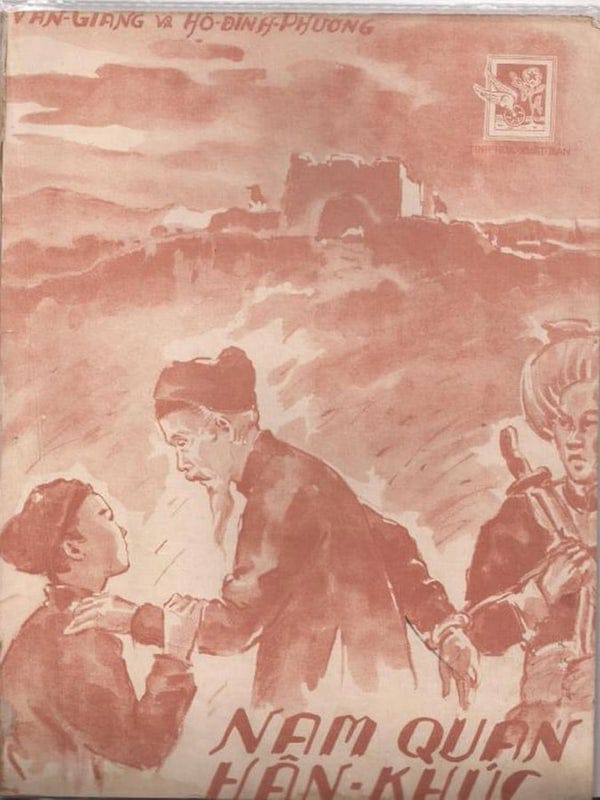
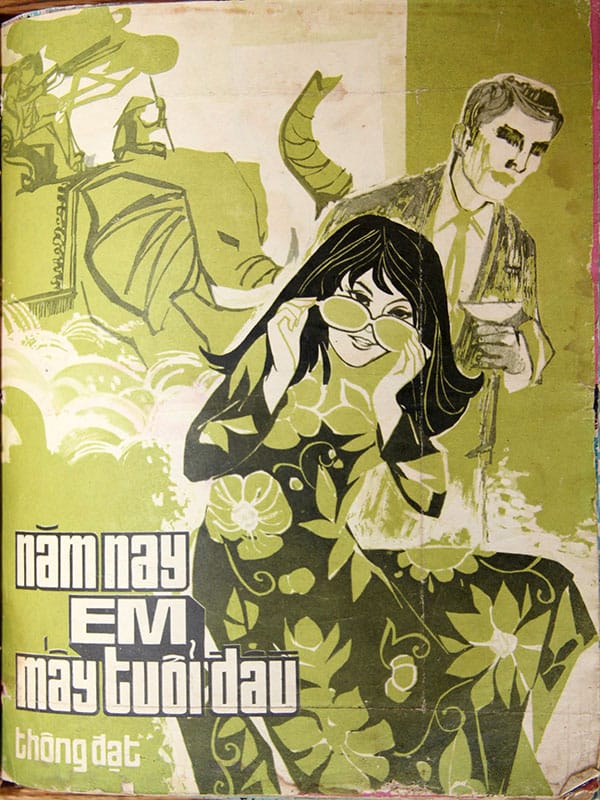
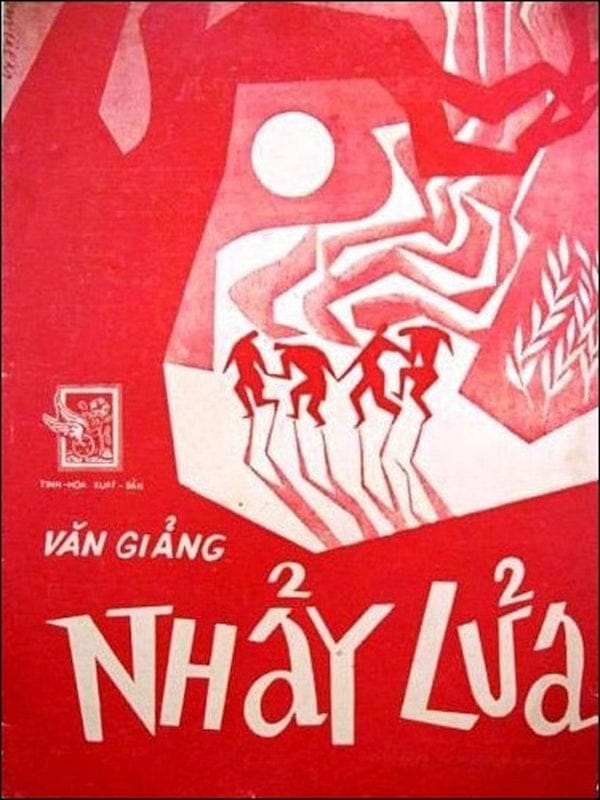
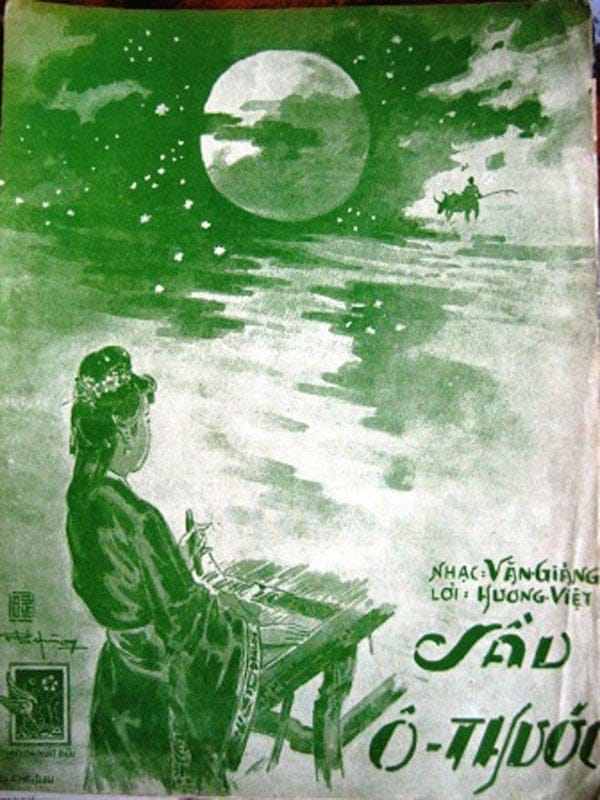
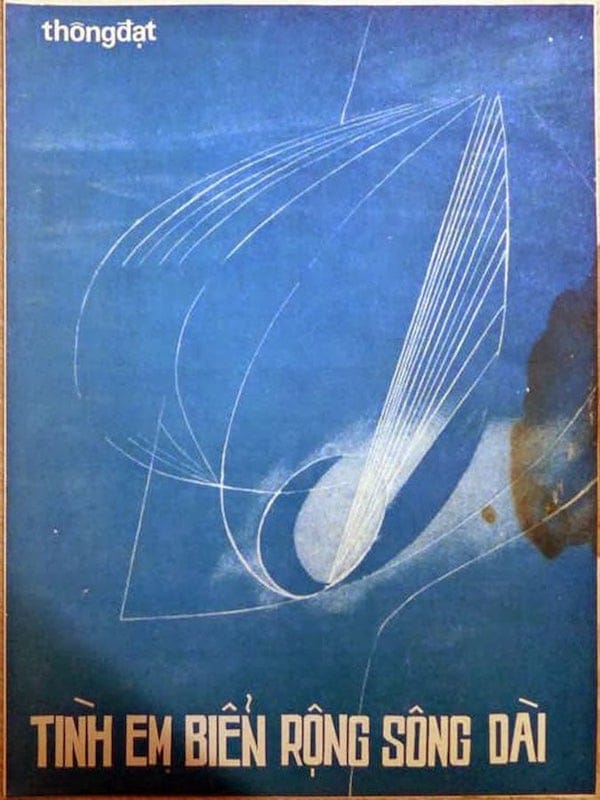
Một vài bìa nhạc Văn Giảng: