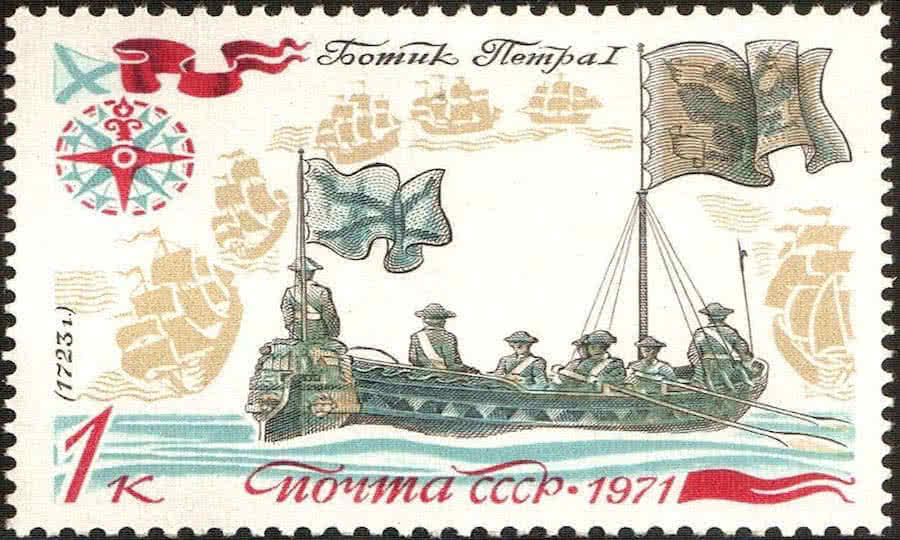
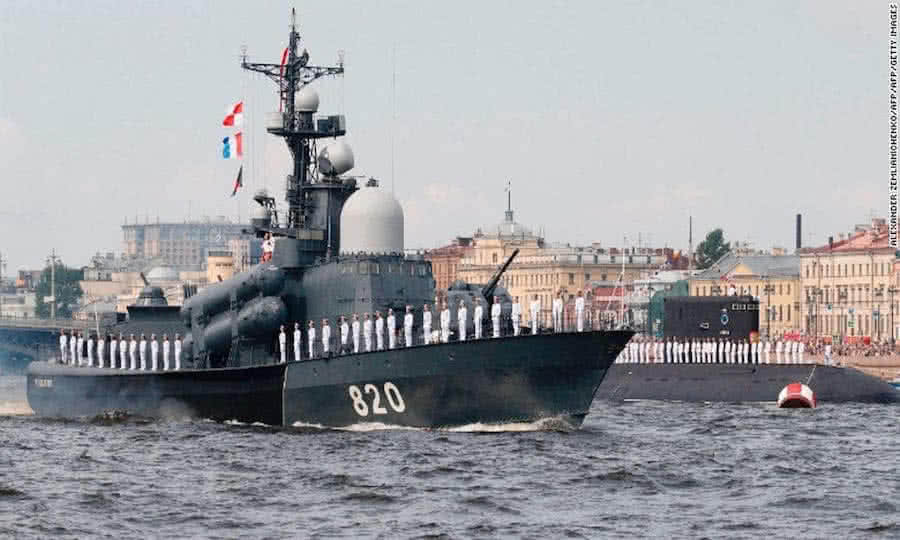
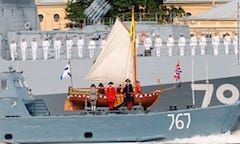
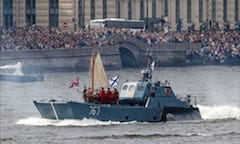
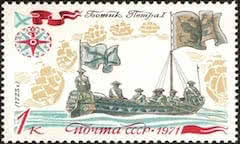
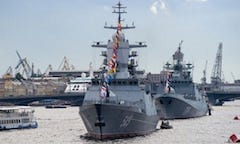
Hàng năm, vào ngày 30 tháng 7, sinh nhật của Sa hoàng Peter I (vừa qua), chiếc thuyền buồm nhỏ 400 năm tuổi này lại dẫn đầu đoàn diễu hành kỷ niệm Ngày thành lập Hải quân Nga trên sông Neva. Sau 400 năm, con thuyền 7m đóng bằng gỗ sồi này cỡi trên boong một con tàu khác chứ không thể tự bơi như trước. Tất cả chiến hạm của Hải quân Nga đều phải nghiêm chào khi con thuyền này đi qua. Peter I tìm thấy chiếc thuyền buồm trong nhà kho của ông nội, và học cách điều khiển nó năm 14 tuổi. Vài năm sau, ông tự tay đóng những chiếc thuyền buồm khác, “from keel to mast” – từ đáy lên tới đỉnh, và sau đó giong thuyền hàng trăm cây số trong bão tố trên vịnh Baltic, mặc cho bà mẹ của ông sợ hãi can ngăn.
Một cậu bé siêu tò mò và hiếu động, lập ra những “đại đội” đầu tiên từ các gia nhân, những người hầu cận của mình để chơi đánh trận giả. Hơn 3000 thiếu niên được huy động để lập nên hai trung đoàn: một đóng vai quân xanh, một đóng vai quân đỏ, và để xây dựng những pháo đài gỗ cho các trò chơi của cậu bé này. Ngày qua ngày, các chàng trai đó lớn dần lên, trò chơi trận giả ngày càng trở nên thật hơn. Đến một lúc, họ tập trận với gươm thật, súng thật, và từ đó trở thành 2 trung đoàn Preobrazhensky và Semenovsky, đội ngự lâm quân của các Sa hoàng sau này. Những cậu bé chơi trận giả với Peter, về sau, đa số đều trở thành những sĩ quan thành danh trong các đơn vị quân đội khác nhau của vương quốc.
Không quan tâm nhiều đến sách vở, chỉ ham mê các trò chơi vận động. Nhưng ham thích thuyền buồm, nên đã học toán, học thiên văn để biết cách dùng kính lục phân (sextant), đã học nghề mộc, học cách tự may buồm, học cách rèn đúc đại bác, vũ khí, và tất cả những nghề nghiệp có liên quan khác. Năm 1697, lúc 25 tuổi, Peter du hành ẩn danh (incognito) qua nhiều quốc gia châu Âu, dừng chân 4 tháng ở Amsterdam để học nghề mộc đóng thuyền. Trong suốt thời gian 4 tháng này, ai gọi Peter là “bác cả” (thợ mộc) thì ông trả lời, còn ai gọi là “điện hạ”, “hoàng thượng” thì ông làm lơ không đáp. Peter đến Đức, Anh, Áo và nhiều quốc gia châu Âu khác, học hỏi mọi thứ có thể trên đường đi, nhất là những tiến bộ kỹ thuật!
Bản thân Peter thành thạo hơn 16 nghề, thành thạo thật sự chứ không phải chỉ làm cho có. Cuộc hành trình 2 năm ở châu Âu đã đem về Nga hàng chục ngàn đầu sách, đích thân Peter phỏng vấn và tuyển chọn gần 1000 chuyên gia nước ngoài để phục vụ cho việc đóng tàu, khai khoáng, luyện kim, chế tạo vũ khí, huấn luyện binh lính, etc… Họ được trả một mức lương hậu hĩnh để phục vụ trong quân đội, hải quân, trong chính quyền và các ngành nghề công nghiệp khác của Nga. Nên biết rằng lúc này châu Âu đã qua kỷ nguyên Ánh sáng và chuẩn bị bước vào kỷ nguyên Công nghiệp hoá, trong khi nước Nga vẫn còn là một quốc gia trung cổ cực kỳ lạc hậu, đơn thuần nông nghiệp dựa trên chế độ “nông nô” (serfdom).
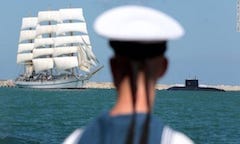
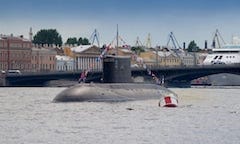
Để mở mang bờ cõi, phía Nam, Peter xây dựng hạm đội biển Đen và gây chiến với Thổ Nhĩ Kỳ. Phía Bắc, ông lập nên hạm đội biển Baltic và tuyên chiến với Thuỵ Điển, quốc gia hùng mạnh nhất châu Âu lúc bấy giờ. Hai hạm đội này, lần đầu tiên trong lịch sử nước Nga, mở được đường ra biển, giao thương với châu Âu và thế giới. Trước đó, người Nga hầu như chưa biết biển là gì! Peter khởi đầu với vị trí bombardier – pháo thủ, tự tay kéo pháo, tự tay nhồi đạn. Ông làm việc trên công trường đóng tàu như một người thợ mộc bình thường khác. Suốt mấy chục năm chinh chiến, ông được “thăng chức” bởi… chính các tướng lĩnh của ông, dần dần sau mỗi trận chiến, từ đại uý, đại tá và cuối cùng là đại tướng.

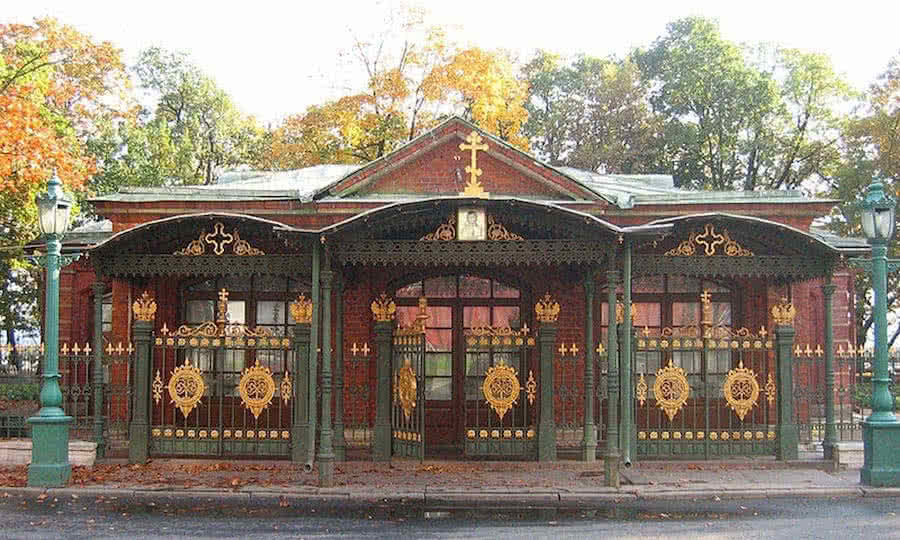
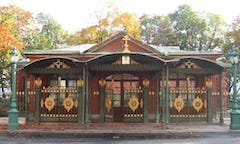
Mặc dù hiển nhiên, Sa hoàng mới thực sự là người chỉ huy cao nhất. Tất cả giống như là một vở kịch lớn, một trò chơi lớn, tiếp nối những trò chơi trận giả lúc nhỏ. Lúc đang xây dựng thành phố mới St. Peterburg, dự tính sẽ là thủ đô mới của nước Nga bên bờ vịnh Baltic, Peter sống trong một ngôi nhà gỗ 3 gian tạm bợ, với người vợ, sau này là nữ hoàng Catherine. Trong suốt nhiều năm, Catherine tự tay nấu ăn và giặt giũ, chăm sóc con cái, còn Peter tự tay làm vườn, họ sống như một cặp vợ chồng nông dân bình thường khác, trong căn nhà gỗ nhỏ thậm chí không có ống khói. Thư từ gởi đến và đi, đề tên là Peter Mikhailov, chứ không phải là Sa hoàng. Căn nhà này bây giờ trở thành một viện bảo tàng ở thành phố St. Peterburg.
Catherine, một phụ nữ gốc gác nông dân, “xuất thân hèn kém”, cả đời không biết đọc và viết, nhưng theo chồng Nam chinh Bắc chiến, chia xẻ mọi khó khăn, cực khổ, hiểm nguy trên chiến trường, nhiều khi còn tự tay nấu ăn cho lính tráng. Bà cứu mạng chồng mình trong một lần thua trận, bị quân Thổ Nhĩ Kỳ bao vây, bằng sự thông minh khôn khéo và can đảm của mình. Còn những khi chiến thắng trở về, Sa hoàng Peter, trong quân phục một đại uý, diễu hành qua cổng Khải hoàn môn ở Mát-cơ-va, đi phía sau những tướng lĩnh chỉ huy của ông như một người lính bình thường nhất. Giới quý tộc truyền thống Nga nhìn vào Hoàng đế của họ với tất cả những sự ngỡ ngàng, khó hiểu, xen lẫn với tức tối và bất mãn.

Công cuộc lột xác của nước Nga từ một nước nông nghiệp trung cổ lạc hậu, bước sang công nghiệp hoá trải qua nhiều đau đớn. Bản thân giới quý tộc không muốn từ bỏ các đặc quyền đặc lợi. Bản thân Nhà thờ Chính thống giáo không muốn mất đi các đất đai sở hữu và những quyền lợi khác. Peter đã ra lệnh tháo tất cả chuông của tất cả Nhà thờ trên toàn thể lãnh thổ Nga xuống để lấy đồng đúc súng đại bác, một hành động mà sau đó ông bị xem là “anti – Christ”. Giới quý tộc được lệnh phải văn minh hoá, phải học theo kiểu cách Tây phương. Áo choàng dài bị cắt ngắn, những hàm râu quai nón rậm rạp đặc trưng của quý tộc Nga bị cạo sạch, ai còn muốn để râu phải đóng “thuế râu”, phải trả một khoản tiền lớn.
Con em các nhà quý tộc và thơ lại được gởi đi châu Âu, học ngoại ngữ, học toán, học luyện kim, đóng tàu, kiến trúc, xây dựng, etc… và tất cả những ngành nghề cần thiết khác. Thể chế dựa trên đặc quyền, đặc lợi xa xưa dần dần bị bãi bỏ, tất cả được xây dựng lại trong một hệ thống dựa trên tài năng và công trạng. Thăng tiến trong chính quyền hoàn toàn dựa trên những thành quả đạt được. Và những đổi thay đó rất đau đớn, ở đây thể hiện một mặt khác trong cá tính con người Peter, một sự tàn bạo đến khát máu, sẵn sàng ra lệnh treo cổ hàng ngàn người chỉ trong một ngày, tất cả những ai dám chống đối, dám cản đường ông, tất cả chỉ để thực hiện cho bằng được chính sách “Duy tân” của mình.
Lịch sử nước Nga từ đó bước sang một trang khác, một kỷ nguyên khác, nổi lên như một siêu cường ở châu Âu. Cả châu Âu run sợ trước một thế lực mới, vừa văn minh hiện đại, vừa dã man tàn bạo! Không một ai có được vai trò như của Peter đối với nước Nga, trên tất cả các phương diện: khoa học, kỹ thuật, quân sự, văn hoá, thể chế luật pháp, chính quyền, kiến trúc, xây dựng, etc… Và cũng chỉ duy nhất một mình Peter được sử sách Nga chính thức gọi bằng cái tên: Piotr Veliki – Peter the Great – Peter vĩ đại. Tất cả được kể lại một cách hết sức chi tiết và sống động trong cuốn sách đồ sộ Peter the Great của Alexei Tolstoy, bản dịch tiếng Việt: Pie đệ nhất, một trong những cuốn sách yêu thích nhất của tôi lúc nhỏ.