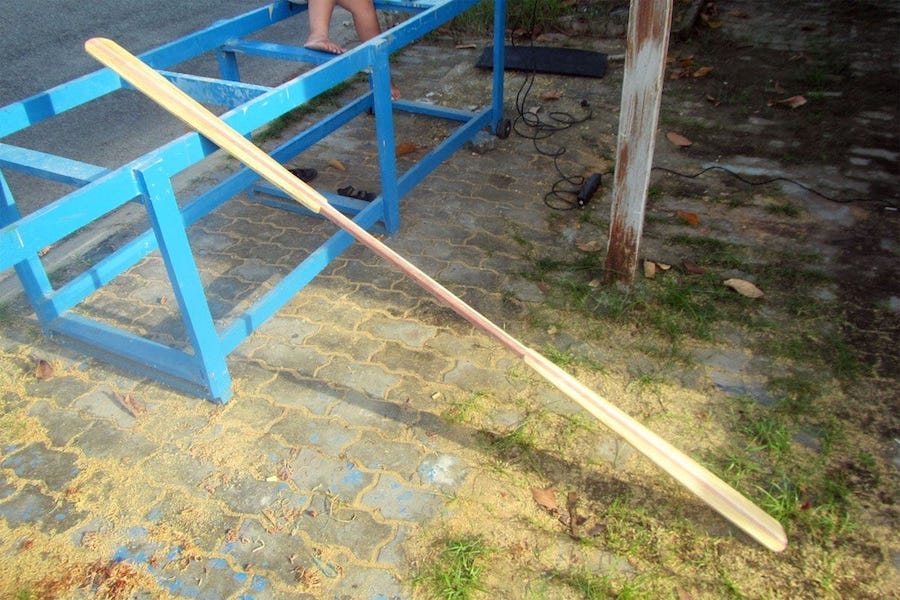
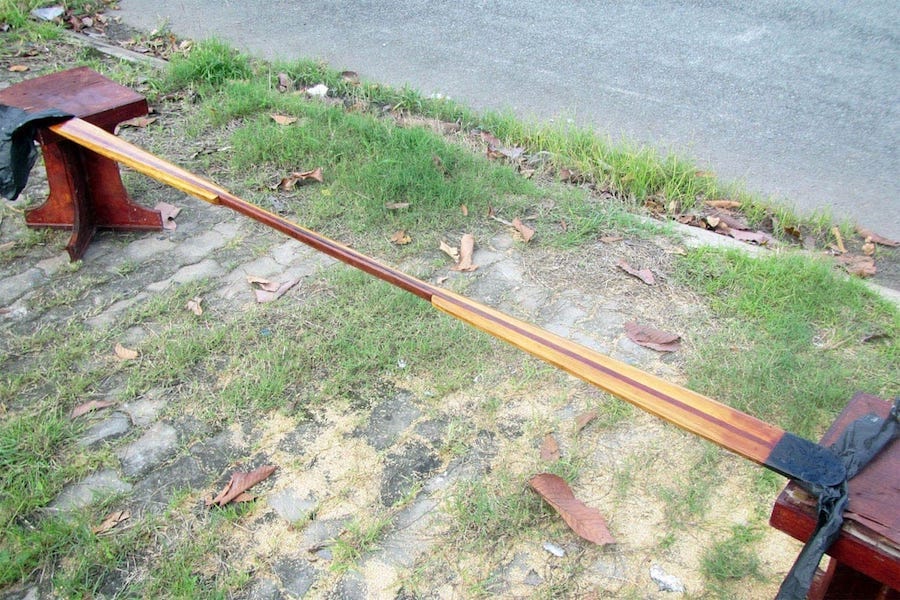
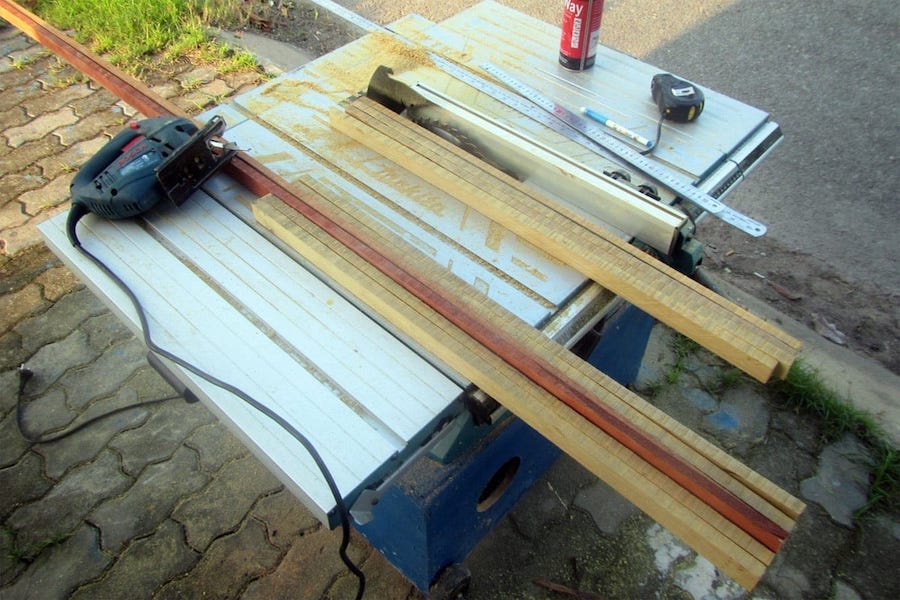
Having gained some know – hows from my first Greenland paddle, I proceed to making the second one. This is not a “storm paddle” as mentioned in the previous post, but rather just an auxiliary, backup one. It would be shorter (190 cm), and wider (10.5 cm), as my first one, though suitable for long range paddling, lacks the force needed to compete against strong current and wind. I think it’s wiser to have a pair of paddles to compensate each other (and stop using the plastic one completely).
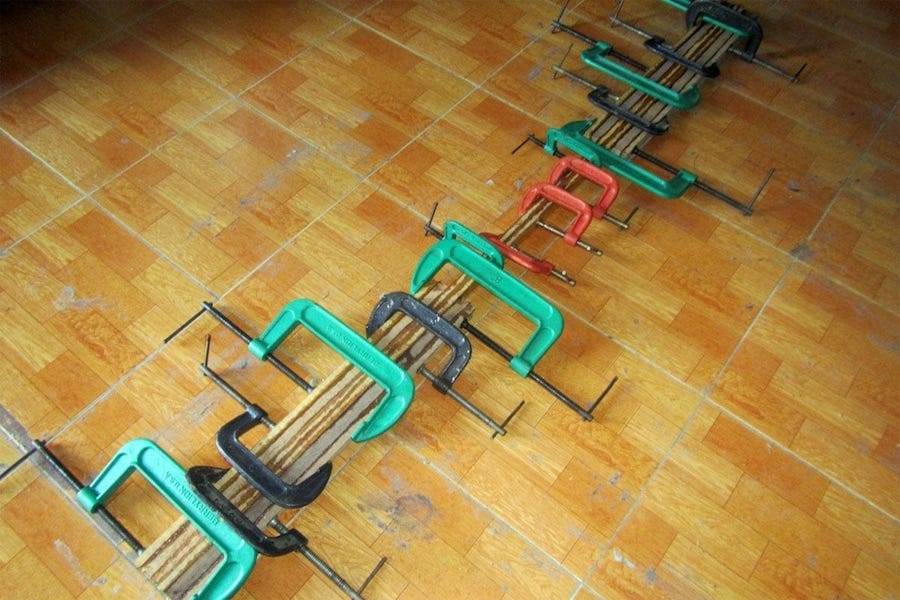
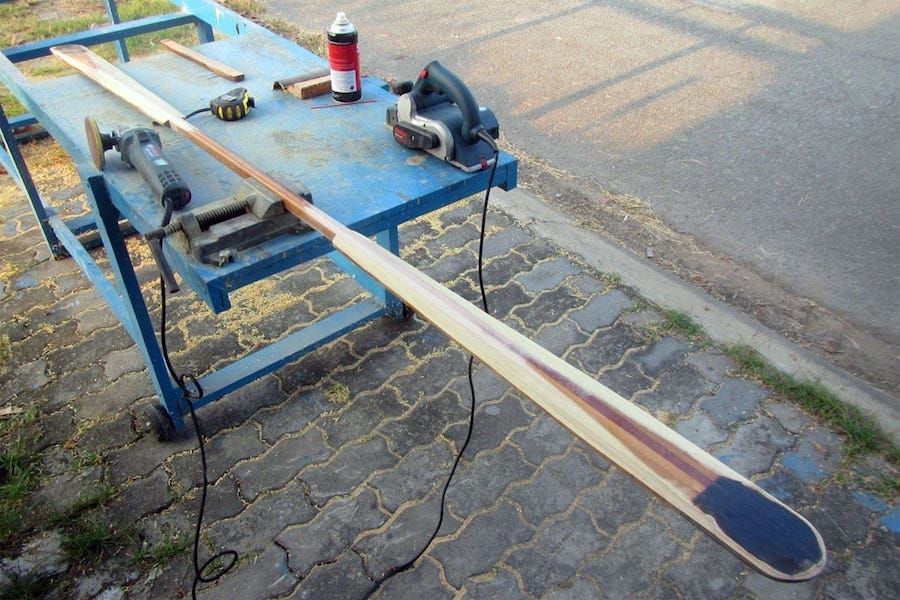
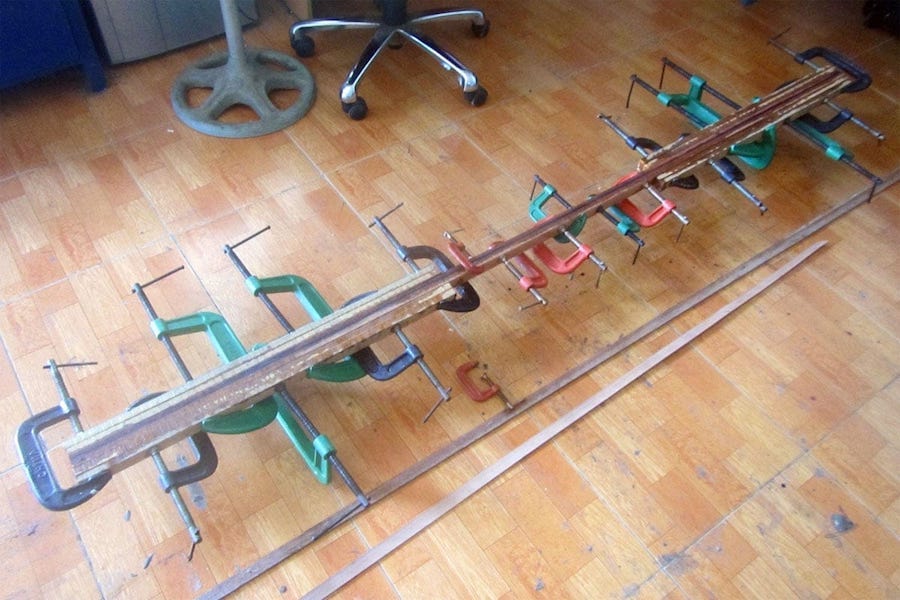
But first, I need to reshape my first paddle a bit, to make it even lighter, and turn the cross – sections from “rounded – rectangles” into real flat – ovals. The blades are still quite thick, especially at the edges, and they’re making quite some noises when entering the water. A good paddle should make as little sound as possible, so that the water birds wouldn’t fly away until you’d approached them within 4, 5 meters or so. Well, those lovely water birds, an interesting story I would tell in another post.
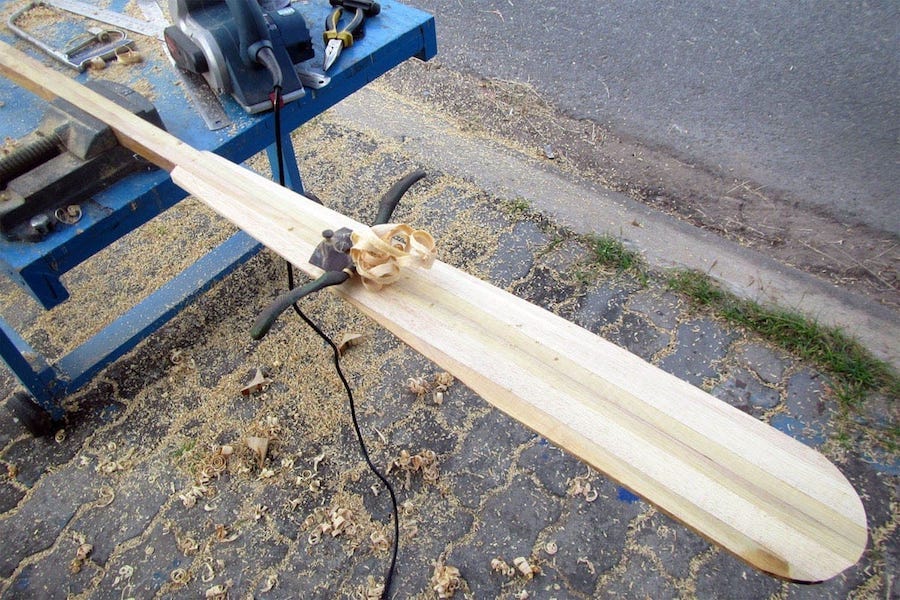
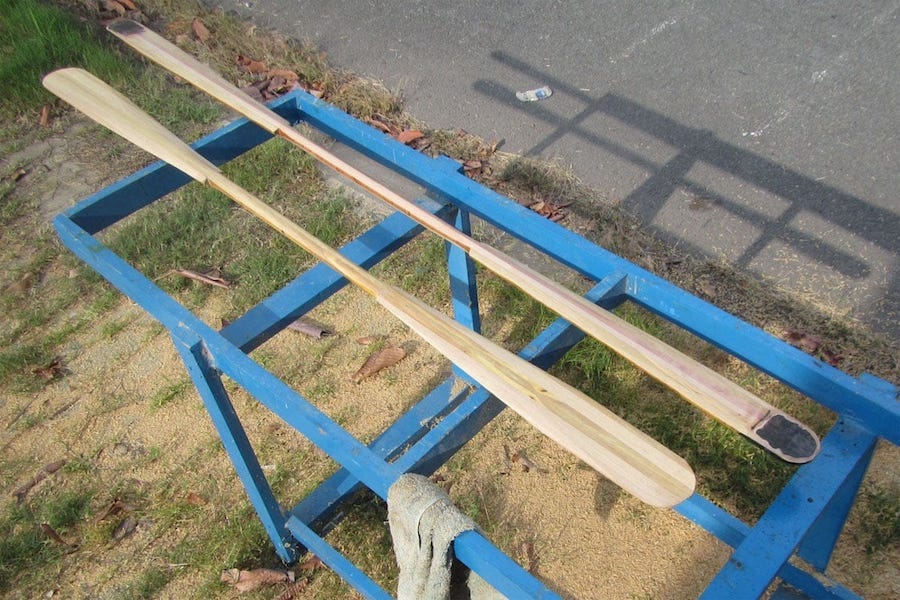
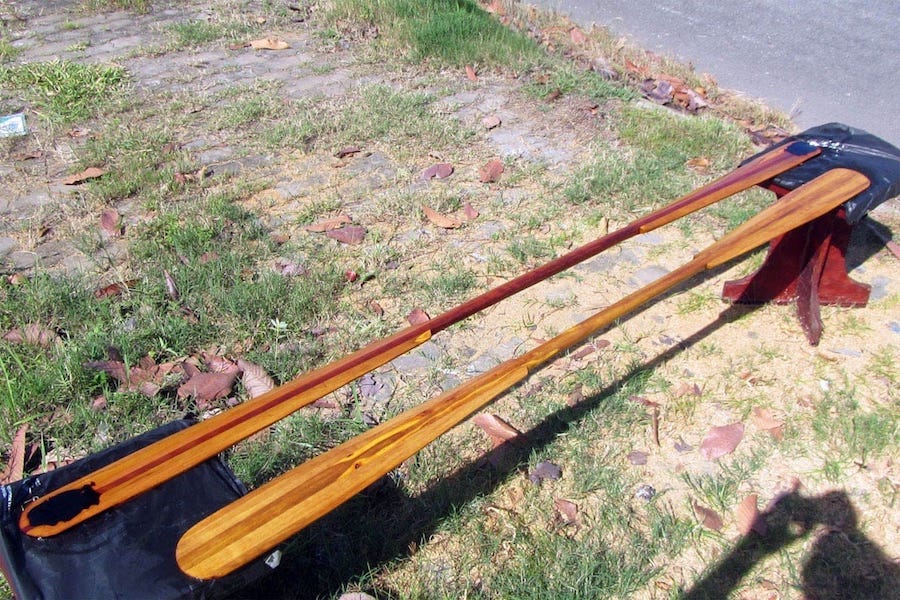
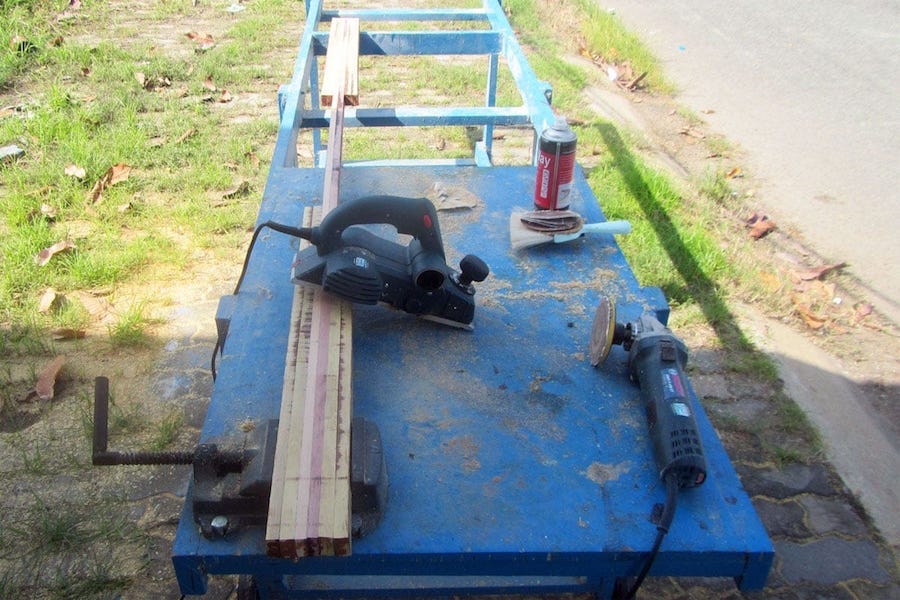
5th image below: using a spokeshave to carve the edges (the rougher job is done with the machine planer already). I’d turned to love this tool, it removes wood easily and nicely. As I’m gaining more experiences with wood working, I feel more confident and rely more on the manual tools, as they allow me to do the finer jobs. 6th image: the pair of paddles, they’re just a little bit heavier than the plastic paddle, but feel like firm enough for hard uses though! Now ready for the glassing and painting tasks!
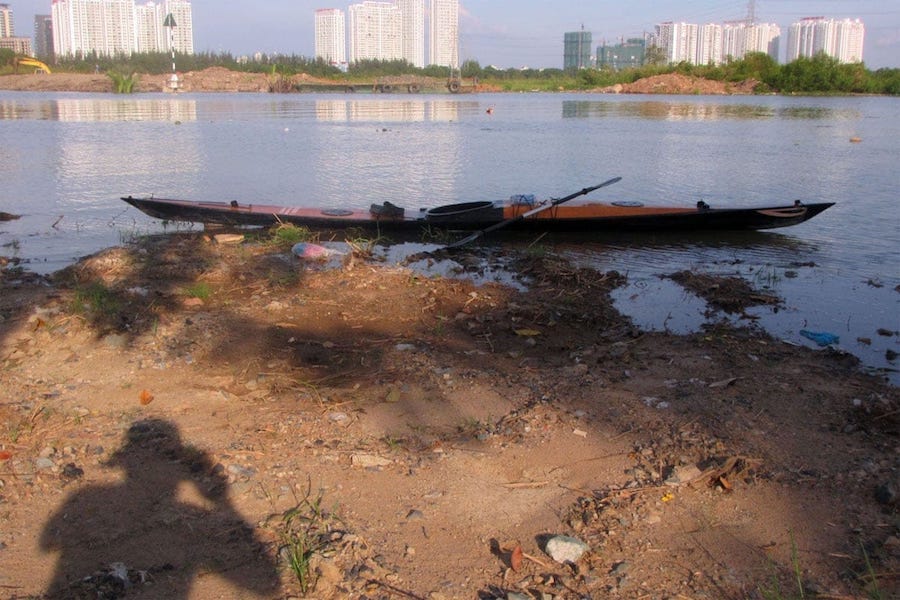
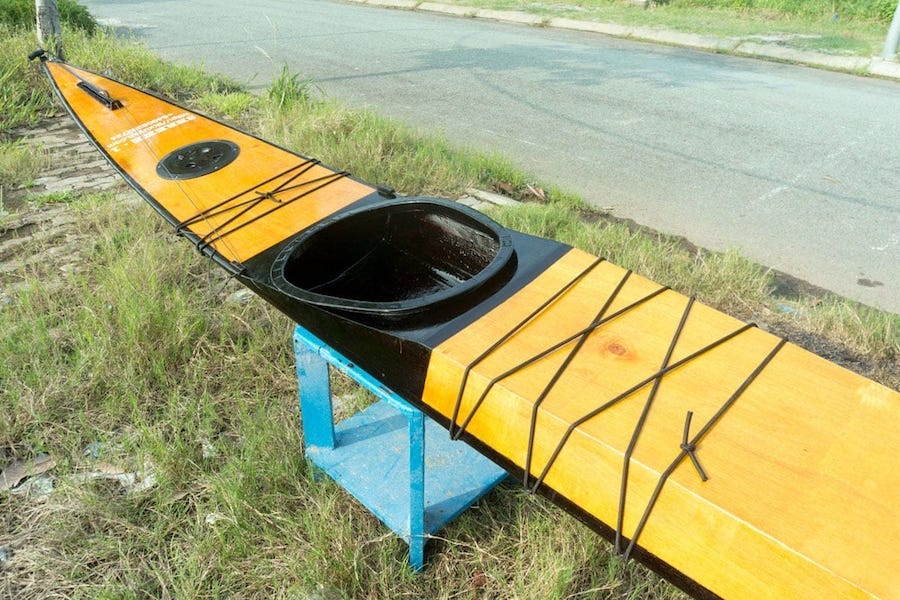
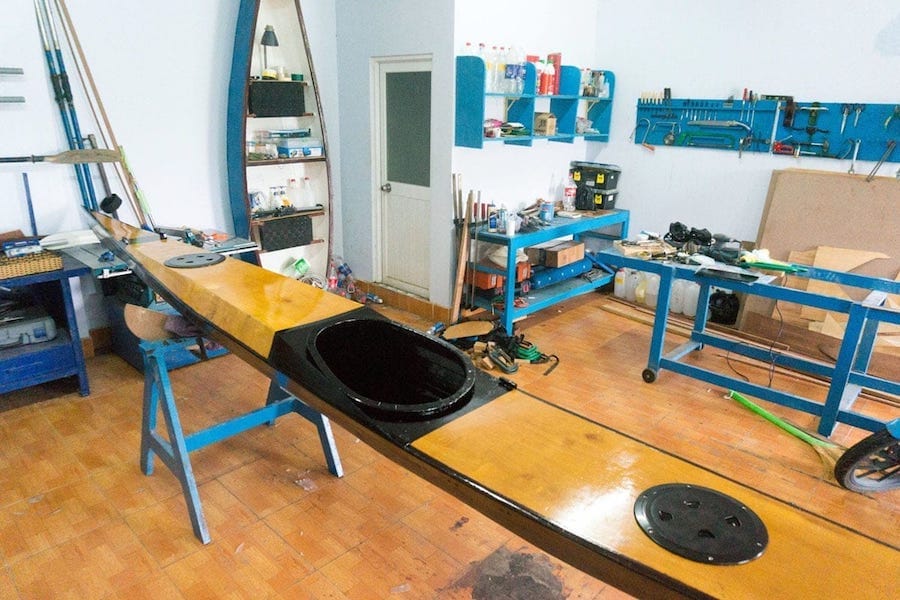
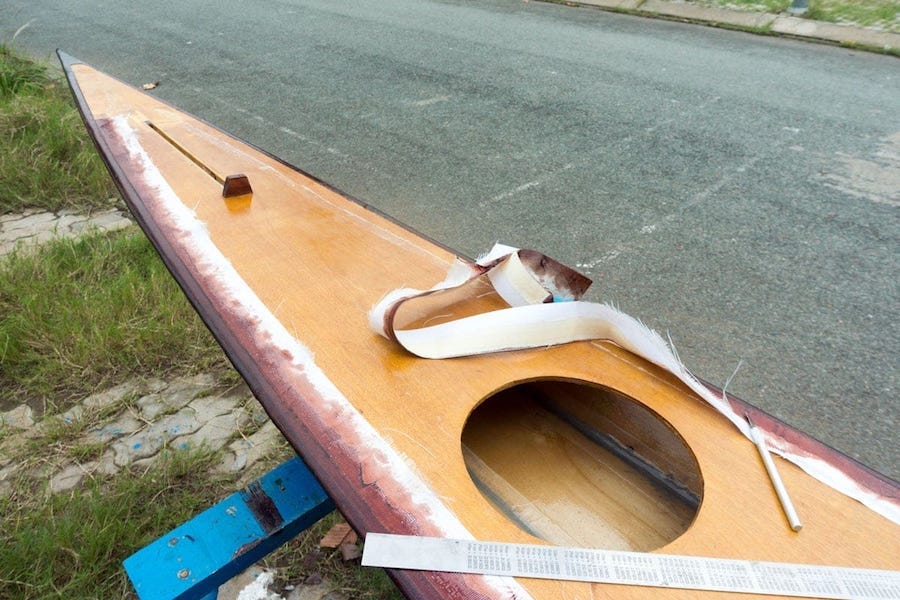
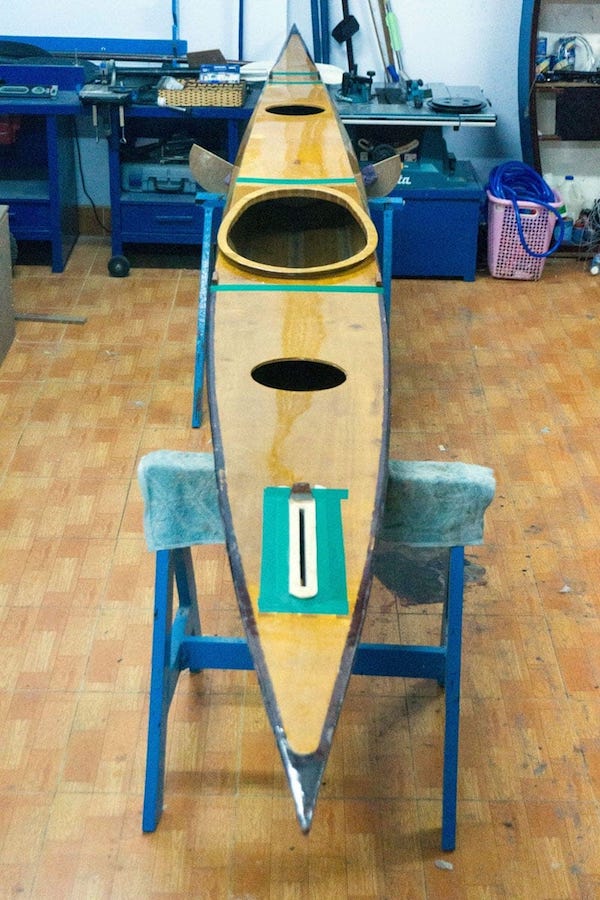
Serene – 1 p1
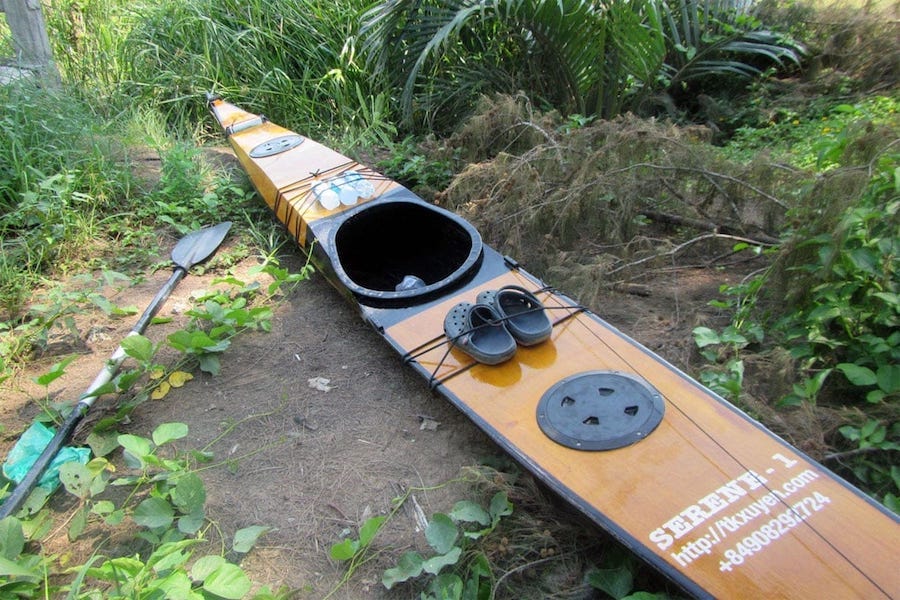
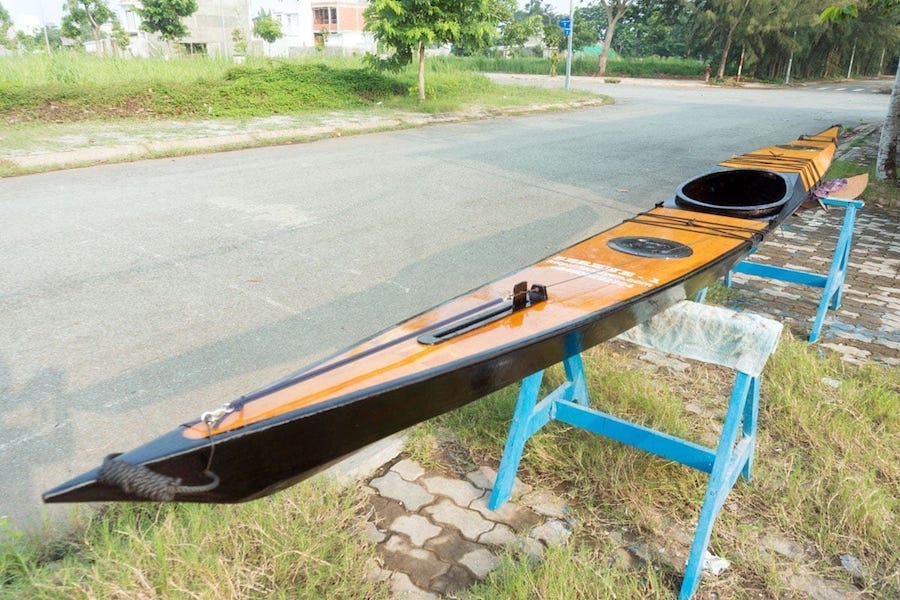
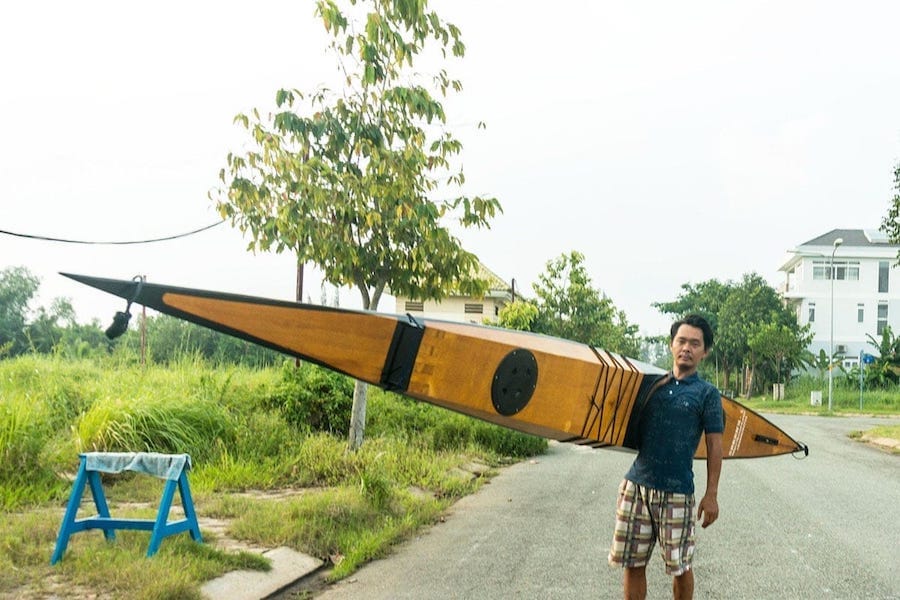
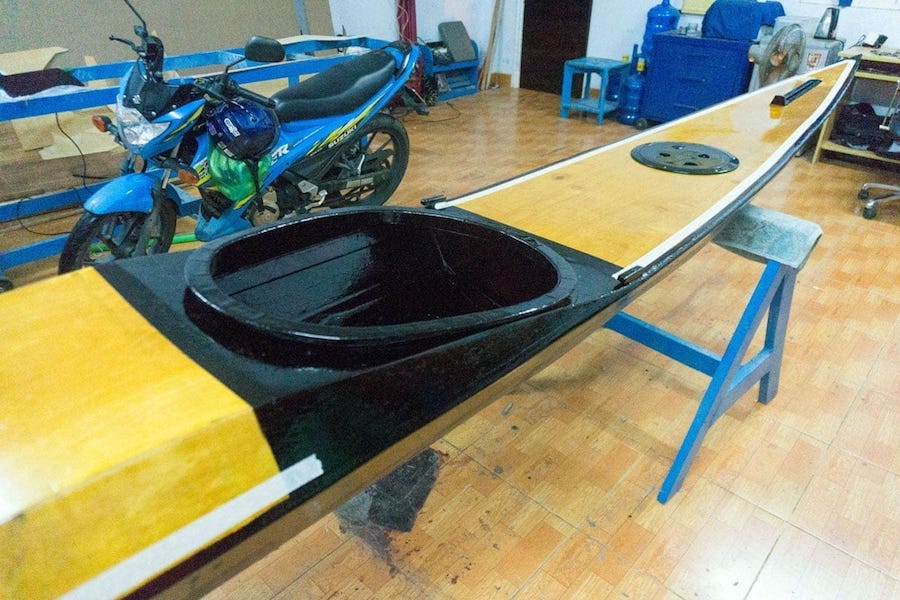
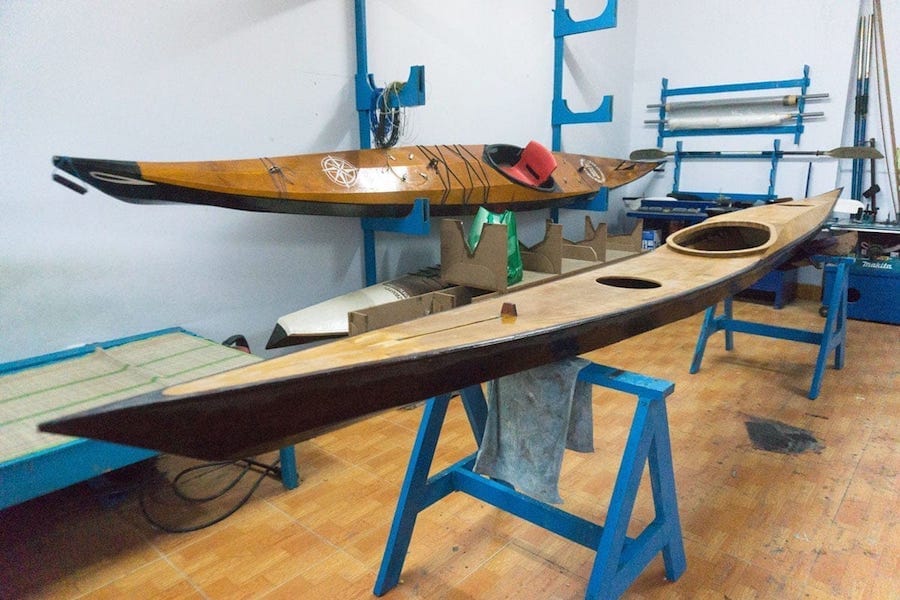
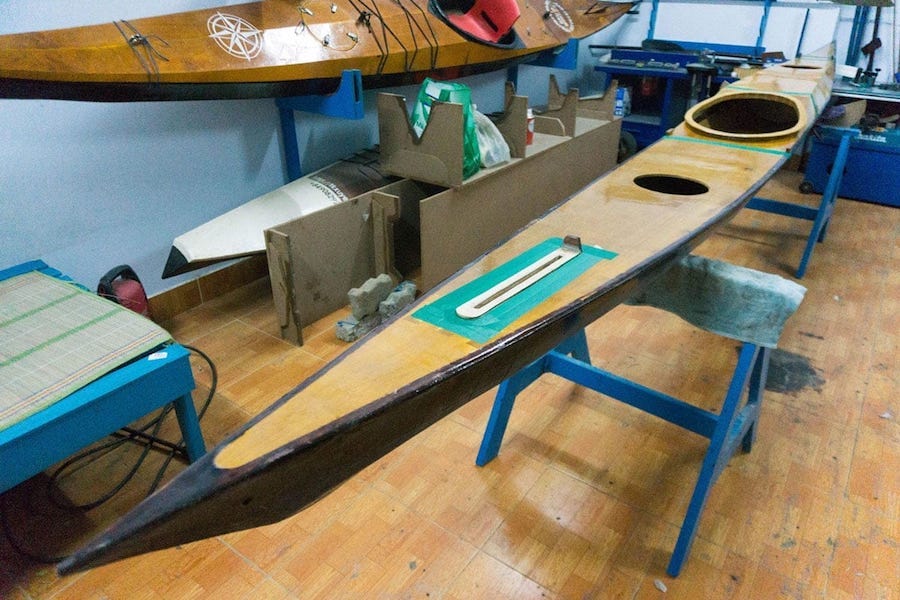
Serene – 1 p2
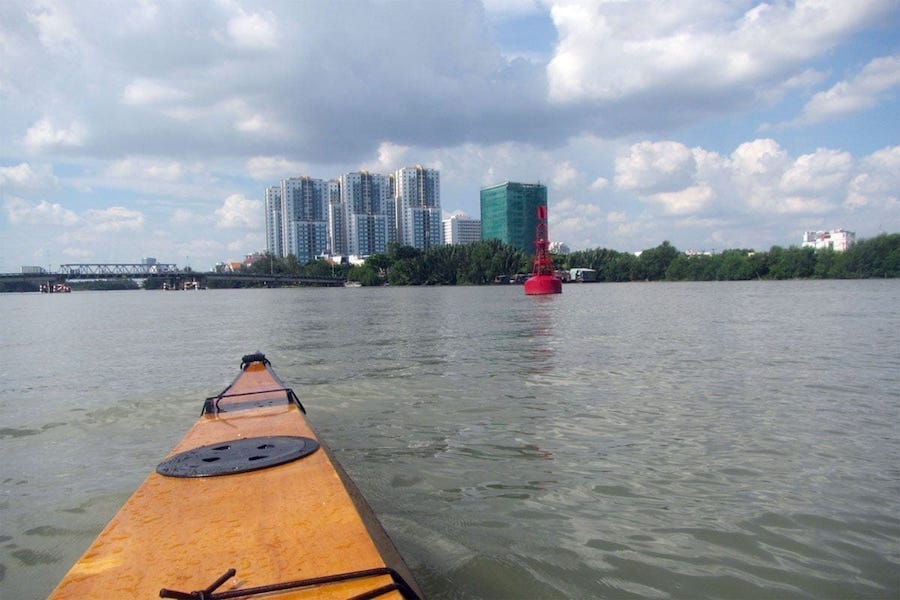
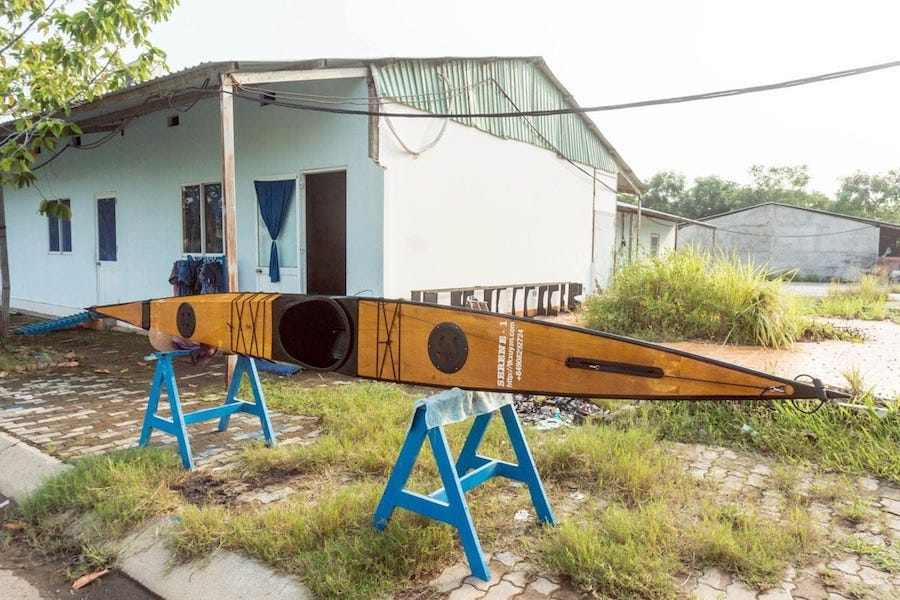
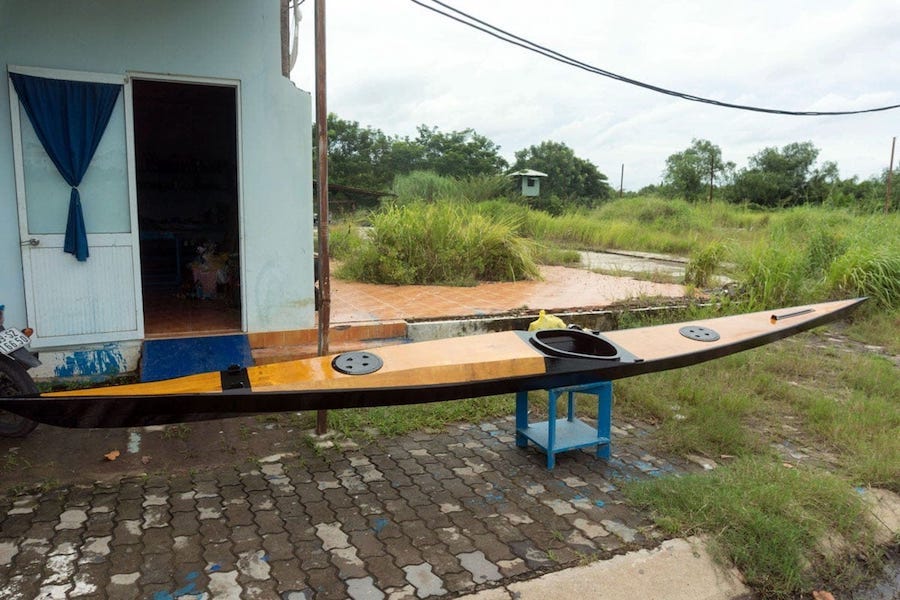
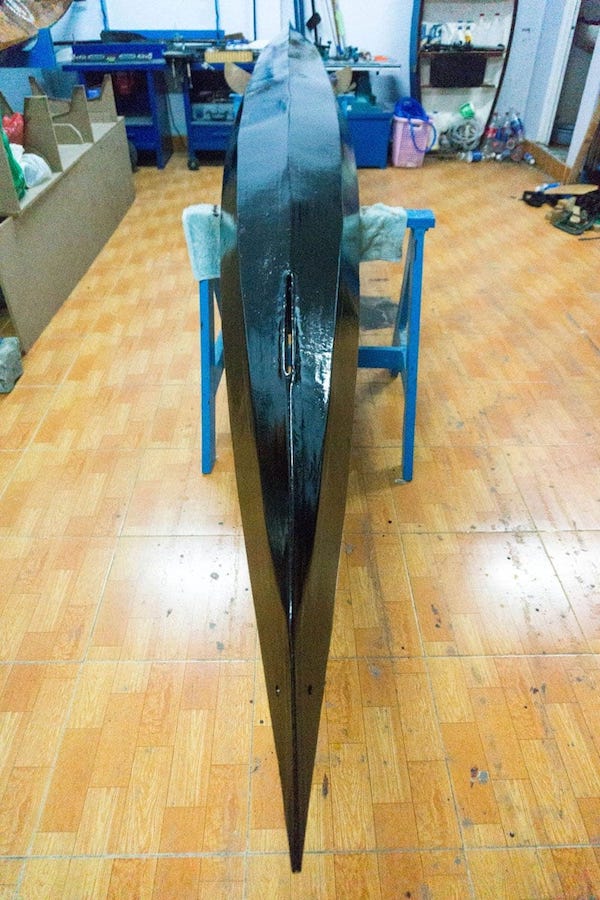
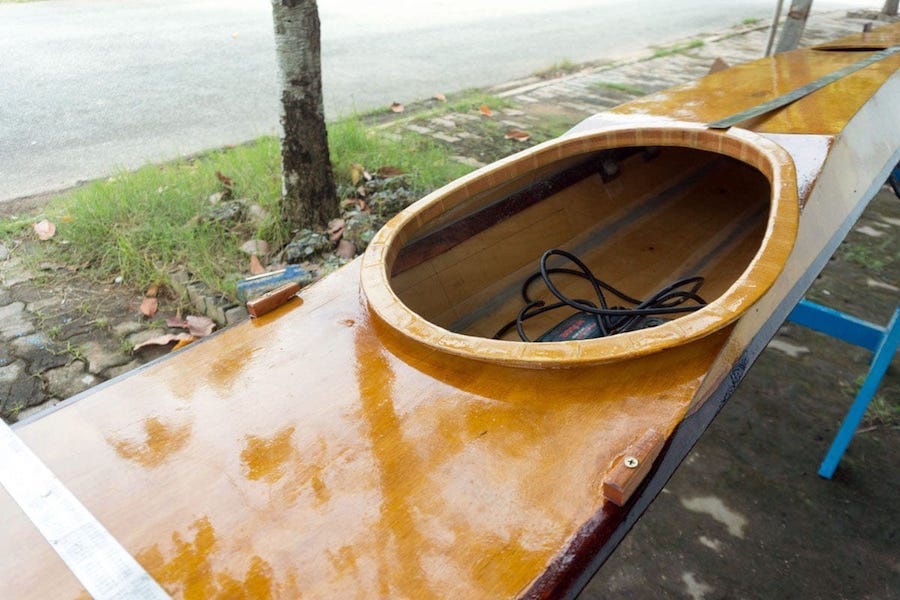
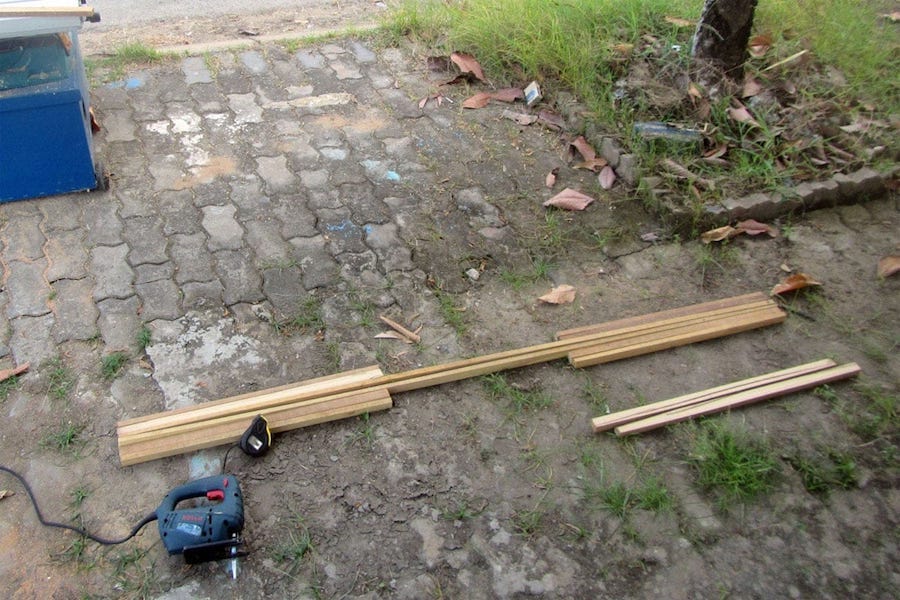
Serene – 1 p3
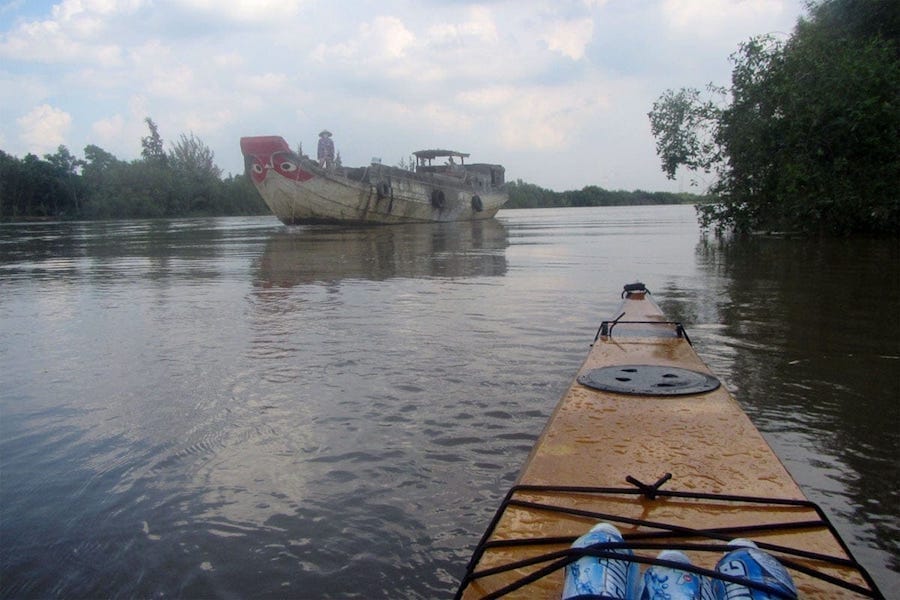
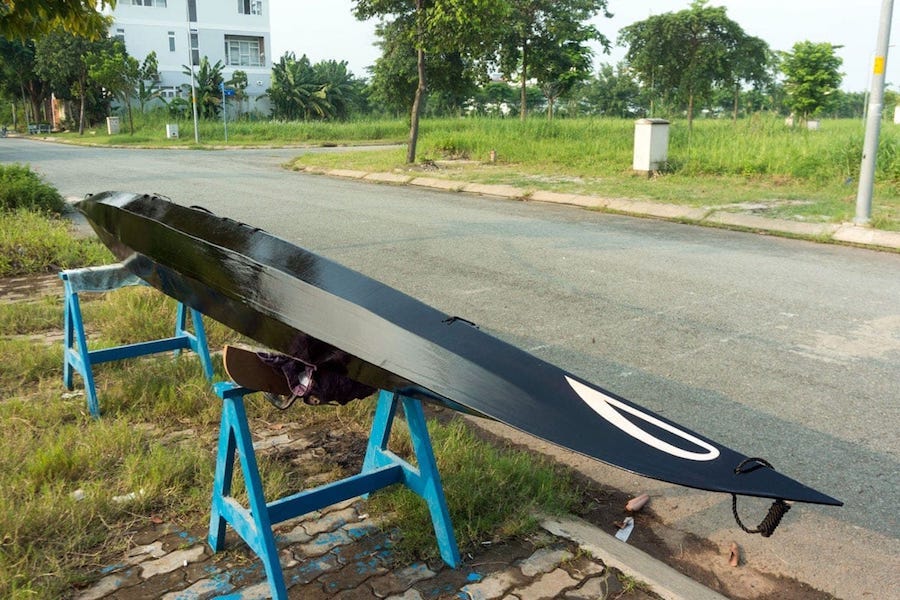
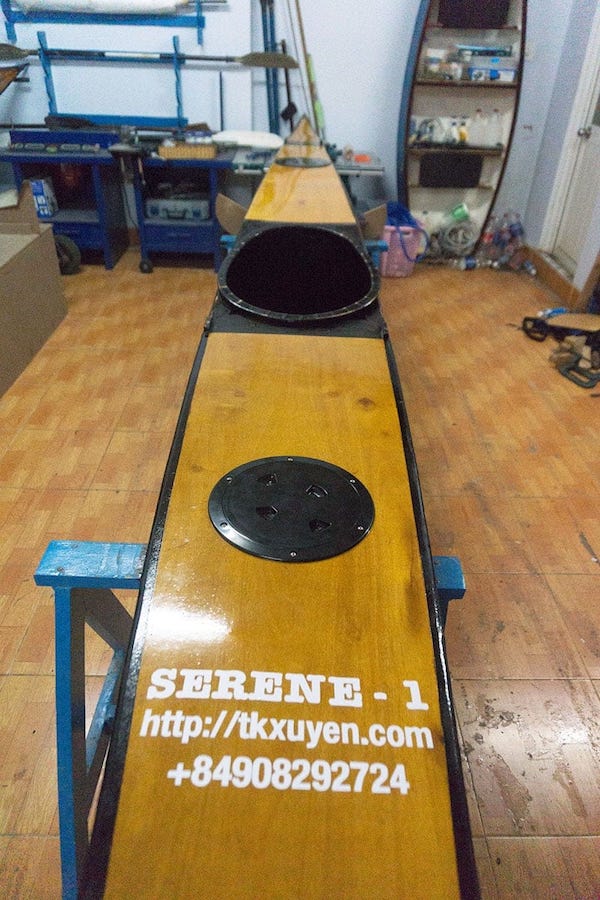
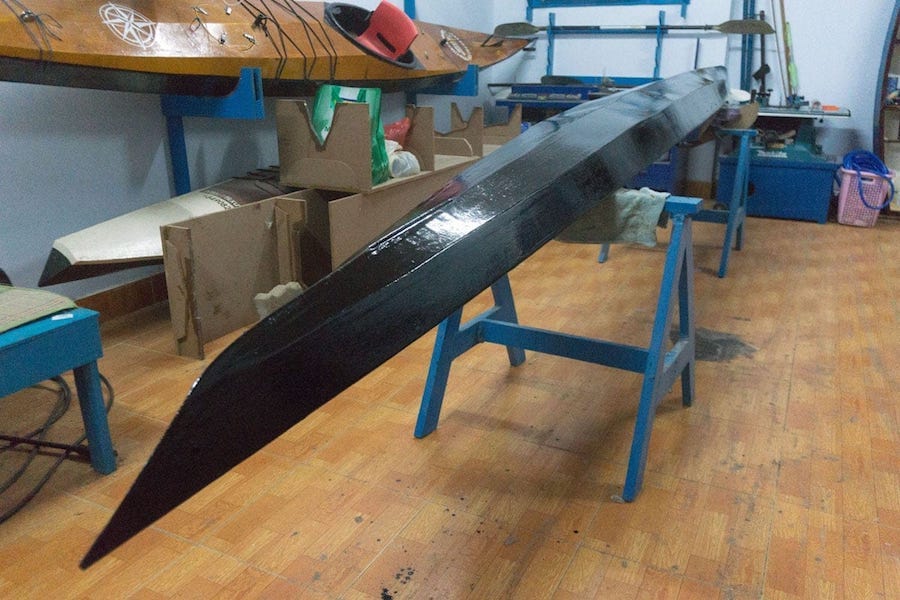
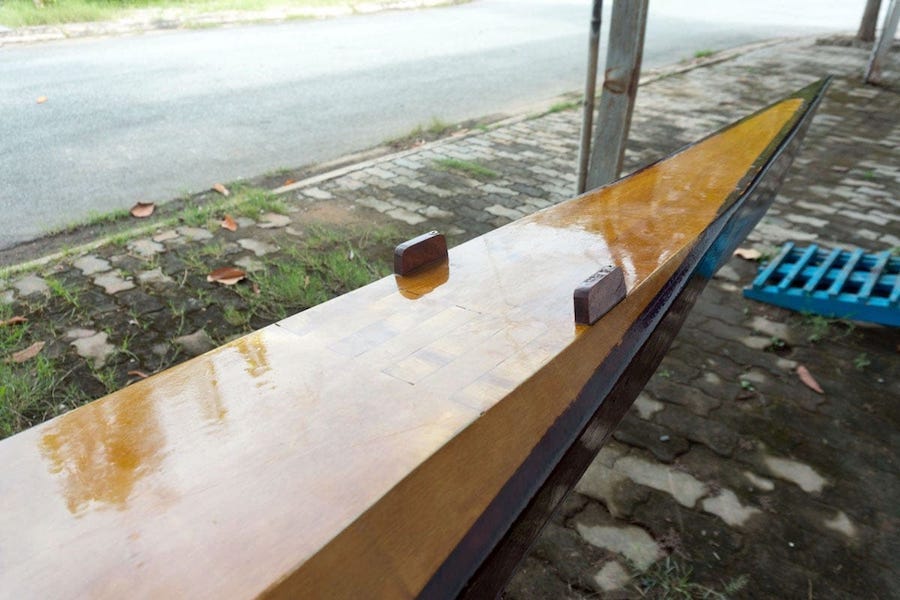
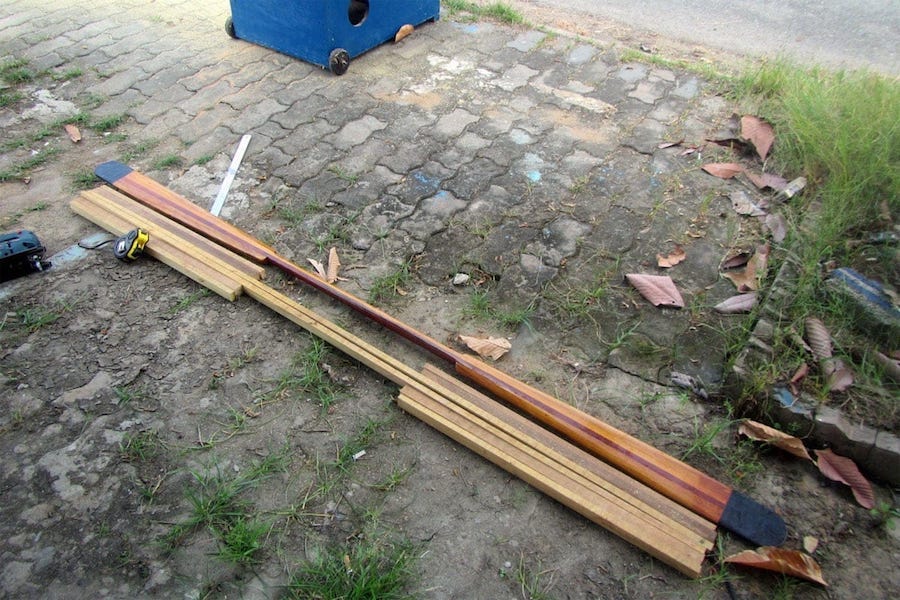
Serene – 1 p4
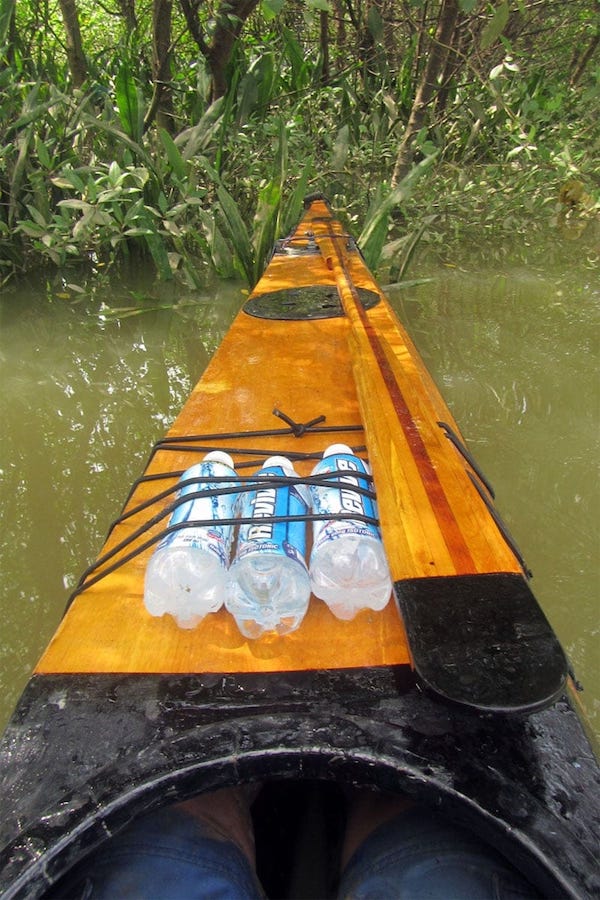
For true wild birds, it’s hard to approach them within 10 meters without signaling them on your presence. But for those “half – civilized” birds around my area, they only fly away when I’m just 3, 4 meters apart. That implies some things on the city’s noise – pollution, I would suggest.
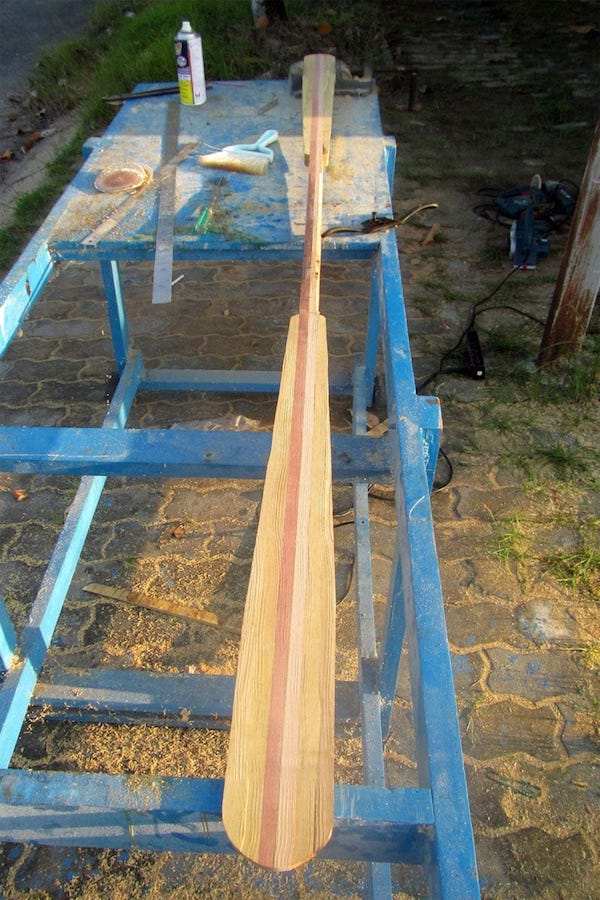
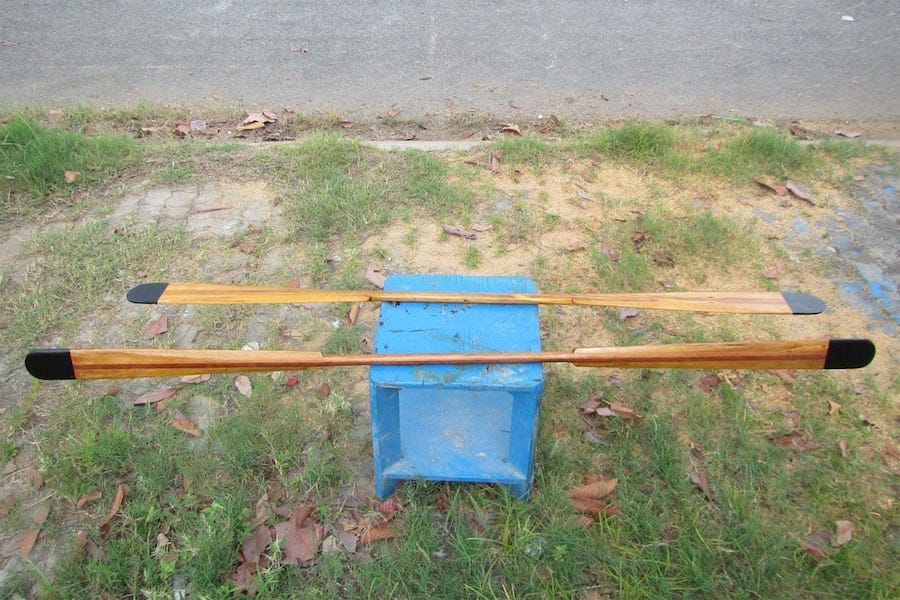
8th image: the blades’ tips get one layer of 6 – oz glassing on each side (which cover about 20 cm of blade length). Some light painting still needed to really finish them though, to protect the epoxy resin from UV! I’m eager to try out the two paddles in action in the next couples of day!