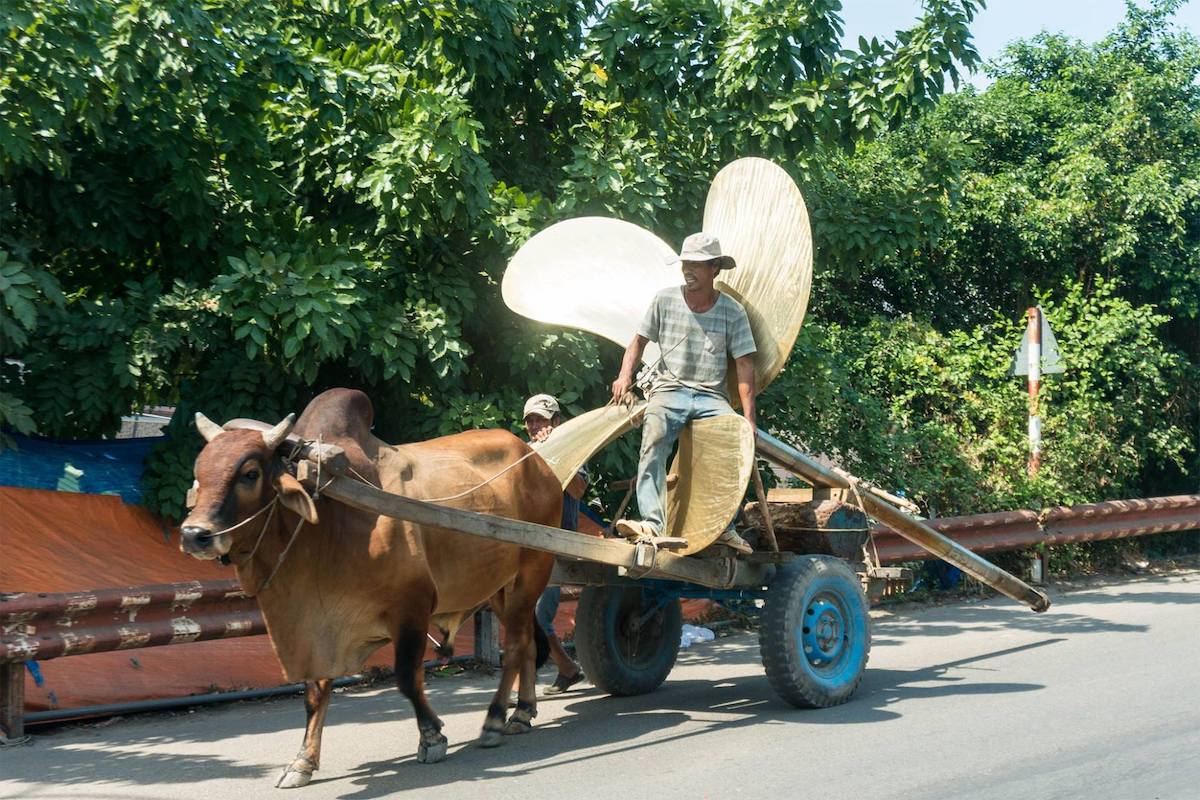
Một cuộc gặp gỡ trên đường, ven đầm Đề Gi, Bình Định, một bác già ngoài 60 tuổi, tự giới thiệu là ngư dân (!?), bề ngoài nhìn lam lũ, nhưng nét mặt sắc sảo, tinh anh khác người. Nói chuyện trên trời dưới đất một hồi thì mình phát hiện ra bác ấy hiểu chi tiết về đội hình 1 hàng dọc, đội hình 2 hàng dọc, chiến thuật cắt mặt hình chữ T (crossing the T) cùng một lô một lốc những chiến thuật hải quân cổ điển khác… Ôi má ơi, tôi không tin một người ngư dân bình thường lại có được những kiến thức ấy!
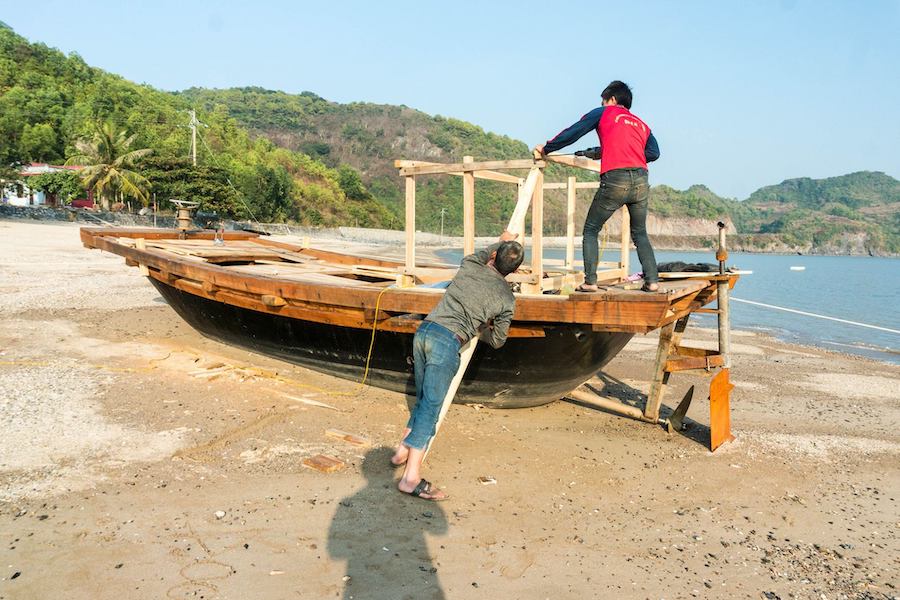
Một cuộc trò chuyện khác, bác thợ đóng thuyền bên bờ vịnh thắc mắc: “Trông chú giống người gốc Chà Và?”, trả lời: “Dạ không, em Việt 200% mà”. Nhủ thầm trong bụng: mịa, đúng là ông đây có 1 chút “da nâu, rậm râu, sâu mắt” (Chà Và) thật, nhưng… luận về mô – đen của đàn ông Việt cách đây non 1 thế kỷ, cũng trên dải đất Trung Trung bộ này, không tin xem lại ảnh các cụ Phan Bội Châu, Phan Châu Trinh, Phan Khôi, Phan Thành Tài, etc.. thì sẽ thấy toàn là “phường” “da nâu, rậm râu, sâu mắt” cả đấy!
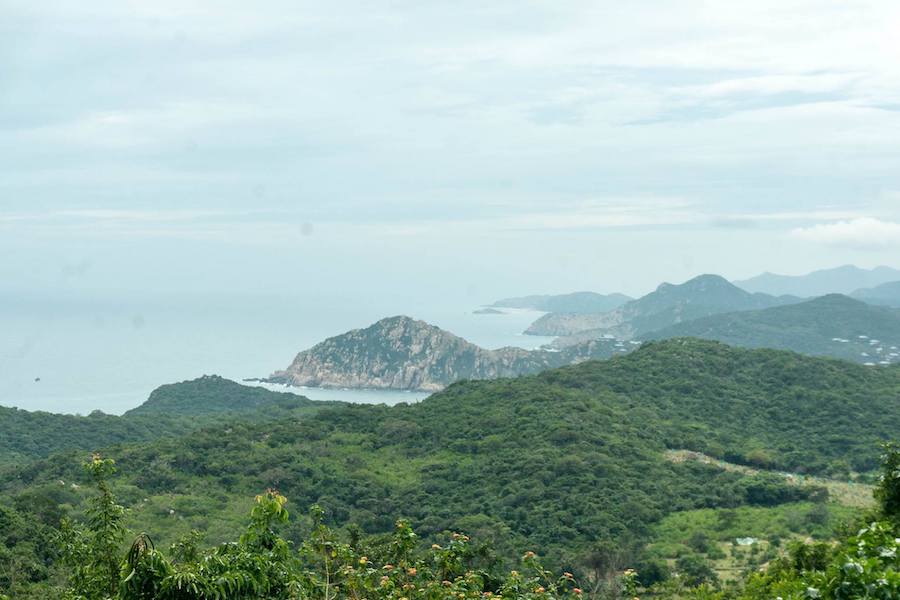
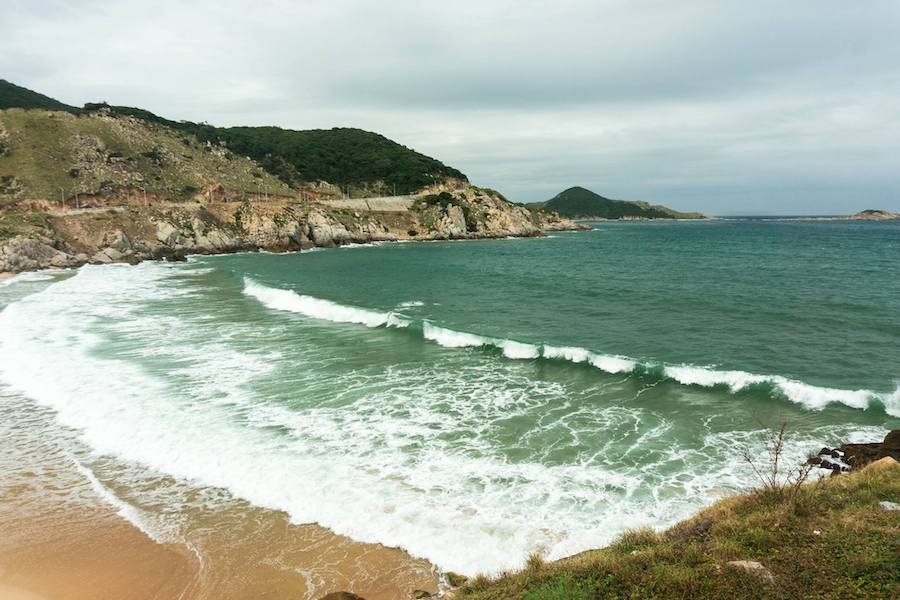
Từ Bình Định trở ra Bắc, tôi xem như “miền đất cũ”, nơi quá trình di dân định cư đã có một truyền thống lâu đời, làng xã có tổ chức sản xuất quy cũ hơn hẳn. Tuy vậy, những cảnh quan thiên nhiên đa phần không còn nguyên sinh, rừng cây đa số là rừng tái sinh, mới trồng lại đều tăm tắp, không có được vẻ tự nhiên như các vùng Ninh Thuận, Bình Thuận. Một ngày gió mùa Đông Bắc giảm bớt giúp có thể “thăm dò” thêm một đoạn đường ven biển bắt đầu từ phía Bắc của tp. Quy Nhơn đến Tam Quan.
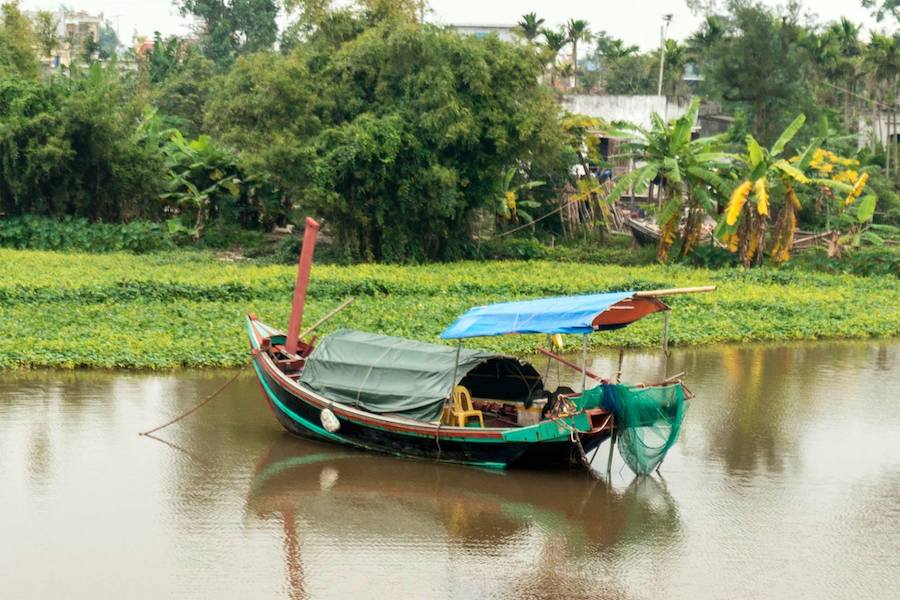
Cửa sông Lại Giang với một cồn cát dài và hẹp chắn ngang chạy theo hướng Tây Bắc – Đông Nam, cửa sông Tam Quan là một cảng cá lớn, đi sâu vào trong cảng cá xem xét cách tổ chức sinh hoạt. Rồi chạy tiếp qua bãi biển Sa Huỳnh, qua Đức Phổ, Mộ Đức, tp. Quảng Ngãi, rẽ phải đi về phía cảng Sa Kỳ và khu công nghiệp Dung Quốc. Đến đây, thời tiết càng trở nên lạnh và mưa, nên tăng ga chạy nhanh qua Tam Kỳ, Đà Nẵng, Huế, Đông Hà và Đồng Hới, đây là những vùng đất đã biết khá rõ.
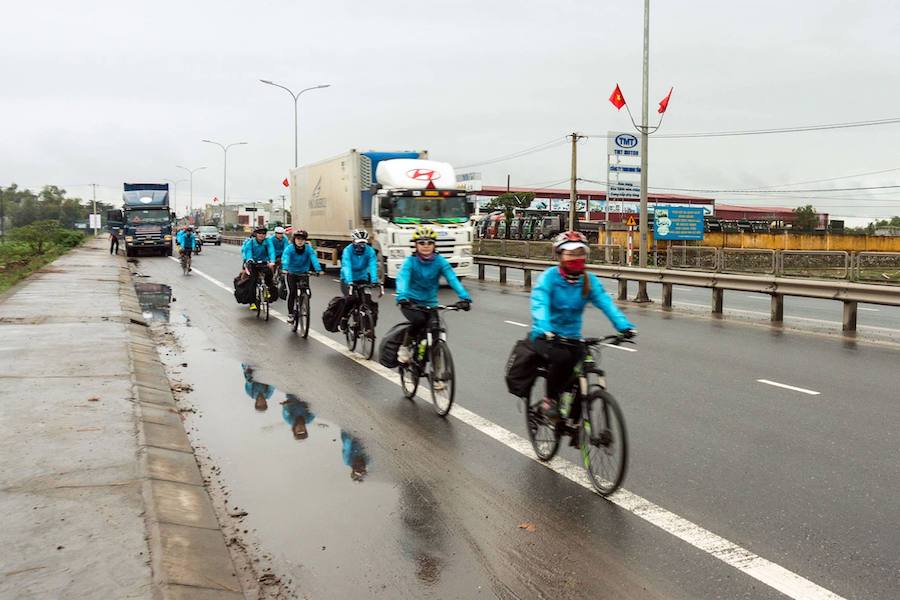
Hình thứ 4: chụp gần địa đạo Kỳ Anh, Tam Kỳ, Quảng Nam, 1 đoàn xe đạp hơn 20 người Hàn Quốc, đi dọc theo QL1, đa số là trẻ, chỉ có 1 số ít già. Sau lưng mỗi người có buộc 1 mảnh vải in dòng chữ: “I’m sorry Vietnam”, họ đang gởi đi 1 thông điệp… Biết rằng thời tiết mưa dầm rét buốt này còn tiếp diễn cho đến quá Quảng Bình, Hà Tĩnh, nên tiếp tục bỏ qua nhiều vùng đất chạy đến Nghệ An. Lúc này thời tiết đã hết mưa, chỉ còn lạnh khô, đây rồi cửa sông Lam rộng mở, một vùng đất mà tôi rất ưa thích!