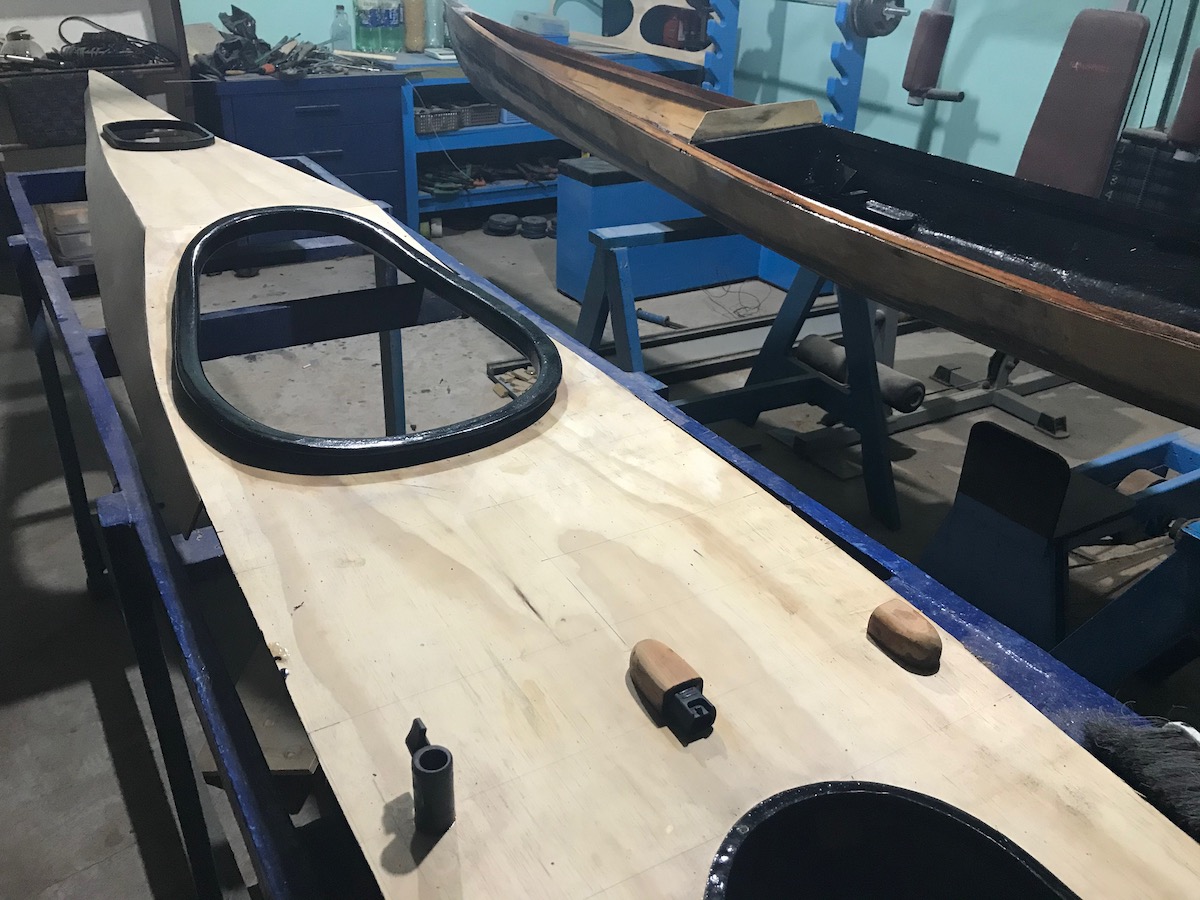
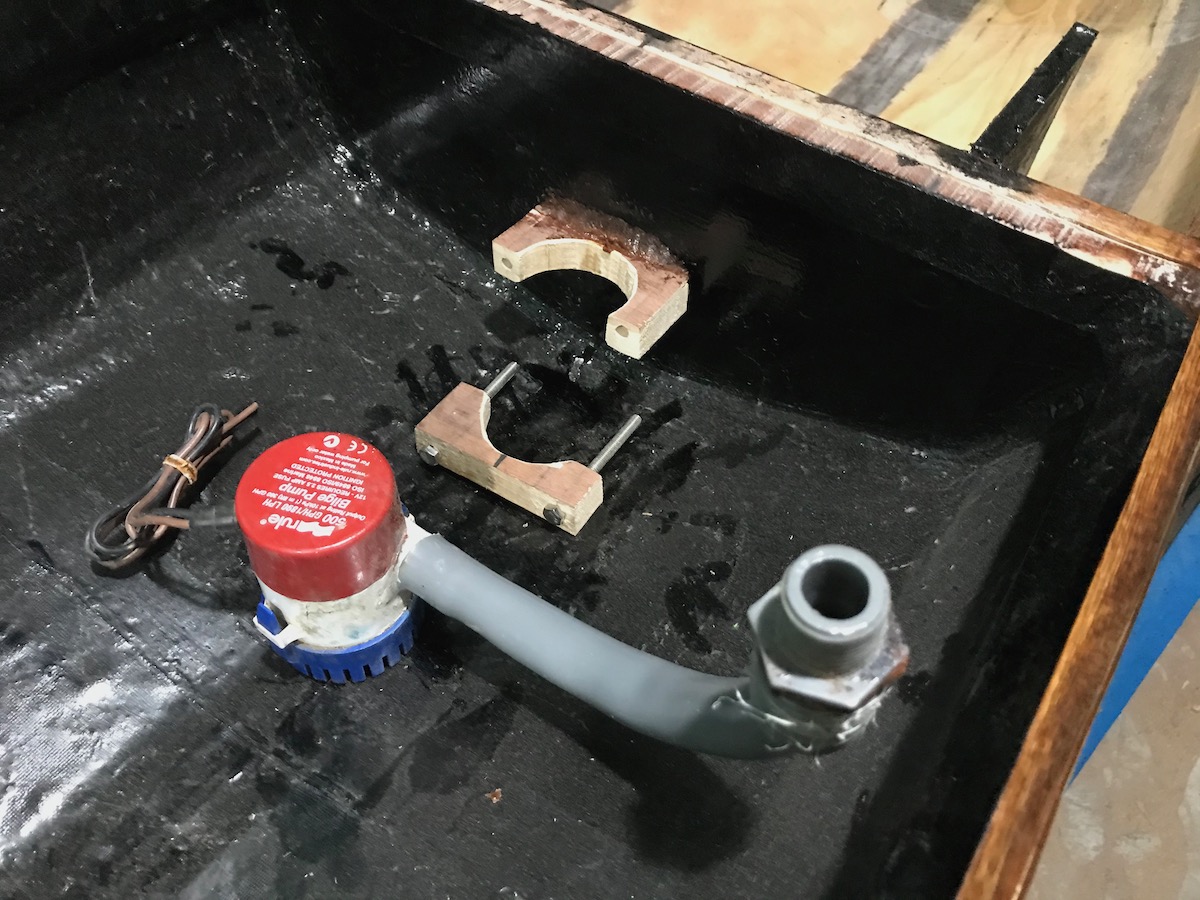
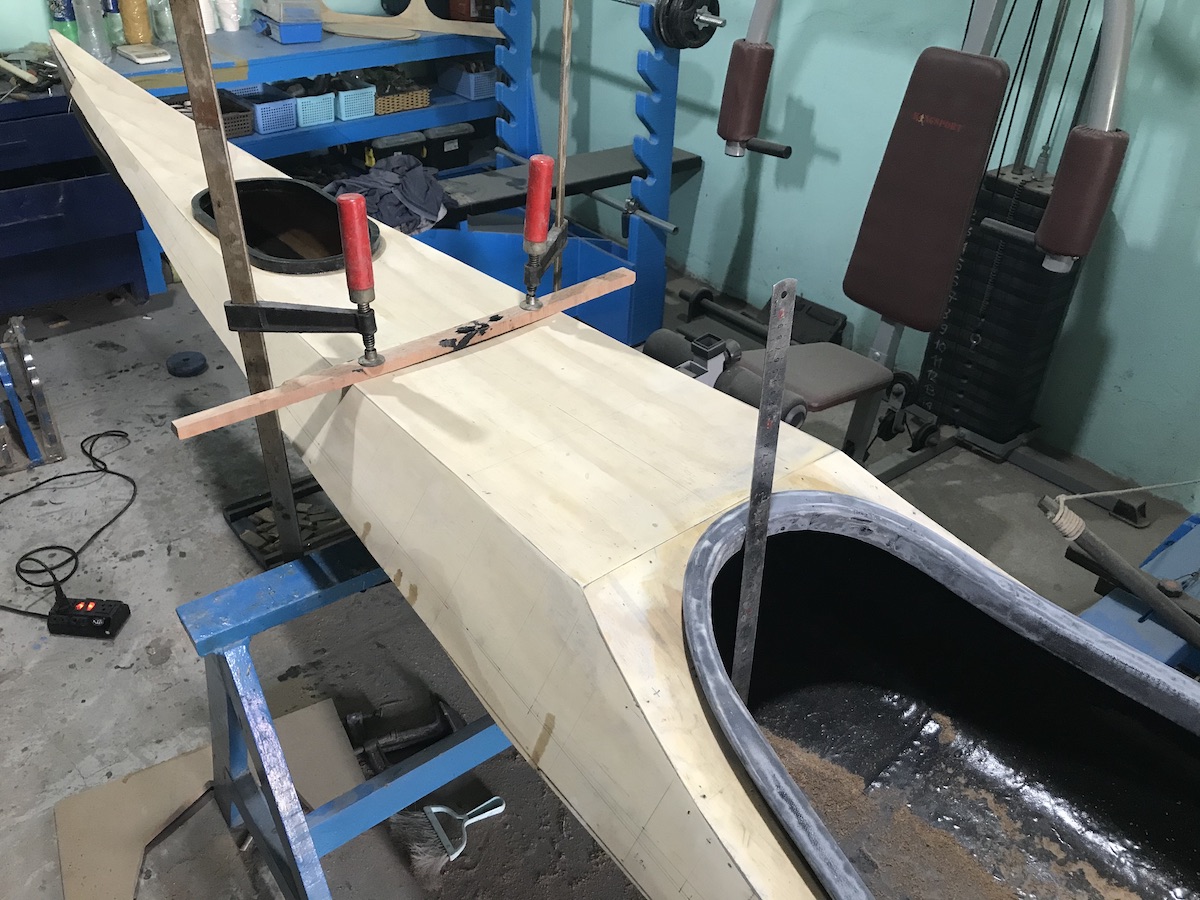
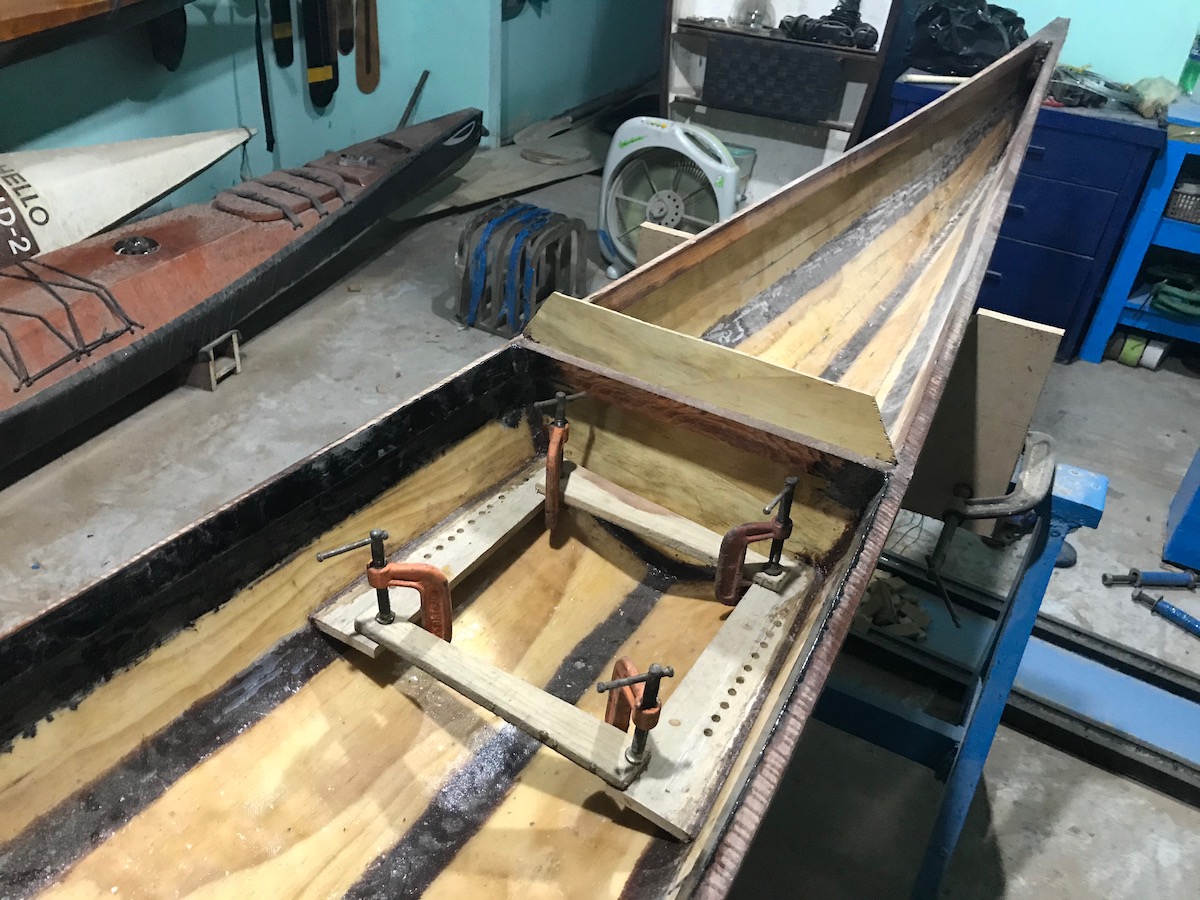
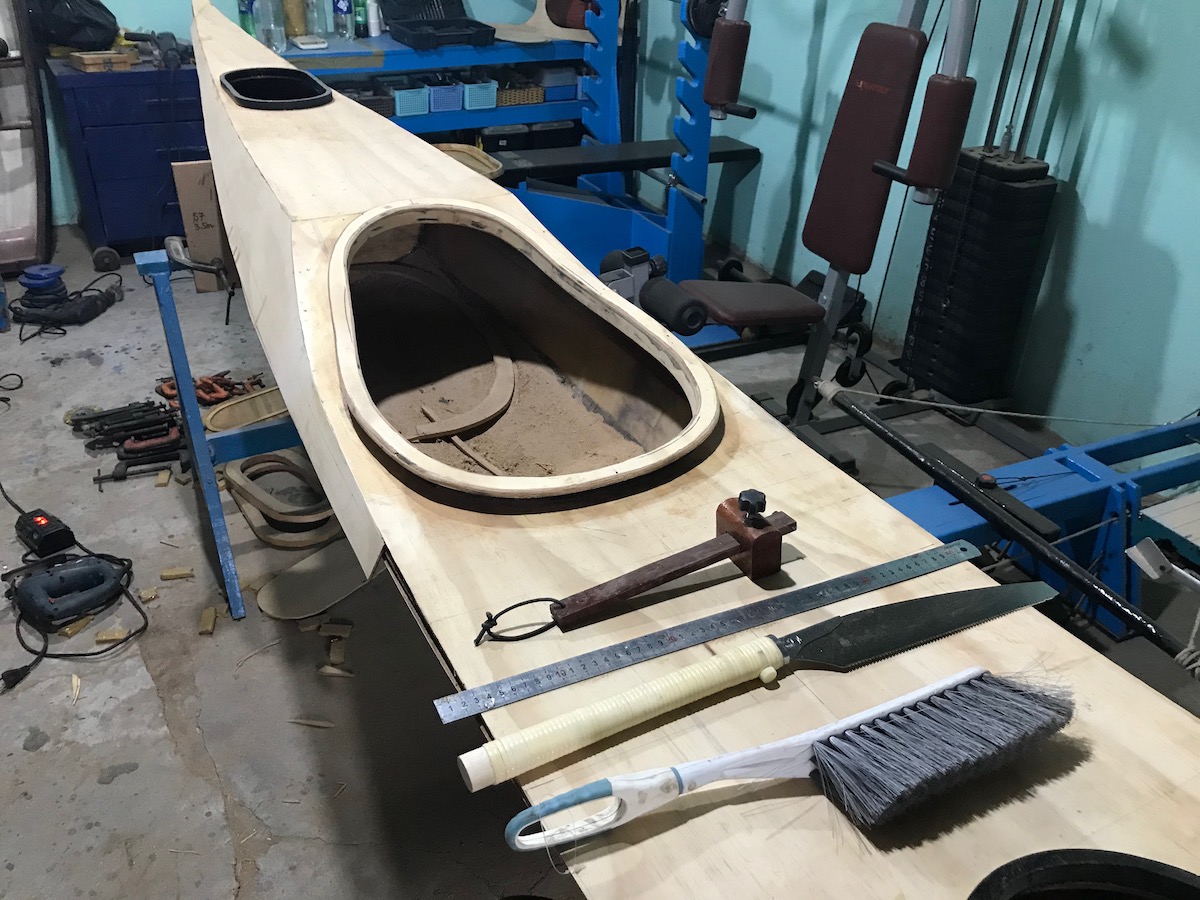
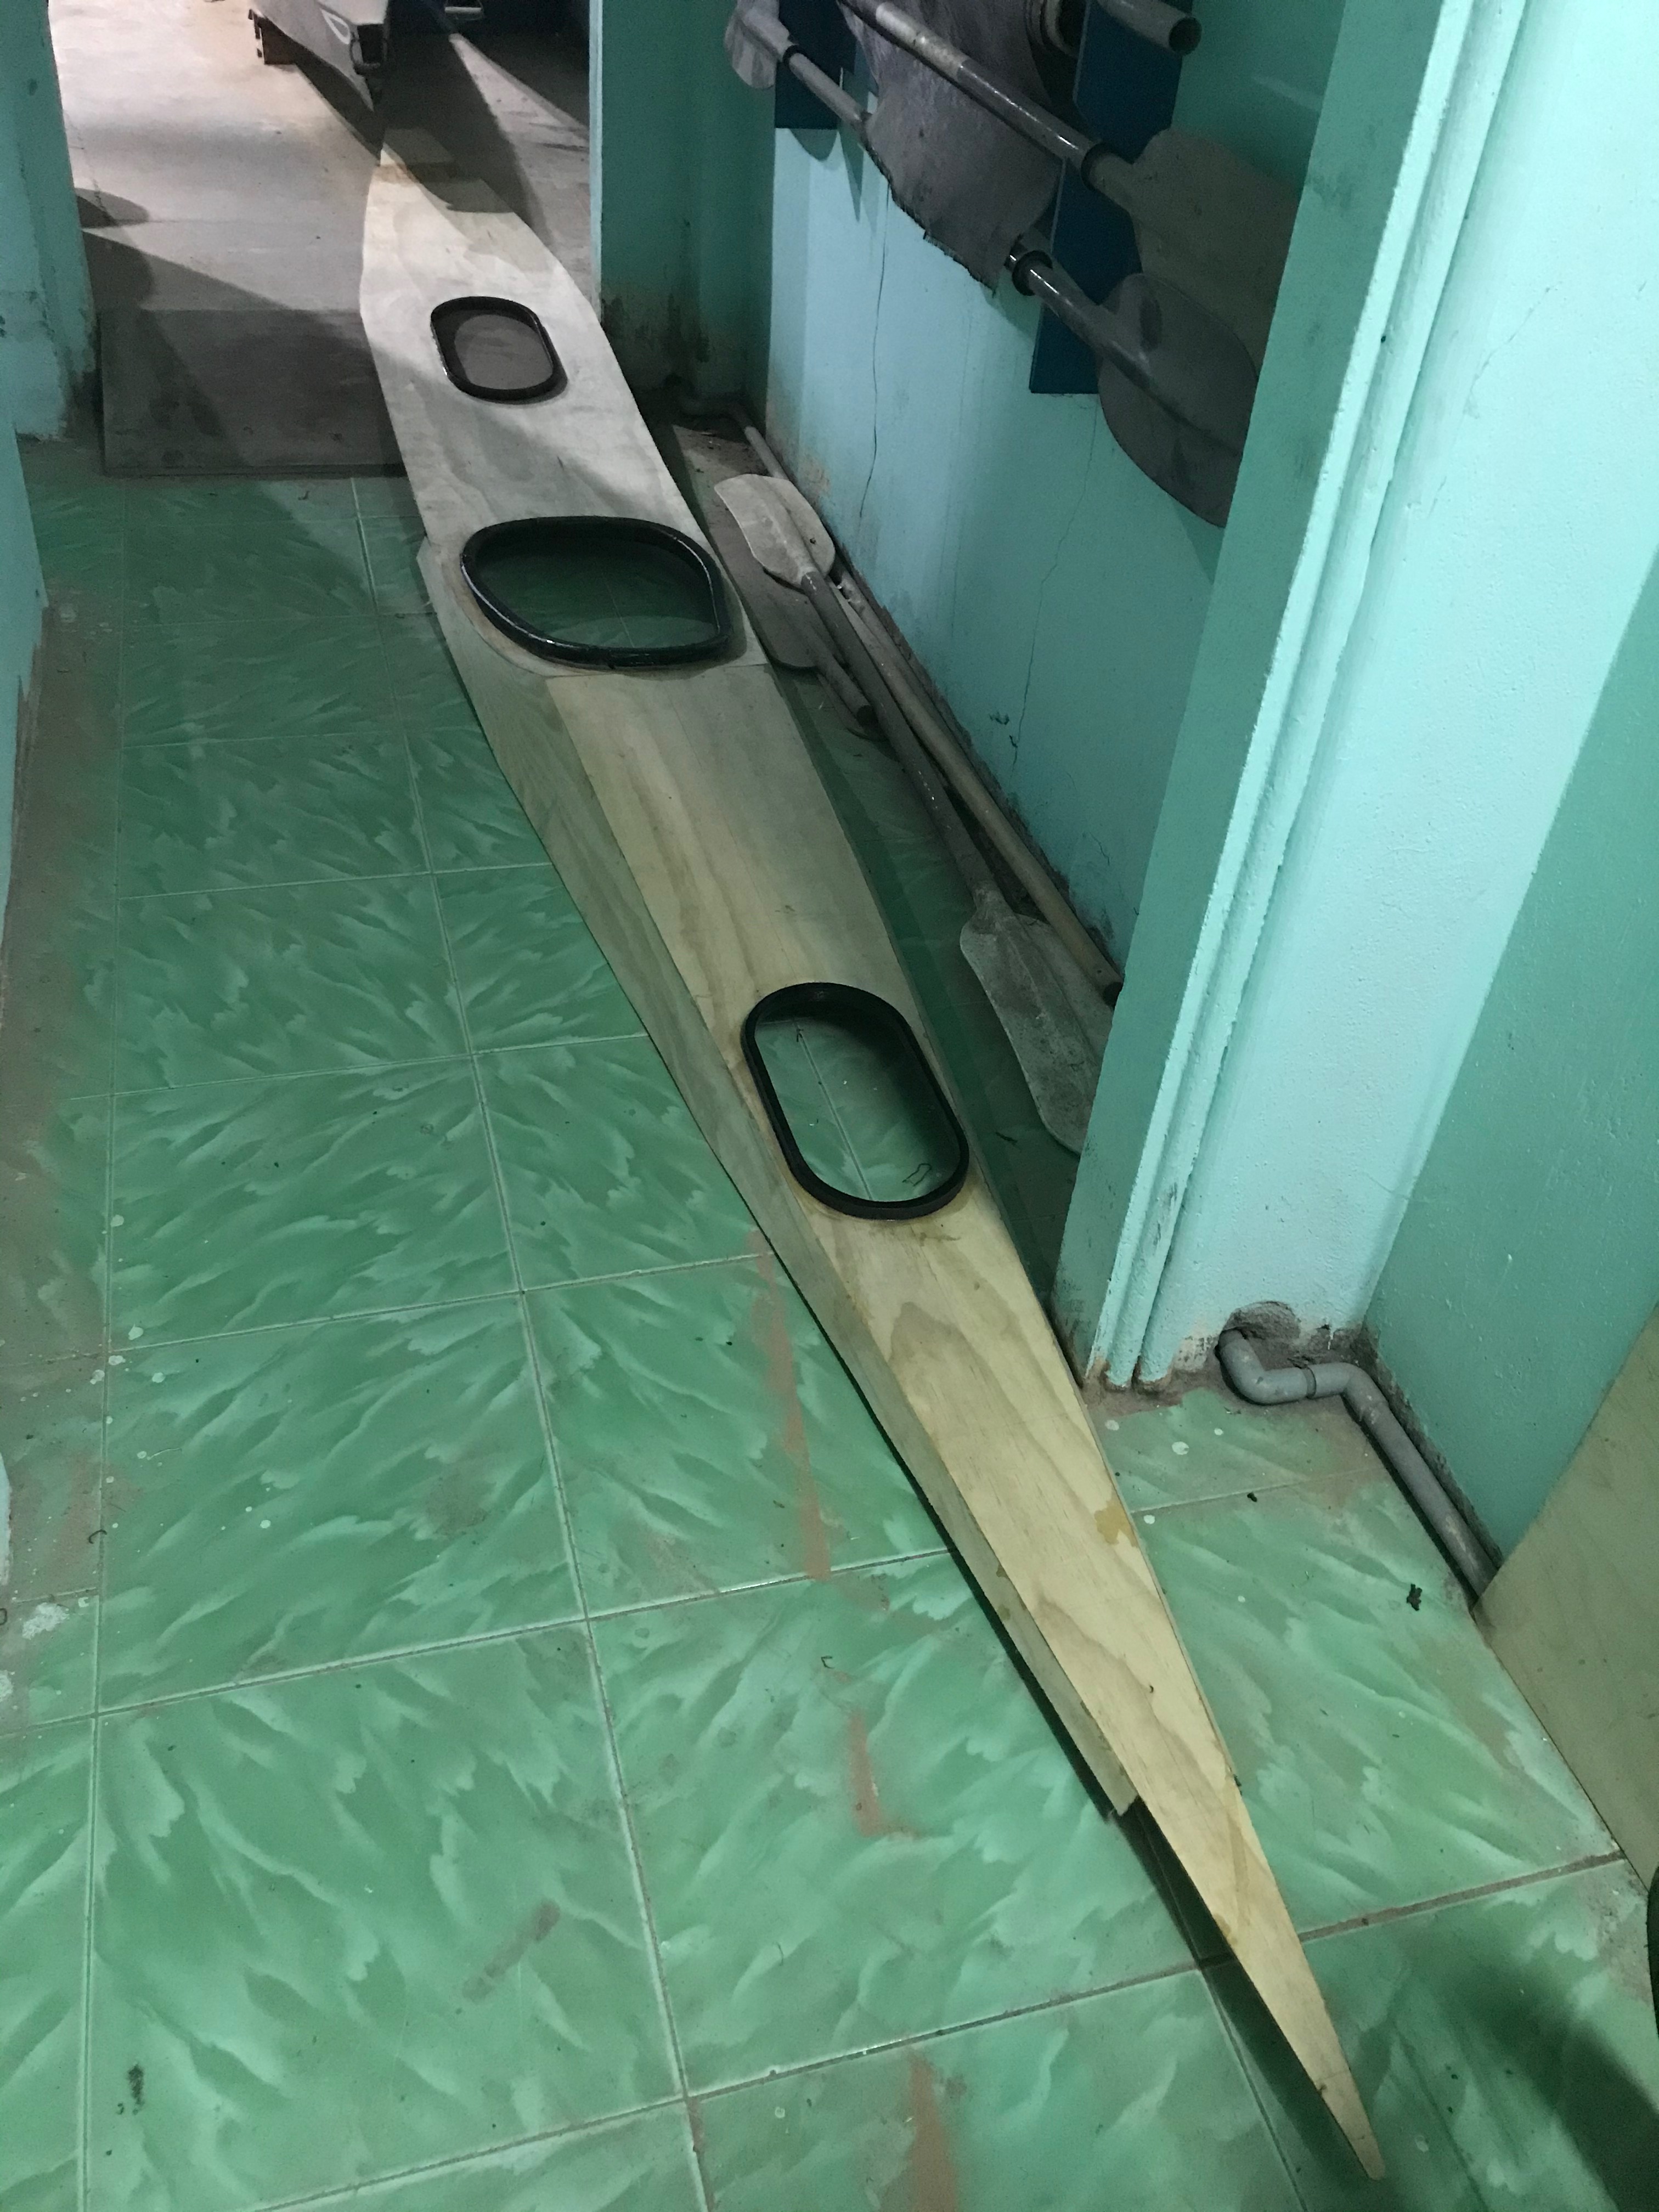
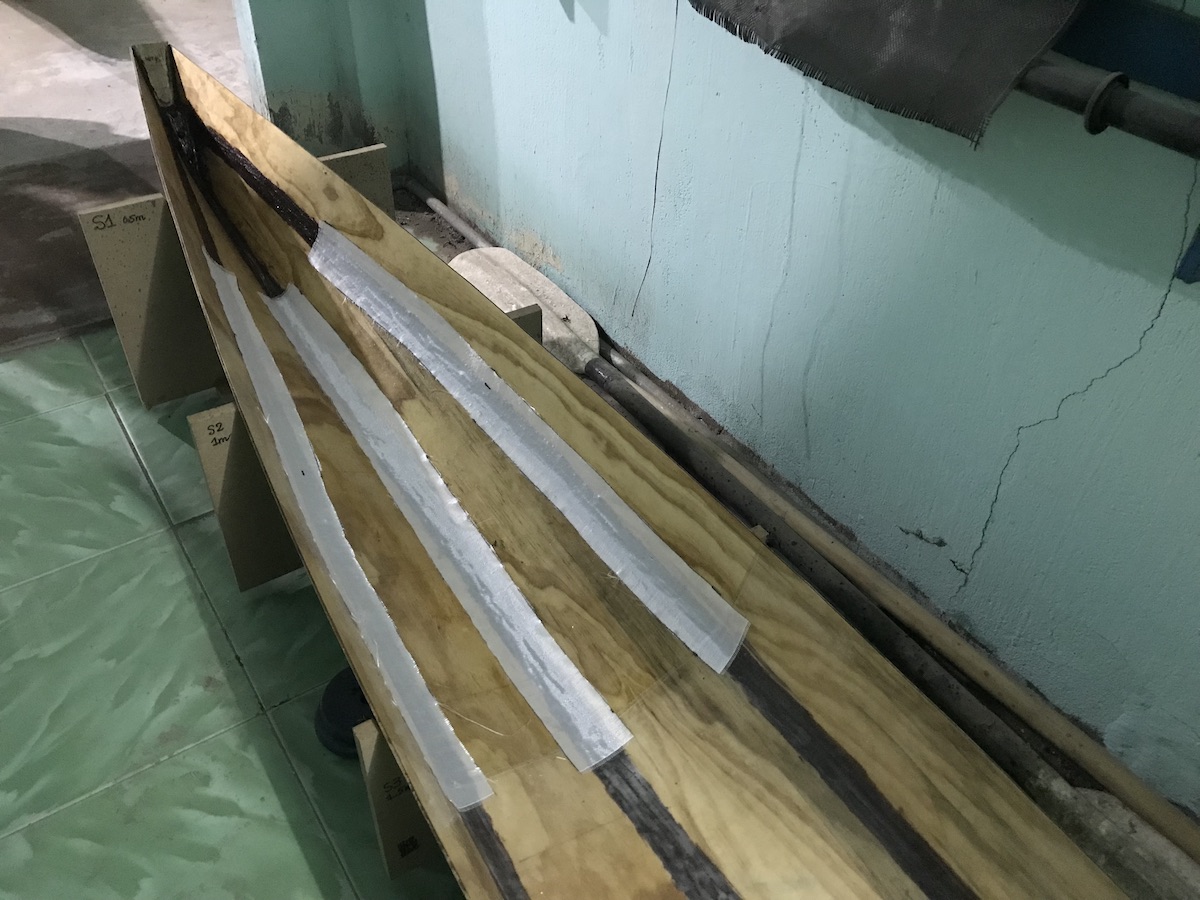
serene – 3, part 18

fter lots of considerations, I made up my mind to implement the electrics – electronics system of this Serene – 3 kayak as simple as possible. There would be no built – in compass and nav lights. Only a set of six 18650 Li-ion battery cells charged from the solar panel, and a reed switch to activate the bilge pump. That would reduce the electrics wiring hassle to minimum, simplify the installation quite a lot. Of course, the compass still needs lighting to be used at night, and the nav light too.

Looking back on the electric, electronics part of Serene – 2, I’ve seen that I’d over – engineered quite a lot, things should be simpler. The compass and nav lights would now be a single hand – held torch, powered by rechargeable AA batteries, I would detail this “solution” in later posts. And the electrics components should be decoupled to facilitate repairing, upgrading. All the wiring runs inside plastic tubes (as additional protection) and can be pulled out of the hull for repair when needed.

So basically, the system composes mainly of Li-ion cells that would have 2 duties: power the bilge pump & the charger that would replenish some AA batteries. The AA batteries would be then used to power the Garmin and the light torch. Also in the waterproof electric box is the USB charger, which could be used for a variety of electronic devices. And I believe most if not all chargers could be modified to use either the 5V (USB) or the 12V (Li-ion) source, would try to check (prove) it later on.

serene – 3, part 17

ext came the rudder box, an interesting idea that I’ve come up with lately. First, when not in use, the rudder would be retracted completely inside the rudder box (and so inside the hull), it would be safer, tidier when transporting, moving the boat around. Second, and more importantly, the rudder box allows mounting the rudder in a lower position, which enables a smaller rudder blade. From the design phase, when drawing a hull with lots of overall rocker (the keel line has quite some curvature)…

I saw that bottom of the stern would barely touch water when the kayak is at full load, hence, it’s good to mount the rudder lower down, about 10 cm lower compare to my previous boat. So I would just reuse my previous rudder with more steering effect. Lessons learnt from Serene – 2 showed me that I need a more responsive rudder, so everything, from the rudder post to the control pedals must be redesigned, shorter “rotating arms” for the rudder, and smaller “moving distances” for the pedals.

For this Serene – 3, I would make the seat position fixed, so the rudder pedals must be adjustable, back and forth about 12 ~ 15 cm. Of course there would be only one paddler for this boat, that’s me, but an adjustable rudder pedals is desirable anyhow, though it’s not very frequently needed. I choose a pedal layout that would let me stretch and relax my legs and feet. Not a surfing boat, rudder is for some slight course adjustment only, I don’t have to rest my feet on the pedals most of the time.

serene – 3, part 16

ull is rigid like a walnut shell now 😀, I took it out for a slight sanding on the external side before applying extra layers of glass at bow and stern, the two ends that would withstand quite some abuse when landing on unfavorable shores. Then I install the rudder post, a piece of wood that protrudes the flat stern about 7 cm, glued, screwed, filled with putty and then finally two layers of glass. Lots of extra reinforcement for this rudder post, a lamination of 3 different layers of wood.

I carefully choose different types of wood, with different wood grains to make up this simple rudder post. The grains that run in different directions would ensure that this wooden block would be more resilient to forces from various “angles of attack”. Then I install the rudder control tubes, plastic tubes 10 mm in external diameter (6 mm internally), quite large indeed. The large tubes is, for later, I could easily try various types of rudder control cable, to see which works best.

The tubes run just below, and along the gunwales, through the bulkhead, fixed in place using epoxy putty and small strips of plywood. A lesson learnt from my previous boat: fix the tube positions, don’t let them run loose, slightly different port and starboard tubes would result into different tensions on the control lines, or an awkward rudder pedaling control effect. The tubes exit the hull through small slots cut very near to the stern, protected outside by small blocks of wood.

serene – 3, part 15

ow go in the gunwales, bulkheads and thwarts, which make the hull looks more “full fledged”… Indeed, those gunwales, bulkheads and thwarts would transform the hull into a structure, which is much more stiff. Gunwales are thin strips of wood, 1.5 x 3 cm in cross section. I cut all those wooden strips with my small Makita table saw, which is extremely helpful for a wide range of different jobs, especially because it cuts are flat and straight, unlike those made with a hand held jig saw.

The more I use it, the more I discover new techniques and tricks to get some jobs done. Also with the Makita table saw, I bevelled the gunwales, diagonal cuts at 45 degrees along the forward parts of the gunwales. I would adjust those bevelled edges along the boat length later, to better match the hull versus the deck. Now having a total of 32 clamps of different types, I’m able to install the two gunwales, port and starboard at the same time, not one after another like before.

There’re two bulkheads compartmentalizing the kayak into 3 sections, and 3 additional thwarts near the two ends that would help transforming all into a rigid structure. All is glued in places, then reinforced with small 4 cm screws connecting them to the gunwales. Then putty – fill the bulkheads to secure them to the hull, then a layer of glass over on the cockpit side since that’s where they could be potentially exposed to water. Still some more jobs need to be done to complete the hull!

cossacks – 1

iống như khi phái đoàn ngoại giao Grand Embassy của Sa Hoàng Peter the Great lần đầu tiên sang châu Âu, những ban nhạc cung đình châu Âu biểu diễn âm nhạc cổ điển sang trọng, lịch sự, từ tốn. Để đáp lại, dàn nhạc của Peter biểu diễn một thứ âm nhạc với huýt sáo và hò hét. “Cũng tương tự”, muốn nghe hò hét, huýt sáo trong không gian âm nhạc thính phòng, hãy xem Alexandrov Ensemble biểu diễn tại Anh năm 88, một trong những bài dân ca Slavơ nổi tiếng nhất… 😅

Cossack không phải là một dân tộc riêng biệt, mà chỉ là một sub – culture trong không gian văn hoá Slavơ chung: Nga, Ucraina, Belarus… Từ thời xa xưa, họ sống trên các thảo nguyên, lối sống trồng trọt, chăn thả, giỏi về chiến đấu trên lưng ngựa. Trong tất cả các thời đại, từ thời các Sa hoàng đến thời Sô – viết, và hiện đang thấy rất rõ trong giai đoạn nước Nga Putin hiện đại, Cossack vẫn luôn luôn là “cơ bắp” của chế độ: giữ gìn, mở rộng biên cương, trấn áp nội gian, nội loạn.

serene – 3, part 14

urchased a new roll of 6 oz fiberglass, also “plain weave” like that was used in my previous boats. Surprisingly, the 2 kinds of fiberglass cloth, both 6 oz and plain weave, are not really the same, the later cloth has finer and denser fiber, it’s slightly heavier, a bit harder to wrap around and it absorbs more epoxy. It’s now time for some glassing, the hull receive a layer throughout its internal side, while the deck is only reinforced at places: around the forward hatch and around cockpit.

In my calculation, glassing adds, on the average, about 0.4 kg per square meter of surface (the glass mass itself plus the epoxy). So, glassing both inside and outside of the hull would add about 2 kg into the boat weight. That’s not really a big issue, as long as the glassing work is done properly, avoid using too much epoxy and keep weight in control. Sometimes, you need to step back and watch for everything you’d done during the past times. It seems that with 5 kayaks, all stitch & glue…

I’m becoming what they usually call: a prisoner of one own experiences, having designed and built several boats again and again using the same methods and techniques. While that’s somewhat true, in each boat, I’ve been trying to incorporate new things, new design ideas, new techniques, new accessories… My thirst for “the perfect kayak” has not been wholly quenched yet! And that “great journey” has not been done yet, lots of things waiting ahead to be full – filled, to be accomplished!

serene – 3, part 13

eck works continue… installing the anchor points, 12 for the 2 hatches, and another 12 for the lashing bungee cords, and additional 6 at various places along the deck, quite a lot of work. But there’re many other “unnamed” jobs related to the deck still: beveling the cockpit and hatches joints, glassing the cockpit joint, install the bulkhead… I also switch back and forth between the deck and the hull: glassing the hull’s internal seam lines, gluing the wooden blocks at bow and stern, etc…

First image: the anchor points to hold down the forward hatch, 6 pairs of 6 mm holes (both on port and starboard sides) are used to mount the 6 loops of 4 mm paracord, which in turn are used to secure the belt locks. Second image: various anchor points are placed along the deck, some used for the hatches, some used for bungee cords, and some are just “reserved”, those are not readily in use, but provided for lashing things down on to the deck should the need arise.

Third image: wooden block glued to the bow, later a hole would be drilled through to run the kayak’s pulling line. Fourth image: another wooden block glued at the stern, note the two 5 cm screws, to fasten and reinforce the rudder post (would be installed later). The rudder post is another wooden block glued on the external side of the stern, rudder, rudder post, rudder control lines and control pedals, and the “new” rudder box are important issues that would be covered in next posts.

serene – 3, part 12

ext came the hatch locks, each hatch is hold down by 3 belt – locks, similar to those usually found on your backpacks, very secured and easy to lock / unlock. But that would be later on, for now, the locks’ anchor points need to be built and installed. There are many of them (a total of 30), as the anchor points are not only used for holding the hatch lids down, but also for other lashing bungee cords, and they are built exactly as in my Serene – 1 & 2 previous kayaks, a tried and true technique.

A line would (from the external side), go though the “half – circle tunnel” drilled inside the wooden blocks and loop back to the external side of the hull, forming very strong holding points for various lashing lines. I made two MDF templates and cut the grooves with my very handy Bosch router (first image), a set of three anchor points is placed on one same wooden bar (second image), and install as a whole (fourth image) for the ease of installation, just gluing the wooden bars to the deck.

The deck doesn’t receive a layer of fiberglass throughout, it is only reinforced at critical positions: around the cockpit, around the hatches, or along the seam lines, to help keeping the final weight low. But for an “expeditional boat”, weight is not the primary concern, the boat need to have some “mass” to withstand considerable amount of abuse in long paddling trips. I would expect around 20 kg finally! It’s bad that I’d seen the hull flexing a bit under heavy loads with my Serene – 2 kayak!

nguyễn văn minh

huyện về thiếu tướng tình báo Phạm Xuân Ẩn (PXA) thì nhiều người đã biết và biết khá nhiều rồi. Nhưng có 1 câu chuyện khác, 1 nhân vật khác cũng ly kỳ không kém, theo một đường hướng hoàn toàn khác.

PXA là 1 điệp viên hạng nhất, điều đó không có gì phải bàn cãi. Sinh ra trong 1 gia đình công chức thuộc địa cao cấp, 1 địa chủ giàu có, được ăn học đàng hoàng. Tham gia CM năm 45, kết nạp Đảng năm 53 bởi chính Lê Đức Thọ, ông trùm nội chính VN, được hướng dẫn bởi bác sĩ Phạm Ngọc Thạch, 1 nhân sĩ được ông Hồ hết sức yêu mến và tin tưởng, được hỗ trợ và chỉ đạo từ Mười Hương, Tư Cang… những nhân vật tình báo chuyên nghiệp (chuyên nghiệp hiểu trong ngữ cảnh VN, chứ chưa thể so với CIA hay KGB được). PXA là 1 điệp viên hạng nhất trên mọi phương diện, định hướng hoạt động tình báo chiến lược từ sớm, được tổ chức gởi đi Mỹ học, làm việc cho những thông tấn xã hàng đầu thế giới như Time và Reuter, có quan hệ với tất cả những nhân vật tinh hoa, chóp bu của giới quân sự và chính quyền miền Nam, các nhân vật tình báo hàng đầu của tất cả các bên như William Colby, Edward Lansdale, Lucien Conein, Bs. Trần Kim Tuyến…

Còn Nguyễn Văn Minh (Ba Minh – NVM) sinh ra trong một gia đình nghèo khó đông con, chỉ mới học hết lớp 5, gia cảnh khó khăn và sức khoẻ kém, đã từng muốn vào chiến khu tham gia CM nhưng không thực hiện được (cũng vì lý do sức khoẻ). Cho đến năm 54, cái gọi là “hoạt động CM” của ông chỉ dừng lại ở mức “cảm tình viên” ở cấp quận, huyện, chủ yếu là cung cấp những tin tức thuộc loại làng nhàng. Hoạt động tố Cộng, diệt Cộng của Ngô Đình Diệm những năm 55, 56 làm nhiều tổ chức, đường dây bị vỡ, NVM mất liên lạc suốt gần 10 năm. Một số lần đường dây được nối lại, nhưng rồi lại đứt. Những hoạt động của ông giai đoạn đầu chưa thể xem là tình báo, chỉ mới ở mức độ thông tin cấp thấp. Năm 55, ông học đánh máy chữ, chủ động bán nhà lấy tiền hối lộ để được vào làm nhân viên đánh máy ở Bộ tổng tham mưu chế độ cũ, hàm “thượng sĩ nhất”. Đây là bước đi đầu tiên chứng tỏ ông có một kế hoạch, một bài bản để làm tình báo chuyên nghiệp.

Trong suốt 18 năm, từ 1955 đến 1973, NVM tìm cách nối lại đường dây liên lạc với tổ chức, nhiều lần không thành công. Một số lần thành công thì cái vị trí, cấp bậc quá thấp của những người trong đường dây làm cho những tin tức của ông không được đánh giá đúng, mặc dù theo như lời NVM, ông đang “ngồi trên một núi vàng”, vì rõ ràng cái vị trí dù chỉ là nhân viên đánh máy trong Bộ tổng Tham mưu cho phép NVM tiếp cận với những thông tin thuộc loại tối mật. Không mất kiên nhẫn, trong suốt 18 năm đằng đẵng, NVM tìm cách liên hệ và chờ đợi cái ngày mà người ta đánh giá đúng những thông tin mà ông có thể cung cấp! Không biết chắc là vì những lý do gì, nhưng mãi cho đến cuối năm 1973, mạng lưới điệp báo A.3 mới chính thức được thành lập, và 1 dòng chảy thông tin trực tiếp từ Bộ tổng Tham mưu được hình thành. Người ta bắt đầu đánh giá đúng về giá trị của tình báo viên NVM, dù chỉ trong khoảng 1 năm rưỡi cuối cùng của cuộc chiến.

Nhà nghèo với 10 đứa con, lương của một “thượng sĩ nhất” không đủ nuôi chừng đó miệng ăn. Nhưng ngày nào ông cũng làm việc 15, 16 tiếng chép tay lại toàn bộ thông tin để đưa ra ngoài. NVM học thêm tiếng Anh chừng 1 năm để có thể copy được tài liệu tiếng Anh, và như ông có nói: tôi ít học, không đủ trình độ để phân tích, đánh giá thông tin, tôi chỉ làm 1 việc nhỏ nhoi, nhưng làm rất tốt! Có lần, tổ chức đưa 200 000 để ông mua chiếc xe máy để tiện cho việc đi lại, liên lạc. NVM mua chiếc xe Honda 67 hết hơn 100 000, trả phần còn lại! Sau này được hỏi về hành động đó, sao không giữ lại tiền mà nuôi 10 đứa con, ông trả lời: “tôi không bán tin, tôi cũng làm CM như các anh thôi!” Cách trả lời cho thấy ông ấy hoàn toàn ý thức về vai trò cũng như giá trị của một điệp viên hạng nhất! Chất lượng của những thông tin ông ấy cung cấp không phải bàn cãi, khi sau 75, người ta thăng anh “thượng sĩ” lên đại tá, và trao tặng danh hiệu Anh hùng lực lượng vũ trang.

Tóm tắt về nhân vật, để thấy rằng NVM không có những gì PXA có: không sinh ra trong 1 gia đình truyền thống giàu có, không được học hành đầy đủ, thậm chí không có được sức khoẻ tốt! Không được “giác ngộ cách mạng” với những nhân vật lão thành hàng đầu như Lê Đức Thọ, Phạm Ngọc Thạch, không được hỗ trợ bởi 1 đội ngũ điệp báo hạng nhất như Mười Hương, Tư Cang, không được định hướng và đào tạo về hoạt động tình báo bài bản từ sớm như PXA. NVM khởi đầu chỉ là một “cảm tình viên” cấp quận, huyện, và hầu như không có một tiếp xúc, định hướng, huấn luyện nào về nghiệp vụ tình báo! Đôi lúc có cảm tưởng rằng, mọi đường đi nước bước là tự ông ấy tính toán lấy, từ việc vào làm ở Bộ Tổng tham mưu, cho đến việc móc nối, chờ đợi 18 năm để người ta có thể hiểu đúng giá trị của mình! Và thậm chí có cảm giác rằng, trong nhiều năm, người ta không tin tưởng NVM, có thể vì ông ấy không nằm trong diện được đào tạo, được “quy hoạch”.

Sự thực là suốt 20 năm hoạt động tình báo, NVM chưa bao giờ là Đảng viên, ông chỉ gia nhập đảng CS sau 1975, 1 bước “thủ tục” cần thiết để có thể thăng ông ấy lên đại tá và trao tặng danh hiệu Anh hùng. Nhiều sự việc nằm ngoài hiểu biết của tôi, hay có điều gì “một nửa sự thật” mà ngành tình báo đến giờ vẫn không thể nói ra!? Trong suy nghĩ của tôi, điều đó gần như là không thể, khi con 1 nhà lao động nghèo ít học, không có được bất kỳ tiếp xúc gì với các thành phần “lý tưởng”, “tinh hoa CM”, gần như không được hướng dẫn, hỗ trợ bởi một tổ chức! Gần như là đơn phương, đơn tuyến, tự mình vạch ra đường đi nước bước, tự mình liên hệ và chờ đợi để người ta hiểu đúng về giá trị của những thông tin mà mình cung cấp! Lòng yêu nước “thuần thành” hay còn điều gì khác!? PXA đã là 1 câu chuyện ly kỳ, NVM là 1 điều kỳ diệu! Dân tộc VN tồn tại được qua nhiều biến động của lịch sử vì có những điều kỳ diệu chưa thể được lý giải đầy đủ như thế!

serene – 3, part 11

ontinue working on hatches. First image: the completed two hatches (still without the gaskets inside) with the hatch rings (rounded rectangle in shape, cut from a sheet of MDF and strengthen with quite a lot of epoxy). Second image: the recessed (flush deck) forward hatch, the deck is cut 1 inch down, and about 45 cm along the length to get a wider space to install the hatch. This part of the deck is quite weak, and need to be reinforced with some putty and fiberglass inside.

The hatches’ size look a bit small, 18 x 38 cm internal (cut out) side, but that’s sufficient to let many things through, e.g: water bottles or the tent bag, most objects are of long and narrow shapes. I intentionally try to keep the hatch size small as possible, to help with waterproofness. Third image: gluing the forward hatch ring onto the deck, the recessed base is about 1 inch lower, so that when the nearby hatch (seen on the right) is closed on, it would flush with the rest of the deck surface.

The same is done with the rear hatch (not shown here, but you can see it with the image album link on the left). Good thing is that the hatches and their rings fit together really well. Next I would round the internal side edge of the hatches’ ring a bit, cover them with a layer of glass. Completion to the very details in required indeed, in the last trip, I accidentally damaged one of my clothing bag, trying to pull it out of the cramped storage compartment over this sharp, unrounded edge.