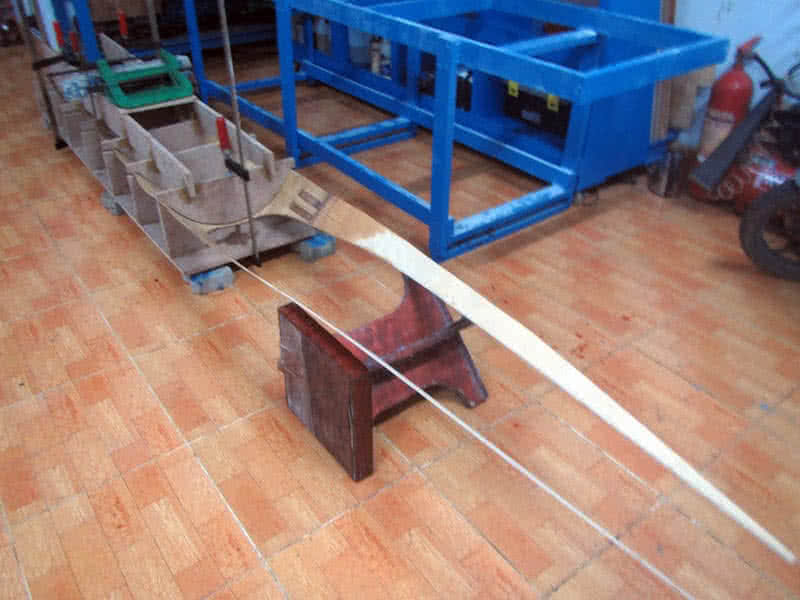
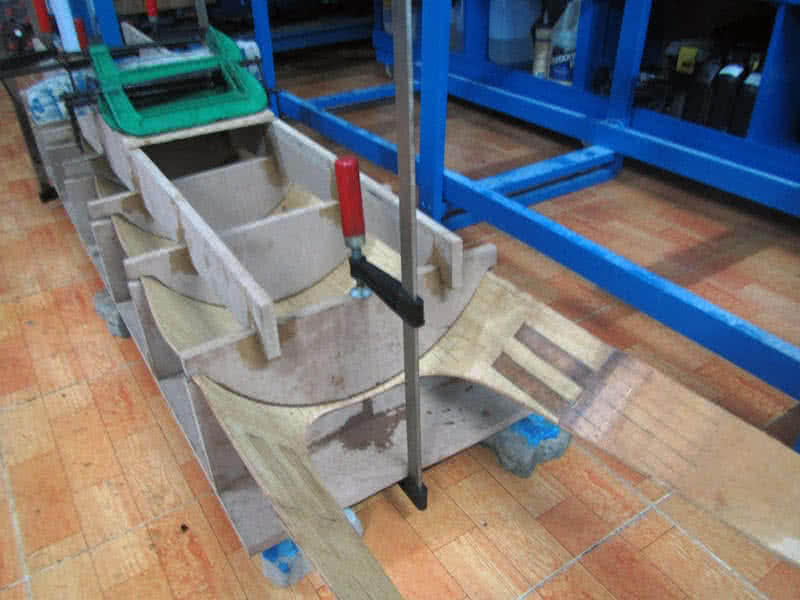
With my Dremel – Multi – 3000 tool, I made lots of parallel cuts onto the deck internal side (see the first image), the cuts are about 1.5 cm apart, and about 1 ~ 1.5 mm deep. Those are not very deep cut, since the plywood is only 4 mm (3.75 mm to be exact). Then I soak the deck with water thoroughly, for the ply to be softened, then put it into the frame and press it down… with my body weight (just sit on it).
With the extra help of some clamps, I press it down, little by little, don’t be too quick, just do it very slowly, then the plywood bends nicely into a perfect curved shape! There’s some minor cracks on the edges, but that’s not too important, cause those parts would be trimmed away when the deck would be glued with the hull. Second and third images: you could see how well done the curved deck is!
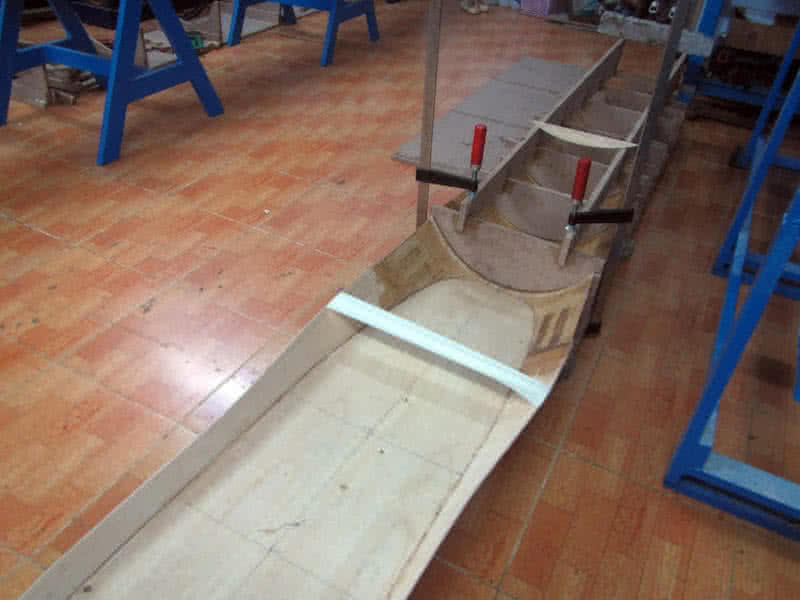
I let it there overnight, waiting for the water to vaporize, then apply some thinned epoxy onto the deck internal side, I also apply a few glass tapes at some places, that way the curved deck would hold its shape once released from the molding frame. Next would be puttying the rear part of the deck onto the forward part, a simple and straightforward job, then again, glassing the seams with my beloved fiberglass tapes.
Joining the fore and aft parts of the deck is quite simple, though it required some wire fastening to put everything under order. FreeShip (the boat design software) strangely generates a slightly abnormal curve around the cockpit (had I made some mistake, or didn’t use the software in a correct way?). So I had to manually draw the line by hand, guessing at some places, resulting in not a very good fit.