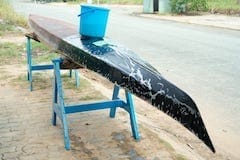
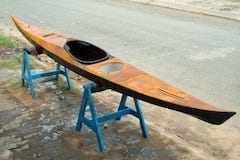
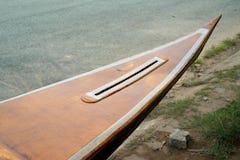
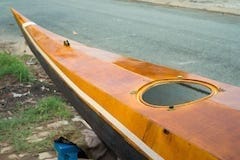
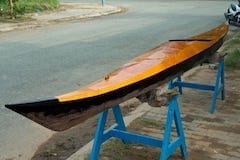
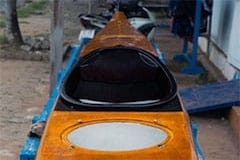
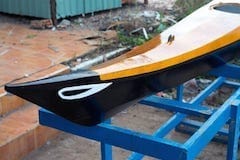
Today, I sanded the hull slightly, to partly remove the previous unsuccessful varnishing. Then I painted the contour line where the deck and hull meet before proceed on re – varnishing the bottom again. Images below: using duct tape to mask the line, the result is quite eye – pleasing, the line helps better hiding the imperfect deck & hull joining, it create an “optical illusion” that the joining is smooth. Next is to varnish the whole boat external sides, hull and deck.
By “varnish”, I mean layers of transparent two – parts PU paint over the surfaces. (In Vietnamese, the word “varnish” still refers to the old – day, alcohol – based finishing agent which used to be popular, but largely forgotten nowadays). The varnishing need to be done quickly, as it’s less than a few minutes before the PU set, brush one small area at a time, proceed on, don’t look back to correct previous mistakes. I find a normal painting brush more suitable than a foam roller for this kind of job.
At this point, I made a hard decision to abandon all planned decorations. Initially I’d intended to do some inlays: veneer and mother – of – pearl. But doing so will take a considerable amount of time, which I don’t really have in the coming months, it’s approaching year end and there’re lots of other things to be done. Wood inlays requires skills and patience. I’d thought I could do it with some practices, and I’m not going to rush the boat to water. But now, just some simple vinyl decals instead.
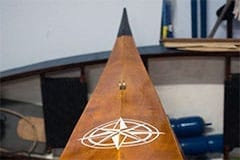
It’s something about balance… an elaborately decorated boat is beautiful to look, but maybe I just need a good, nice boat to play on water. Admittedly, there’s an urge going to water in me, after almost 2 months working on this HW – 3. So, I just put a compass rose pattern on the forward deck, plus the boat name and some owner’s information on aft deck, and of course the boat’s eyes at bow, that would finish my minimum decoration plan to proceed on to the next step.

