Proceed on making the aft and forward hatches. I’ve changed my mind to make those hatches as simple as possible: all will be flush – deck, rounded hatches hold down by some hasp locks. (The plan proposes making a twist – lock one for the aft hatch, but that would take considerable effort to get done right). Also, I’ve decided to move the forward hatch further aft, to get the deck space to install some sailing hardwares (compass, blocks, cleats…) later on.
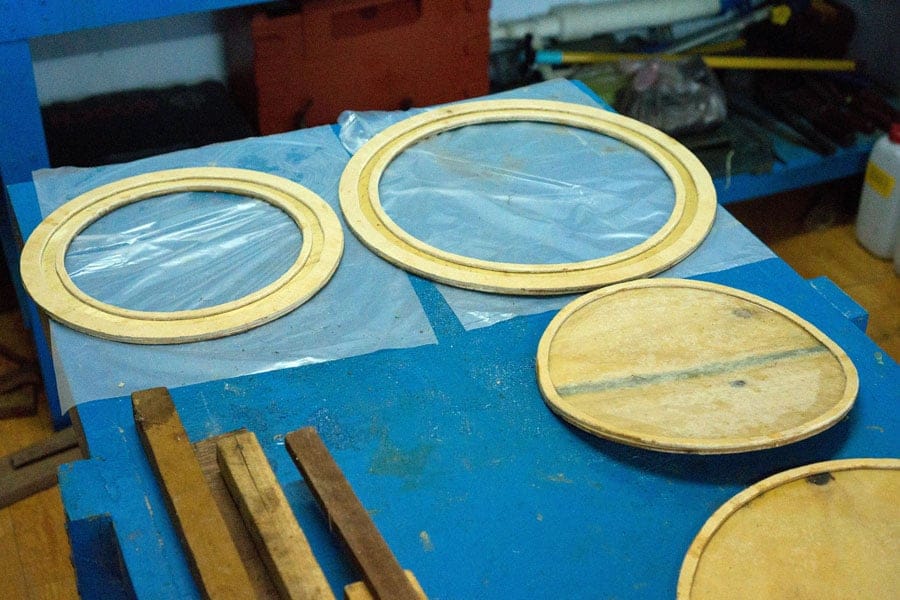
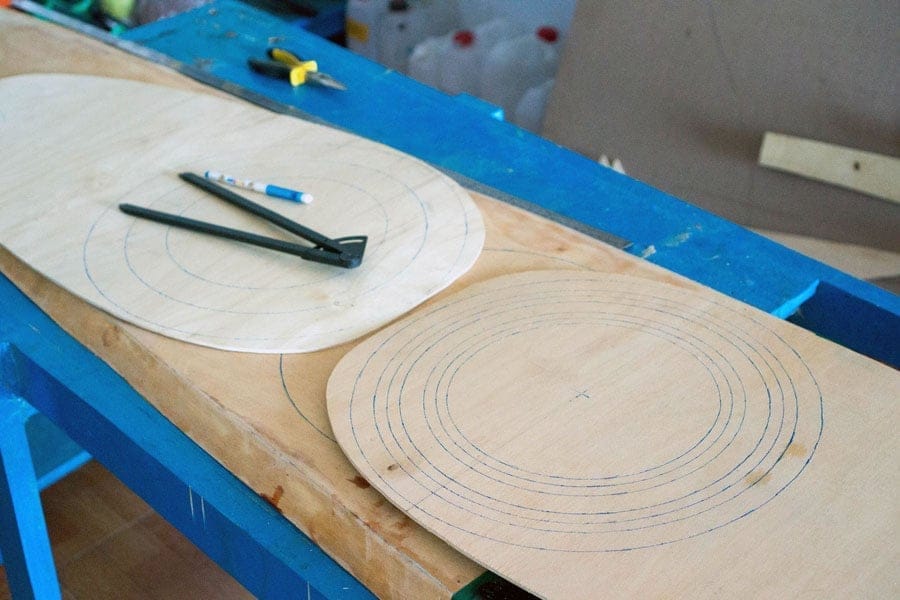
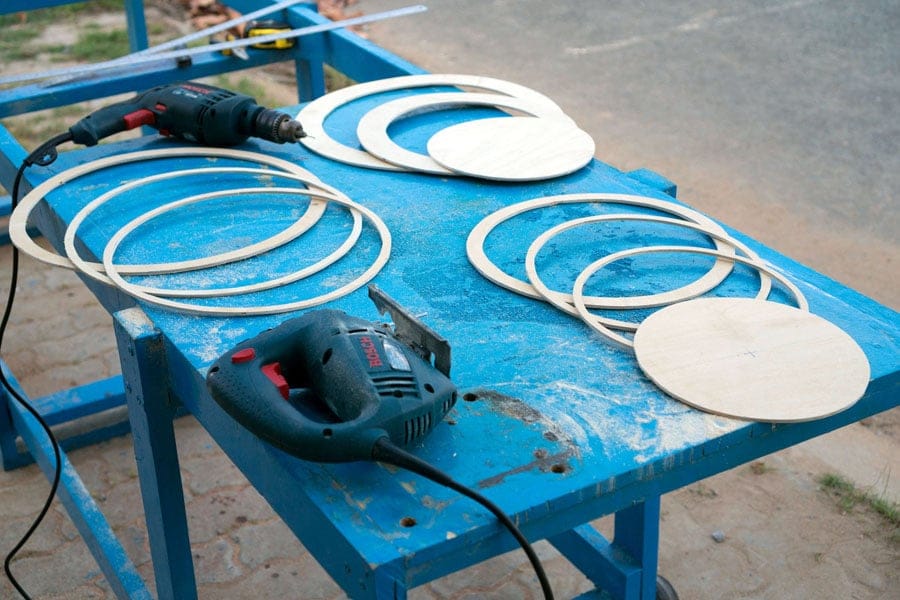
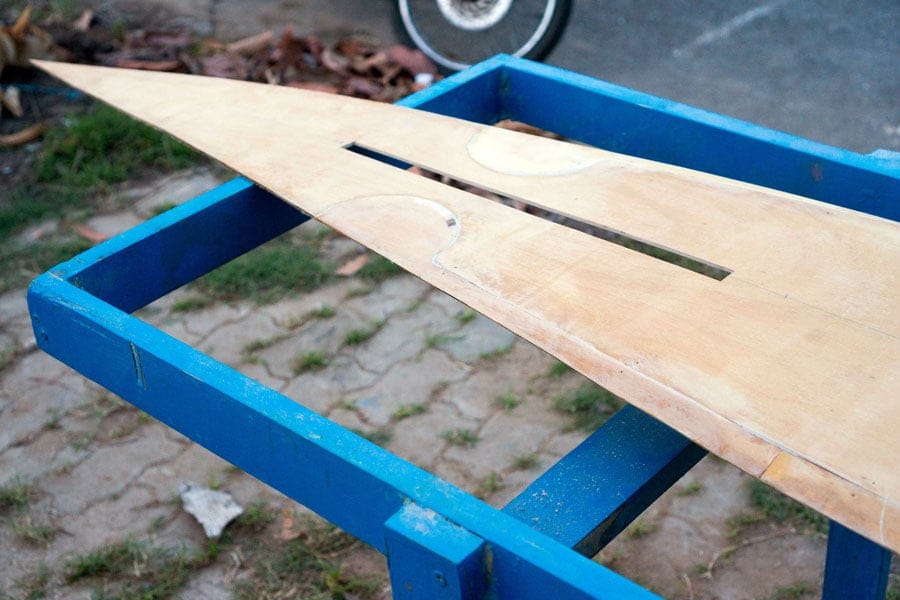
I’ve cut some plywood rings: one spacer ring, one lip ring, and two groove rings (to prevent water leaking in) for each hatch. The forward hatch is quite small indeed, 22 cm in diameter, and 34 cm for the aft hatch. Actually, I prefer shapes that can be geometrically defined, so abandon the egg – shape forward hatch as proposed by the plan. Next would be the simple task of glueing them together. Also, I’ve cut a slot on the aft deck section to get the skeg box through.
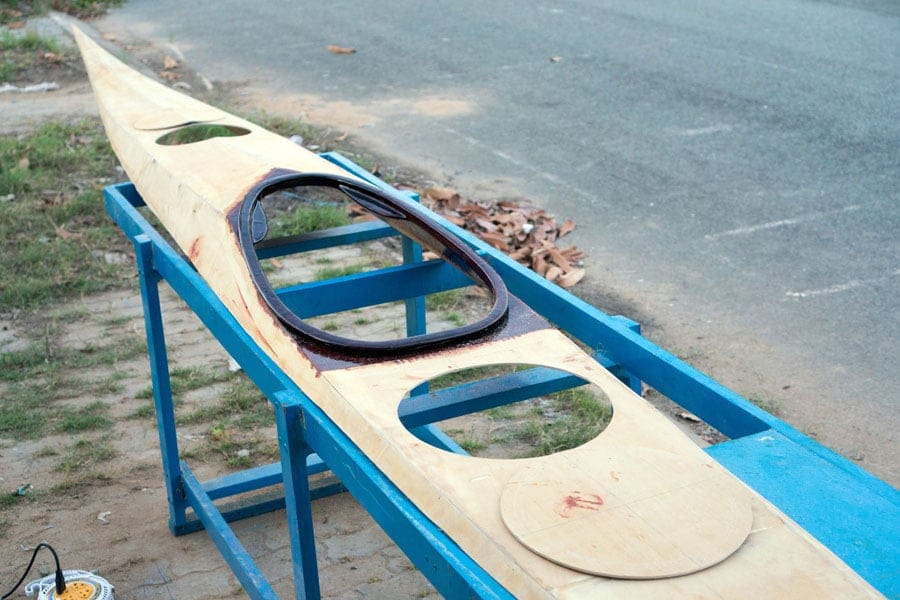
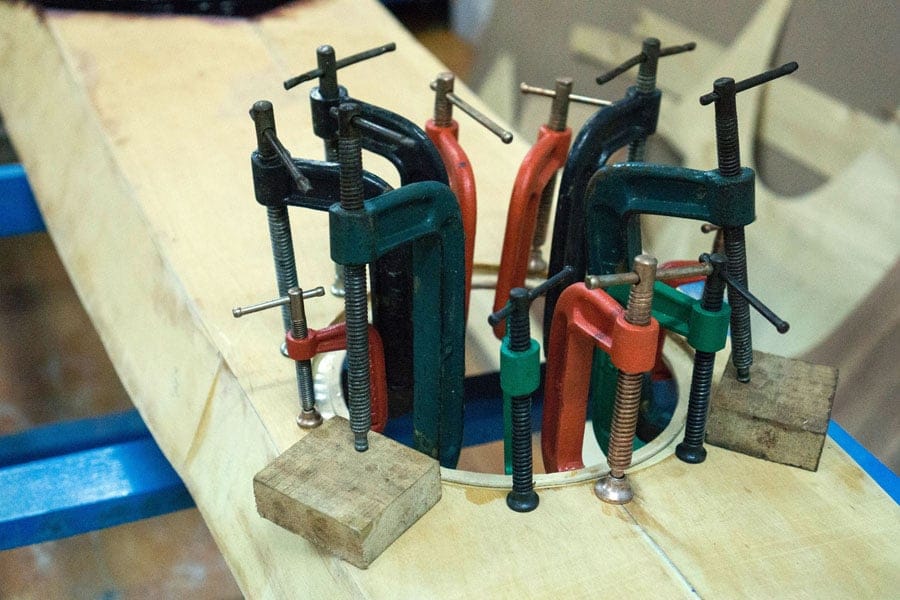
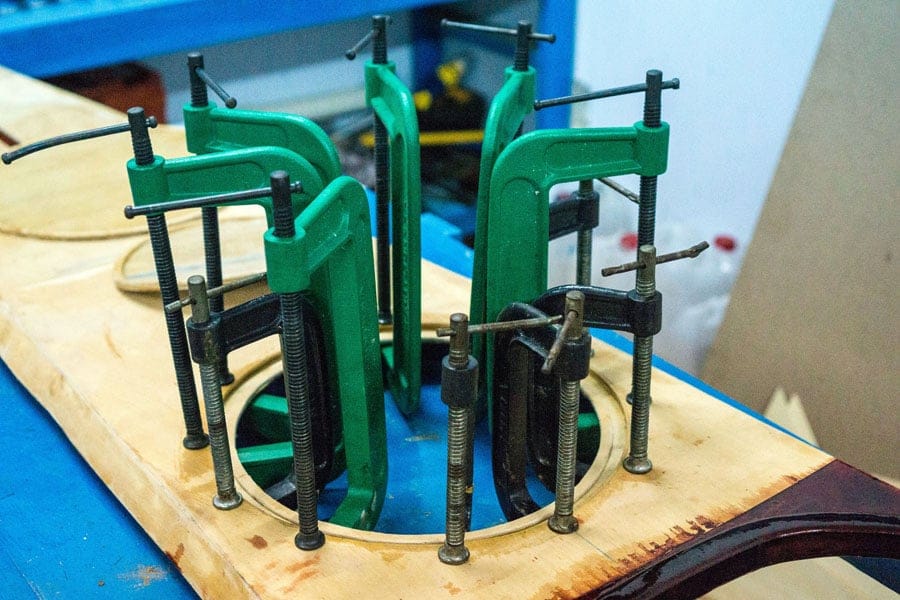
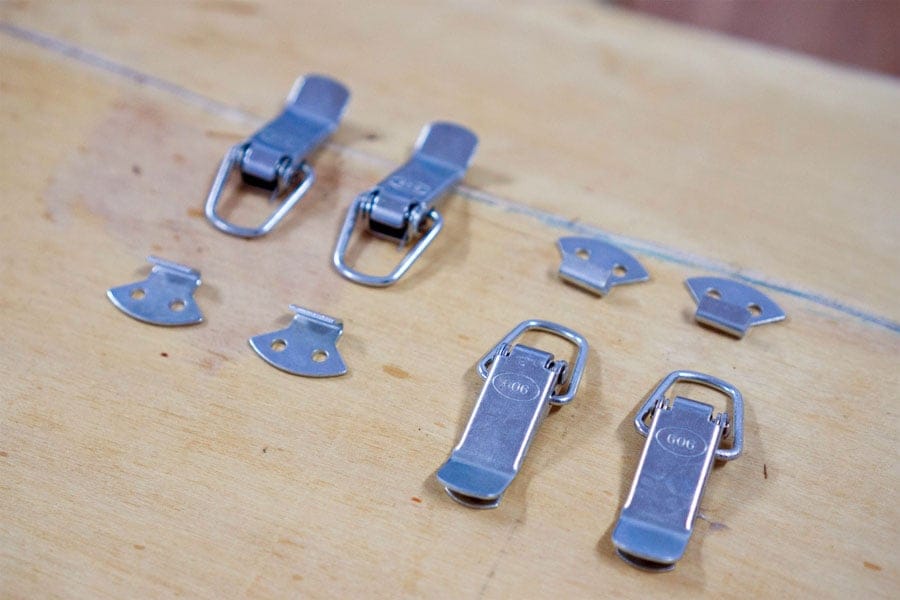
After glueing the hatch lips to the hull, I put small fillet lines at the seams before glassing the internal side of the lips. Then I apply several layers of penetrating epoxy (epoxy thinned with xylene) onto the hatches’ rings, grooves… before applying another layer of un – thinned epoxy, then would come the painting in a later phase. All these parts could easily wear out after some times of use, so they need some special cares. Then come the hasp locks, four locks per hatch.
I was thinking over about the use of hasp locks. Usually, on sea kayaks, they avoid metal part, cause it could get corroded by salt water. But good metal part plus proper maintenance can prolong the service life to years, before it can be replaced. The only problem with these locks is that putting them on deck could cause you some small injuries in self – rescue actions, e.g: if you’re thrown out of the boat in heavy sea, the locks could scratch your skin when trying to get in again.