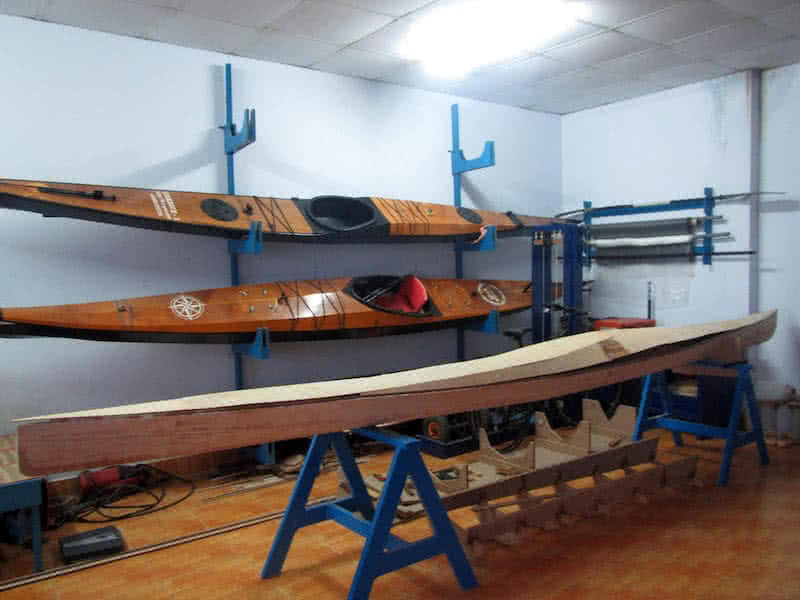
A major setback in the building progress, the curved deck didn’t come out with my expected quality. After released from the molding frame, the deck slowly bend back from its curved shape, especially amid of the boat, off from the desired geometry by 3, 4 cm (first image). That’s really bad… I made a hard decision to discard the rounded deck, and build a hard – chined one (like my previous kayak) instead!
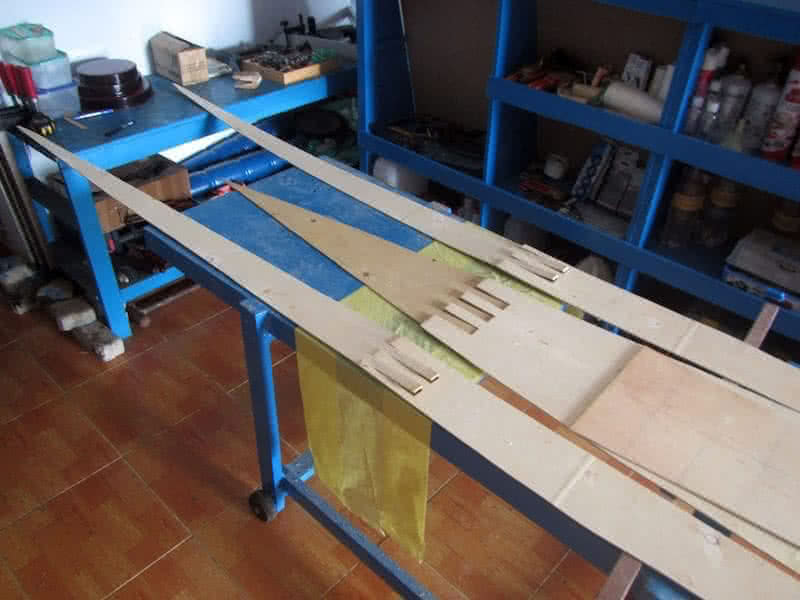
I had an uneasy feeling, lots of work has to be redone, cutting and jointing the deck’s bilges (second image), setup the molding female frame. I took this chance to modify the deck design a bit, raising the aft part by 1 cm, to better accommodate the rudder control lines. A hard – chined deck doesn’t look as good as a rounded one, but it’s easier to build, easier to install other things, and it would fit with the hull much better.
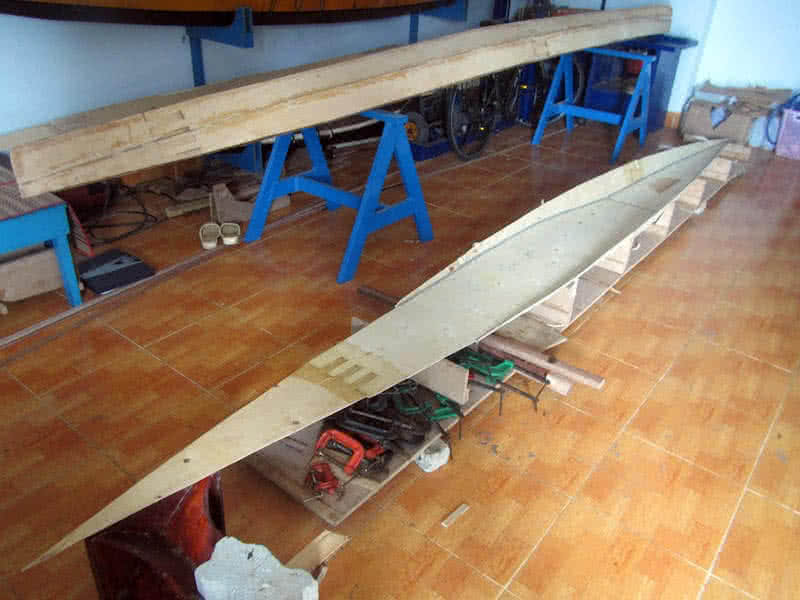
Third image: forming the deck shape, the geometry is so simple that it doesn’t need any wire – fastening, just some CA glue here and there to fit the bilges together, some duct tape on the outside, then putty onto the inner seams. To save weight, I only glass the deck internal side at the cockpit area, where it could be potentially exposed to water. However, the deck would receive a glassing on the external side later on.
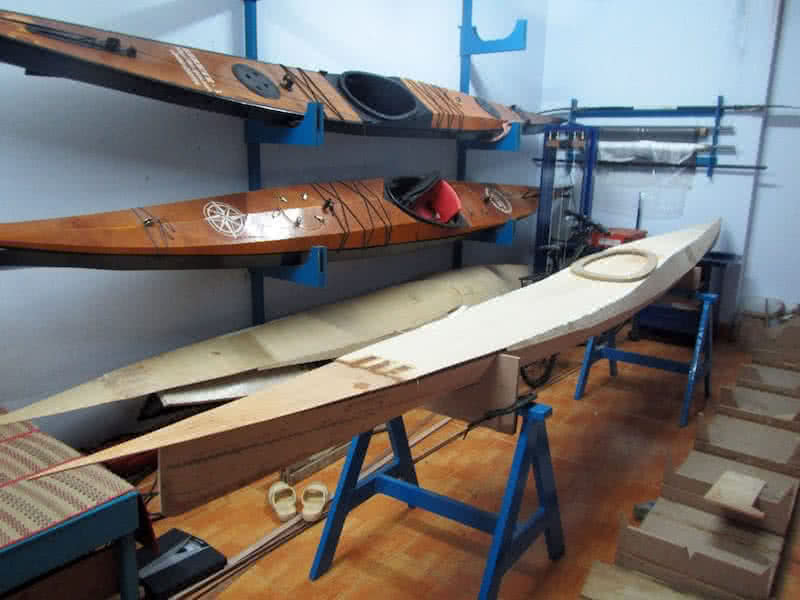
Fourth image: dry fitting the deck and hull… perfect fit! No adjusting, no fastening, no compressing would be required, just fit them together, then trim the edges! In the image, top of the cockpit area, we can see the cockpit coaming template (cut from MDF). That would be a frame for building the coaming lip and ring around, measured 38 x 64 cm in internal dimension. The external dimension would be 44 x 70 cm.