I’ve been thinking about kayak hatches over and over again. Starting from the very early days with my plywood hatches (in Hello World – 2, 3) which are obviously not watertight, to the Beckson hatches on my Serene – 1 kayak. The Beckson is very good, watertight and even air tight, but sadly that’s only true in ideal conditions. In reality, in multiple days trip, when mud and sand has get into, it would leak by a small amount.
The Beckson is not ideal hatch for kayak in my idea (for other purposes, it may be ok). The reason is that the hatches are built flushed with the mounting surface, and some inner elements are even recessed… When the water washes over (as always happened to the very low freeboard of a sea kayak), and when the O – rings are not properly lubricated, or when there’re some mud, sand inside the joints, water would leak in.
That’s why I decided to build my own hatches for this Serene – 2 new kayak. The idea is really simple: the hatches are raised a few centimeters above the mounting surface, and even when the seals are not too tight, that would suffice to keep most of the water out. Examine many sea kayak hatch designs, I’ve found out that simple thing, that the hatches should be raised (not flushed or recessed) above the deck.
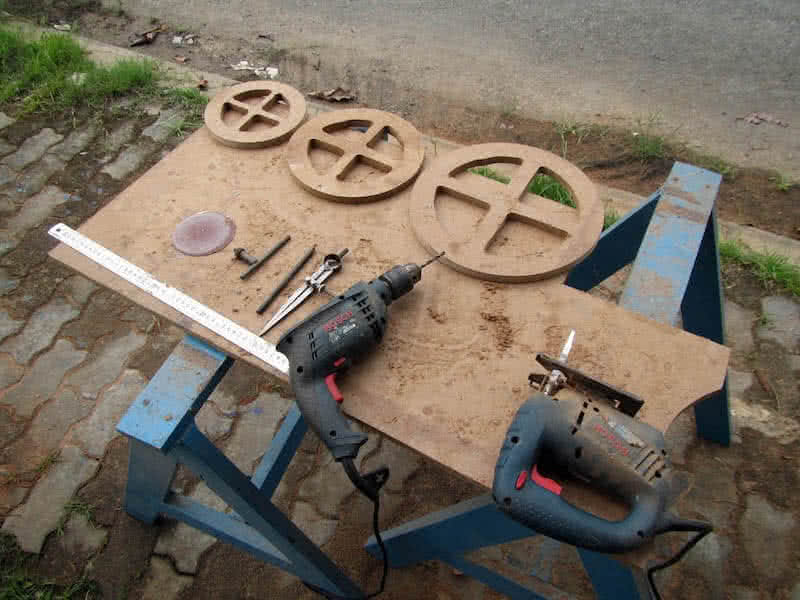
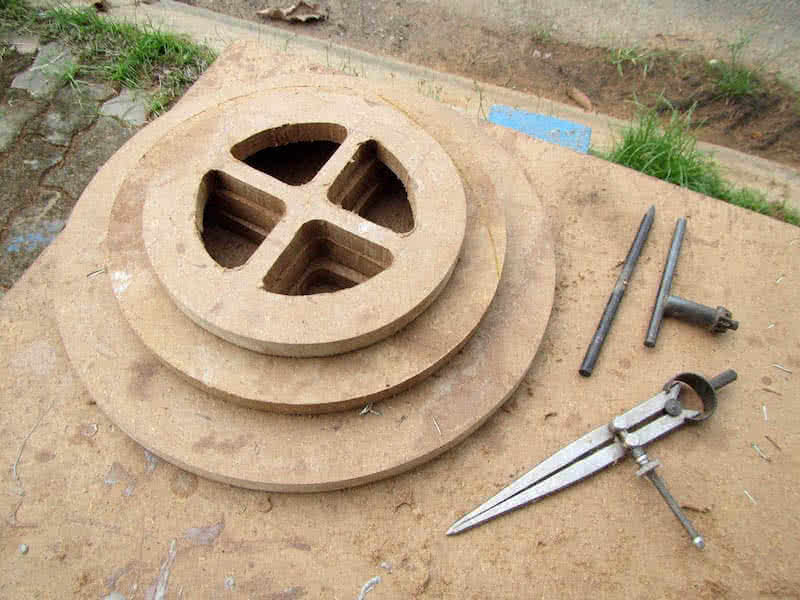
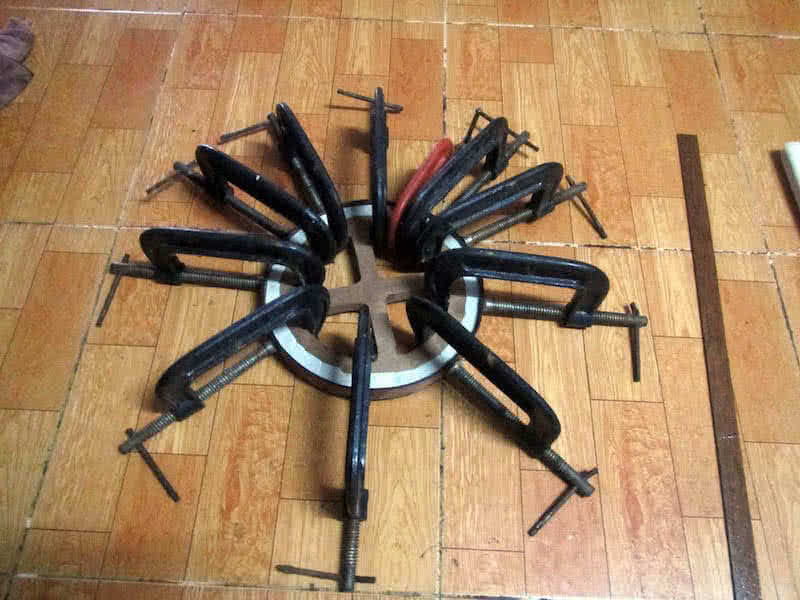
1st image: cutting thin (2.5 mm) wooden strips used to build the hatches. 2nd, 3nd images: the 3 MDF templates for hatch building: the rear, the front and the day hatch, sizes in diameter: 30, 25 and 20 cm respectively. 4th image: building the hatches’ coaming with thin wooden strips around the templates, each coaming consists of 2 layers of strips which bend easily around without cracks and without the need for steaming.