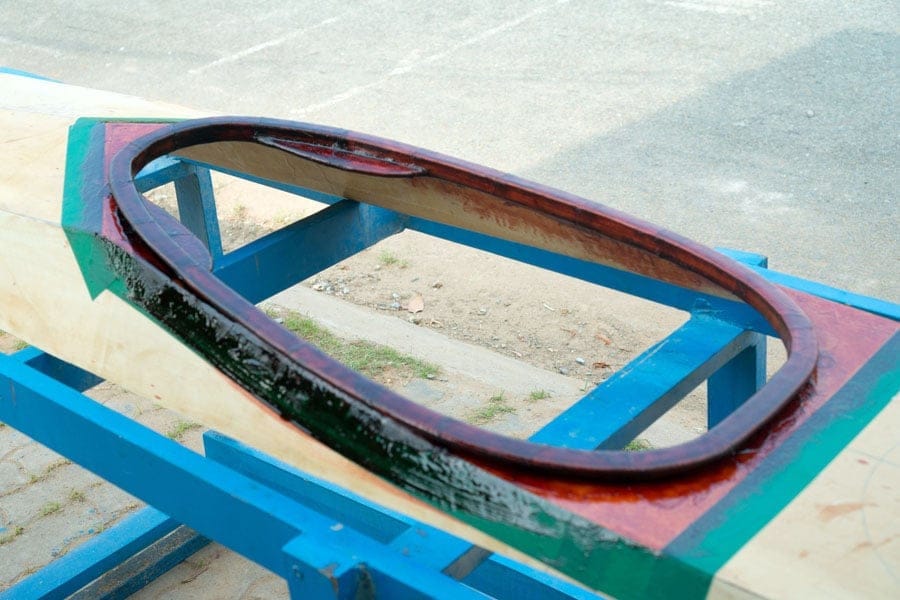
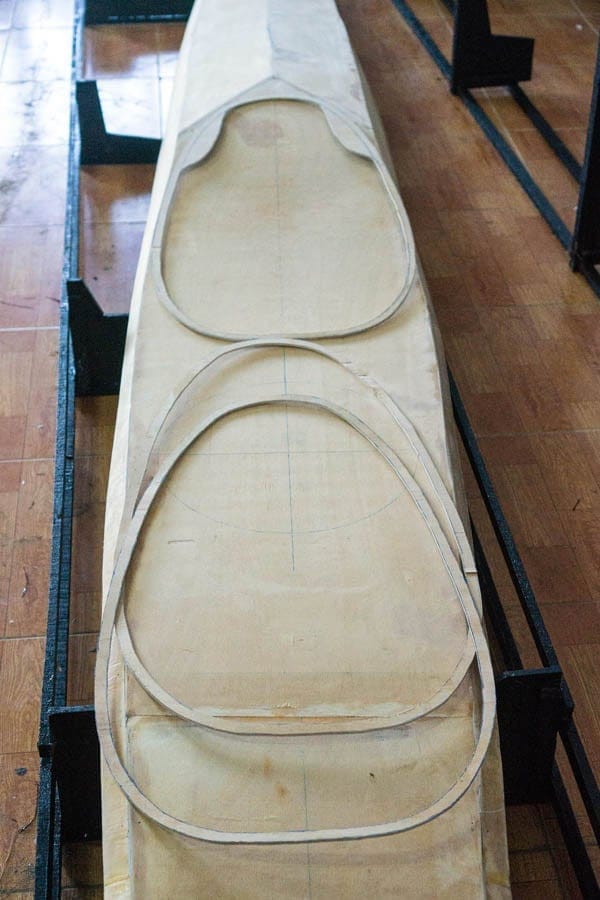
Finished most jobs needed on the hull part, next come the deck part, which has even more things to do. First is the cockpit’s coaming. With Hello World – 2, it was intended to be a river kayak, so I made the cockpit very spacious to allow a comfortable seat. A sea kayak has a much tighter cockpit, to prevent water pouring in, with the coaming to fit a spray skirt, the thigh braces, the cheek plates… It’s less comfortable, but it just has to be like that, a “keyhole cockpit”.
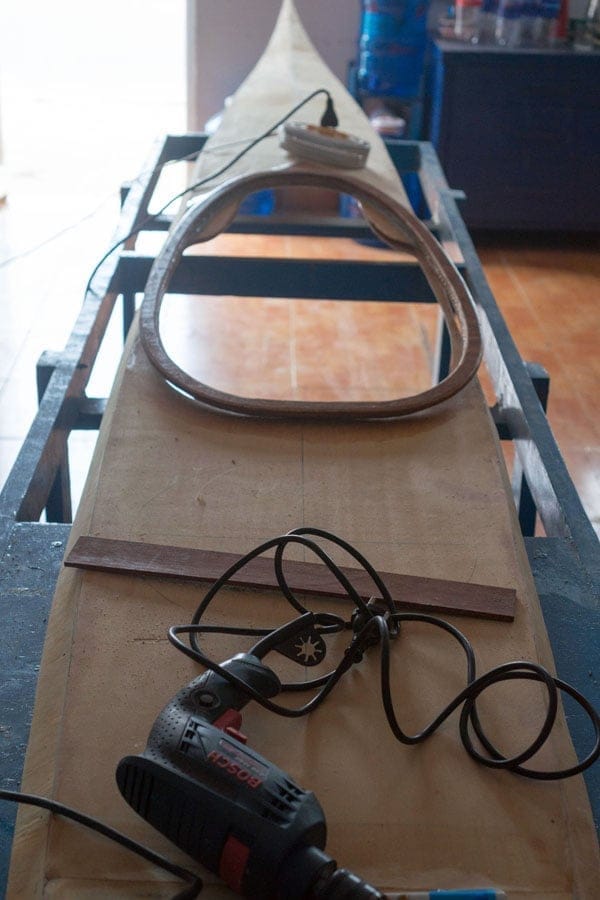
I cut 5 rings of plywood, then join together to make the coaming. The upper 2 layers will be the coaming lip, and the next 3 layers as the coaming riser. Here, I choose an approach which differs from the plan’s suggestion (using a thin wall of plywood placed vertically as the coaming riser seems too fragile to me). I used the Dremel tool to bevel the edges, so that glassing would be easier later, but also the bevelled edges create more space to fill the putty in when joining the coaming to deck.
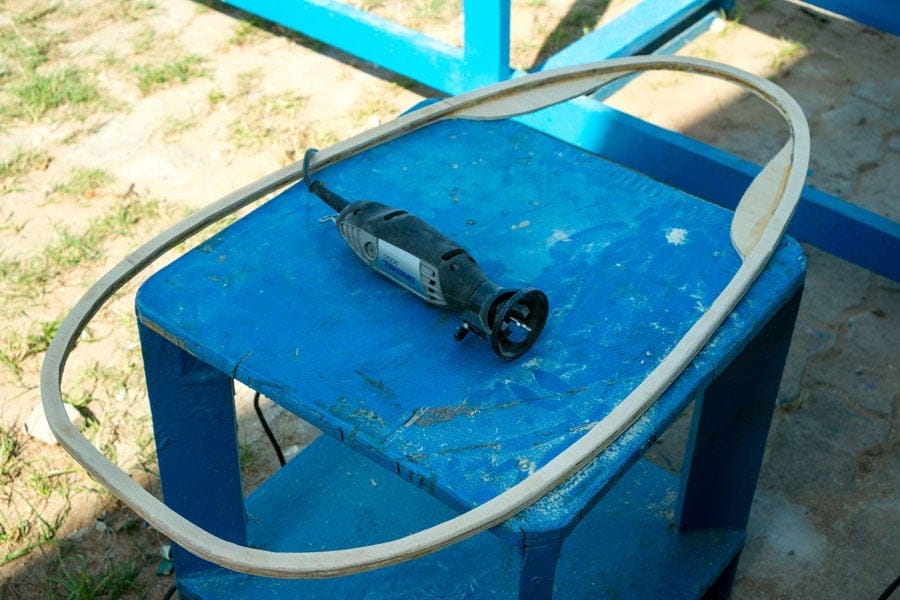
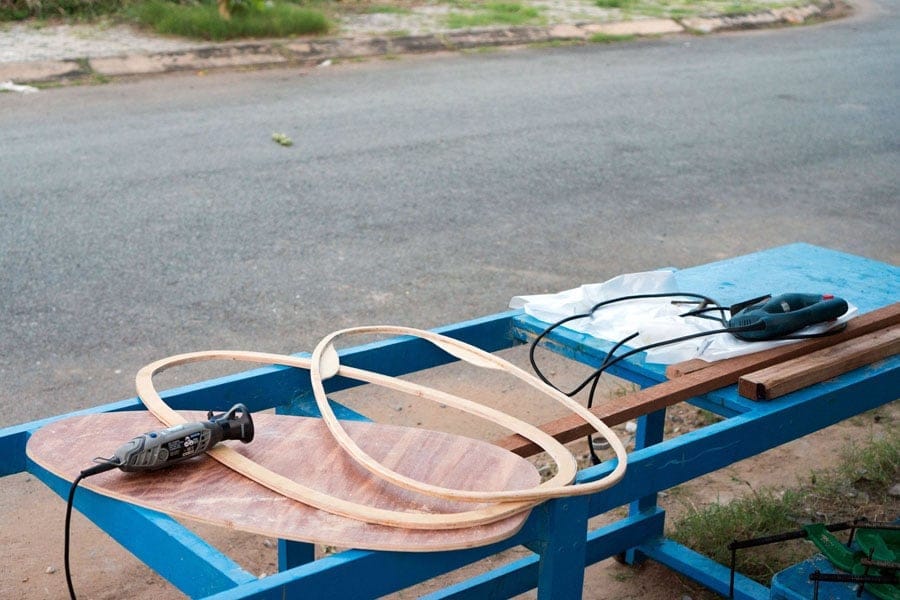

The plywood pieces are so delicate until they’re joined together into a rigid ring. I recall when first ordered the 5 mm plywood sheets for HW – 1 & 2, they’re actually measured at 5.3 mm. This time, I ordered 4 mm sheets, but they turned out to be 3.75 mm indeed when I checked with a thickness gauge. Once again, no standard can be assured or trusted here in Vietnam, and lots of cares, compensations and adjustments have to be made, if you want your quality under control.
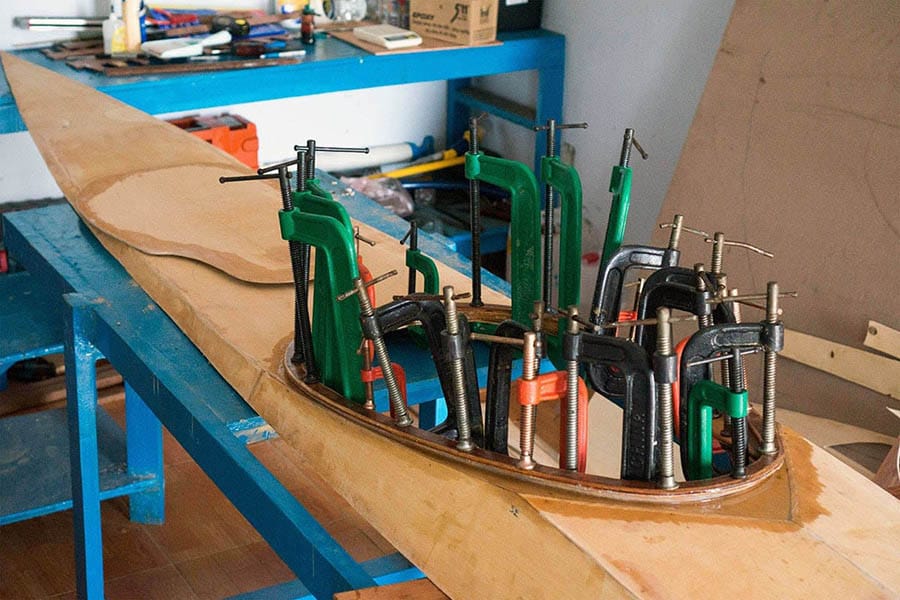
The coaming is then glued to the deck, with putty filled at the seam line. The edges are bevelled so well that glassing is easy and smooth. I apply the same kind of epoxy mixed with color pigment, wait for it to cure, then slightly sand it, then apply another fill coat. The cockpit coaming now is ready for painting. There’s quite some epoxy messing around, even though I’ve used duct tape to mask, cause I still can’t find a good type of duct tape that won’t let epoxy & paint leaking through yet.