I was having quite lots of work, those coding stuffs, and suddenly I recall a popular joke of the IT field: Question: how many software engineers does it take to change a light bulb? Answer: none, it’s a hardware problem!
. Plus the burden of many nameless tasks of the canoe building, sometimes I feel a bit tired. But occasionally on the way back to my workshop, I stop on the bridge, look out the wide scenes on the river. Boats of all kinds and sizes come and go, waves gently flapping the banks, the tide quietly rises and lowers, and the breezes murmur into my ears a long – forgotten melody: Moon river, wider than a mile, I’m crossing you in style, some day…
And I felt that, the rivers are calling, they are calling me… To the next steps of the boat project…
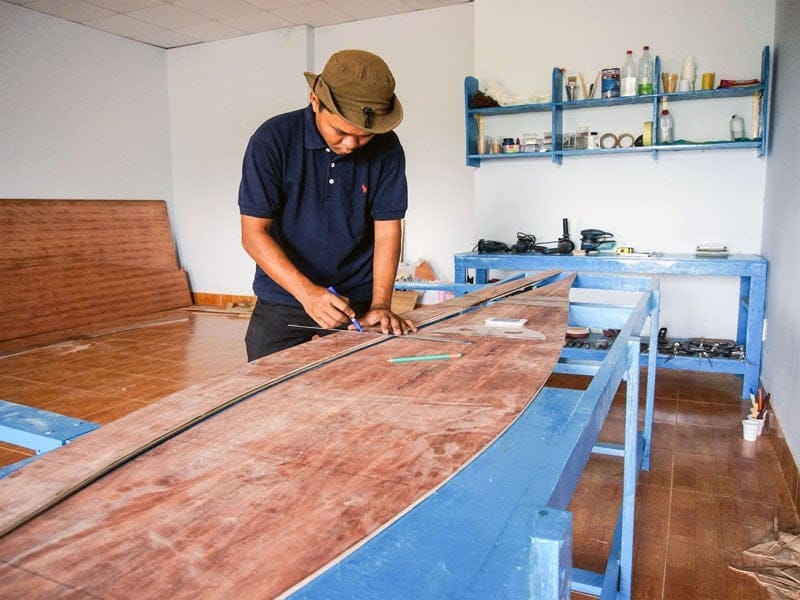
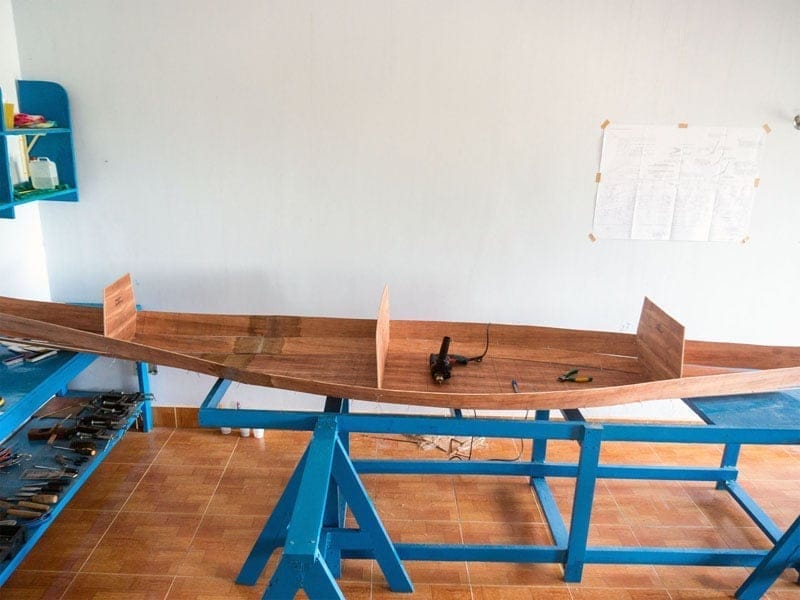


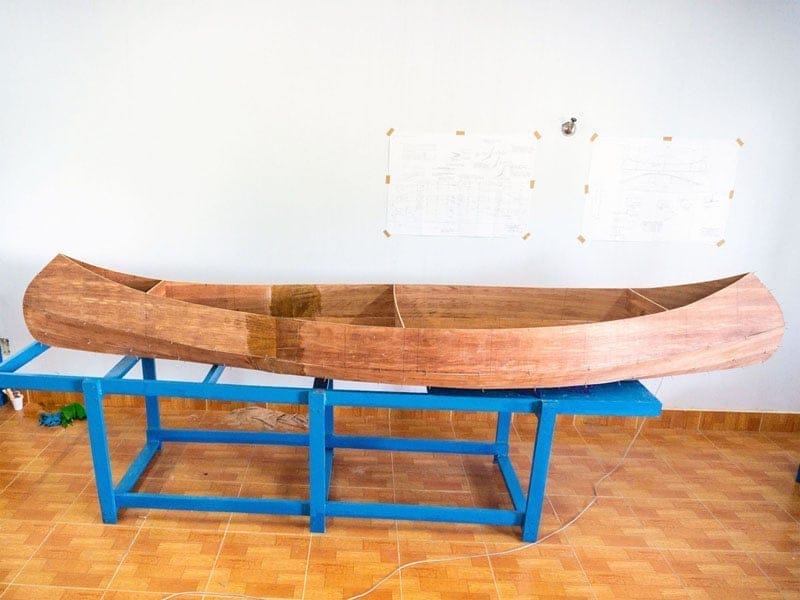
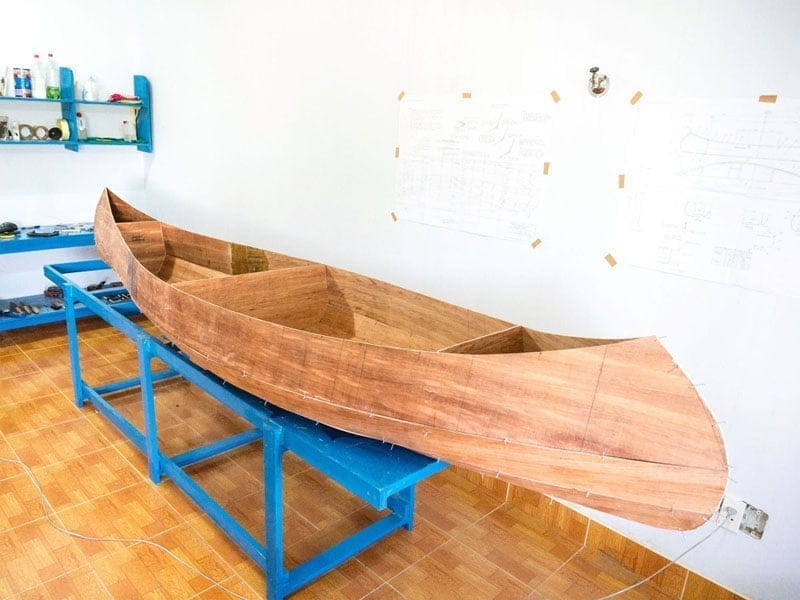
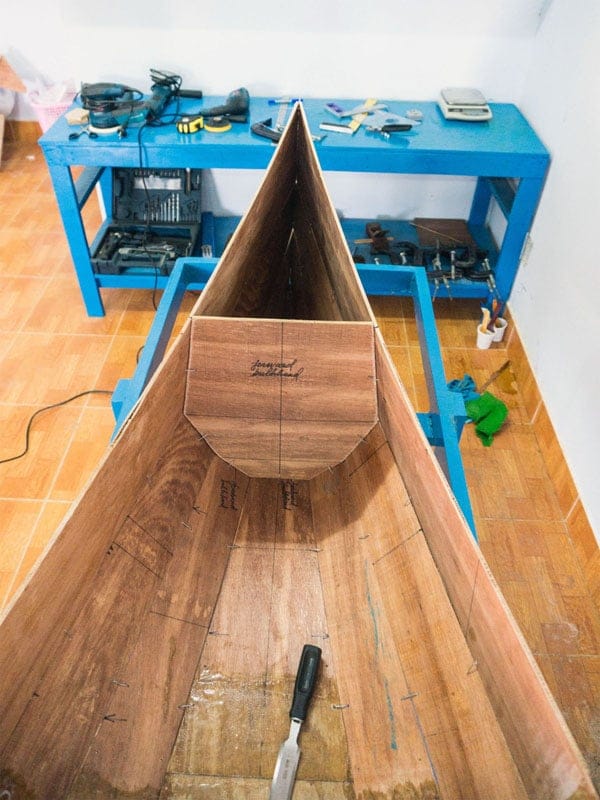
4. STITCH
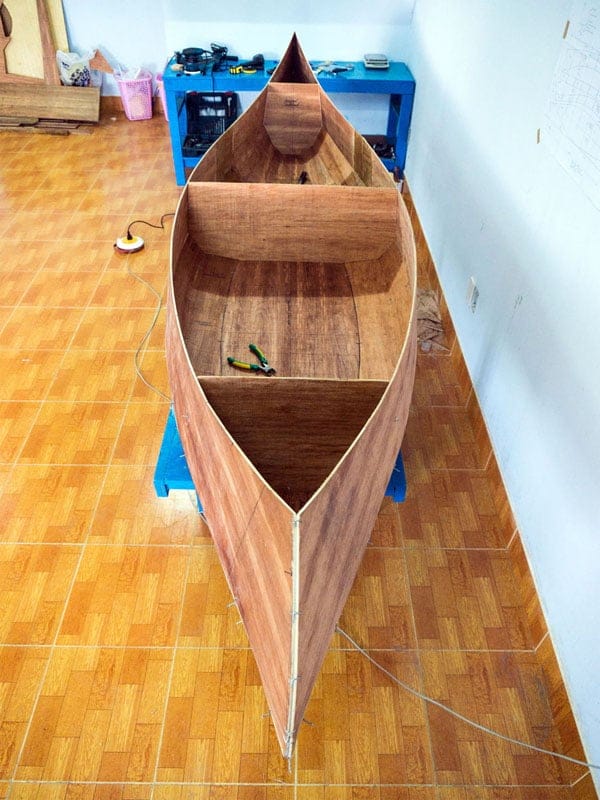
This gonna be a fun part cause it resembles a kid’s game when he/she just cuts pieces of paper and stitches them together with glue. Forming the boat hull from plywood planks is much the same way, on a larger scale, hence the boat construction method named: stitch and glue. Starting from the center bilge, I drill 2.5 mm holes at 22 ~ 24 cm intervals to stitch the next 2 pairs of bilges together using short pieces of steel wire. Then I fit the forward and aft bulkheads, also the center mold, then stitch the final upper bilges. Let take a look at this photo album to see in details, how, in just a couple of hours, the hull gradually takes shape. It’s really fascinating to have completed this step, it produces the first impression on how my canoe would eventually look like!
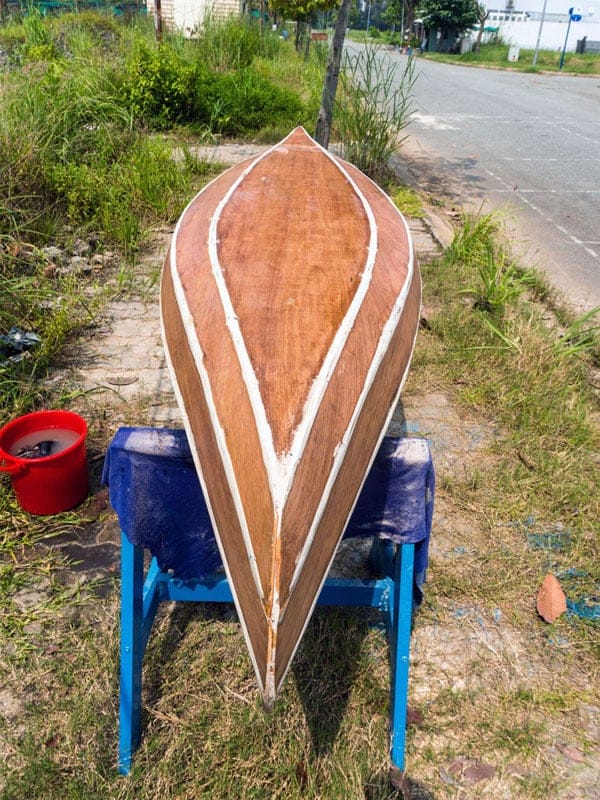
5. GLUE
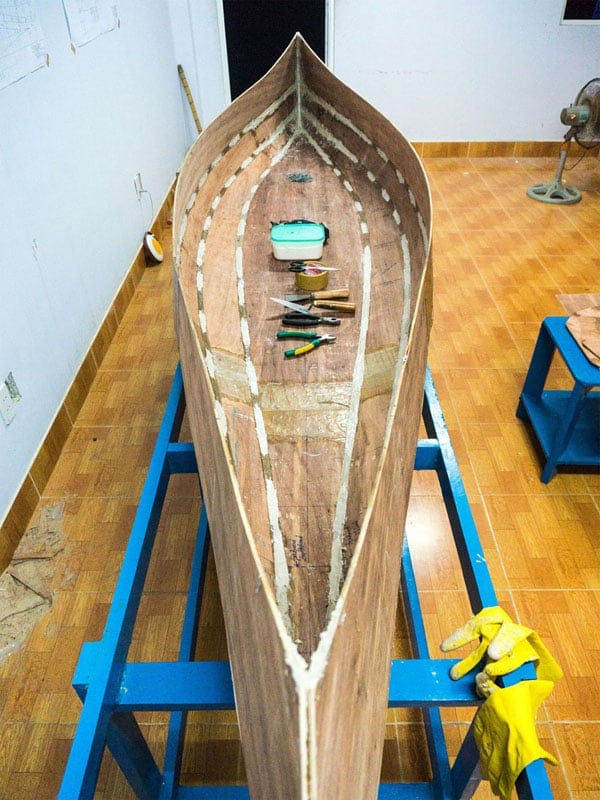
The bilges are just temporarily hold in place by steel wires, next is to permanently glue the seams with thickened epoxy. I used a mixture of silica and wood flour (the collected sanding dust) to thicken epoxy, then apply to the seams with a small masonry trowel. The two sides of a seam are covered with duct tape in advance so that epoxy won’t mess around, and duct tape is removed when epoxy half cures, leaving a clean fillet line. The next steps are glueing the bow and stern sections, cutting steel wires, filling remaining empty slots, then turning the hull over and do the same thing on the exterior side. There’s actually not much work, but it require leaving epoxy overnight for it to completely cure before glueing more, it gonna take the next few days to finish this step.


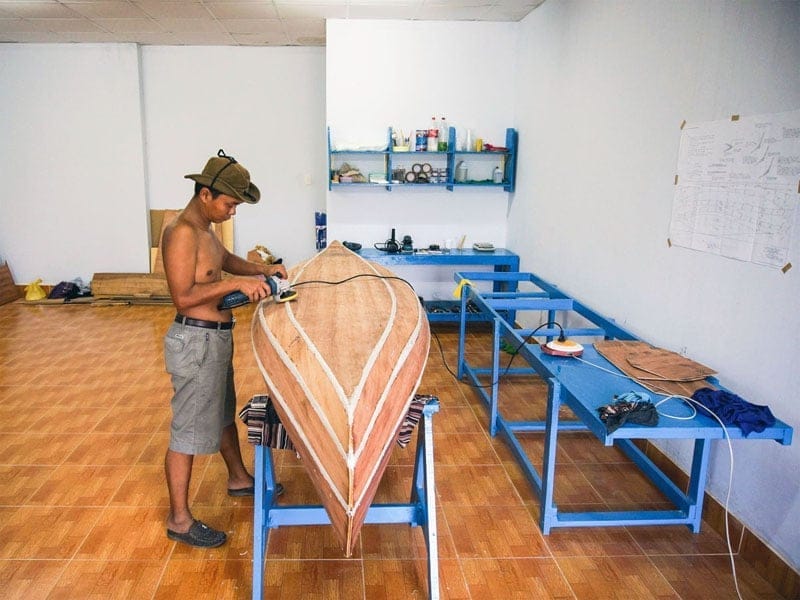
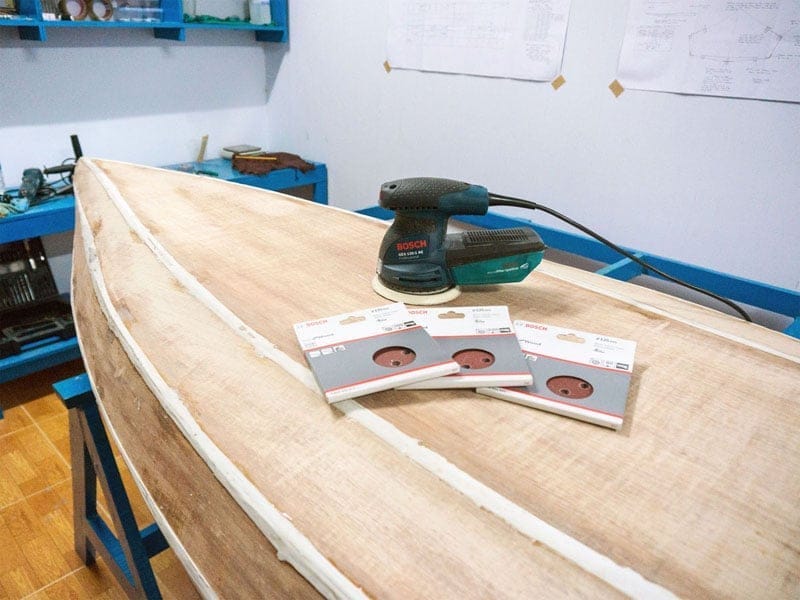
6. SANDING
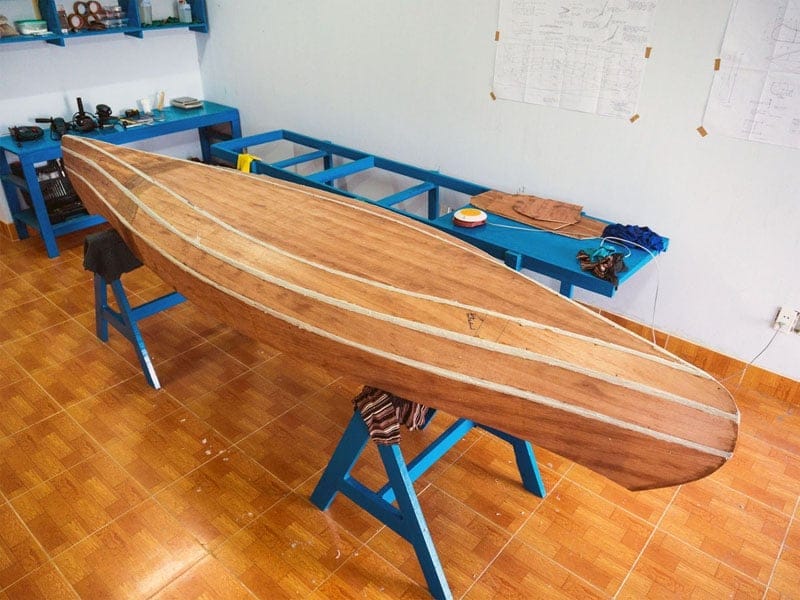
Now the labour – intensive task of sanding (even with the help of power tools). But first, I would need to fair the seams’ fillet curves a bit with the angle grinder using 60 grit sand paper. Then fill all drilled holes left by the steel wires, then proceed with the random orbital sander through 3 levels of fineness: 80, 100 and 120 grit. Since the glueing was a bit messy, it puts more work into this step, to really smoothen the hull’s surfaces before being able to move to the next step. Sand the hull, wipe out all dust, sand again with finer sand paper, repeat 3 times and for both outside and inside, that means: lots of work, given that next week would be a busy week for me with my job! But those “gorgeous curves” gave me lots of joy and encouragement on the to – be – finished – product!