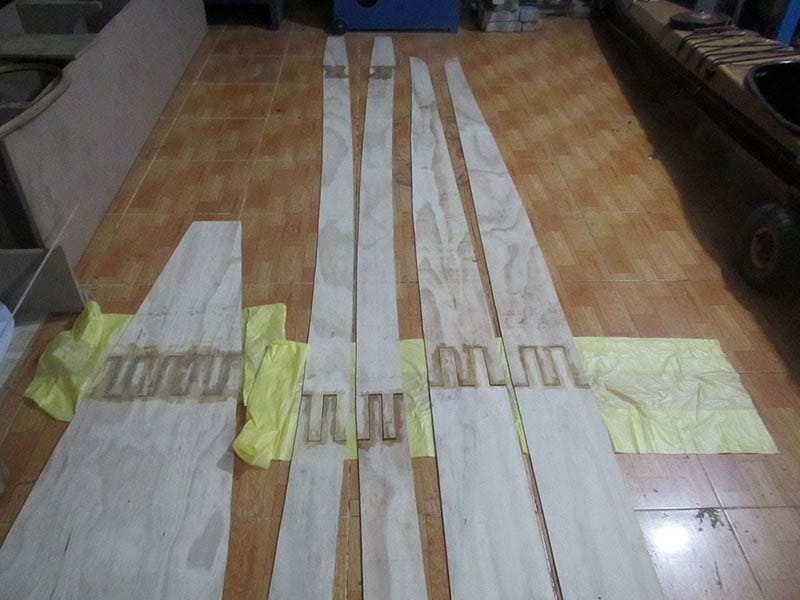
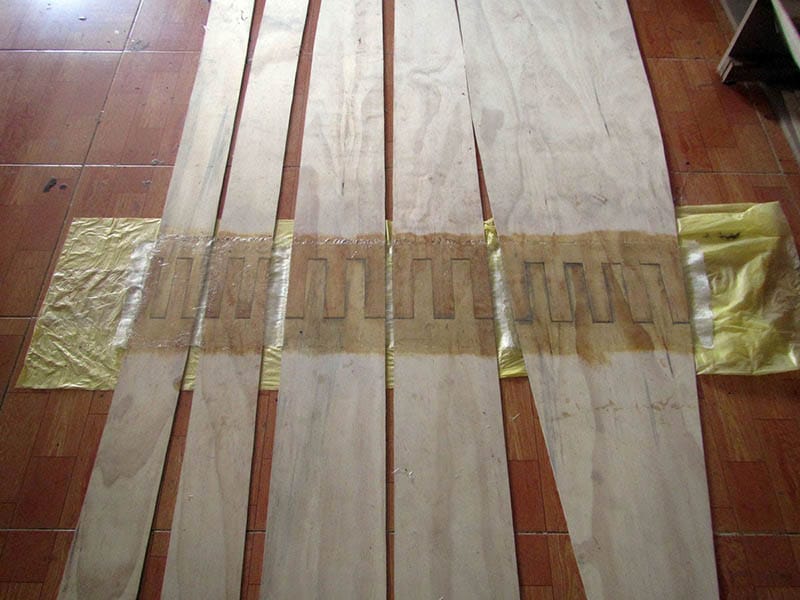
Itook great care in aligning a bilge’s parts, to make sure the final piece would come exactly to it designed shape, and to make sure the port and starboard bilges are identical, or else, the boat would have a twisted hull. All joints is slightly sanded, and applied a layer of glass on the internal side. Next come the job of putting everything together using a combination of fastening wires, super glue and duct tape. Having experiences from previous boat, I used very little steel wires this time.
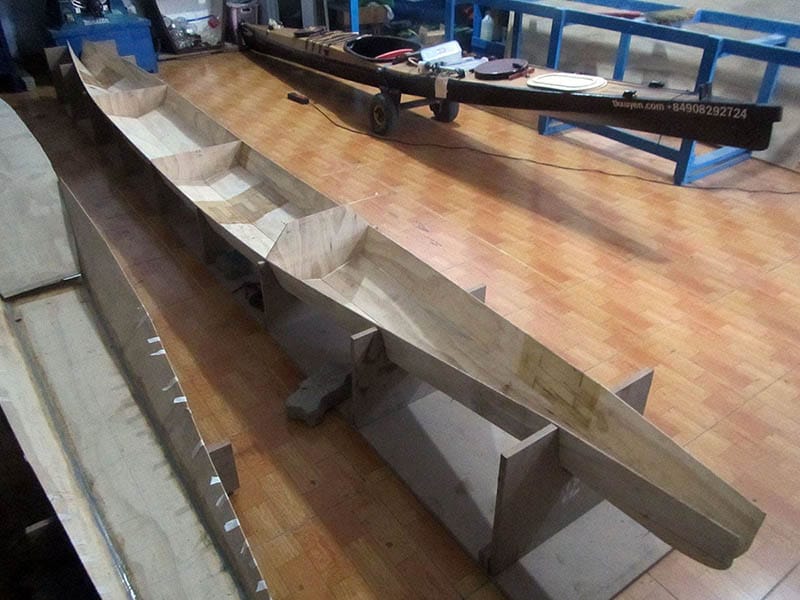
It’s so good to see the bilges fit naturally into their position, with minimum pressing, adjusting efforts. The tendency to take shape easily proves that you’ve all done right in the previous steps: measuring, drawing, cutting and jointing the biges. This is for the first time, you would have an initial impression, of how the boat would finally look like. The computer 3D renderings are too small to have a precise assessment, and of course, it’s always much more lively with a tangible object!
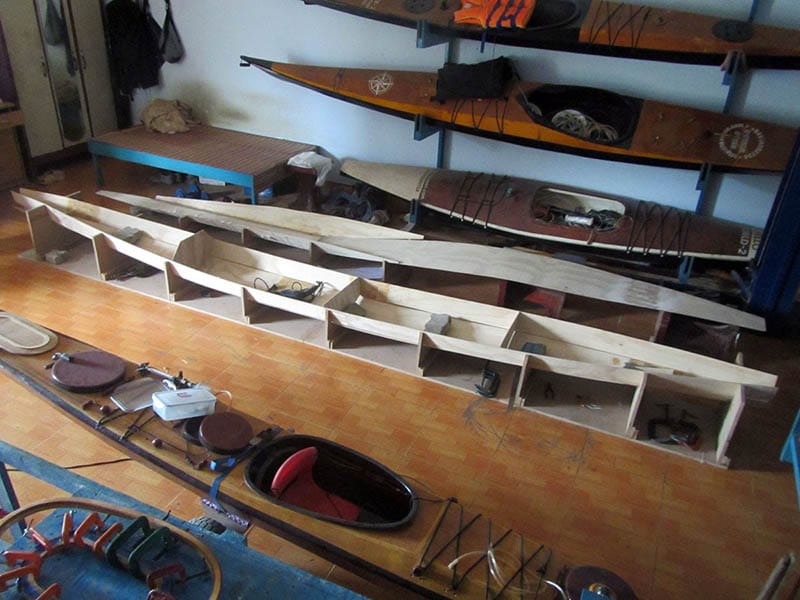
Looking at these two halves: hull and deck, having a senses of every details, it’s easier to arrange and schedule the next tasks. There’re so many jobs ahead: make and install the (recessed) hatches, hatches’ locks, install the cockpit coaming, rudder pedals and control lines, compass, the bilge pump, etc… and of course the whole complex electric & electronic system. Things should be better done this time, with the lessons learnt (tediously and expensively) from previous boat projects.