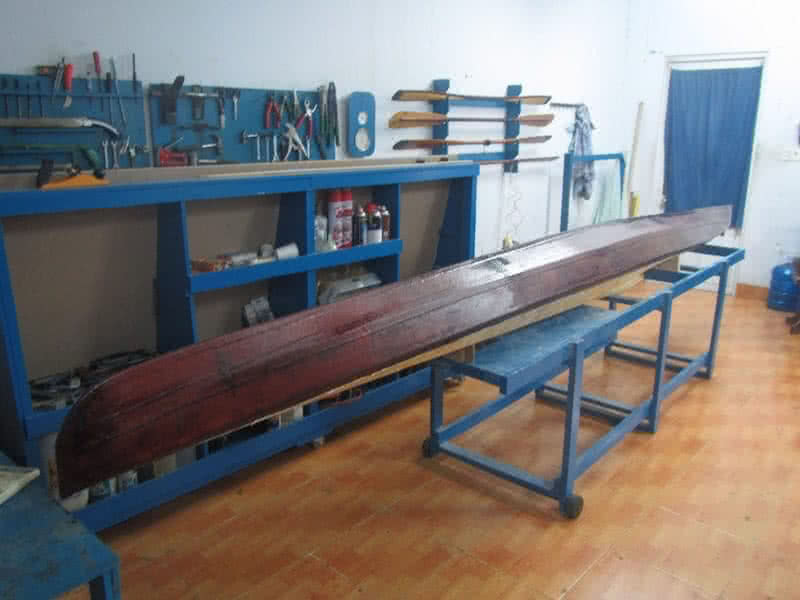
After joining the hull and deck, the hull receives its final bottom glassing. The fiber fabric would overlap the deck about an inch, to better seal the joint. One little trick to make a clean, tidy line at the painting (or epoxy) boundary: mask the area to paint (or to fill with epoxy) with duct tape. Prior to applying (colored) paint or epoxy, brush the duct tape with a very thin layer of transparent paint (or epoxy).
Wait for the paint (or epoxy) to cure, than apply the (colored) paint (or epoxy). That way, the colored paint (or epoxy) won’t leak through the duct tape, cause no matter how good the duct tape is, paint (or epoxy) would leak through, causing a blurry, untidy line. Second image: masking with duct tape, prepare for glassing the hull. I run out of my fiberglass fabric roll after this task, also use up the last drop of epoxy!
The hull glassing receives an additional layer of fill coat, then another layer of epoxy at the 3 seams, then a slight sanding. I don’t sand much, just at some rough places. The color scheme for this kayak is also brown / yellow like my previous two boats, but this time, the colors would be much lighter. Next would goes in the vinyl decal decorations, then varnishing the whole hull and deck with transparent PU paint.
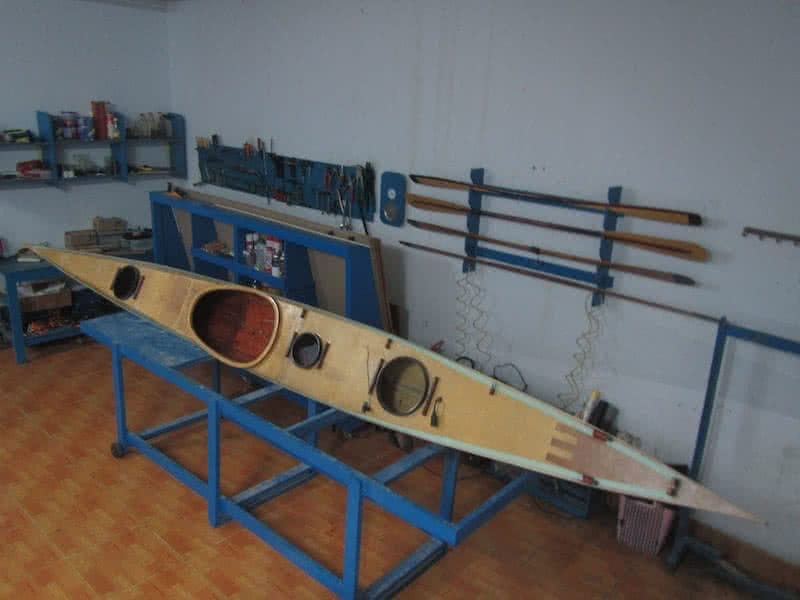
Since the deck’s space is used up for the 3 hatches, the bungee cords, the signal light and solar panel, and other accessories, all decorations would go to port and starboard sides: the boat eyes, boat name, and owner’s information! There’re many many other unnamed tasks required still to finish the boat, so I won’t hope to complete it until next week. However, the kayak would see water and start its trial paddling very soon!