Fitting the bilges is quite straight forward. Compared to my previous boats, this time, due to more careful drawing and cutting, having a good shape, the bilges fit together pretty much better, there’s almost no gaps between them. It requires still some little fastening with wires, but not much, and some dots of CA glue (cyanoacrylate) to help the edges staying head – on. Then I proceed to filling the seams with thickened epoxy.
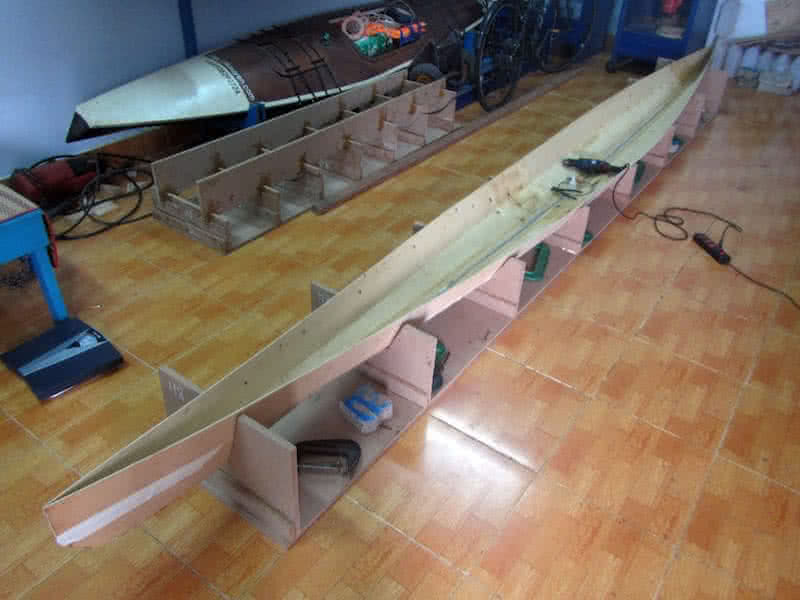
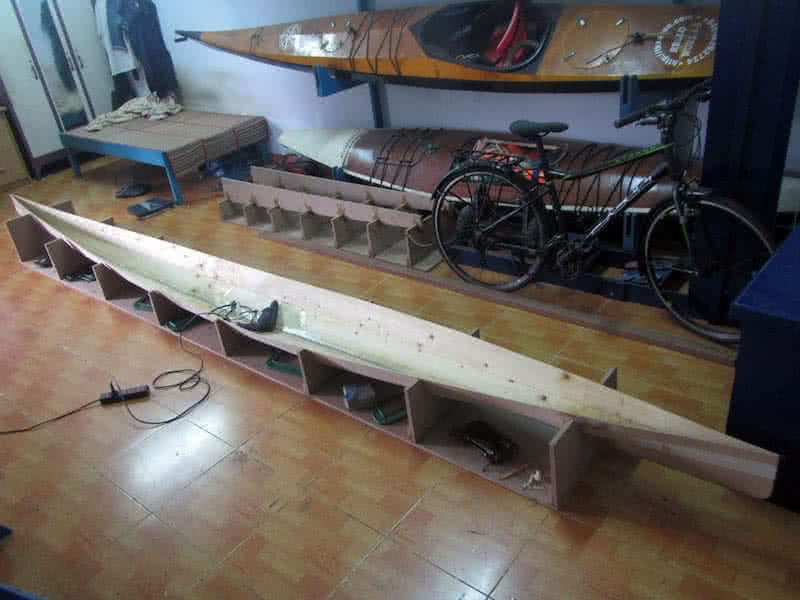
First image: the bottom pair of bilges fit together. Seeing them fitting so well to the molding frame, I decided to putty – fill and glass the bottom seam before adding the second pair of bilges (second image). I really appreciate my 2 – inches – width fiberglass tapes, they help the seams to be very clean and tidy (and hence less epoxy used). With out them, fiberglass cloth bias cutting would be a nightmare for me…
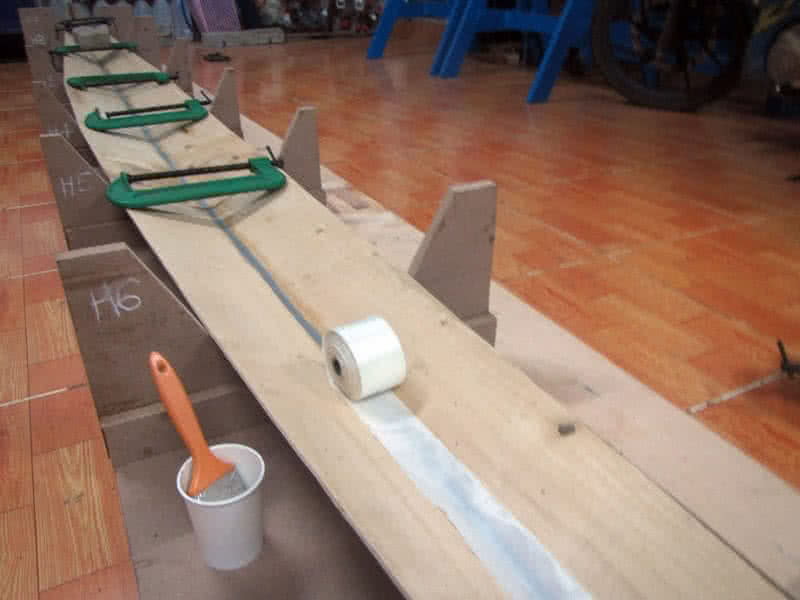
…As the kind of fiberglass cloth I’m using is not too good in quality. Third and fourth images: the second pair of bilges goes in, also very good fit, requiring little fastening. Due to the sloping sides of these bilges, filling the seams with putty could be tricky, as the thickened epoxy wouldn’t hold shape but flowing down slowly due to its viscosity. So, I apply a small amount of putty, then immediately cover them with duct tape.
This way, the epoxy would hold shape, leaving a good looking seam. After the epoxy completely cures (about 8 hours in my case), I peel off the tape. It’s so good a feeling to see your boat take its initial shape. I spend sometimes standing, watching the bow and stern, its full water line, its slim and sleek lines. Still many things to be done, but this gonna be my Andalusia horse on the wide wild wet water space!