Proceed to cutting and jointing the bilges. This step is done quite quickly as I’ve now had plenty of experiences. I read the offset – table directly from the FreeShip software, then draw the bilges on the 122 x 244 – cm plywood sheet. For the 17 feet hull, there’re 3 pieces per bilges, and hence, 2 joints need to be made for each bilges. I clamp 2 plywood sheets together and cut the port & starboard parts at the same time.
It takes some little skills and experiences to make the joints perfectly fit with just a jig saw. And I still prefer the straight finger joints as used on my previous boat, they are simpler to cut, simpler to align and to make sure that the jointed bilges are in correct shapes. Too bad, my plywood is of too poor in quality, it’s so fragile, so easy to crack, so I have to take extra cares at this steps, or the “fingers” of the joints could break.
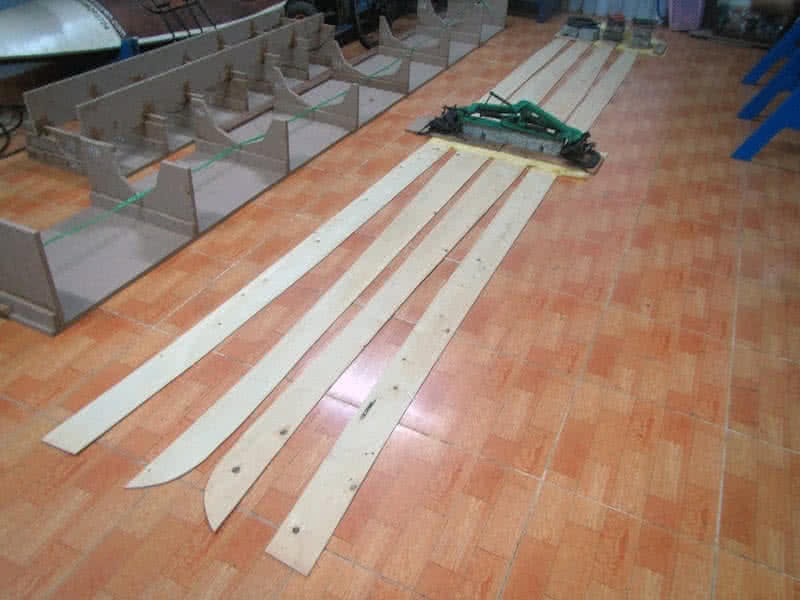
First image: transferring the lines from offset table to plywood boards (with the help of a cup of coffee, be careful not to make any mistake). Second image: all pieces cut, third image: the finger joints (no glueing yet). Fourth image: jointing the pieces together with epoxy (just use many weights to press on), then glassing them (the internal sides) with one layer of 6 – oz fiberglass.
Decided not to bevel the bilges’ edges, though beveling helps making tighter seams, my plywood is quite thin, so the seams wouldn’t be very perfect, they hardly could stay precisely edge on edge with each other (and beveling adds some more works to be done). With Serene – 2, I proceed with the hull first, then the deck, not doing them in parallel like my previous boat, as the deck part could be quite complex this time.