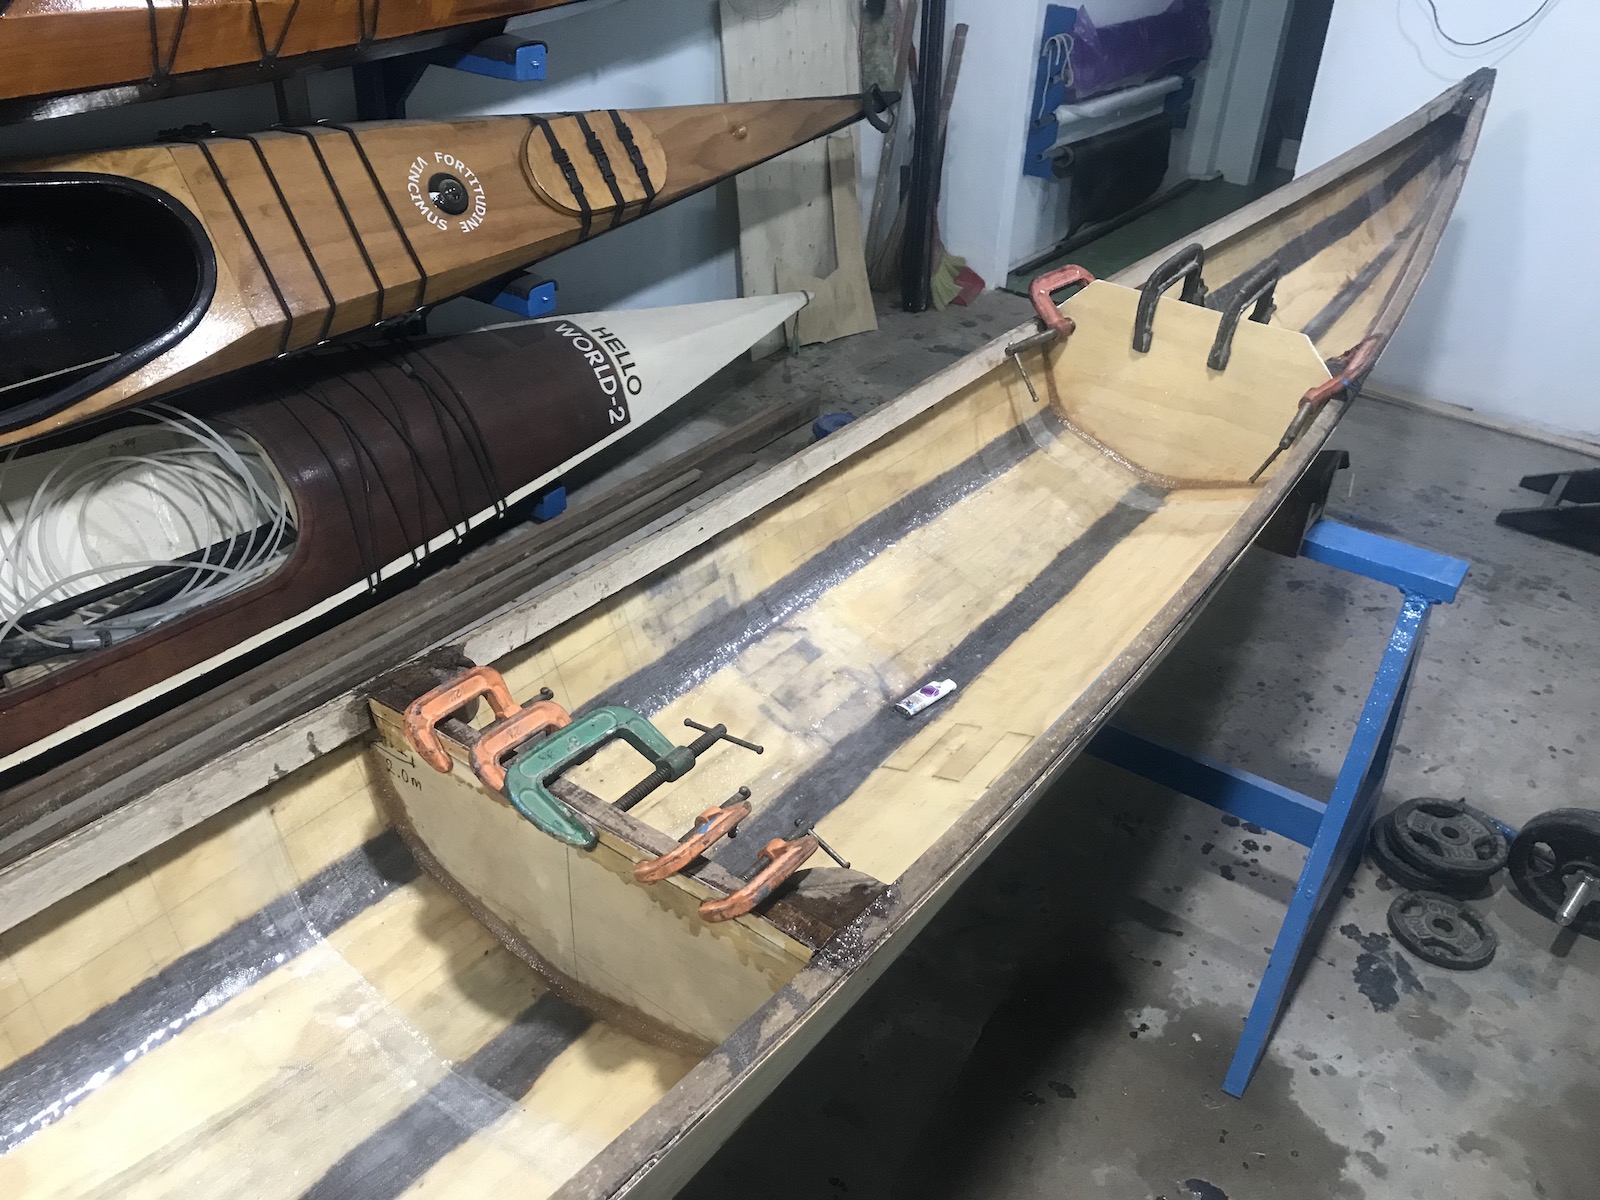
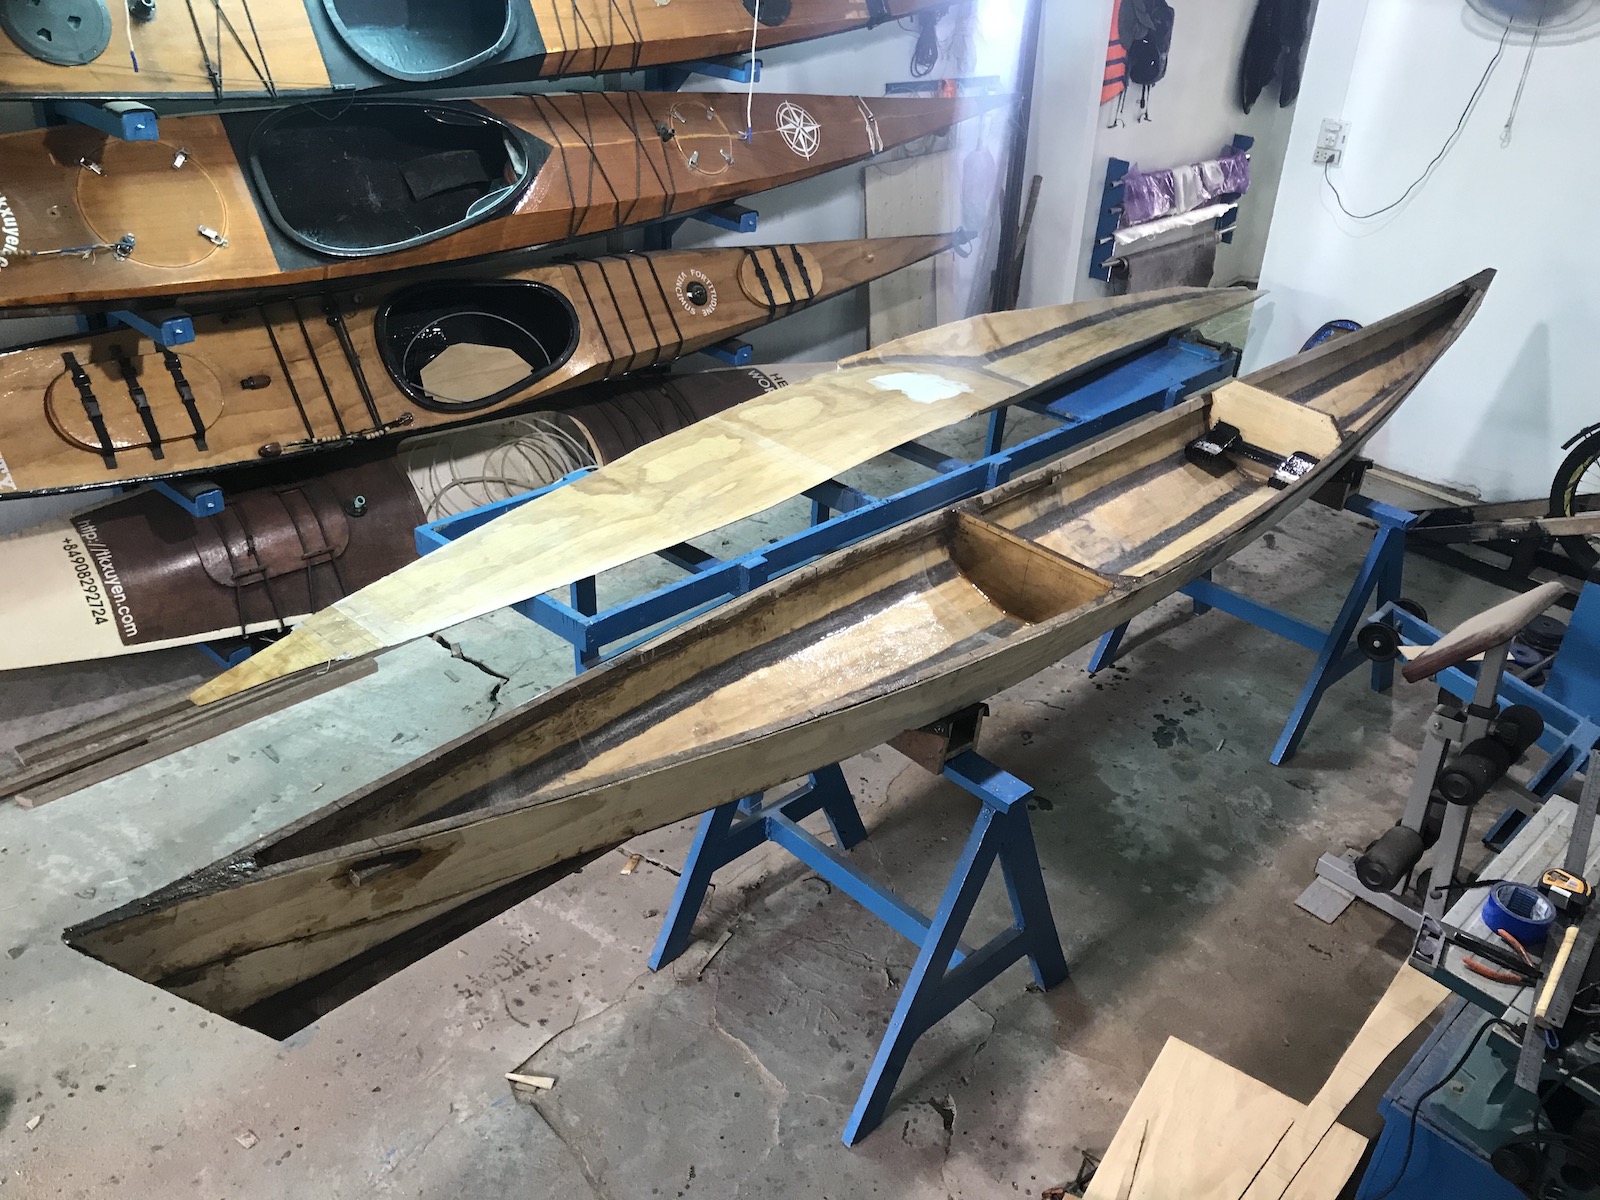
First part is about the general design, now the second part! First, putty-ing… till perfection. Share a tip on how to make a good putty joint between boat’s bilges. Apply the wood-flour-thickened-epoxy at the seam, pay attention to the mixture’s viscosity, too thin it will sag, too thick it will be difficult to work. Spread the putty into a curvy surface, then apply a layer of duct-tape over the seam (choose the thick, cloth based tape, don’t use the thin, nylon one, the thick holds shape better), then using a foam-roller to roll over. When epoxy cured, peal the duct-tape off, you would have a very smooth surface, a perfect blending between the hard-chine bilges, so that glassing would be easier later on.
Next is about glassing, I prefer to use a foam-roller to apply epoxy over the fiberglass surface, but sometimes, the epoxy is too thick (it could be that I’ve accidentally bought the batch of epoxy from the bottom of the vendor’s large container), its viscosity is too high, too “dense” for the roller to move smoothly. If it’s the case, mix with some thinner solvent. I’ve always found xylene works best, much better than acetone. But also be careful, don’t add more then 10% (by weight), or the cured glass would be weakened. After building those many boats, my glassing skills (if it could be called so) has become very good, almost no bubbles, no sagging… The result is just pure, smooth glass, very satisfying!
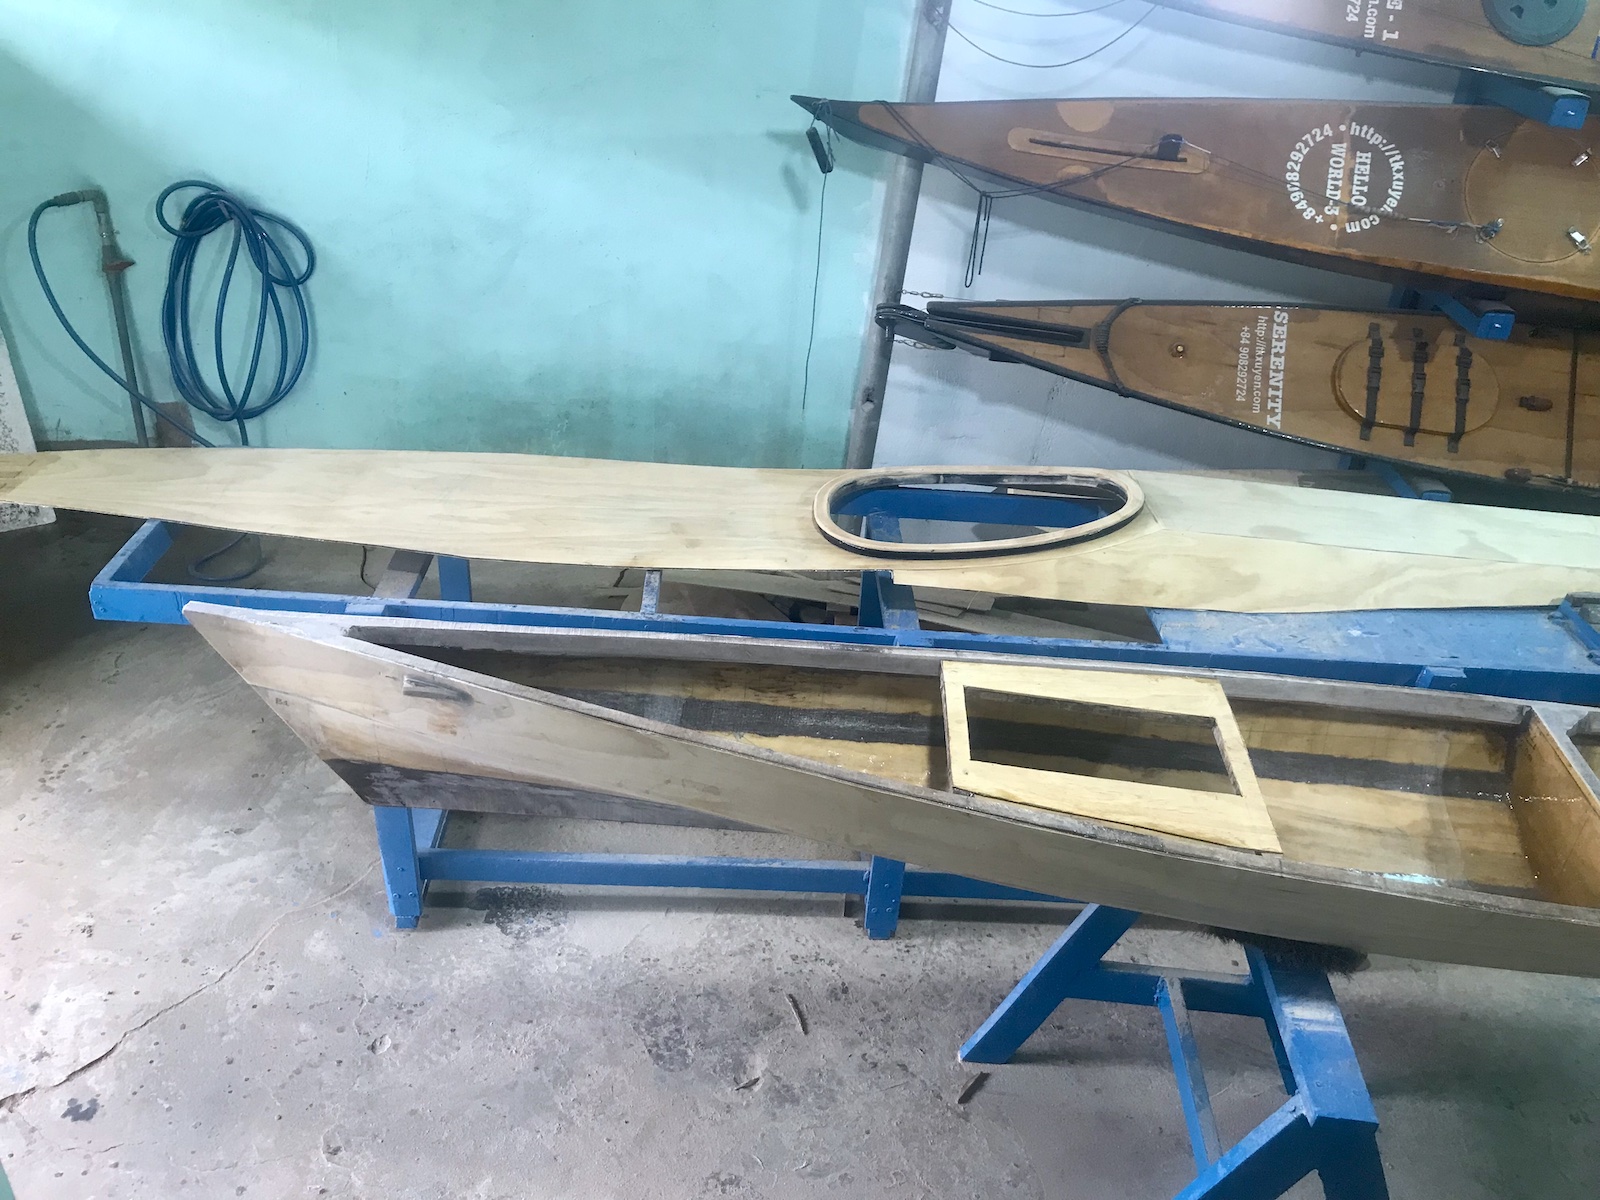
A lesson learnt from the previous build, the 2 hatches now have some stringers to support underneath, cause just a 4mm plywood deck would bend over time and under load. With this support, the hatches’ rims would stay in shape and help keeping a tight fit. After lots of “brainstorming”, I’ve decided to mold the water-proof gaskets from… epoxy, not the type of hard-epoxy commonly used for boat-building, but a softer, bendable one. The stiffness of the material used for gaskets is important: too hard and it won’t brace well to the rim, too soft and it could deform over times. Although I believe this is the best “hatch solution” (rim + lid + gasket + lock) I’ve found out so far, only real-world tests will tell!
There’re so many miscellaneous, time-consuming jobs not described here: running the rudder control lines, attaching the rudder pedals (I reuse those of a previous build to save time), running the electric lines under the deck, trimming the bilges outer joints, adding an additional protecting layer of glass at the boat’s two ends, building the rudder parts (the rudder will be fastened by rope to the rudder post, like that of a Wharram cat), building the cockpit coaming, preparing mounting points for the compass and bilge pump, etc… before the hull & deck parts could be joined together. I hope I could finish this build before Tết holidays (Vietnamese Lunar new year), but a few days delay would be just fine!