Next came the hatch locks, each hatch is hold down by 3 belt – locks, similar to those usually found on your backpacks, very secured and easy to lock / unlock. But that would be later on, for now, the locks’ anchor points need to be built and installed. There are many of them (a total of 30), as the anchor points are not only used for holding the hatch lids down, but also for other lashing bungee cords, and they are built exactly as in my Serene – 1 & 2 previous kayaks, a tried and true technique.
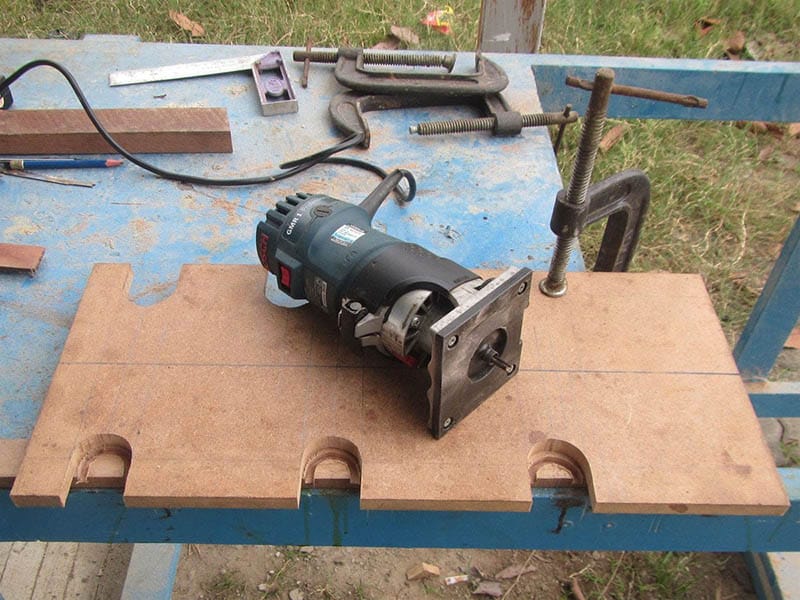
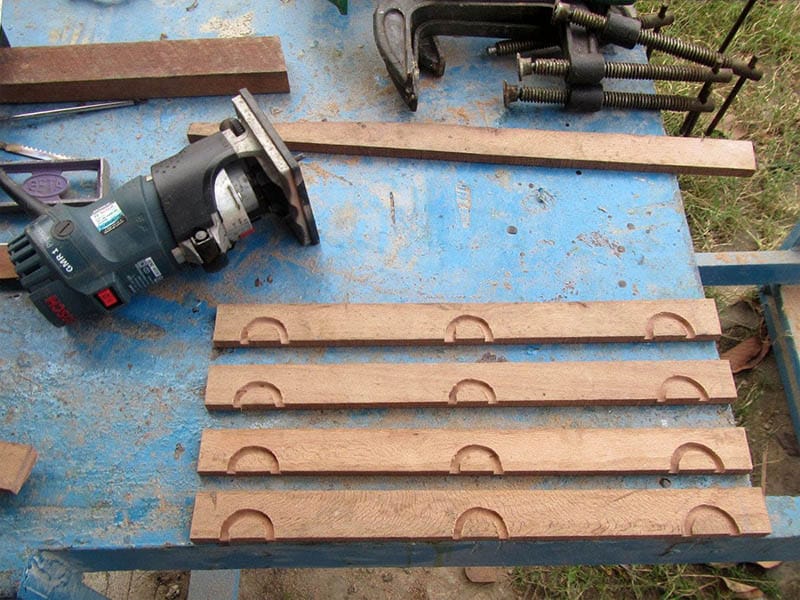
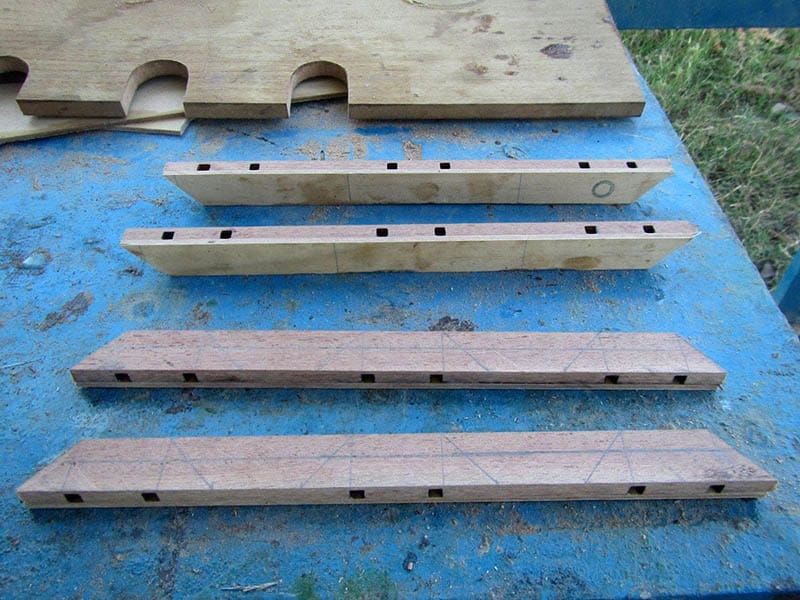
A line would (from the external side), go though the “half – circle tunnel” drilled inside the wooden blocks and loop back to the external side of the hull, forming very strong holding points for various lashing lines. I made two MDF templates and cut the grooves with my very handy Bosch router (first image), a set of three anchor points is placed on one same wooden bar (second image), and install as a whole (fourth image) for the ease of installation, just gluing the wooden bars to the deck.
The deck doesn’t receive a layer of fiberglass throughout, it is only reinforced at critical positions: around the cockpit, around the hatches, or along the seam lines, to help keeping the final weight low. But for an “expeditional boat”, weight is not the primary concern, the boat need to have some “mass” to withstand considerable amount of abuse in long paddling trips. I would expect around 20 kg finally! It’s bad that I’d seen the hull flexing a bit under heavy loads with my Serene – 2 kayak!